Step-by-Step Guide: How to Thread a Strap Wrench like a Pro

Whether you’re a professional mechanic or a DIY enthusiast, knowing how to thread a strap wrench is an essential skill to have in your toolbox. Strap wrenches are versatile tools that can be used for a wide range of applications, from loosening or tightening stubborn pipes and fittings to opening jars with a difficult-to-grip lid.
In this step-by-step guide, we will walk you through the process of threading a strap wrench like a pro. We’ll cover everything from choosing the right strap wrench for your specific task to properly securing the strap and applying the right amount of tension for maximum leverage.
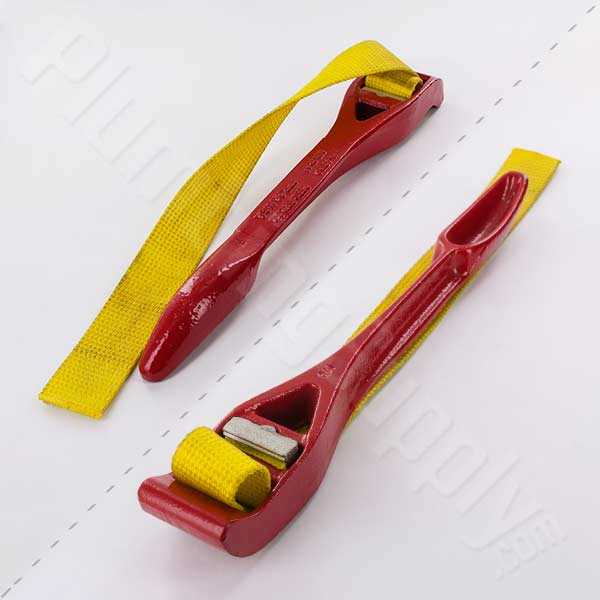
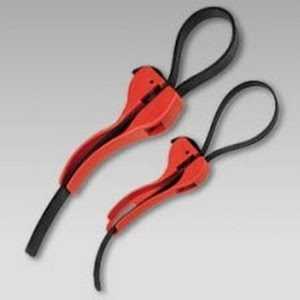
Before we dive into the details, it’s important to understand the basic components of a strap wrench. At its core, a strap wrench consists of a handle and a flexible strap made of durable material, such as rubber or nylon. The strap is looped around the object you want to grip, and as you apply pressure to the handle, the strap tightens around the object, providing a secure grip without causing damage.
Pro Tip: When selecting a strap wrench, consider the size and material of the object you’ll be working with. Opt for a narrower strap for smaller objects and a wider strap for larger ones. Additionally, choose a strap made of a material that won’t damage the surface of the object.
Now that you have a basic understanding of what a strap wrench is and how it works, let’s get into the nitty-gritty of threading a strap wrench for maximum effectiveness.
Step 1: Gather the necessary tools

Before you can start threading a strap wrench, you’ll need to gather some essential tools. Make sure you have the following items handy:
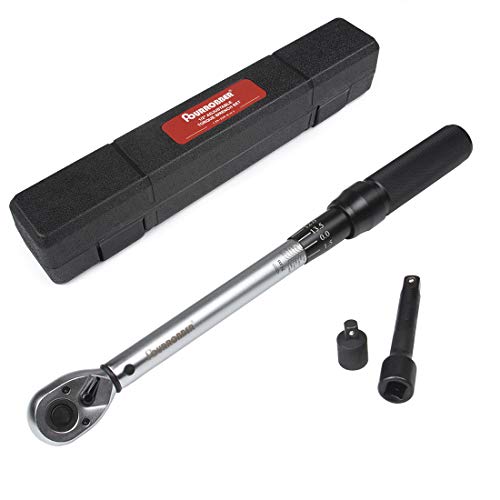
- A strap wrench – This is the main tool you’ll be using to thread the strap. Choose a strap wrench that is suitable for the type and size of the strap you’ll be working with.
- A strap – Depending on the specific application, you’ll need a strap that is compatible with the strap wrench. It should be long enough to wrap around the object you’ll be working on.
- A workbench or stable surface – To ensure stability and prevent any accidental slipping or injuries, it’s important to have a workbench or stable surface to place your strap wrench and strap on.
- A lubricant (optional) – In some cases, it may be helpful to have a lubricant on hand to ease the threading process. This can be especially useful if you’re working with a stubborn strap or a tightly threaded object.
Once you have all these tools ready, you’ll be prepared to move on to the next step of the strap wrench threading process.
Step 2: Prepare the strap wrench

Before you start using the strap wrench, it’s important to prepare it properly. Follow these steps to ensure that your strap wrench is ready to tackle any job:
1. Inspect the strap
Take a close look at the strap of your wrench. Make sure there are no cuts, tears, or frayed edges that could compromise its performance. If you notice any damage, it’s best to replace the strap before using the wrench.

2. Adjust the strap length
Most strap wrenches come with an adjustable strap length. Determine the size of the object you’ll be working with and adjust the strap accordingly. The strap should fit snugly around the object without being too tight.
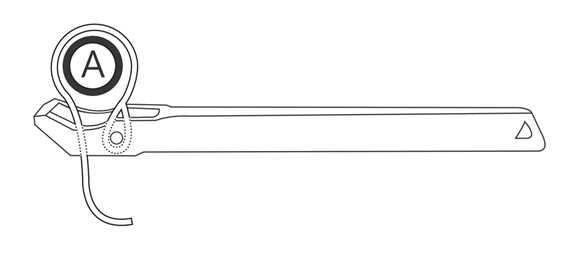
3. Position the strap
Position the strap of the wrench in a way that will provide the most leverage for your task. You can either wrap the strap around the object in a diagonal direction or vertically, depending on the situation. Experiment with different positions to find the most effective one for your needs.
4. Secure the strap

Make sure the strap is securely fastened to the wrench. Check that the tightening mechanism is properly engaged, whether it’s a ratchet system or a screw mechanism. This will ensure that the strap stays in place during use and prevents any slipping or loosening.
By properly preparing your strap wrench, you’ll be ready to easily tackle any task that comes your way. Follow these steps and you’ll be well on your way to becoming a pro at threading a strap wrench!
Step 3: Position the strap wrench correctly
Proper positioning of the strap wrench is essential to ensure effective grip and control during use. Follow these steps to position the strap wrench correctly:
- Identify the object or item that needs to be held or turned.
- Hold the strap wrench handle firmly in one hand, making sure your grip is secure.
- With your other hand, loop the strap around the object, ensuring that it is tight and secure.
- Position the strap on the wrench head, ensuring that it is aligned with the direction in which you want to turn or hold the object.
- Ensure that the strap is evenly distributed along the surface of the object for optimal grip.
By positioning the strap wrench correctly, you will have better control and grip, allowing you to effectively turn or hold objects with ease.

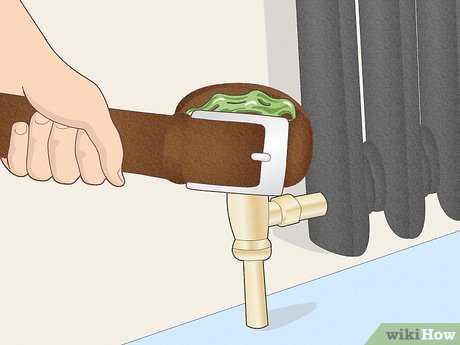
Step 4: Apply the strap wrench to the object
Once you have adjusted the strap wrench to fit the size of the object you are working with, it’s time to apply it to the object. Make sure that the strap is positioned securely around the circumference of the object, ensuring that it is tight enough to provide a firm grip but not so tight that it causes damage.
Hold the handle of the strap wrench firmly in one hand, and use your other hand to steady the object you are working with. Apply steady pressure in the direction you want to turn or loosen the object, while keeping a firm grip on the handle. The strap of the wrench will grip onto the object, allowing you to easily rotate or loosen it.
If you are tightening an object, apply the same pressure in the opposite direction, making sure the strap stays securely in place around the object. The strap wrench provides a reliable grip that allows you to tighten or loosen objects without causing damage or leaving any marks behind.
Remember to always use the strap wrench at a comfortable angle, ensuring that you have full control and leverage over the object. This will help you achieve the desired result more efficiently and effectively.
Step 5: Adjust the tension of the strap wrench
After positioning the strap wrench around the object you want to loosen or tighten, it’s important to adjust the tension of the strap to ensure a secure grip. Follow these steps to adjust the tension of the strap wrench:

- Locate the tension adjustment mechanism on the strap wrench. This can usually be found near the handle or on the body of the wrench.
- Depending on the type of strap wrench you are using, you may need to rotate a knob, slide a lever, or twist a mechanism to adjust the tension.
- Gradually increase or decrease the tension by turning the knob, sliding the lever, or twisting the mechanism. Pay attention to how the strap tightens or loosens around the object.
- Test the tension by applying gentle pressure to the strap wrench. If the strap slips or doesn’t provide a secure grip, adjust the tension accordingly.
- Continue adjusting the tension until you achieve the desired level of tightness or looseness.
Remember, it’s important to find the right balance of tension. Too much tension can damage the object or cause the strap to break, while too little tension may not provide enough grip to effectively loosen or tighten the object.
Once you have adjusted the tension of the strap wrench, you are ready to proceed with loosening or tightening the object. If necessary, you can make further adjustments to the tension as you work to ensure the best results.
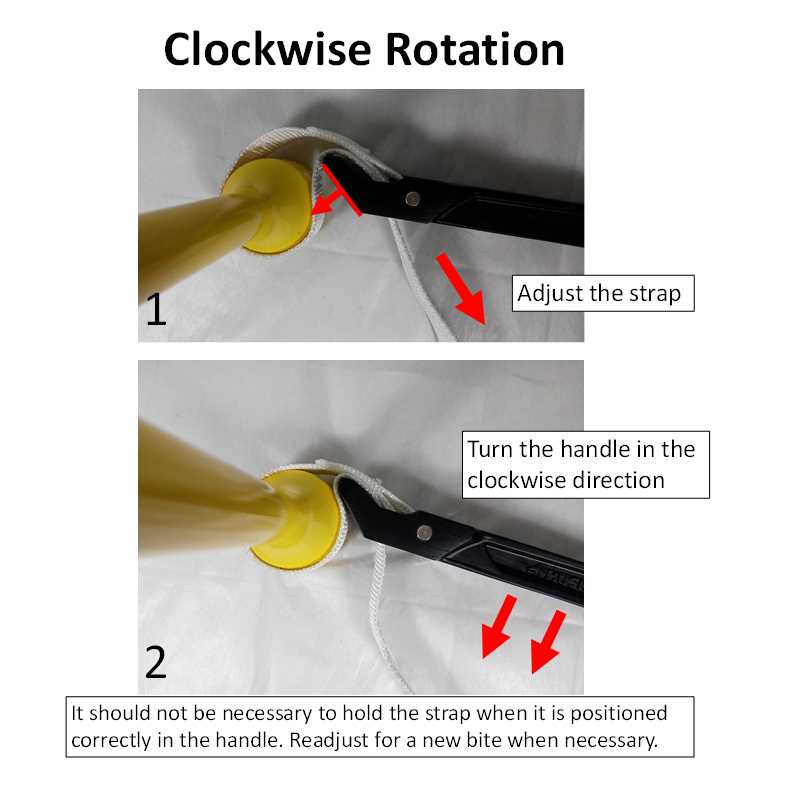
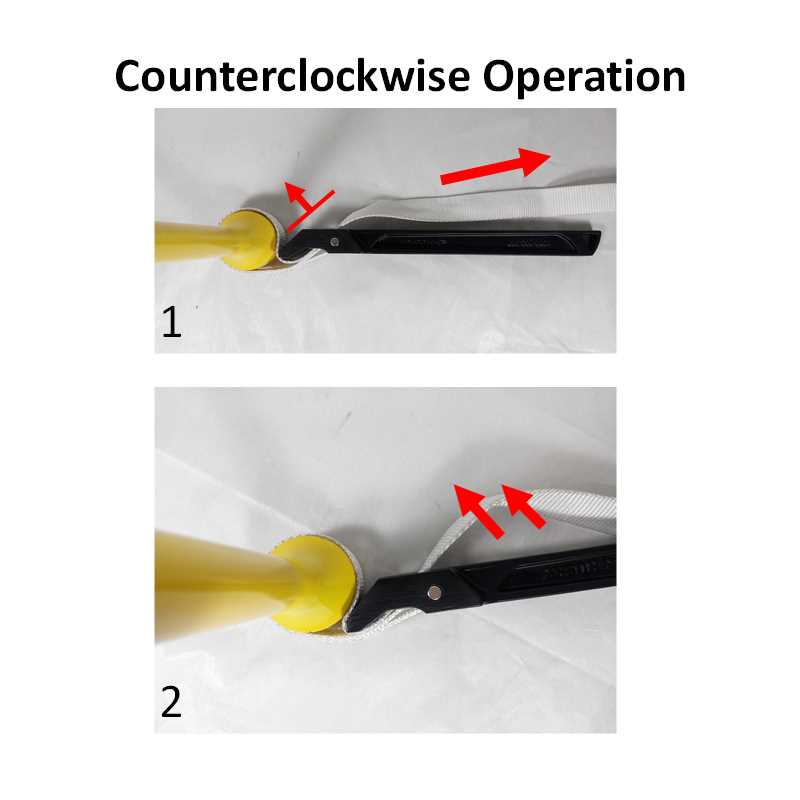
Step 6: Rotate the object counterclockwise
Once you have securely positioned the strap wrench around the object, it’s time to rotate it counterclockwise. This motion will help loosen the object and make it easier to remove.
Grip the handle of the strap wrench firmly and apply steady pressure as you turn it in the opposite direction of the object’s tightening. Keep in mind that counterclockwise rotation is the typical direction for loosening most objects.

If the object is particularly tight, you may need to use your body weight to provide additional force. Lean into the strap wrench while maintaining a firm grip to gain leverage and increase the turning power.
- Position the strap wrench correctly around the object.
- Ensure a secure and tight fit.
- Hold the handle firmly.
- Begin rotating the strap wrench counterclockwise.
- Apply steady pressure and increase force if necessary.
As you rotate the strap wrench counterclockwise, you should start to feel the object loosening. Continue turning until the object is fully unscrewed or no longer tightly secured.
| Tip: | Some objects may require multiple rotations to fully loosen. |
Remember to always use caution when working with strap wrenches. As with any tool, improper use can result in injury or damage to the object or surrounding area. Take your time and be patient as you rotate the object counterclockwise to ensure a safe and successful operation.
Step 7: Repeat if necessary
If the strap wrench did not loosen the object on the first attempt, don’t worry! Repeat the steps mentioned above to give it another go.

Here’s a quick reminder of the steps:
- Choose the appropriate strap for your task.
- Wrap the strap around the object, ensuring it is secure.
- Insert the end of the strap through the clamp, and pull it tight.
- Hold the wrench by the handle with one hand, and use your other hand to hold the object steady.
- Rotate the wrench in the direction that loosens the object.
Tips for repeating the process:
- Make sure the strap is positioned correctly and tightly around the object.
- Check that the clamp is securely holding the strap in place.
- Use enough force but be cautious not to over-tighten the strap.
- If the object is still not loosening, consider using a different strap or seeking alternative methods.
Remember, patience is key when using a strap wrench. Keep repeating the steps until the desired result is achieved.
FAQ
What is a strap wrench and what is it used for?
A strap wrench is a tool that consists of a flexible strap attached to a handle. It is used to grip and turn objects that are difficult to grip with bare hands, such as pipes, filters, and cylindrical objects.
Why would I need to thread a strap wrench?
You may need to thread a strap wrench to ensure that the strap is properly secured and tightened around the object you are trying to grip. This will help provide a better grip and prevent slipping while turning.
Can I use a strap wrench on any object?
A strap wrench can be used on a variety of objects, but it may not be suitable for all applications. It is best suited for gripping cylindrical objects, such as pipes, filters, and oil filters. It may not provide enough grip on objects with irregular shapes or those that are very small or large.
Are there any alternatives to using a strap wrench?
Yes, there are alternative tools that can be used in place of a strap wrench, depending on the application. Some alternatives include pipe wrenches, adjustable wrenches, vise grips, and rubber jar openers. These tools provide different grip mechanisms and may be more suitable for certain objects or situations.
Video


Meet Harrison Clayton, a distinguished author and home remodeling enthusiast whose expertise in the realm of renovation is second to none. With a passion for transforming houses into inviting homes, Harrison's writing at https://thehuts-eastbourne.co.uk/ brings a breath of fresh inspiration to the world of home improvement. Whether you're looking to revamp a small corner of your abode or embark on a complete home transformation, Harrison's articles provide the essential expertise and creative flair to turn your visions into reality. So, dive into the captivating world of home remodeling with Harrison Clayton and unlock the full potential of your living space with every word he writes.