How to Tighten Castle Nut Without Spanner Wrench – Easy DIY Guide

When it comes to working on your car or doing any kind of DIY project, having the right tools can make all the difference. But what happens when you don’t have a specific tool that you need, like a spanner wrench to tighten a castle nut? Don’t worry, there are alternative methods that you can use to get the job done.
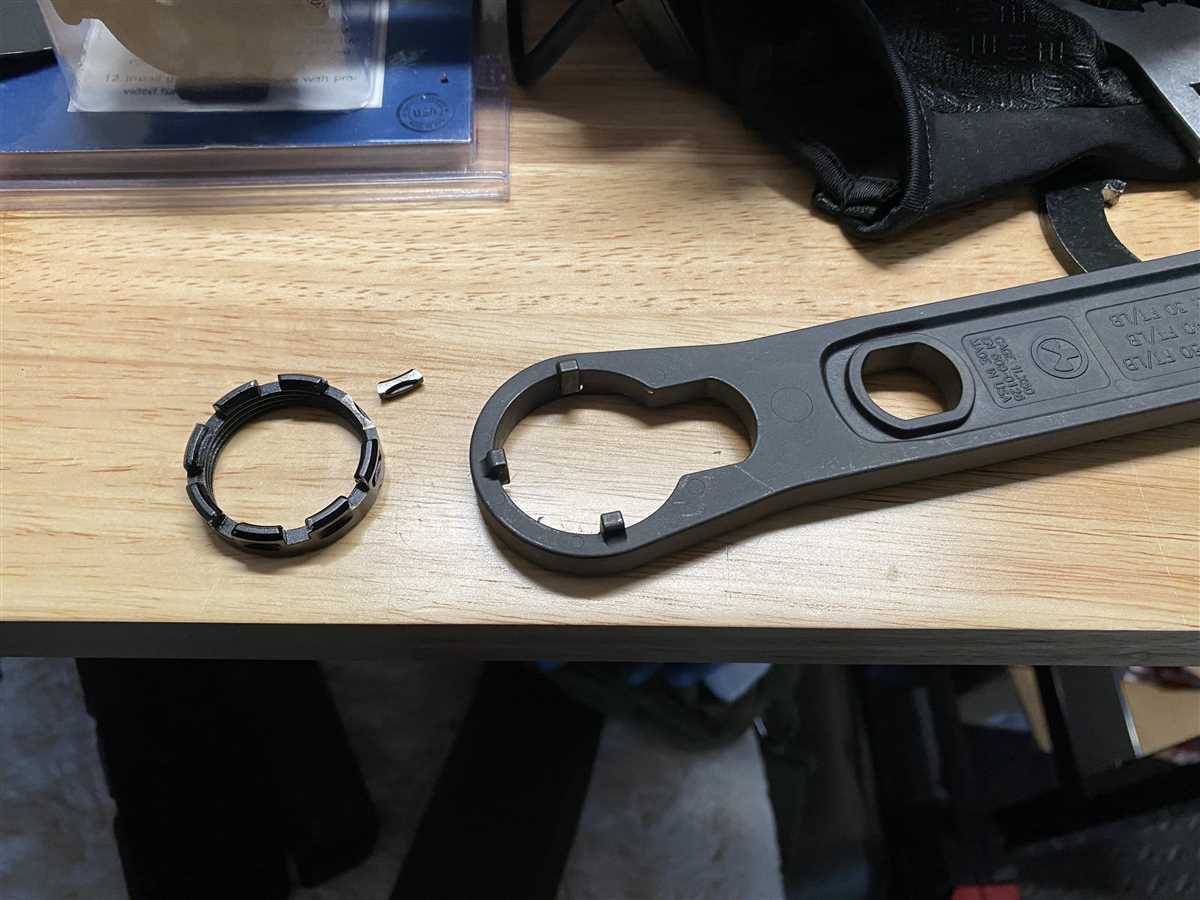
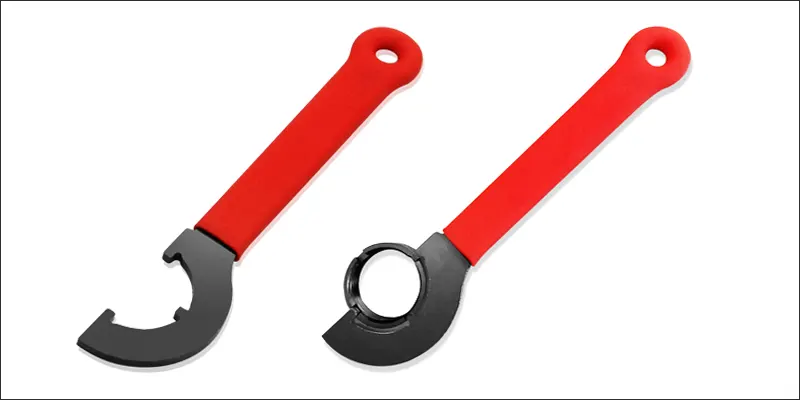
A castle nut is a type of nut that has slots or notches on one end, resembling the top of a castle. This nut is commonly used in automotive applications, such as securing ball joints, tie rod ends, and other suspension components. It is designed to be tightened with a spanner wrench, which fits into the slots and allows for easy tightening or loosening.
However, if you don’t have a spanner wrench on hand, there are a few tricks you can try. One method involves using a hammer and punch to tighten the nut. Simply place the punch into one of the slots on the nut and tap it gently with the hammer in a clockwise direction to tighten. This method requires some precision and patience, as you want to avoid damaging the nut or the surrounding components.
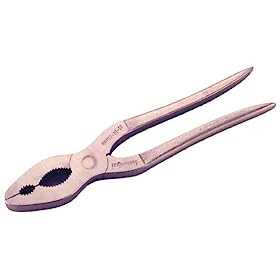
Another method you can try is using a pair of pliers or wrenches to grip the nut and turn it. While this method may not be as precise as using a spanner wrench, it can still get the job done in a pinch. Make sure to use a pair of pliers or wrenches that are the correct size for the nut, and be careful not to apply too much force or you could strip the nut.
In conclusion, while having a spanner wrench is ideal for tightening castle nuts, there are alternative methods that you can use if you don’t have one on hand. Whether it’s using a hammer and punch or a pair of pliers, make sure to take your time and be careful to avoid damaging the nut or surrounding components. With a little patience and resourcefulness, you can successfully tighten a castle nut without a spanner wrench.

What is a castle nut and why it needs tightening?
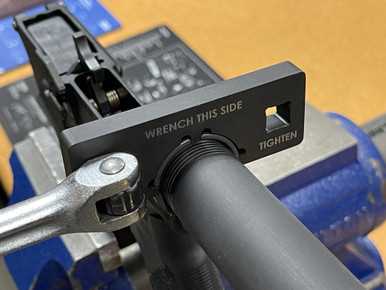
A castle nut, also known as a slotted nut or a castellated nut, is a type of fastener commonly used in machinery and other applications that require a secure and adjustable connection. It is named after its distinctive shape, which resembles the turrets of a castle.
The castle nut is designed to be used in conjunction with a cotter pin or a safety wire, which helps to provide additional security by preventing the nut from coming loose. The slots or turrets in the nut allow the cotter pin or safety wire to pass through and secure the nut in place.
Castle nuts are often found in automotive and mechanical systems where components need to be secured but also easily adjusted. They can be found in various applications such as wheel bearings, suspension systems, and other assemblies that require regular maintenance or adjustment.
Over time, castle nuts can loosen due to vibrations, changes in temperature, or other factors. This can compromise the stability and safety of the connection, leading to potential failure or damage. Therefore, it is essential to periodically check and tighten castle nuts to ensure a secure and reliable connection.

Tightening a castle nut without a spanner wrench can be a challenging task. However, there are alternative methods that can be used, such as using pliers, an adjustable wrench, or even a hammer and chisel technique. These methods should be approached with caution to prevent damage to the nut or surrounding components.
Summary:
- A castle nut is a type of fastener that is used in various applications to provide a secure and adjustable connection.
- It is designed to be used with a cotter pin or safety wire for additional security.
- Castle nuts can loosen over time and need to be periodically checked and tightened to maintain a secure connection.
- Alternative methods can be used to tighten a castle nut without a spanner wrench, but caution should be exercised to avoid damage.
The importance of proper castle nut tightening
Tightening the castle nut properly is crucial for the safe and secure functioning of various mechanical systems. Whether you are working with firearms, automotive parts, or machinery, ensuring that the castle nut is tightened correctly is essential for maintaining the integrity and reliability of the equipment.
1. Safety
Properly tightened castle nuts contribute to the overall safety of the equipment. Castle nuts are commonly used in applications where there is a rotating motion, such as on axles, driveshafts, or wheel hubs. If the castle nut is not tightened to the appropriate torque, it can lead to play or looseness in the system, increasing the risk of accidents or failures.
2. Preventing damage
Tightening the castle nut correctly helps prevent damage to the equipment. When the nut is loose, it can allow parts to move or vibrate excessively, leading to wear and tear, or even component failure. This can result in costly repairs or replacements. By ensuring that the castle nut is tightened to the manufacturer’s specifications, you can avoid unnecessary damage and prolong the lifespan of the equipment.
3. Stability and performance

Proper castle nut tightening contributes to the stability and performance of the equipment. When the nut is tightened correctly, it helps maintain the proper alignment of components, allowing them to function smoothly and efficiently. This can result in improved performance, reduced noise or vibrations, and better overall operation of the equipment.
4. Compliance with regulations
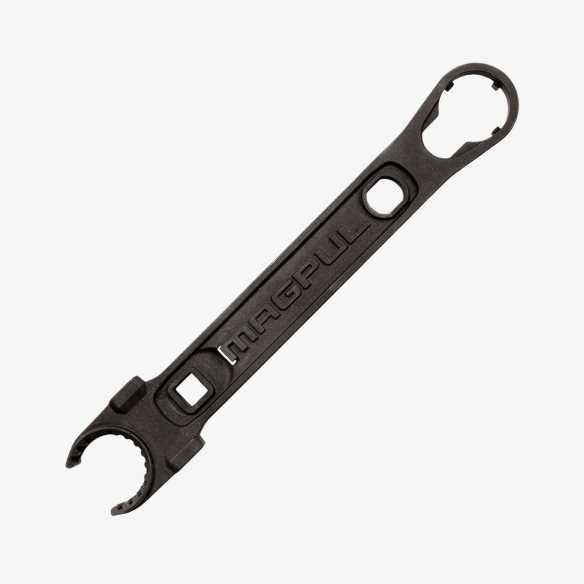
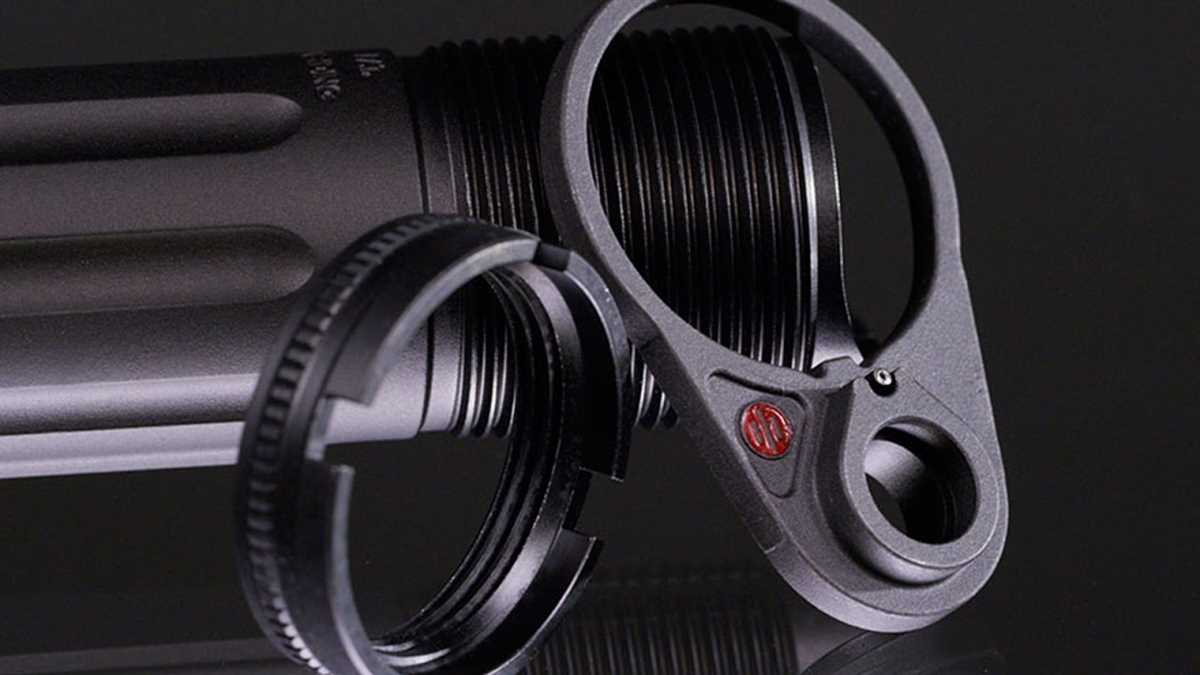
In certain industries, there are regulations and standards in place that dictate the proper tightening of castle nuts. For example, in the firearms industry, there are specific torque specifications for castle nuts on rifle buffer tubes. Failing to comply with these regulations can have legal consequences and may void warranties. By ensuring that the castle nut is tightened properly, you can stay compliant with industry standards and avoid any potential legal issues.
In conclusion, proper castle nut tightening is not only important for safety but also for preventing damage, improving stability and performance, and complying with regulations. It is essential to follow the manufacturer’s specifications and use the appropriate tools to tighten castle nuts correctly. Taking the time to tighten the castle nut properly can save you from unnecessary accidents, repairs, and potential legal troubles.
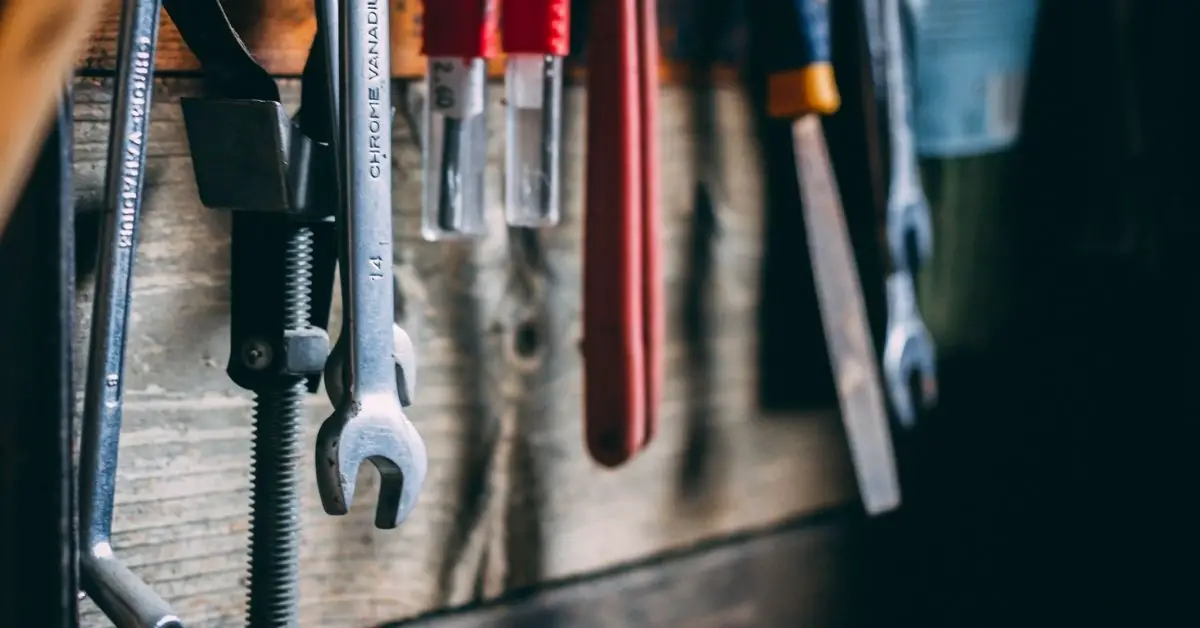
Tools and materials needed
- Adjustable wrench
- Socket wrench
- Nylon strap wrench
- Vice grips
- Hammer
- Flathead screwdriver
- Duct tape
- Crescent wrench
- Allen wrench set
Note: The specific tools and materials needed may vary depending on the type of castle nut and the specific application. It is important to use the appropriate tools and materials for the job to ensure safety and proper tightening of the nut.
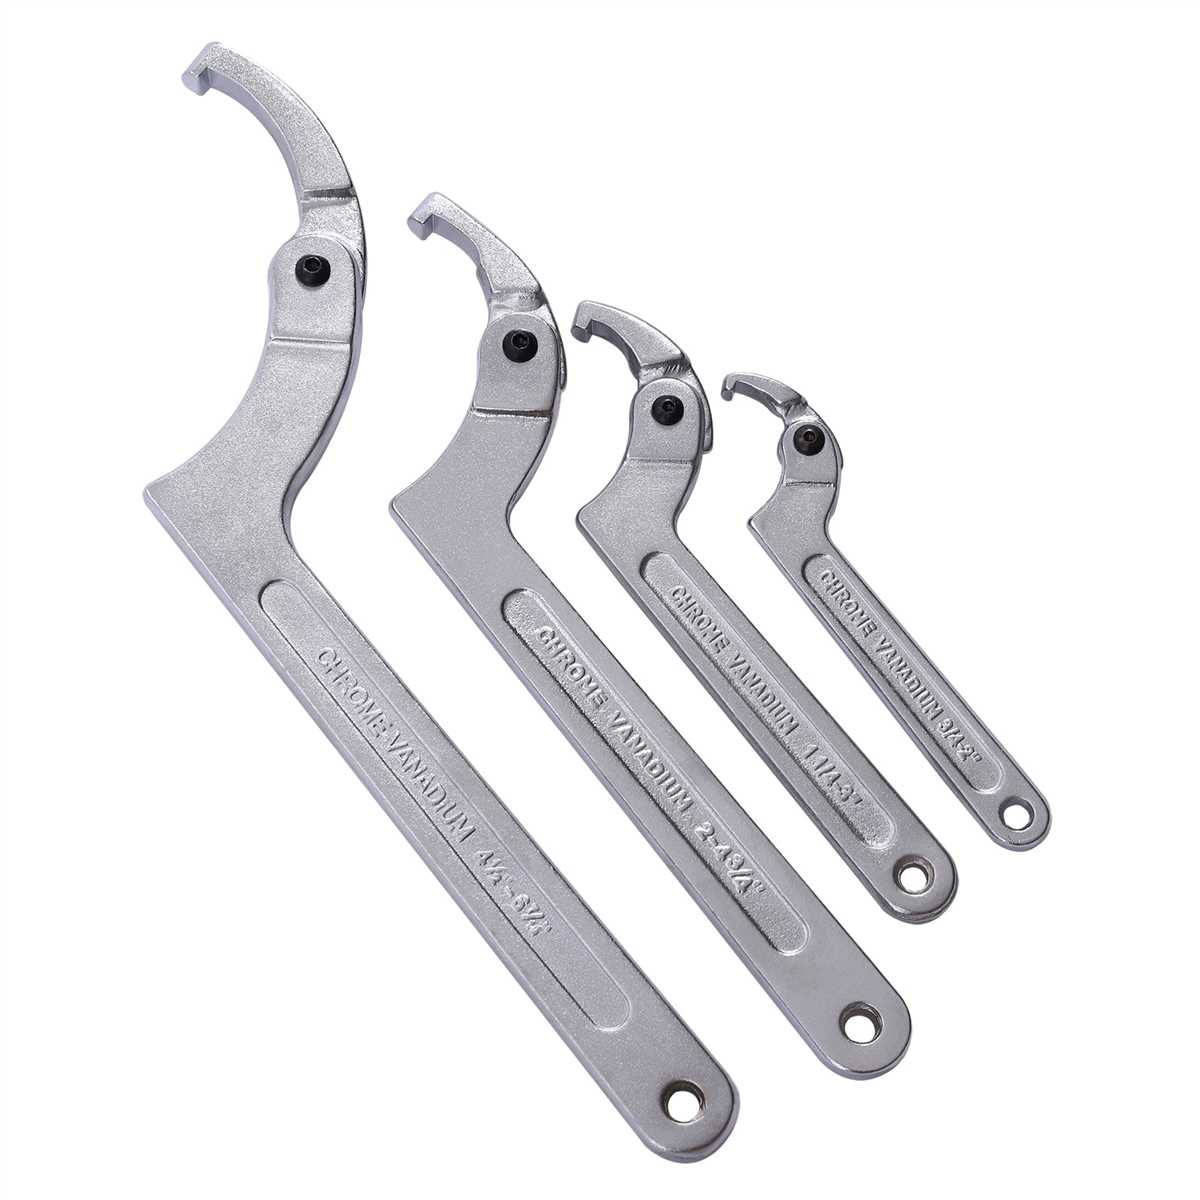
Alternative methods for tightening a castle nut without a spanner wrench
If you find yourself without a spanner wrench and need to tighten a castle nut, don’t worry! There are a few alternative methods you can try using common household tools.

1. Adjustable wrench
An adjustable wrench can be a practical alternative to a spanner wrench. Select a wrench that fits snugly on the castle nut and use it to tighten the nut by turning clockwise. Be careful not to apply too much force to avoid damaging the nut or the tool.
2. Pliers
If you don’t have an adjustable wrench, pliers can be used as an alternative. Grab the castle nut firmly with the pliers and turn it clockwise to tighten. However, be cautious as pliers may not provide as secure of a grip as a spanner wrench or adjustable wrench, so be careful not to slip and hurt yourself.
3. Hammer and screwdriver
In some cases, you can use a hammer and a screwdriver as makeshift tools to tighten a castle nut. Place the screwdriver blade in one of the grooves on the castle nut and tap it gently with a hammer. This should provide enough leverage to tighten the nut. Be cautious not to hit the screwdriver too hard or at an angle that may damage the nut or the screwdriver blade.
4. Vice grips
Vice grips, also known as locking pliers, can be used as a last-resort option to tighten a castle nut without a spanner wrench. Adjust the vice grips to fit securely around the nut and tighten them by turning the handle clockwise. Keep in mind that vice grips may not provide the most precise or secure grip, so use caution to avoid damaging the nut or the tool.
Remember, these alternative methods should only be used when a spanner wrench is not available, and it is always best to use the appropriate tool for the job to prevent accidents or damage to the nut or surrounding components.

Benefits and drawbacks of alternative methods
1. Adjustable wrench
Using an adjustable wrench as an alternative method for tightening a castle nut can have several benefits and drawbacks.
- Benefits:
- Adjustable wrenches are versatile and can often be found in most households or toolkits.
- They can provide enough grip and torque to tighten the castle nut adequately.
- Using an adjustable wrench can save you from purchasing a specialized tool.
- Drawbacks:
- It may be difficult to find the right size adjustable wrench that fits the castle nut properly.
- The adjustable wrench may not provide as secure of a grip as a spanner wrench, increasing the risk of the nut coming loose.
- Using an adjustable wrench may not be as precise as using a spanner wrench, potentially causing damage to the nut or the surrounding components.
2. Screwdriver and hammer
Using a screwdriver and hammer as an alternative method for tightening a castle nut can also have its own benefits and drawbacks.
- Benefits:
- Screwdrivers and hammers are common household tools that most people have readily available.
- This method can provide enough force to tighten the castle nut securely.
- Using a screwdriver and hammer eliminates the need for purchasing any additional tools.
- Drawbacks:
- Using a screwdriver and hammer may require more effort and force compared to using a spanner wrench.
- There is a higher risk of slipping or missing the target, potentially causing damage to the nut or the surrounding components.
- This method may not provide the same level of precision as using a spanner wrench, which can result in overtightening or undertightening of the castle nut.
3. Improvised tools
In some cases, you may need to resort to using improvised tools to tighten a castle nut without a spanner wrench. Here are some common improvised tools and their benefits and drawbacks.
| Improvised Tool | Benefits | Drawbacks |
|---|---|---|
| Channel locks |
|
|
| Pliers |
|
|
| Adjustable pliers |
|
|
While using improvised tools can be a temporary solution, it is advisable to invest in a spanner wrench for more efficient and precise tightening of castle nuts in the long term.
Step-by-step guide: How to tighten a castle nut without a spanner wrench
Tightening a castle nut without a spanner wrench may seem like a challenging task, but with the right technique, it can be done easily. Follow these steps to tighten a castle nut without a spanner wrench:
Step 1: Gather the necessary tools
Before you begin, make sure you have the following tools:
- An adjustable wrench
- A pair of pliers
- A flathead screwdriver
Step 2: Position the castle nut
Hold the adjustable wrench firmly to provide leverage. Insert the flathead screwdriver into one of the slots in the castle nut, making sure it fits securely.
Step 3: Turn the castle nut
With the screwdriver in place, use the adjustable wrench to turn the castle nut clockwise. Apply steady pressure, making sure not to overtighten.
Step 4: Check the tightness
After tightening the castle nut, use the pliers to check its tightness. Gently try to move the nut back and forth. If there is any play or movement, continue tightening until the nut is secure and does not move.
Step 5: Secure the castle nut

Once the castle nut is tight, use the pliers to bend one of the slots in the nut over the hole in the threaded shaft. This will help prevent the nut from loosening over time.
Step 6: Repeat the process
If you have multiple castle nuts to tighten, repeat the above steps for each one. Make sure to use the adjustable wrench, screwdriver, and pliers for each individual nut.
By following these steps, you can easily tighten a castle nut without a spanner wrench. Remember to take your time and be careful not to overtighten the nut to avoid damaging the threads or the equipment it is attached to.
Step 1: Understand the castle nut and its purpose
A castle nut is a type of fastener that is used to secure various components in place, typically in mechanical or automotive applications. It is named after its distinctive appearance, which resembles a castle turret with notches or slots along its perimeter.
The primary purpose of a castle nut is to prevent the fastened component from loosening or becoming dislodged due to vibrations or other movements. It achieves this by providing a secure fit and allowing for the use of a secondary fastening device, such as a cotter pin or a split pin.
Castle nuts are commonly used in applications where regular maintenance and inspections may be required, as they allow for easy removal and reinstallation without damaging the fastener or surrounding components.
To tighten a castle nut without a spanner wrench, alternative methods can be used, such as pliers, adjustable wrenches, or improvised tools. However, it is important to exercise caution and ensure that the castle nut is tightened to the appropriate torque specifications to avoid over-tightening or under-tightening, which can lead to component failure or reduced performance.
- Identify the castle nut that needs to be tightened.
- Gather the necessary tools, such as pliers or an adjustable wrench.
- Carefully position the tool on the castle nut, making sure to grip it securely without damaging the nut or surrounding components.
- Apply steady pressure in a clockwise direction to tighten the nut. Take care not to over-tighten, as this can cause damage.
- Confirm that the castle nut is tightened to the appropriate torque specifications by consulting the manufacturer’s recommendations or using a torque wrench if available.
By following these steps, you can successfully tighten a castle nut without a spanner wrench and ensure that the fastened component remains securely in place.
Step 2: Prepare the necessary tools and materials
Before you begin tightening the castle nut without a spanner wrench, make sure you have gathered all the necessary tools and materials. This will ensure a smooth and efficient process.
Tools:
- Adjustable wrench
- Vise-grip pliers
- Hammer
- Flathead screwdriver
Materials:
- Cloth or rag
- Penetrating oil
- Grease or lubricant
Having these tools and materials ready will make it easier to tighten the castle nut without a spanner wrench. The adjustable wrench will be used to grip and turn the nut, while the vise-grip pliers can provide extra leverage if needed. The hammer and flathead screwdriver may be used to loosen any stuck castle nuts.
Additionally, it is important to have a cloth or rag on hand to wipe away any excess oil or grease. The penetrating oil can help loosen rusted or stuck nuts, while the grease or lubricant will provide smoother movement when tightening the nut.
Step 3: Identify the correct method for your specific castle nut
Once you have gathered your alternative tools, it is important to identify the correct method for tightening your specific castle nut. The method may vary depending on the type of castle nut you have.
1. Split-pin castle nut
If you have a split-pin castle nut, you will need to use a cotter pin or a wire lock to secure it. To do this, follow these steps:
- Insert the cotter pin or wire lock through the holes in the castle nut and the bolt or stud it is screwed onto.
- Bend the ends of the cotter pin or wire lock to ensure it cannot come loose.
This method will provide a secure fastening for your split-pin castle nut.
2. Slotted castle nut
For a slotted castle nut, you can use a hammer and a punch to secure it. Here’s what you need to do:
- Place the punch in one of the slots of the castle nut.
- Use the hammer to strike the punch, which will rotate the castle nut and tighten it.
Repeat this process for each slot of the castle nut until it is securely tightened.
3. Tabbed castle nut
If you have a tabbed castle nut, you will need a tab lock washer to secure it. Follow these steps:
- Align the tab of the lock washer with one of the tabs of the castle nut.
- Insert a screwdriver into one of the slots of the lock washer.
- Rotate the screwdriver to bend the tab of the lock washer, securing it in place.
- Repeat this process for each tab of the castle nut.
This method will provide a reliable fastening for your tabbed castle nut.
4. Notched castle nut
If you have a notched castle nut, you can use a pair of pliers to tighten it. Follow these steps:
- Place the pliers on the notches of the castle nut.
- Use the pliers to rotate and tighten the castle nut.
Repeat this process until the notched castle nut is securely tightened.
By identifying the correct method for your specific castle nut, you can successfully tighten it without the need for a spanner wrench.
Step 4: Begin tightening the castle nut
Once you have the castle nut securely placed on the threaded rod, you can begin tightening it. While a spanner wrench is typically used for this task, there are alternative methods you can try if you do not have one on hand.
Method 1: Adjustable wrench
If you have an adjustable wrench available, you can use it to tighten the castle nut. Set the adjustable wrench to the appropriate size that fits snugly around the nut. Hold the wrench securely in one hand and place it on the castle nut.
Now, use your other hand to apply force on the wrench in a clockwise motion. Slowly and steadily tighten the nut until it is snug against the bearing or surface it is securing.
Method 2: Pliers
If you do not have an adjustable wrench, another option is to use a pair of pliers. While not the ideal tool for the job, pliers can still be effective in tightening the castle nut.
Choose a pair of pliers that have a wide jaw and a comfortable grip. Position the jaws around the castle nut and hold it securely. Apply pressure in a clockwise direction to begin tightening the nut. Be careful not to damage the nut or surrounding components with excessive force.
Method 3: Vice grips
If you have a pair of vice grips available, they can also be used to tighten the castle nut. Place the jaws of the vice grips around the nut, making sure they are securely clamped on. Use the vice grips to apply force in a clockwise direction to tighten the nut.
Remember to tighten the castle nut gradually and check the tightness periodically to ensure it is secure. It is important not to overtighten the nut, as this can cause damage.
Once the castle nut is tightened to the desired level, you can move on to the next step in your project.
FAQ
What is a castle nut?
A castle nut, also known as a slotted nut, is a nut with slots cut into one end. It is used to secure a bolt or spindle in place by inserting a cotter pin through the slots.
Why would I need to tighten a castle nut without a spanner wrench?
You may need to tighten a castle nut without a spanner wrench if you don’t have one available or if the nut is in a hard-to-reach area where a spanner wrench cannot be used.
What are some alternatives to a spanner wrench for tightening a castle nut?
Some alternatives to a spanner wrench for tightening a castle nut include using a pair of pliers, a crescent wrench, an adjustable wrench, or even a hammer and chisel.
How do I tighten a castle nut using pliers?
To tighten a castle nut using pliers, you can grip the nut with the pliers and turn it clockwise until it is tightened to the desired level of torque.
Can I use a crescent wrench to tighten a castle nut?
Yes, a crescent wrench can be used to tighten a castle nut. You can adjust the crescent wrench to fit the size of the nut and then use it to turn the nut clockwise until it is tightened.
Is it possible to tighten a castle nut without any specialized tools?
Yes, it is possible to tighten a castle nut without any specialized tools. In some cases, you can use a hammer and chisel to tap the nut clockwise until it is tightened. However, this method should be used with caution to avoid damaging the nut or the surrounding components.
Are there any risks or disadvantages to tightening a castle nut without a spanner wrench?
There can be some risks or disadvantages to tightening a castle nut without a spanner wrench. Using alternative tools or methods may not provide as secure or precise tightening as a spanner wrench, which could potentially lead to the nut coming loose over time. It’s important to exercise caution and ensure the nut is properly tightened if using alternative methods.
Video

Meet Harrison Clayton, a distinguished author and home remodeling enthusiast whose expertise in the realm of renovation is second to none. With a passion for transforming houses into inviting homes, Harrison's writing at https://thehuts-eastbourne.co.uk/ brings a breath of fresh inspiration to the world of home improvement. Whether you're looking to revamp a small corner of your abode or embark on a complete home transformation, Harrison's articles provide the essential expertise and creative flair to turn your visions into reality. So, dive into the captivating world of home remodeling with Harrison Clayton and unlock the full potential of your living space with every word he writes.


