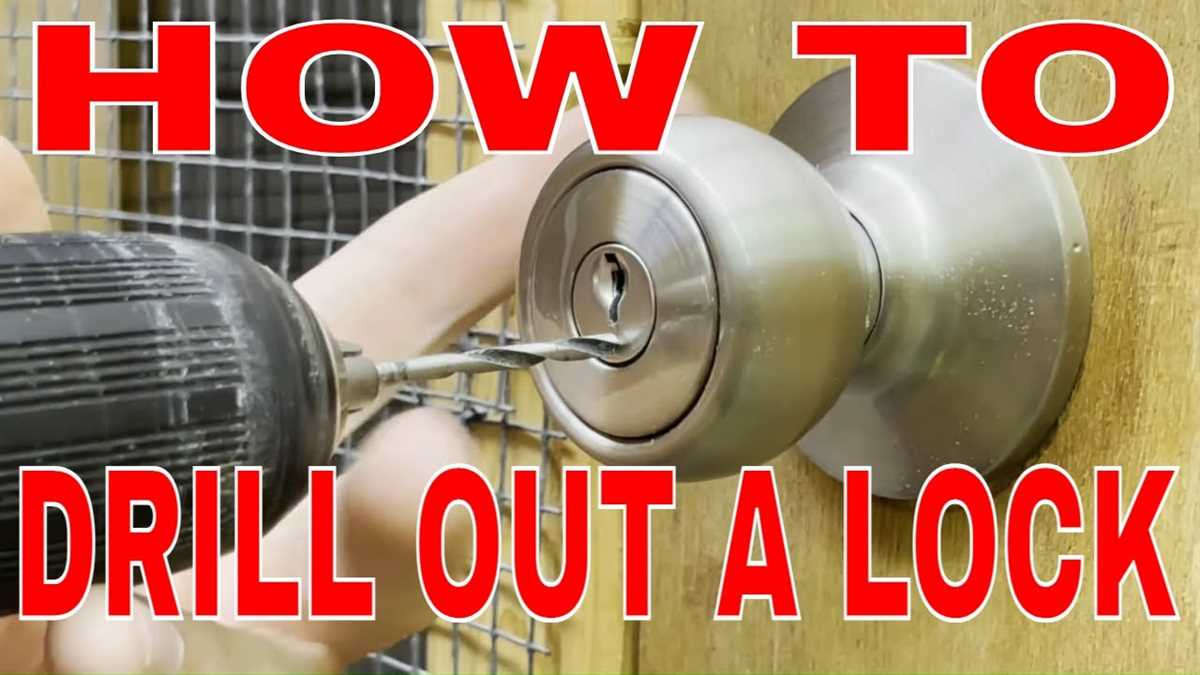
Unlocking a Locked Door: A Step-by-Step Guide to Drilling

Are you faced with a locked door and no way to access what’s behind it? Don’t panic! Drilling is a common and effective method for unlocking a door when you’ve lost the key or the lock is jammed. This step-by-step guide will walk you through the process of drilling a locked door, giving you the knowledge and confidence to handle the situation like a pro.
Before you begin, it’s important to note that drilling should only be used as a last resort. Attempting to pick the lock or call a professional locksmith should be your first options. However, if those methods aren’t possible or time is of the essence, drilling may be your best bet. Just be aware that drilling a lock may damage it beyond repair, so be prepared to replace the lock afterwards.
First, gather the necessary tools and materials. You’ll need a power drill with a drill bit appropriate for the lock, a screwdriver, a lubricant (such as WD-40), and a replacement lock in case the original lock becomes irreparable. Once you have everything you need, begin by examining the lock. Look for any screws or visible components that may be removable, as this could potentially save you from having to drill.
If no removable components are found, proceed to lubricate the lock with the appropriate lubricant. This will help reduce friction and make the drilling process easier. Apply the lubricant generously inside the keyhole, and wait a few minutes for it to penetrate the lock mechanism. Once the lock is lubricated, insert the key and attempt to turn it gently. If the lock still won’t budge, it’s time to move on to drilling.
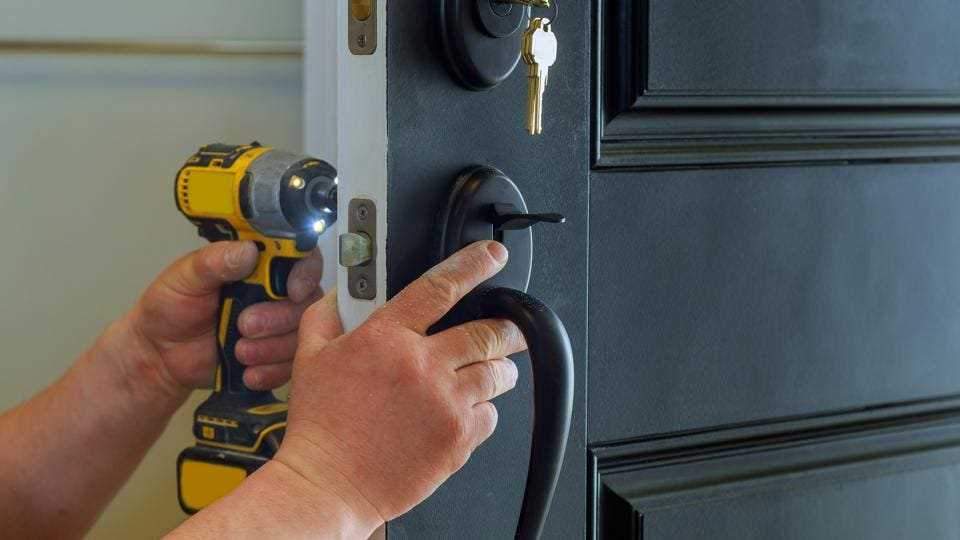
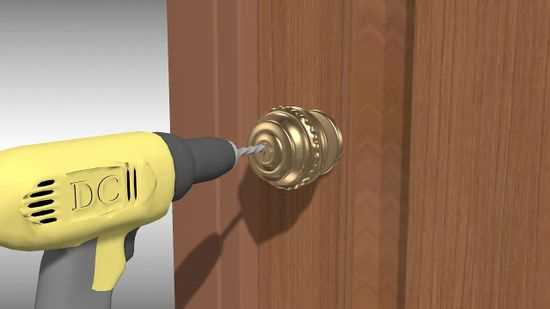
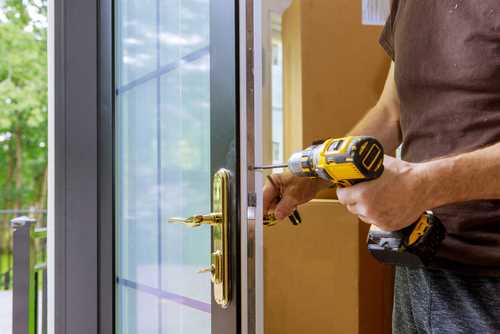
Using the appropriate drill bit, carefully position the drill perpendicular to the surface of the door. Start drilling at a low speed and gradually increase if needed. Apply steady pressure and try not to exert too much force, as this could cause the drill bit to break or damage the door. Keep drilling until the hole is deep enough to reach the lock mechanism. At this point, the lock should release, allowing you to open the door.

Remember, drilling a lock should always be a last resort. If possible, try other methods before resorting to drilling. However, if drilling becomes necessary, this step-by-step guide will help you unlock a locked door with ease and confidence.
Preparation: Gathering the Necessary Tools
Before you begin the process of drilling to unlock a locked door, it is important to gather all the necessary tools. Having the right tools on hand will ensure that you can complete the task efficiently and effectively. Here are the tools you will need:
- A drill machine: This is the main tool you will need to create a hole in the door to unlock it. Make sure to have a high-quality drill machine that is suitable for drilling through wood or metal, depending on the type of door you have.
- Drill bits: Different drill bits are available for drilling through different materials. Consider having a variety of drill bits in different sizes to accommodate different types of doors.
- Safety goggles: Protect your eyes from any debris or flying particles that may come out while drilling. Safety goggles are essential for your safety during the drilling process.
- Protective gloves: To prevent any injuries to your hands, wear protective gloves that provide a good grip and protection against sharp edges.
- Measuring tape: Accurate measurements are crucial for drilling the hole in the right place. A measuring tape will help you determine the correct position for drilling.
- Masking tape: Use masking tape to mark the spot where you will drill the hole. This will help you maintain precise control and prevent the drill from slipping.
- Pencil: Before using masking tape, you can use a pencil to make the initial mark on the door.
- Dustpan and brush: Drilling may produce dust and wood or metal shavings. Having a dustpan and brush nearby will help you keep the area clean during and after drilling.
By gathering all these tools beforehand, you will be well-prepared for the process of drilling to unlock a locked door. Remember to prioritize safety and take necessary precautions while handling the tools.
Assessing the Lock: Understanding the Mechanics
Introduction
Before attempting to drill a locked door, it is essential to understand the mechanics of the lock you are dealing with. This will help you determine the appropriate tools and techniques to use during the drilling process.
Types of Locks
There are several types of locks commonly used on doors, and each has its unique mechanism. Understanding the type of lock will give you valuable insights into how it functions and how it can be bypassed.

Some common types of locks include:
- Cylinder Locks
- Deadbolts
- Mortise Locks
- Padlocks
- Knob Locks
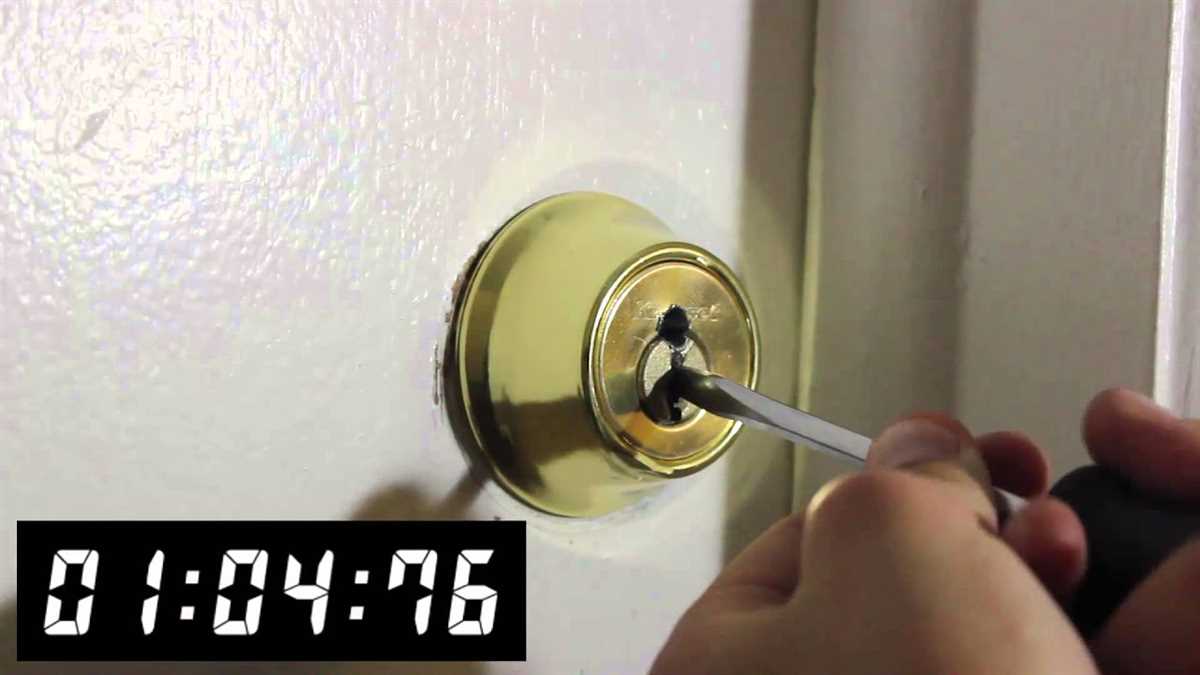
Examining the Lock
Once you have identified the type of lock, you should carefully examine it to gather additional information. Look for any visible signs of damage or wear that may affect the drilling process.
Consider the following factors:
- Lock Material: Is it made of steel, brass, or another material?
- Security Features: Are there any additional security components, such as anti-drill plates or pins?
- Keyway Design: What type of keyway does the lock have? This information will help you select the correct drill bit size.
- Lock Cylinder: Is the cylinder easily accessible or partially concealed?
Tools Required
Based on your assessment of the lock, you can compile a list of tools you will need for the drilling process. Some common tools include:

- Power drill
- Drill bits of different sizes
- Vise grips or clamp
- Protective goggles
- Work gloves
- Dust mask
- Drill lubricant
Precautions
It is crucial to take certain precautions when drilling a lock. These precautions will ensure your safety and prevent further damage to the door or surrounding areas. Some important precautions include:
- Wear protective gear, such as goggles, work gloves, and a dust mask.
- Secure the door in place using vise grips or a clamp to prevent it from moving during the drilling process.
- Work in a well-ventilated area to prevent inhaling dust or fumes.
- Apply lubricant to the drill bit periodically to reduce friction and prevent overheating.
Conclusion
Assessing the lock and understanding its mechanics is an essential step before drilling a locked door. It will help you choose the right tools, techniques, and precautions to use during the drilling process. By taking the time to assess the lock properly, you can increase your chances of a successful outcome.
Safety First: Precautions to Take
1. Wear Protective Gear
Before you begin drilling into a locked door, it is crucial to protect yourself with the necessary gear. This includes safety glasses to protect your eyes from any flying debris, as well as gloves to provide a barrier between your hands and the door. Additionally, wearing a dust mask can help protect you from inhaling any particles that may be released during the drilling process.
2. Choose the Right Drill Bits
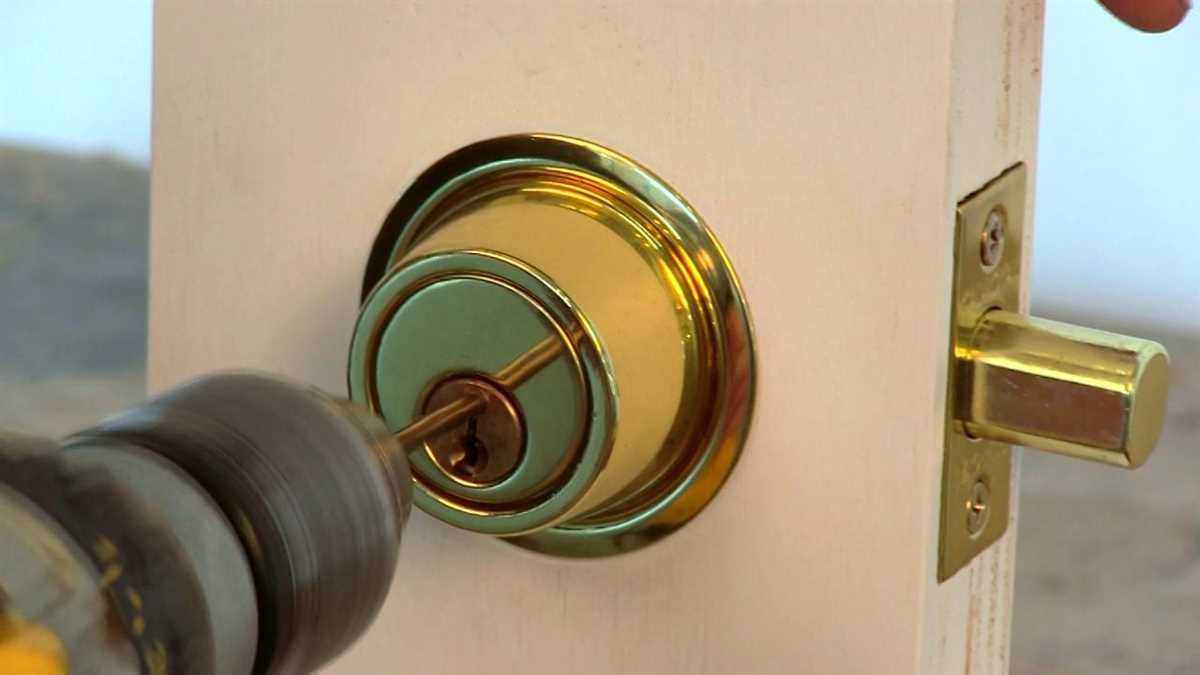
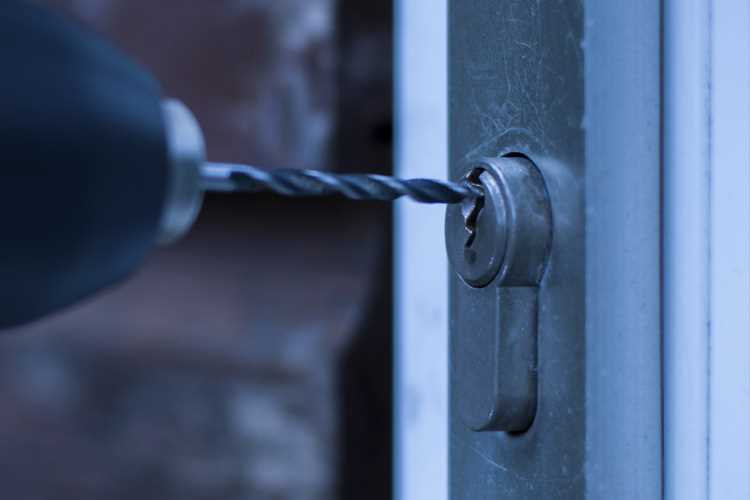
Selecting the appropriate drill bits is essential for safety. You should use a drill bit specifically designed for drilling into metal, as most locked doors are made of metal. Using the wrong type of drill bit can cause it to break or become stuck in the door, posing a safety risk. Make sure the chosen drill bits are sharp and in good condition.
3. Secure the Door

Before drilling, ensure that the door is stable and secure. It is recommended to have someone hold the door or use clamps to prevent it from moving during the drilling process. This will ensure that the drill does not slip and cause damage or injury.
4. Find the Right Location
Identify the most appropriate spot on the door to drill. Avoid drilling near any glass or weak points of the door, as this can be dangerous and may cause the door to shatter. It is best to aim for a solid area of the door, such as the lock or latch housing.
5. Clear the Surrounding Area
Before you begin drilling, clear the area around the door. Remove any objects or furniture that may obstruct your movement or cause accidents. By having a clear working space, you can minimize the risk of tripping or knocking over items while drilling.
6. Work in a Well-Ventilated Area
When drilling into a locked door, it is important to work in a well-ventilated area. The drilling process may release dust or fumes that can be harmful if inhaled in large quantities. If possible, open windows or use a fan to improve air circulation in the room.

7. Take Breaks and Stay Hydrated
Drilling can be physically demanding, so it’s essential to take regular breaks and stay hydrated. Pushing yourself too hard or becoming fatigued can increase the risk of accidents. Remember to listen to your body and take breaks as needed.
8. Follow Manufacturer’s Instructions
Always read and follow the manufacturer’s instructions for both the drill and the specific drill bit you are using. Each tool may have its own set of safety guidelines and recommended operating procedures. Ensure you are familiar with these instructions to prevent accidents and ensure optimal tool performance.
9. Keep Emergency Contacts Handy
In case of an emergency, it is important to have emergency contacts readily available. Store important phone numbers, such as those for the fire department, police, or a locksmith, in your phone or write them down in an easily accessible location.
10. Seek Professional Help if Unsure
If you are unsure or uncomfortable with drilling into a locked door, it is best to seek the assistance of a professional locksmith. They have the necessary skills and expertise to handle the job safely and efficiently. Attempting to drill a lock without proper knowledge may cause damage to the door or result in injury.
Marking the Spot: Identifying the Drilling Point
Before you begin drilling into a locked door, it is important to accurately identify the precise spot where you need to drill. This will ensure that you do not damage any vital components of the door and that your drilling is focused on the correct area.
Follow these steps to mark the drilling point:
- Examine the lock: Carefully assess the lock mechanism to determine the ideal spot for drilling. Look for any indentations or markings that indicate a suitable location.
- Consult the lock’s manual: If you have access to the lock’s manual or installation instructions, refer to it for guidance on where to drill. The manual should provide specific information on the drilling point.
- Measure and mark: Use a measuring tape or ruler to measure and mark the exact drilling point. Ensure that your markings are clear and easily visible.
- Avoid critical areas: Take note of any critical areas near the drilling point, such as wiring or other delicate components. Make sure to avoid drilling into these areas to prevent damage.
It is crucial to be precise when marking the drilling point to avoid unnecessary damage and ensure a successful drilling process. By following these steps, you can confidently proceed to the next stage of unlocking the locked door.
Choosing the Right Drill Bit: Match It to Your Door
When it comes to drilling a locked door, having the right drill bit is essential. Choosing the correct drill bit will ensure that the drilling process goes smoothly and doesn’t cause any damage to the door or its hardware. Here are some factors to consider when selecting a drill bit for your locked door.
1. Material of the Door
The material of the door plays a crucial role in determining the type of drill bit you should use. Different materials require different drill bits for optimal results. Here are some common materials and the corresponding recommended drill bits:
- Wooden door: For wooden doors, a standard multipurpose twist drill bit is usually sufficient. These bits are designed to cut through wood efficiently.
- Metal door: If you are dealing with a metal door, you will need a high-speed steel (HSS) or cobalt drill bit. These bits are specifically designed to drill through metal without getting damaged.
- Composite door: Composite doors are a combination of wood and other materials. For drilling through a composite door, you can use a multipurpose drill bit that is suitable for both wood and metal.
2. Door Hardware
Consider the hardware on the door when selecting a drill bit. If the door is equipped with a lock, handle, or hinges, make sure to choose a drill bit that can work around these fixtures. In some cases, you may need to remove the hardware before drilling or use a shorter drill bit to avoid damaging the fixtures.
3. Size of the Hole
Determine the size of the hole you need to create in the door. You want the hole to be just large enough to unlock the door but not so big that it weakens the door’s structure. Measure the lock cylinder or latch diameter to determine the appropriate drill bit size.
4. Drill Type
Consider the type of drill you will be using. Most household drills have a chuck that can accommodate various sizes of drill bits. However, if you are using a rotary hammer drill or a specialized drill, make sure to choose a drill bit that is compatible with your drill’s chuck type.
5. Safety Precautions
Lastly, always prioritize safety when choosing a drill bit. Wear protective eyewear and gloves to prevent any injuries. Follow the manufacturer’s recommendations for the specific drill bit you are using to ensure safe and efficient drilling.
| Door Material | Recommended Drill Bit |
|---|---|
| Wooden | Multipurpose twist drill bit |
| Metal | High-speed steel (HSS) or cobalt drill bit |
| Composite | Multipurpose drill bit |
Drilling: Making the First Hole
Introduction
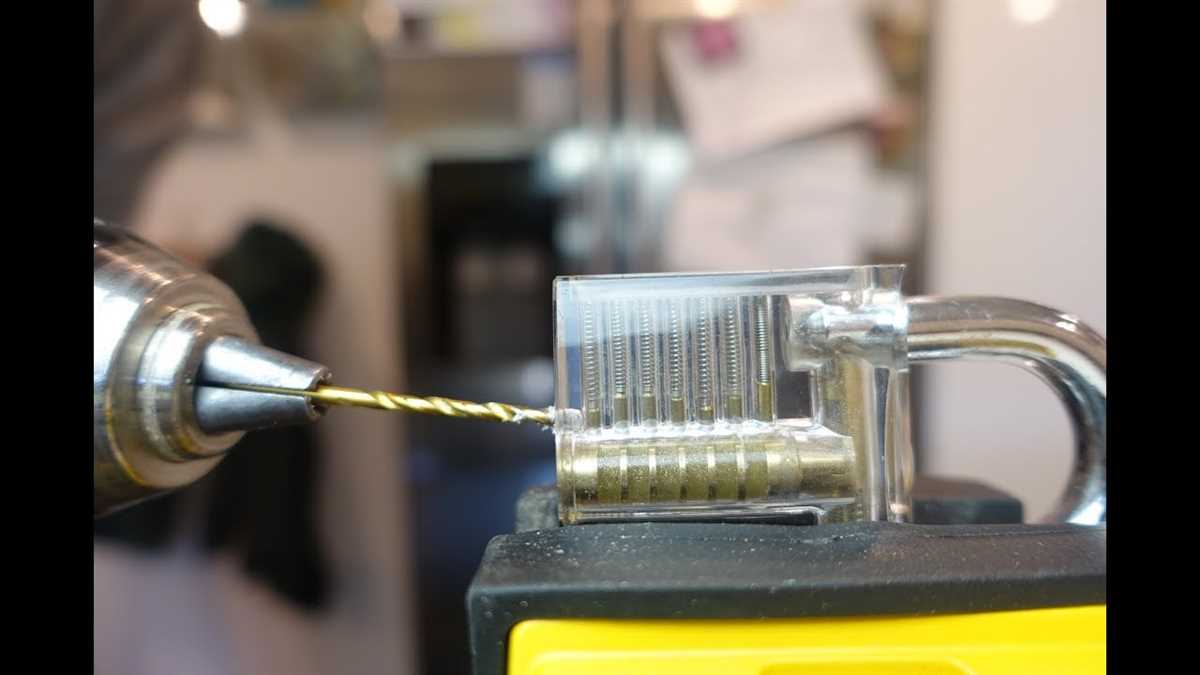
Drilling is an essential step when unlocking a locked door. It allows you to create a hole that will serve as the starting point for your unlocking process. In this section, we will discuss the steps you need to take to make the first hole and prepare for the next stages of door unlocking.
Materials
Before you begin drilling, gather the following materials:
- A drill
- A drill bit suitable for the type of material the door is made of
- A ruler or measuring tape
Step-by-step Guide
Follow these steps to make the first hole:
- First, ensure that the drill is securely plugged into a power source and that the drill bit is correctly inserted.
- Measure the desired location for the hole using a ruler or measuring tape. Mark the spot with a pencil to ensure accuracy.
- Put on safety goggles to protect your eyes from any debris or dust that may result from drilling.
- Hold the drill with a firm grip and align the drill bit with the marked spot on the door.
- Apply steady pressure on the drill while slowly turning it clockwise to create the hole. Avoid using excessive force, as it may damage the door or cause the drill bit to slip.
- Continue drilling until the pilot hole is complete.
Note: The size of the hole will depend on the type of lock you are dealing with. Refer to the lock’s instructions or consult a professional locksmith to determine the appropriate size for your hole.
Once the first hole is made, you are ready to proceed with the next steps in unlocking the locked door. Refer to the next section of this guide for further instructions.
Progressing: Enlarging the Hole and Breaking Through
Once you have successfully drilled a small pilot hole, it is time to move on to the next step: enlarging the hole and eventually breaking through the door. This step requires patience and precision, as you want to avoid damaging the surrounding area or the lock mechanism itself.
1. Choose the right drill bit
Before you begin enlarging the hole, make sure you have the right drill bit for the job. The drill bit should be slightly larger than the pilot hole you have already created, but not too large that it will cause unnecessary damage.
2. Mark the desired size of the hole
Using a pencil or marker, mark the desired size of the hole on the door. This will serve as a guideline for drilling and help you maintain accuracy throughout the process.
3. Begin drilling at a slow speed
Start drilling at a slow speed to prevent any sudden jerks or slips. Apply steady pressure and keep the drill bit centered on the marked area. Be patient and let the drill do the work, avoiding excessive force that may cause the bit to bind or break.
4. Keep the drill bit cool
Drilling can generate heat, so it’s important to keep the drill bit cool to prevent overheating and damage. You can do this by periodically applying a lubricant or cooling agent to the drill bit, or by simply taking short breaks to let the bit cool down.
5. Check your progress
While drilling, periodically check the size of the hole to ensure you are gradually enlarging it to the desired size. You can use a ruler or measuring tape to measure the diameter of the hole and make adjustments as necessary.
6. Break through the door
Once the hole is large enough, you may start to feel resistance from the lock mechanism. At this point, slow down your drilling speed and apply controlled pressure to break through the remaining material. Be careful not to force it too much, as this could cause damage to the door or the locking mechanism.
Remember to always wear appropriate safety gear, such as safety glasses and gloves, and take breaks as needed to prevent fatigue.
Opening the Door: Widening the Hole and Gaining Access
Step 1: Prepare the Necessary Tools
Gather the following tools before proceeding:
- Power drill
- Drill bits in various sizes
- Screwdriver
- Chisel
- Hammer
- Lubricant
- Dust mask and safety goggles
Step 2: Remove the Door Handle and Lock Mechanism
Using a screwdriver, remove the screws on the door handle and lock mechanism. Take note of any connecting rods or plates that may need to be disconnected as well.
Step 3: Widening the Existing Hole
Start with a smaller drill bit and drill into the existing hole. Gradually increase the size of the drill bit until you reach a size slightly larger than the drill bit used to create the initial hole.
Ensure that you drill straight and perpendicular to the door surface to avoid damaging the door or misaligning the hole.
Step 4: Smooth Out the Hole
Use a chisel to remove any rough edges or excess wood from the hole. Take care not to remove too much material, as this may weaken the door. Use gentle taps with a hammer, and proceed slowly to achieve the desired smoothness.
Step 5: Lubricate the Lock Mechanism
Apply lubricant to the lock mechanism to ensure smooth operation. This will also help reduce friction when unlocking the door.
Step 6: Test the Lock Mechanism
Reassemble the door handle and lock mechanism, following the manufacturer’s instructions. Test the lock by turning the knob or lever to ensure it functions properly.
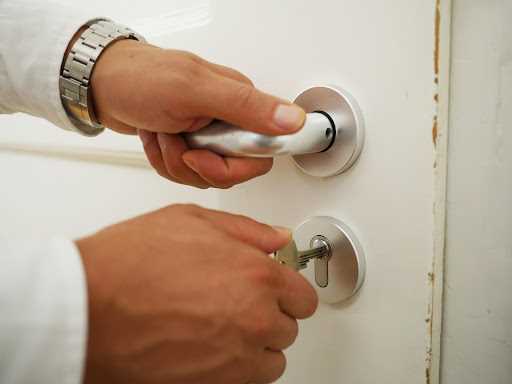
Step 7: Gain Access to the Locked Space
With the door handle and lock mechanism in place, insert the key into the lock and attempt to unlock the door. If all steps were completed correctly, the door should now open easily, allowing access to the previously locked space.
Remember, it is important to exercise caution and prioritize safety when drilling into a locked door. If you are unsure of your ability to complete this process, or if the lock is highly complex, it is recommended to seek the assistance of a professional locksmith.
FAQ:
What do I do if I accidentally lock myself out of a room?
If you accidentally lock yourself out of a room, one option is to try using a credit card or a similar thin, flexible object to slide between the door and the door frame, in order to push the latch back and unlock the door. Another option is to call a locksmith for assistance.
Is drilling a lock the only way to unlock a locked door?
No, drilling a lock should typically be a last resort as it can damage the lock and door. There are usually other methods that can be tried first, such as using a credit card or hairpin to manipulate the lock, calling a locksmith, or trying to pick the lock with a lock pick set.
How do I know if drilling a lock is necessary?
Drilling a lock should only be considered as a last resort if all other methods have failed, or if there is an emergency situation where immediate access is required.
What tools and materials do I need to drill a lock?
To drill a lock, you will need a power drill, a drill bit specifically designed for drilling into metal, a screwdriver or wrench to remove the lock screws, a replacement lock cylinder, and possibly some lubricant or graphite powder.
Video:

How to pickle walnuts

Meet Harrison Clayton, a distinguished author and home remodeling enthusiast whose expertise in the realm of renovation is second to none. With a passion for transforming houses into inviting homes, Harrison's writing at https://thehuts-eastbourne.co.uk/ brings a breath of fresh inspiration to the world of home improvement. Whether you're looking to revamp a small corner of your abode or embark on a complete home transformation, Harrison's articles provide the essential expertise and creative flair to turn your visions into reality. So, dive into the captivating world of home remodeling with Harrison Clayton and unlock the full potential of your living space with every word he writes.


