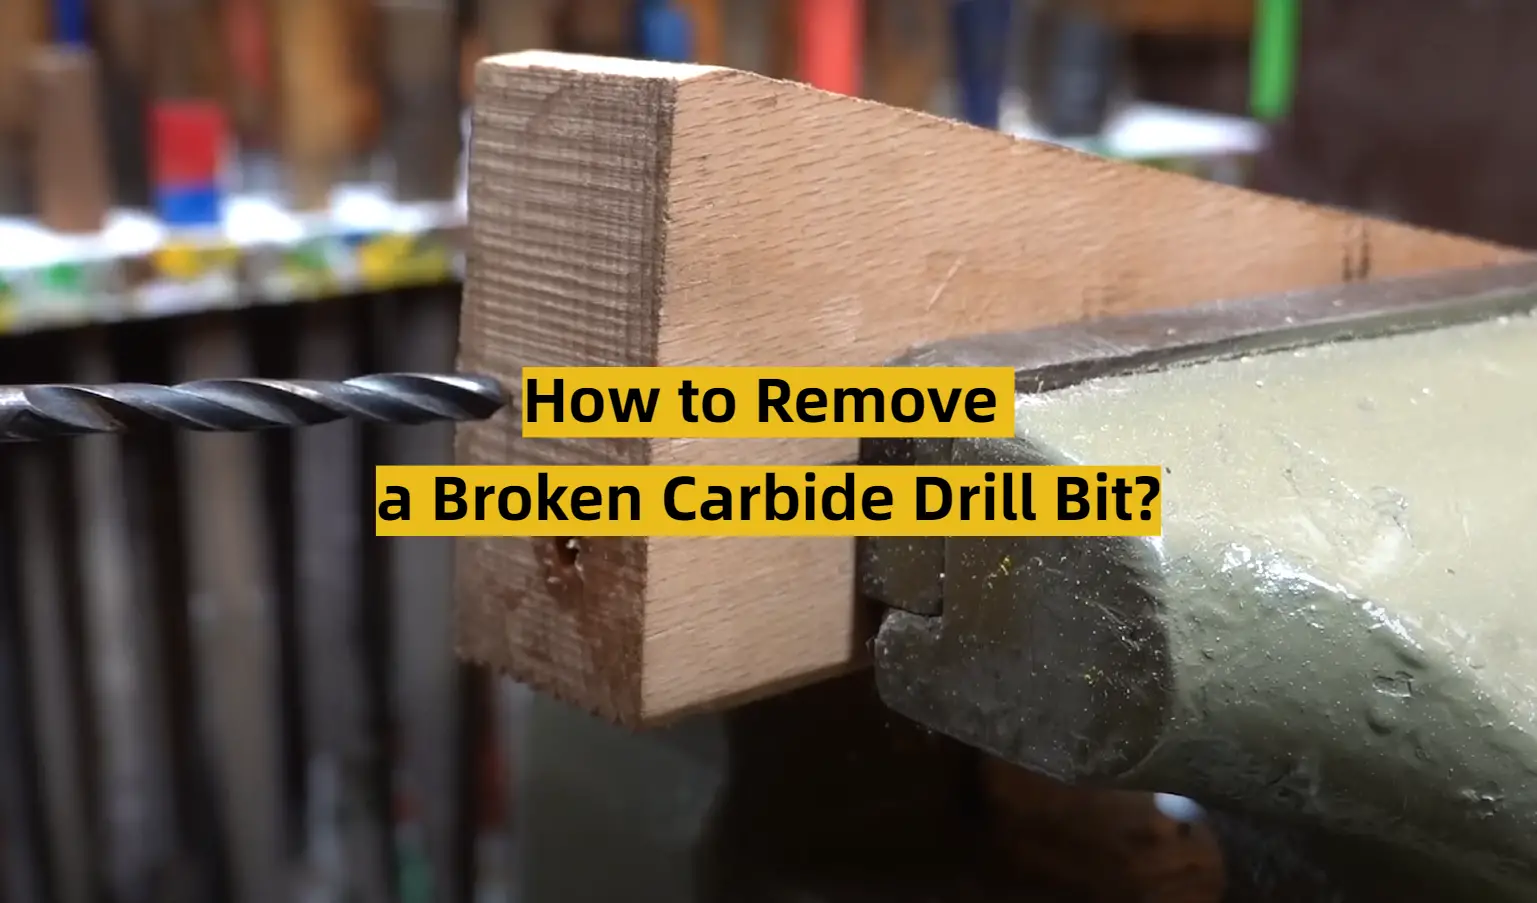
Removing a Broken Drill Bit from Metal: Tips and Tricks

Drilling into metal can be a challenging task, and sometimes, despite our best efforts, a drill bit can break off inside the material. When this happens, it is essential to know the right techniques to remove the broken drill bit without causing further damage to the metal.
Here are some tips and tricks to help you remove a broken drill bit from metal:
1. Assess the Situation: Before attempting to remove the broken drill bit, take a moment to evaluate the situation. Determine how deep the drill bit is lodged in the metal and what tools or methods you have at your disposal to remove it.
2. Use Lubrication: Applying lubrication, such as penetrating oil or cutting fluid, around the broken drill bit can help loosen it and make the removal process easier. Let the lubricant sit for a few hours or overnight to ensure it seeps into the crevices around the broken drill bit.
3. Try Reverse Drilling: If the broken drill bit has a portion protruding from the metal, try using a left-handed drill bit to drill in reverse. The counterclockwise motion of the left-handed drill bit can sometimes catch onto the broken drill bit and unscrew it from the metal.
Remember, patience is key when removing a broken drill bit from metal. Rushing the process or using excessive force can lead to further damage to the material or injury. If you are unsure about removing the broken drill bit yourself, it’s always best to seek professional assistance.
By following these tips and tricks, you can increase your chances of successfully removing a broken drill bit from metal and continue with your project.
Tips for Removing a Broken Drill Bit from Metal
1. Assess the situation
Before attempting to remove a broken drill bit from metal, it’s important to assess the situation and determine the best approach. Consider the size and depth of the broken bit, the type of metal it is stuck in, and any other factors that may affect the removal process.

2. Use lubrication
Applying a lubricant to the broken drill bit can help loosen it and make it easier to remove. Spray a penetrating oil, such as WD-40, directly onto the broken bit and allow it to sit for a few minutes. This will help to reduce friction and make the extraction process smoother.
3. Choose the right tools
Having the right tools can make a big difference when it comes to removing a broken drill bit from metal. Consider using a pair of needle-nose pliers or forceps to grip the broken bit and pull it out. If the bit is deeply embedded, you may need to use a screw extractor tool or a left-handed drill bit to remove it.
4. Apply heat
If the broken drill bit is stuck in stubbornly, applying heat can help loosen it. Use a heat source, such as a blowtorch or heat gun, to warm up the surrounding metal. Be careful not to overheat the metal or cause any damage. Once the metal is heated, attempt to remove the broken bit using the chosen extraction method.

5. Use a tap and die set
If the broken drill bit has left threads in the metal, a tap and die set can be used to remove them. Select a tap from the set that matches the size and pitch of the broken bit’s threads. Use the tap to cut new threads into the metal, then remove the remaining piece of the broken bit using the tap or other extraction method.
6. Seek professional assistance if necessary
If all else fails, it may be necessary to seek professional assistance to remove a broken drill bit from metal. A professional locksmith, metalworker, or machinist will have the knowledge, experience, and specialized tools needed to safely and effectively remove the broken bit without causing further damage.
Remember, patience and caution are key when attempting to remove a broken drill bit from metal. Take your time, use the appropriate tools and methods, and don’t hesitate to seek help if needed. With the right approach, you’ll soon have the broken bit removed and your project back on track.
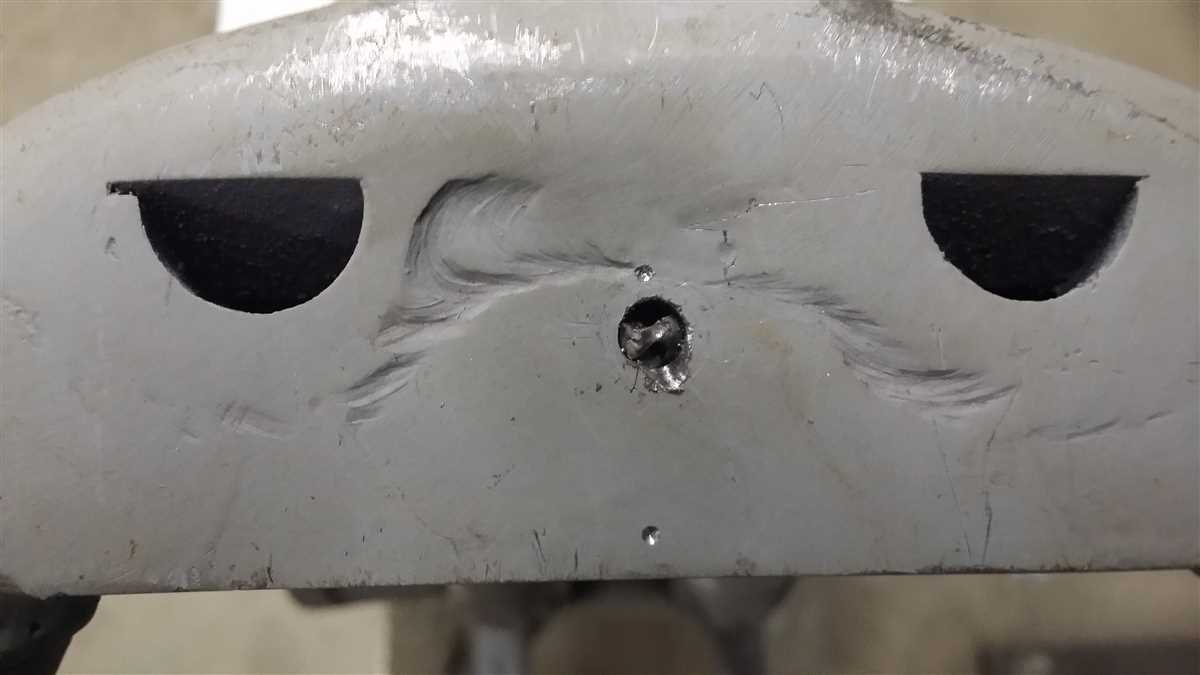
Assess the Situation
Before attempting to remove a broken drill bit from metal, it is important to assess the situation and evaluate the condition of the broken bit. This will help determine the best course of action to follow for removal.

Inspect the broken bit:
- Check if the bit is fully broken or partially stuck in the metal.
- Look for any signs of damage or deformation on the bit.
Identify the type of metal:
- Different types of metal may require different techniques for removal.
- Some metals are softer and easier to work with, while others are harder and may require specialized tools.
Consider the location of the broken bit:
- Are there any obstacles or obstructions around the broken bit that may hinder the removal process?
- Take into account the accessibility of the broken bit and whether it can be easily reached for removal.
Assess your own skills and tools:
- Consider your own experience and expertise in removing broken drill bits from metal.
- Evaluate the tools available to you and determine if they are suitable for the task.
By carefully assessing the situation, you can better plan the appropriate steps to take in order to remove the broken drill bit from the metal effectively and safely.

Gather the Necessary Tools
- Needle-nose pliers
- Drill press (optional)
- Center punch
- Hammer
- Drill bits (of various sizes)
- Cutting oil or lubricant
- Safety goggles
- Gloves
- Ruler or measuring tape
Before attempting to remove a broken drill bit from metal, it is important to gather all the necessary tools. These tools will help you safely and effectively remove the broken drill bit without causing further damage to the metal surface.
The primary tool you will need is a pair of needle-nose pliers. These pliers will allow you to grip the broken drill bit and apply the necessary force to remove it. Additionally, a drill press can be helpful if you have access to one, as it can provide more stability and control during the removal process.
Other tools you will need include a center punch and hammer. These tools will be used to create a small indentation in the broken drill bit, which will help to guide the drill bit during the removal process. It is important to use a center punch rather than a regular nail or other sharp object, as a center punch is specifically designed for this purpose.
In addition to the above tools, you will also need a selection of drill bits of various sizes. These drill bits will be used to create a pilot hole in the broken drill bit, which will aid in its removal. It is important to have a range of sizes available, as the size of the broken drill bit will dictate which drill bit is most suitable for this purpose.
To make the removal process easier and safer, it is recommended to use a cutting oil or lubricant. This will help to reduce friction and heat, making it easier to remove the broken drill bit without damaging the surrounding metal.

Lastly, it is important to ensure that you have safety goggles and gloves on hand. These protective measures will help to prevent any potential injuries during the removal process. Additionally, a ruler or measuring tape may be useful for measuring the depth of the broken drill bit or the size of the pilot hole.
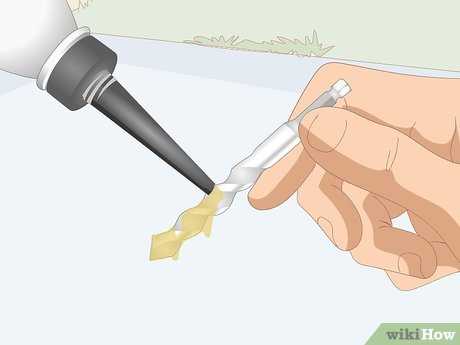
Apply Lubricant
Applying a lubricant to the broken drill bit can help loosen it from the metal, making it easier to remove. There are several types of lubricants that can be used for this purpose, including penetrating oils, such as WD-40, or a general-purpose lubricant, like silicone spray. It is important to choose a lubricant that is appropriate for the specific type of metal and drilling situation.
Here are some steps to apply lubricant to the broken drill bit:
- Clean the area around the broken drill bit to remove any dirt or debris that could interfere with the lubricant.
- Shake the lubricant well to ensure it is thoroughly mixed.
- Spray or apply the lubricant directly onto the broken drill bit.
- Allow the lubricant to penetrate the area for a few minutes. This will help to loosen any rust or corrosion that may be binding the broken drill bit.
- Use a pair of pliers or a wrench to gently twist and pull the broken drill bit out of the metal. If it is still stuck, repeat the process of applying lubricant and waiting a few minutes before attempting to remove it again.
Remember to always use caution when working with lubricants and broken drill bits. Wear appropriate safety gear, such as gloves and eye protection, and follow the manufacturer’s instructions for the specific lubricant being used.
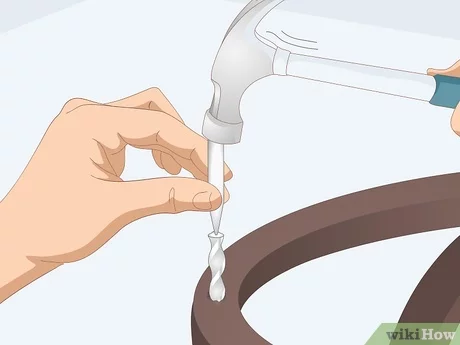
Use a Center Punch
A center punch is a tool that can help you remove a broken drill bit from metal. This technique is especially useful if the broken bit is stuck tight and cannot be easily pulled out.
Instructions:
- Start by positioning the center punch directly on top of the broken drill bit.
- Apply steady and firm pressure with a hammer to create a small indentation in the center of the broken drill bit.
- This indentation will allow the center punch to grip the broken bit and provide leverage for removal.
- Once the indentation is created, place the center punch slightly at an angle and tap it gently with a hammer in a counterclockwise direction.
- The counterclockwise force will help to loosen and release the broken drill bit from the metal.
- If necessary, repeat the process by applying more pressure or tapping the center punch at different angles.
Using a center punch can be an effective method for removing a broken drill bit from metal, especially when other methods are not successful. However, be cautious and always wear eye protection when using this technique.
Tips:
- Choose a center punch with a point that matches the size of the broken drill bit for a better grip.
- Apply a lubricant, such as penetrating oil, to help loosen the broken drill bit before using the center punch.
- If the broken drill bit is extremely stubborn, you may need to use a larger center punch or seek professional help.
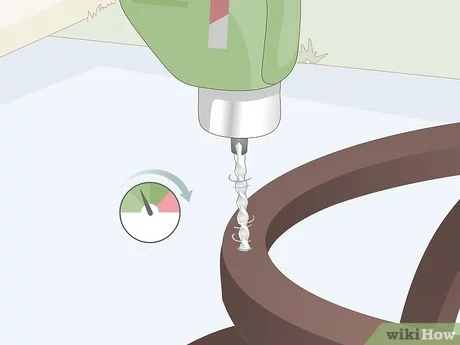
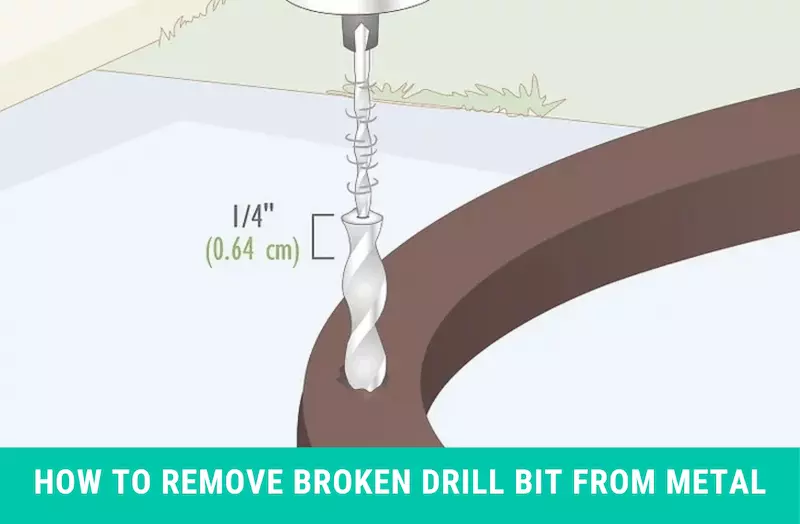
Drill in Reverse
Using the reverse function on your drill can be an effective and safe way to remove a broken drill bit from metal. This technique is particularly useful when the drill bit is stuck and cannot be unscrewed using conventional methods.
To drill in reverse, follow these steps:
- Ensure the drill is in reverse mode. Most drills have a switch that allows you to change between forward and reverse.
- Secure the metal piece that contains the broken drill bit. You can use clamps or a vice to hold it steady.
- Place the drill bit directly on the broken piece, aligning it with the hole.
- Apply steady pressure as you slowly drill in reverse. The goal is to create enough friction to loosen the broken drill bit.
- If the drill bit is still stuck, try applying some lubricant or penetrating oil to help loosen the grip.
- Once the broken drill bit starts to move, continue drilling until it comes out completely.
- Inspect the hole to make sure no remnants of the broken drill bit remain. If necessary, use a pair of pliers or tweezers to remove any remaining pieces.
Remember to always wear appropriate safety gear, such as safety glasses and gloves, when working with tools and metals. It is also important to use the correct drill bit for the material you are working with and to use a drill that is appropriate for the job.
Use a Screw Extractor
If the broken drill bit is stuck firmly in the metal and other methods have failed, using a screw extractor might be your best option. A screw extractor is a special tool designed to grip onto the broken drill bit and remove it from the metal.
Here are the steps to use a screw extractor:
- Choose the right size screw extractor for your broken drill bit. Screw extractors come in different sizes, so make sure to select one that fits the diameter of your broken drill bit.
- Attach the screw extractor to a drill. Screw extractors are typically used with a power drill, so attach it securely to the chuck of your drill.
- Drill into the broken drill bit. Place the tip of the screw extractor onto the broken drill bit and start drilling slowly in reverse. Apply gentle pressure and increase the speed of the drill gradually.
- Grip the broken drill bit. As you drill into the broken drill bit, the flutes on the screw extractor will start to bite into the metal, providing grip. Continue drilling until the screw extractor has a firm grip on the broken drill bit.
- Remove the broken drill bit. Once the screw extractor has a secure grip, switch the drill to forward motion and slowly pull the broken drill bit out of the metal. If necessary, you can use pliers or a wrench to help twist and remove the broken drill bit.
Using a screw extractor can be an effective method to remove a broken drill bit from metal. However, it requires careful handling of the power drill and appropriate selection of the screw extractor size. If you’re unsure or uncomfortable with using a screw extractor, it’s best to seek professional assistance.
Heat the Metal
Another method to remove a broken drill bit from metal is to heat the metal. This technique works by expanding the metal around the broken drill bit, allowing for easier removal.
Here’s how to do it:
- Choose a heat source such as a propane torch or a heat gun.
- Make sure to wear appropriate safety gear, including heat-resistant gloves and safety glasses.
- Heat the area surrounding the broken drill bit for a few minutes, focusing the heat directly on the metal.
- Once the metal is hot and expanded, quickly cool it down by spraying it with cold water or using compressed air.
- This sudden contraction after the expansion can loosen the grip of the broken drill bit on the metal.
After heating the metal, you can now try removing the broken drill bit using pliers or a screw extractor tool.
Keep in mind that this method may not work for all types of metals, as some metals may be more resistant to heat expansion. Additionally, always exercise caution when working with heat sources and ensure proper ventilation in your work area.
Seek Professional Help if Necessary
If you have tried all the techniques mentioned above and still cannot remove the broken drill bit, it may be time to seek professional help. Removing a broken drill bit from metal can be a difficult and delicate process, especially if you do not have the right tools and experience.
A professional locksmith or a metal worker who specializes in this type of work will have the necessary tools and expertise to safely remove the broken drill bit without causing further damage to the metal surface. They also have access to specialized equipment like reverse drill bits or extraction kits that can effectively remove the broken piece.
While it may cost you some money to hire a professional, it is worth it to avoid causing additional damage or injury to yourself. Additionally, professionals can often complete the task more quickly and efficiently than attempting to do it yourself.
If you are unsure about how to find a professional who can help you with this issue, you can ask for recommendations from friends or family or search online for locksmiths or metal workers in your area. Be sure to check their credentials and reviews before hiring someone.
Remember, it is always better to seek professional help if you are unsure about how to safely remove a broken drill bit from metal. This will ensure that the job is done correctly and without any unnecessary risks.
FAQ:
What should I do if my drill bit got stuck in metal?
If your drill bit got stuck in metal, you can try a few methods to remove it. First, you can try using pliers or a pair of vice grips to grip the broken drill bit and twist it out. If that doesn’t work, you can try tapping the broken end of the drill bit with a hammer to loosen it. You can also try using a drill bit extractor or a reverse drill bit to remove the broken piece.
Is it possible to remove a broken drill bit without damaging the metal?
Yes, it is possible to remove a broken drill bit without damaging the metal. Using the right tools and techniques, such as using pliers or a drill bit extractor, you can safely remove the broken piece without causing any further damage to the metal surface.
What are some common mistakes to avoid when trying to remove a broken drill bit from metal?
When trying to remove a broken drill bit from metal, there are some common mistakes that you should avoid. One mistake is using excessive force, as this can cause the drill bit to break further or damage the metal. Another mistake is not using the right tools or techniques, which can make the removal process more difficult. Additionally, rushing through the removal process without taking proper precautions can lead to accidents or injuries.
Can I use lubricant to help remove a broken drill bit?
Yes, using lubricant can help make the process of removing a broken drill bit easier. Applying a lubricant, such as oil or WD-40, to the area around the broken drill bit can help loosen it and reduce friction. This can make it easier to twist or extract the broken piece from the metal.
What should I do if none of the methods work to remove the broken drill bit?
If none of the methods you’ve tried work to remove the broken drill bit, it may be best to seek professional help. A professional can use specialized tools and techniques to safely remove the broken piece without causing any further damage. They will have the experience and expertise to handle the situation effectively.
Are there any preventive measures I can take to avoid breaking a drill bit in metal?
Yes, there are preventive measures you can take to avoid breaking a drill bit in metal. First, make sure to use the appropriate drill bit for the material you are working with. Using a dull or incorrect drill bit can increase the chances of it breaking. Secondly, apply consistent pressure when drilling and avoid forcing the drill bit. Lastly, take breaks during drilling to prevent overheating, as this can weaken the drill bit and increase the chances of it breaking.
Video:


Meet Harrison Clayton, a distinguished author and home remodeling enthusiast whose expertise in the realm of renovation is second to none. With a passion for transforming houses into inviting homes, Harrison's writing at https://thehuts-eastbourne.co.uk/ brings a breath of fresh inspiration to the world of home improvement. Whether you're looking to revamp a small corner of your abode or embark on a complete home transformation, Harrison's articles provide the essential expertise and creative flair to turn your visions into reality. So, dive into the captivating world of home remodeling with Harrison Clayton and unlock the full potential of your living space with every word he writes.


