How to Turn Off the Light on a DeWalt Drill

If you own a DeWalt drill with a built-in light, you may have found yourself wondering how to turn off the light when it’s not needed. The light on a DeWalt drill can be a useful feature, providing illumination in dark workspaces or when working in low light conditions. However, there may be situations where you want to conserve battery power or simply prefer to work without the extra light. In this article, we will explore different methods to turn off the light on a DeWalt drill.
Method 1: Adjusting the Trigger
One way to turn off the light on a DeWalt drill is by adjusting the trigger sensitivity. Some DeWalt drills have a variable speed trigger that also controls the light. By pressing the trigger halfway instead of fully, you can disengage the light while still maintaining control over the drilling speed. This method allows you to quickly turn off the light without having to adjust any settings.
Method 2: Using the Power Switch
Another method to turn off the light on a DeWalt drill is by using the power switch. Most DeWalt drills have a power switch located near the battery pack or on the handle. Simply switch it to the off position to disable the light. This method ensures that the light remains off until you manually switch it back on, regardless of the trigger position.

Method 3: Removing the Battery
If you want to completely turn off the light on a DeWalt drill and conserve battery power, you can remove the battery. This method should only be used when the drill is not in use or when you don’t need to use it for an extended period. Removing the battery will not only turn off the light but also prevent accidentally triggering the drill. Remember to always follow proper safety procedures when handling power tools.
Before attempting any of the methods mentioned above, consult the user manual or manufacturer’s instructions for your specific DeWalt drill model. The process for turning off the light may vary depending on the drill’s design and features. It’s important to understand the tool’s functionality to ensure safe operation.
In conclusion, whether you need to conserve battery power or simply prefer to work without the extra light, there are different methods available to turn off the light on a DeWalt drill. By adjusting the trigger sensitivity, using the power switch, or removing the battery, you can disable the light according to your specific needs. Always refer to the user manual for detailed instructions and ensure your own safety when operating power tools.
Locate the Light Switch

Turning off the light on a DeWalt drill is a simple process. The first step is to locate the light switch, which is usually located near the front of the drill. The switch is typically marked with a light bulb icon, making it easy to identify. Here are a few easy steps to help you find the light switch:

- Start by inspecting the front of the drill. Look for any buttons or switches that are not directly related to the drill’s power or speed controls.
- If you don’t see a separate switch, check the drill’s manual or look up the model online for specific instructions on how to turn off the light.
- Alternatively, if your drill has a built-in LED light, it may turn off automatically a few seconds after releasing the trigger. In this case, there may not be a dedicated light switch.
Once you have located the light switch, you will be able to easily turn off the light on your DeWalt drill. This can help conserve battery life or prevent the light from accidentally turning on during use.
Understand the Light Functionality
The light functionality on a DeWalt drill is designed to provide illumination in dark work areas. This feature can be extremely useful when working in poorly lit spaces or when completing tasks that require precision. Understanding how the light functionality works will allow you to maximize its benefits and ensure that you have a clear view of your work area.
Here are a few key points to help you understand the light functionality on your DeWalt drill:
- Activation: The light on your DeWalt drill is typically activated when you pull the trigger to start the drill. This means that as soon as you start drilling, the light will automatically turn on. This feature is designed for convenience and allows you to have immediate illumination as you begin your work.
- Duration: The light on your drill usually stays illuminated for a few seconds after you release the trigger. This ensures that you have enough time to safely remove the drill bit or assess your work before the light turns off.
- Adjustability: Some DeWalt drills offer the ability to adjust the brightness of the light. This can be particularly useful when working in extremely dark or bright conditions. Being able to customize the brightness allows you to tailor the lighting to your specific needs.
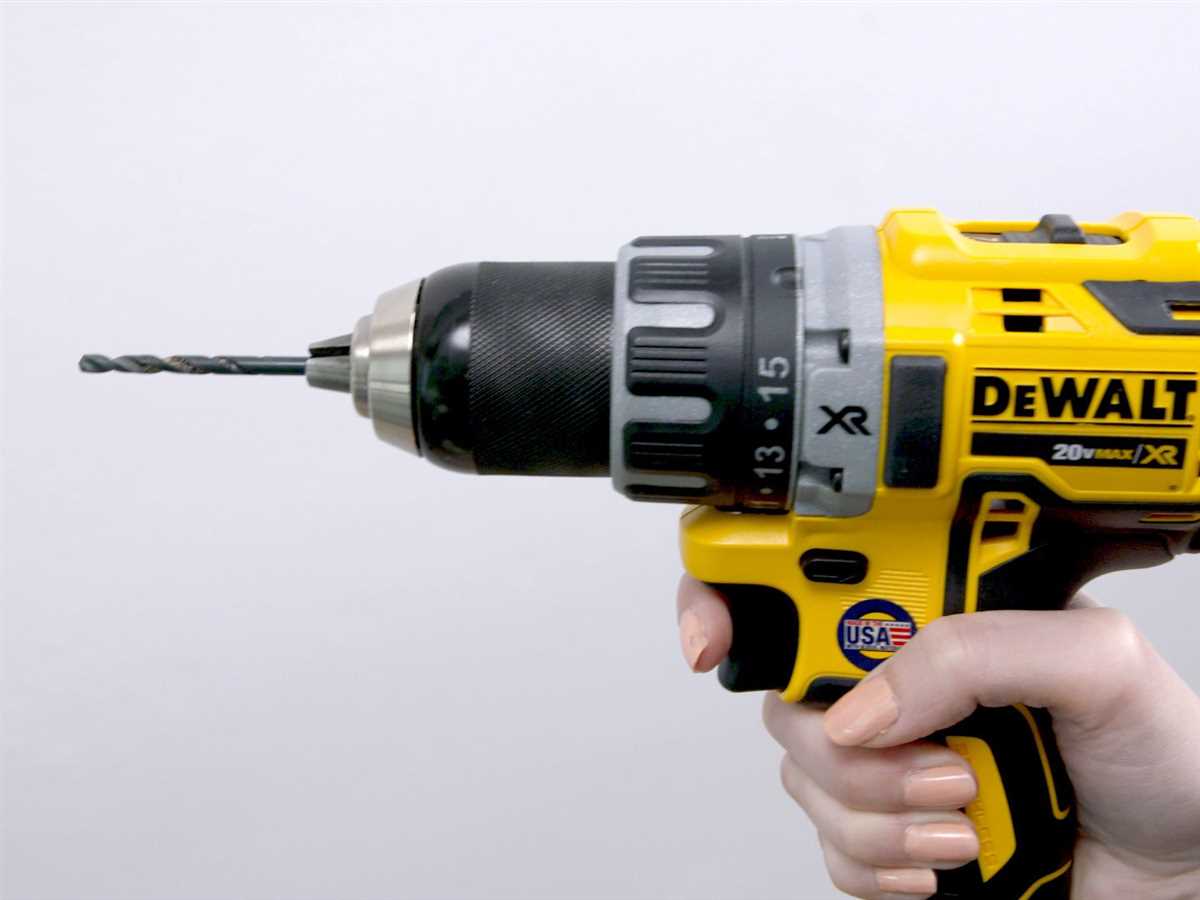
- Placement: The light is typically positioned near the drill chuck, which ensures that it shines directly onto the work area. This placement allows for optimal visibility and ensures that the light is focused on the area where you need it the most.
- Battery Life: It’s important to note that using the light functionality on your DeWalt drill may drain the battery slightly faster. However, the impact on battery life is minimal and should not significantly affect your work. If you’re concerned about battery usage, it’s always a good idea to have an extra fully charged battery on hand.
By understanding how the light functionality works on your DeWalt drill, you can take full advantage of this feature and work more efficiently in various lighting conditions. Whether you’re working in a dimly lit room or in a poorly lit corner of a construction site, the light on your DeWalt drill will provide you with the visibility you need to complete your tasks with precision.

Power Off the Drill
When you are finished using your DeWalt drill, it is important to power it off properly to preserve the battery life and prevent any accidental operation. Here are the steps to power off the drill:
- Release the trigger: Take your finger off the trigger to stop the drill from rotating and prevent any accidental start.
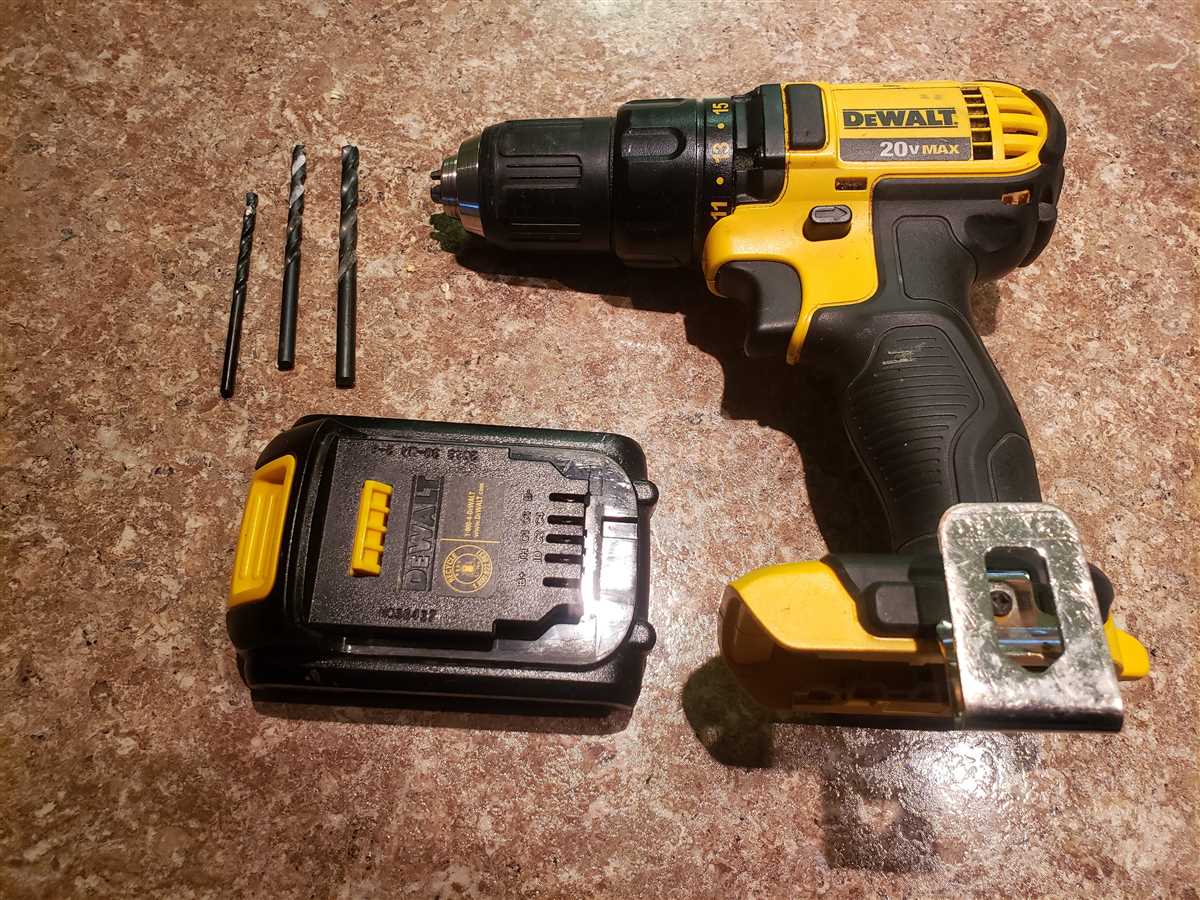
- Disconnect the power source: If your drill is corded, unplug it from the power outlet. If your drill is battery-powered, remove the battery pack from the drill.
- Place the drill in a safe location: Once you have powered off the drill, store it in a secure and dry place. This will help protect it from damage and ensure it is ready for the next use.
Following these steps will help you properly power off your DeWalt drill and ensure its longevity. Always remember to handle power tools with care and follow the manufacturer’s instructions for safe operation.
Access the Settings
To turn off the light on a DeWalt drill, you will need to access the settings of the drill. Here are the steps to do so:
- Locate the power button or switch on the drill. This is usually located near the handle or trigger of the drill.
- Turn the drill on by pressing the power button or flipping the switch. The drill should start running.
- Look for a small button or icon on the drill that represents the settings menu. This may be labeled as “Settings” or have an icon that looks like a gear or a wrench.
- Press the settings button or icon to access the settings menu.
- Use the up and down buttons or the scroll wheel on the drill to navigate through the settings menu.
- Look for an option in the settings menu that allows you to control the light or flashlight feature of the drill.
- Select the option to turn off the light. The option may be labeled as “Light,” “Flashlight,” or something similar.
- Once you have selected the option to turn off the light, exit the settings menu by pressing the settings button again or by following the on-screen instructions.
After following these steps, the light on your DeWalt drill should be turned off. Keep in mind that the exact steps may vary depending on the model of your drill, so refer to the user manual for more specific instructions if needed.

Disable the Light
Turning off the LED light on your DeWalt drill can help conserve battery power and reduce distractions during your work. Here are a few steps to follow to disable the light:
- Make sure the drill is turned off and unplugged from any power source.
- Locate the LED light on your DeWalt drill. It is usually located near the front of the drill, above the battery pack.
- Using a small screwdriver or similar tool, carefully remove the screws holding the LED light cover in place.
- Once the cover is removed, you should see the wires connected to the LED light. Use caution when working with the wires.
- Locate the positive wire, which is usually red or marked with a “+”. Carefully disconnect it from the LED light.
- Reattach the cover to the LED light and secure it with the screws.
By disconnecting the positive wire, the LED light will no longer receive power and should remain off. It is important to note that modifying or tampering with your DeWalt drill may void any warranties, so proceed with caution.
If you wish to re-enable the LED light in the future, simply follow these steps in reverse, reconnecting the positive wire to restore power to the light.
Test the Light Function

Before attempting to turn off the light on your DeWalt drill, it’s important to first test the light function to ensure that it is working properly. Follow these steps to test the light function:
- Make sure your DeWalt drill is fully charged or has a charged battery attached.
- Locate the light switch on your DeWalt drill. It is typically located near the trigger or on the handle of the drill.
- Turn on the DeWalt drill by pressing the power button.
- Press and hold the light switch to activate the light function.
- Check to see if the light on the drill illuminates. The light should be bright and provide adequate visibility in dark areas.
If the light does not turn on or is dim, there may be an issue with the light function on your DeWalt drill. In this case, you may need to consult the drill’s manual or contact DeWalt customer support for assistance in troubleshooting and fixing the issue.
Re-enable the Light
If you accidentally turned off the light on your DeWalt drill and want to re-enable it, you can follow these simple steps:
- Switch off the drill by pressing the power button.
- Locate the light switch on the drill. It is usually located near the trigger or on the handle.
- Slide the light switch to the “On” position. This will enable the light on your drill.
- Turn on the drill by pressing the power button.
Once you have followed these steps, the light on your DeWalt drill should be re-enabled. You can now use it to illuminate your work area and enhance your visibility while drilling.
FAQ:
What is the purpose of the light on a DeWalt drill?
The light on a DeWalt drill is designed to provide illumination in dimly lit areas, allowing users to see more clearly while they are drilling or performing other tasks.

How do I turn off the light on my DeWalt drill?
To turn off the light on a DeWalt drill, you can simply press the power button once. This will deactivate the light and it will no longer illuminate.
Can I adjust the brightness of the light on my DeWalt drill?
No, the light on a DeWalt drill does not have adjustable brightness settings. It is either on or off.
Is the light on a DeWalt drill always on when the drill is in use?
No, the light on a DeWalt drill is not always on when the drill is in use. It can be turned on and off manually by pressing the power button.
Can I use the light on my DeWalt drill as a flashlight?
The light on a DeWalt drill is not intended to be used as a flashlight. It is specifically designed to provide illumination while using the drill, and may not be as bright or focused as a dedicated flashlight.
Why would I want to turn off the light on my DeWalt drill?
There may be situations where you do not need the extra light provided by the drill, such as when working in a well-lit area. Turning off the light can help conserve battery power and extend the runtime of your drill.

Video:

Meet Harrison Clayton, a distinguished author and home remodeling enthusiast whose expertise in the realm of renovation is second to none. With a passion for transforming houses into inviting homes, Harrison's writing at https://thehuts-eastbourne.co.uk/ brings a breath of fresh inspiration to the world of home improvement. Whether you're looking to revamp a small corner of your abode or embark on a complete home transformation, Harrison's articles provide the essential expertise and creative flair to turn your visions into reality. So, dive into the captivating world of home remodeling with Harrison Clayton and unlock the full potential of your living space with every word he writes.


