Steps to Successfully Utilize a Paint Sprayer with an Air Compressor

When it comes to painting large surfaces, a paint sprayer with an air compressor can be a game-changer. This powerful tool combination allows for efficient and even coverage, saving both time and effort. However, to ensure successful utilization of a paint sprayer with an air compressor, it is important to follow a few key steps.
First and foremost, proper preparation is crucial. Before beginning any painting project, it is essential to clean the surface that will be painted. Any dirt, grease, or loose paint should be removed to ensure a smooth and long-lasting finish. Additionally, masking off any areas that do not need to be painted, such as trim or windows, will help prevent overspray and ensure a professional-looking result.
Next, choosing the right type of paint and diluting it correctly is essential for optimal results. Different paints have different viscosity levels, so it is important to read the manufacturer’s instructions and adjust the paint accordingly. Diluting the paint too much can result in uneven coverage, while not diluting it enough can lead to clogs in the sprayer. Finding the right balance is key.
Once the paint is prepared, it is time to set up the paint sprayer and air compressor. Carefully read the user manual for both tools to ensure proper assembly and safe operation. It is important to check the air compressor’s pressure and adjust it as necessary to achieve the desired spray pattern and coverage. Additionally, testing the spray pattern on a piece of scrap material before starting the actual painting will help fine-tune the settings and avoid any surprises during the project.
Finally, when using a paint sprayer with an air compressor, proper technique is crucial for a professional-looking finish. Holding the sprayer at the right distance from the surface and moving it in a smooth, continuous motion will help achieve even coverage and avoid drips or runs. Overlapping each pass by about 50% will ensure consistent results. Taking breaks between coats and allowing ample drying time will help achieve a durable and long-lasting finish.

In conclusion, utilizing a paint sprayer with an air compressor can greatly simplify and expedite large painting projects. However, it is important to follow the necessary steps for successful use. Proper preparation, choosing the right paint and dilution, setting up the tools correctly, and employing proper technique will result in a professional-looking finish that will stand the test of time.
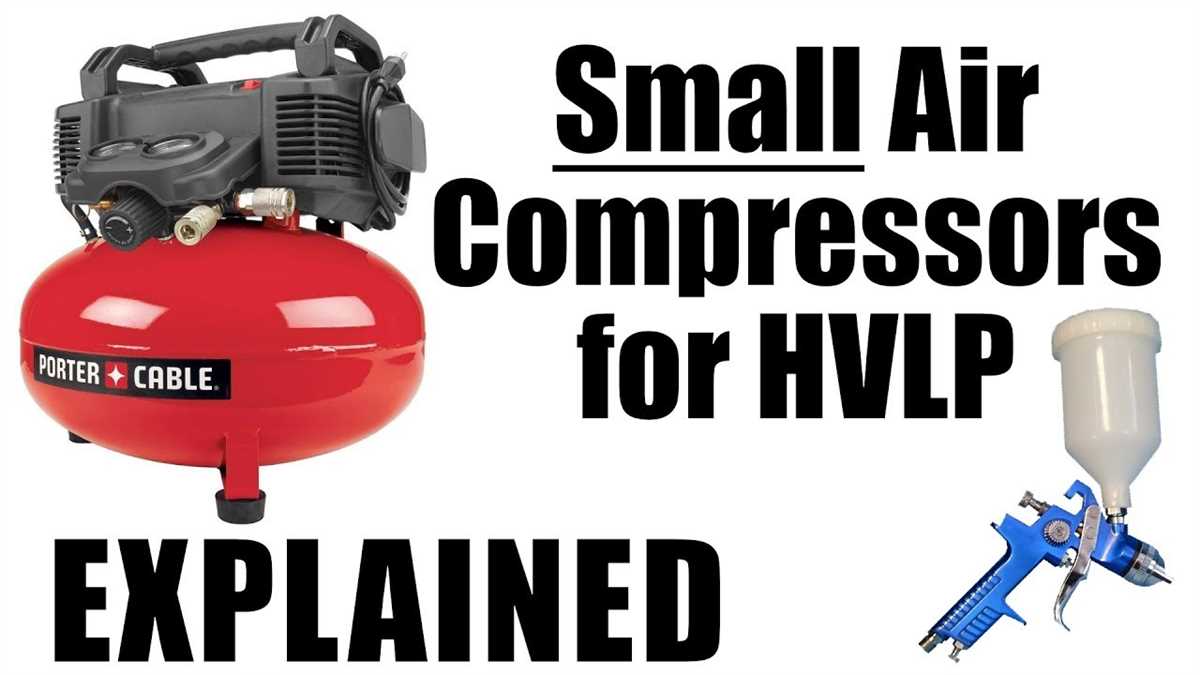
Choosing the Right Equipment
When it comes to utilizing a paint sprayer with an air compressor, it is important to choose the right equipment for the job. This includes selecting a paint sprayer and an air compressor that are suitable for the size and type of project you will be working on.
Paint Sprayer
There are different types of paint sprayers available on the market, including airless sprayers, HVLP (high volume, low pressure) sprayers, and LVLP (low volume, low pressure) sprayers. Each type has its own advantages and disadvantages, so it is important to consider factors such as the type of paint or coating you will be using, the size of the area you will be painting, and the level of detail required.
For larger projects or projects that require a thicker coating, an airless sprayer may be the best option as it can deliver a high volume of paint at a high pressure. On the other hand, if you are working on a smaller project that requires more precision, an HVLP or LVLP sprayer may be more suitable as they use less pressure and produce less overspray.
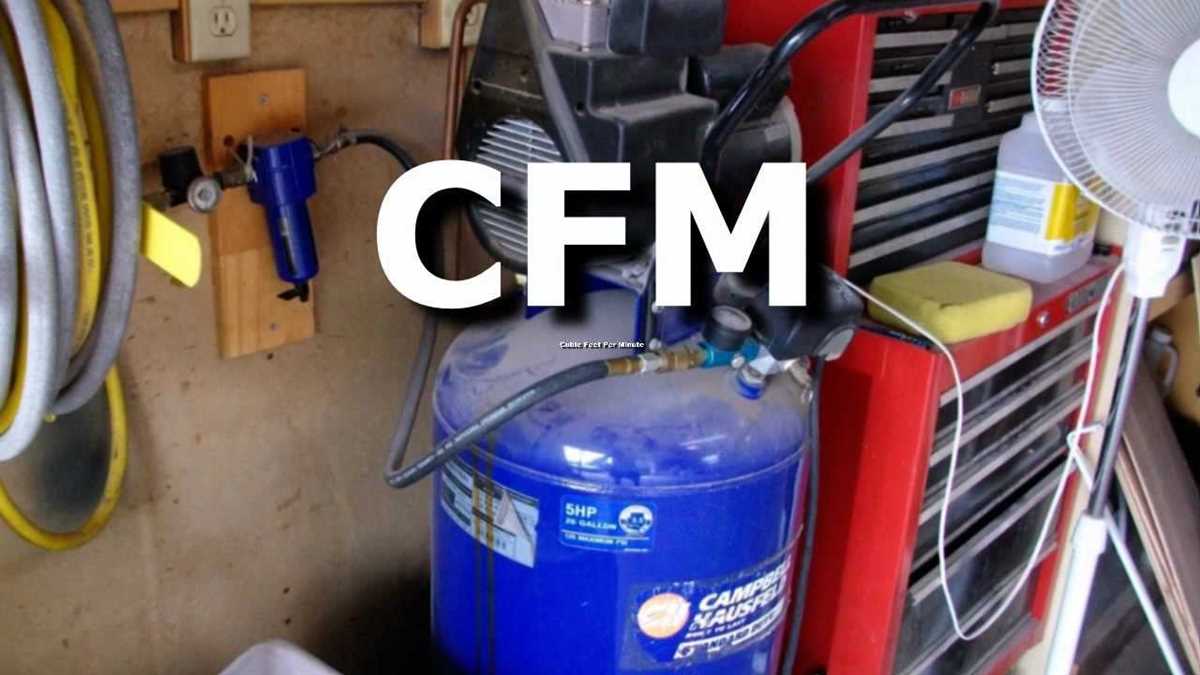
Air Compressor

When choosing an air compressor to use with your paint sprayer, there are a few key factors to consider. Firstly, you need to ensure that the air compressor has the required CFM (cubic feet per minute) rating to match the CFM requirements of your paint sprayer. This will ensure that the sprayer receives a consistent supply of air to operate efficiently.
The size of the air compressor’s tank is also an important consideration. A larger tank can hold more air, allowing the compressor to run for longer periods without needing to refill. This can be beneficial for larger projects where you may need to paint for extended periods of time without interruption.
Additionally, it is important to consider the noise level and portability of the air compressor. If you will be working in a residential area or need to move the compressor frequently, a quieter and more portable option may be preferable.
Overall, selecting the right paint sprayer and air compressor for your project is crucial to ensure a successful and efficient painting process. Taking into account factors such as the type of sprayer, the size of the project, and the requirements of the paint or coating will help you make an informed decision and achieve the desired results.
Preparing the Work Area
Before using a paint sprayer with an air compressor, it is important to properly prepare the work area to ensure a smooth and efficient painting process. Here are some steps to follow:

- Clean and clear the workspace: Remove any debris or objects that may hinder your movement or get in the way of the sprayer. This will ensure a safe and clutter-free environment.
- Protect surrounding areas: Cover nearby furniture, flooring, and other surfaces that are not meant to be painted with drop cloths or plastic sheets. This will prevent any accidental paint splatters or spills from damaging these items.
- Ventilate the area: Ensure proper ventilation in the work area by opening windows or using fans. This will help to dissipate fumes and provide fresh air during the painting process.
- Mask off areas: Use painter’s tape and plastic sheeting to mask off areas that you do not want to be painted, such as windows, trim, and outlets. This will create clean lines and protect these areas from overspray.
- Set up a work station: Arrange your paint sprayer, air compressor, and other necessary tools in a convenient and accessible location. This will make it easier to move around and reach different areas as you paint.
By properly preparing the work area, you can ensure that your paint sprayer with an air compressor is used effectively and efficiently, resulting in a professional-looking paint job.
Preparing the Paint
Before you can start using a paint sprayer with an air compressor, you need to properly prepare the paint. Here are the steps you should follow:
1. Choose the right type of paint:
Not all paints are suitable for use with a paint sprayer. You should choose a paint that is specifically labeled for spray application. This type of paint is usually thinner and designed to be used with a sprayer.
2. Thin the paint if necessary:
Even if you choose a paint that is formulated for use with a sprayer, you may still need to thin it to achieve the desired consistency. Follow the manufacturer’s instructions for thinning the paint, as different types of paints require different ratios of thinning agents.
3. Strain the paint:
Before pouring the paint into your sprayer, it’s important to strain it to remove any debris or lumps. Use a paint strainer or a fine mesh sieve to ensure a smooth and even spray.

4. Test the paint:
Before starting your project, it’s a good idea to test the paint on a scrap piece of material or a small area of the surface you will be painting. This will allow you to make any necessary adjustments to the paint’s consistency or color before spraying it onto the entire surface.
5. Mix the paint:
If you are working with a paint that has been sitting for a while, it’s important to mix it thoroughly before using it. Use a stirring stick or a paint mixer attachment to ensure that all the pigments and components of the paint are well-blended.
6. Transfer the paint to the sprayer:
Once the paint is properly prepared, you can transfer it to the paint sprayer. Follow the manufacturer’s instructions for specific steps on how to fill the sprayer’s paint cup or reservoir.
By following these steps to prepare the paint, you can ensure that it is in the ideal condition for use with a paint sprayer and air compressor. This will help you achieve professional-looking results and make the painting process easier and more efficient.
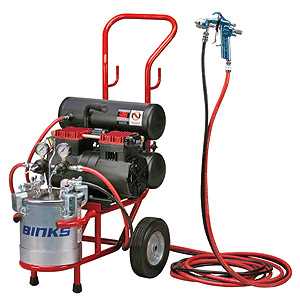
Setting Up the Air Compressor
To successfully utilize a paint sprayer with an air compressor, it is important to properly set up the air compressor. The following steps will help you with the setup process.

1. Choose the right air compressor
Before starting, make sure you have the right air compressor for the job. Consider the size and power requirements of your paint sprayer and ensure that your air compressor can handle the necessary pressure and air volume.
2. Position the air compressor
Find a suitable location to position your air compressor. It should be placed on a stable and level surface, away from any potential hazards or obstructions. Make sure there is enough space around the compressor for proper ventilation.
3. Connect the air hose
Attach one end of the air hose to the air compressor’s outlet port and tighten it securely. The other end of the hose will be connected to the paint sprayer, so ensure that you are using the correct fittings to make a secure and airtight connection.
4. Adjust the pressure settings
Check the pressure settings on your air compressor and adjust them according to the manufacturer’s recommendations for your specific paint sprayer. This will ensure that you have the correct pressure for optimal spray performance.
5. Test the compressor
Before starting your painting project, do a test run of the air compressor. Turn it on and check for any unusual noises or vibrations. Ensure that the air pressure is stable and consistent throughout the test.
By following these steps, you can successfully set up and utilize an air compressor with a paint sprayer. Proper setup will ensure that you have an efficient and effective painting experience.
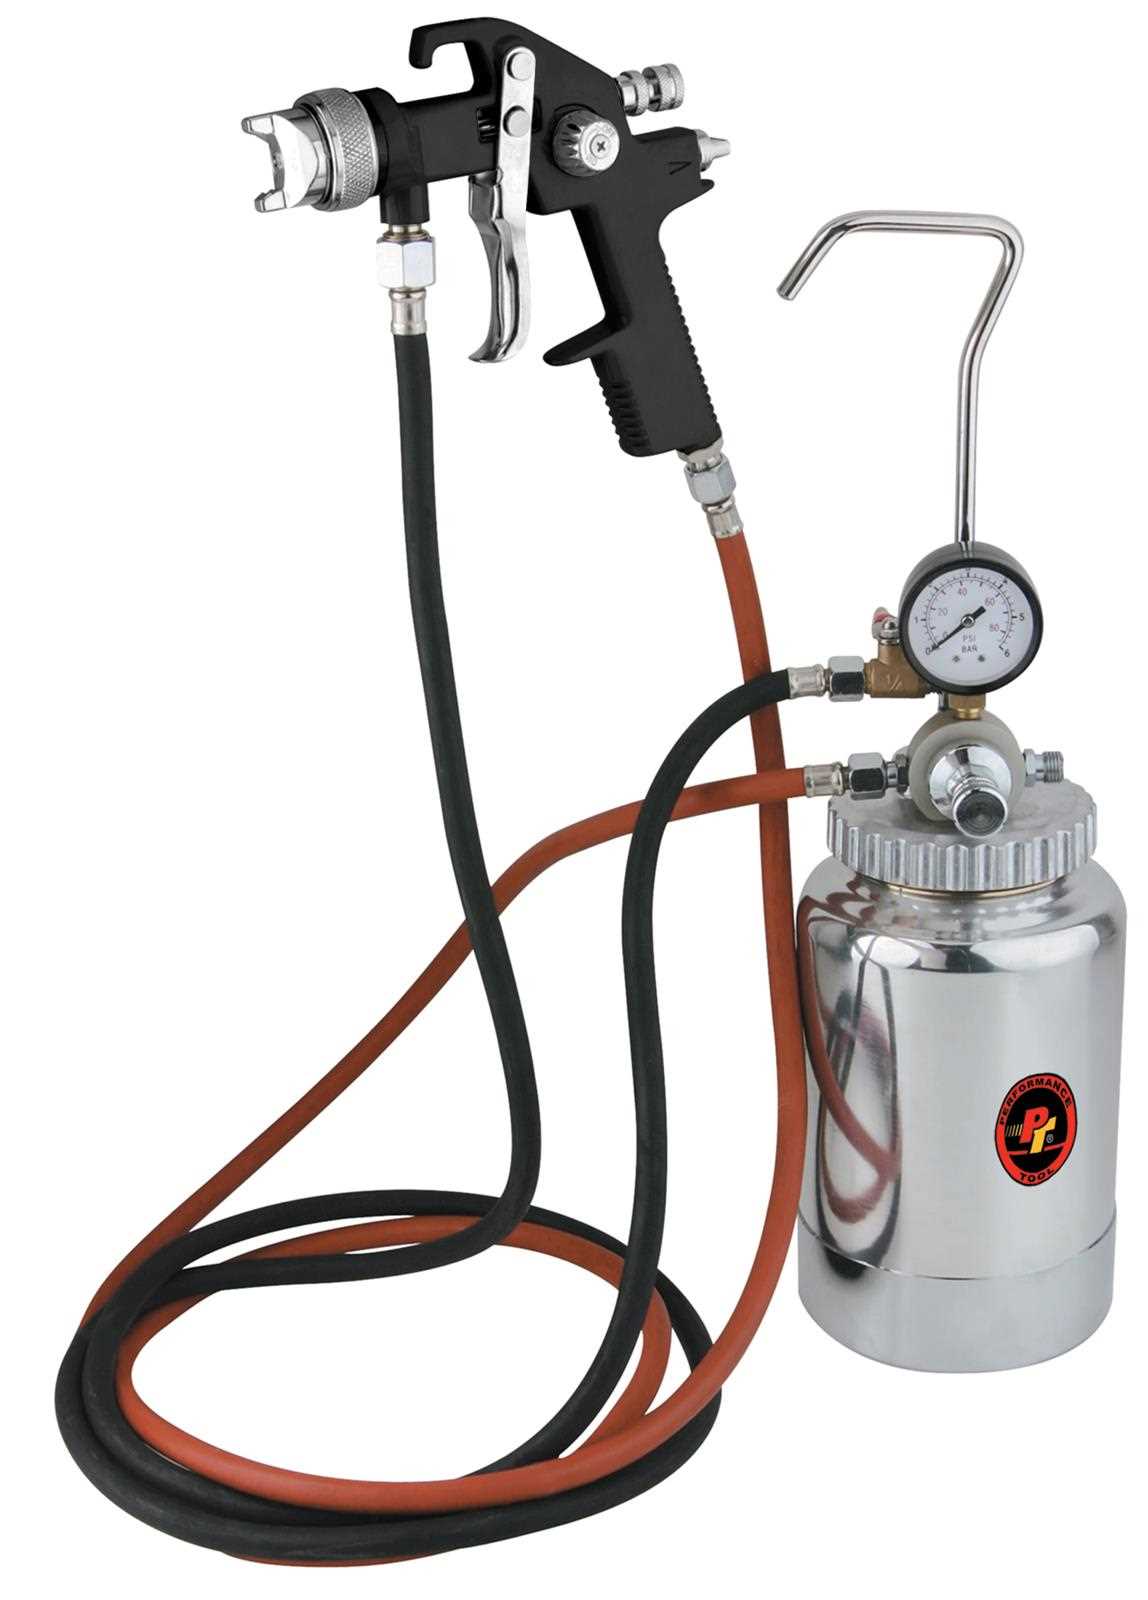
Connecting the Air Compressor to the Paint Sprayer
Before you can start using a paint sprayer with an air compressor, you need to connect the two devices together. This is a crucial step in ensuring that the paint sprayer operates properly and that you can achieve the desired results.
Here are the steps to connect the air compressor to the paint sprayer:
- Prepare the air compressor: Make sure the air compressor is turned off and unplugged. Check the air pressure and adjust it according to the paint sprayer’s requirements.
- Locate the air hose: The air hose is the connection between the air compressor and the paint sprayer. Find the air hose and make sure it is in good condition, with no cracks or leaks.
- Attach the air hose to the air compressor: The air hose usually has a threaded connector that can be easily screwed onto the air compressor’s outlet. Make sure the connection is tight and secure.
- Attach the air hose to the paint sprayer: The paint sprayer also has a threaded connector for the air hose. Screw the air hose onto the paint sprayer, again ensuring a tight and secure connection.
- Test the connection: Once the air hose is attached to both the air compressor and the paint sprayer, turn on the air compressor and check for any air leaks. If there are any leaks, tighten the connections further or replace any faulty parts.
Once the air compressor is successfully connected to the paint sprayer, you can proceed with setting up the paint sprayer and adjusting the paint flow and air pressure to achieve the best results for your painting project.
Adjusting the Settings on the Paint Sprayer
When using a paint sprayer with an air compressor, it is important to properly adjust the settings on the sprayer to ensure the best results. The settings on the paint sprayer will vary depending on the type of paint being used and the desired finish. Here are a few steps to help you adjust the settings on your paint sprayer:
1. Determine the paint viscosity
- Check the paint can or manufacturer’s instructions for the recommended viscosity of the paint.
- Use a viscosity cup or a viscosity measuring tool to determine the thickness of the paint.
- Adjust the paint sprayer’s flow rate or pressure settings according to the paint’s viscosity.
2. Adjust the spray pattern
The spray pattern determines how the paint is distributed on the surface. It can be adjusted to achieve a narrow or wide spray pattern depending on the project requirements. Here’s how to adjust the spray pattern:
- Locate the spray pattern adjustment knob or dial on the paint sprayer.
- Turn the knob clockwise to achieve a narrower spray pattern.
- Turn the knob counterclockwise to achieve a wider spray pattern.
3. Set the air pressure
The air pressure affects the atomization of the paint and the overall finish of the coating. To set the air pressure on the paint sprayer:
- Refer to the manufacturer’s guidelines for the recommended air pressure range.
- Adjust the air pressure regulator on the sprayer to the desired level.
- Test spray on a scrap piece of material to ensure the air pressure is set correctly for the desired finish.
By properly adjusting the settings on your paint sprayer, you can achieve a smooth and even finish on your paint projects. It is important to refer to the manufacturer’s instructions for your specific paint sprayer model for any additional adjustments or considerations.
Practicing and Testing the Equipment
Before you start using a paint sprayer with an air compressor, it is important to practice and test the equipment to ensure that it is in proper working order. This will help you become familiar with the sprayer and its settings, as well as identify any issues that need to be addressed.
Preparing the Workspace
First, make sure that your workspace is properly set up for testing the paint sprayer. Clear any obstacles or clutter that may interfere with your movements, and ensure that there is adequate ventilation to prevent the buildup of fumes. Additionally, cover any surfaces that you do not want to be sprayed with plastic or drop cloths to protect them from accidental overspray.
Adjusting the Sprayer Settings
Next, familiarize yourself with the different settings and controls on the paint sprayer. This may include the air pressure, fluid flow, and spray pattern adjustments. Review the user manual for your specific paint sprayer to understand how to make these adjustments properly.
Once you are comfortable with the settings, adjust them according to the type of paint and surface you will be working with. It is recommended to start with a lower air pressure and fluid flow, and gradually increase as needed. This will help you achieve better control and avoid wastage.
Testing the Equipment
Now it’s time to test the paint sprayer. Fill the paint container with a small amount of paint and attach it securely to the sprayer. Check that all connections are tight and there are no leaks. Turn on the air compressor and adjust the air pressure to the desired level.
Hold the paint sprayer at a comfortable distance from your test surface and press the trigger to start spraying. Move the sprayer in a steady and even motion, keeping the nozzle perpendicular to the surface. Observe the spray pattern and adjust the settings as necessary to achieve the desired coverage and finish.
Continue practicing with the paint sprayer until you feel comfortable and confident in your abilities. Take note of any issues or challenges you encounter, and troubleshoot them accordingly. Practice on different surfaces and with different paints to become familiar with the capabilities of the equipment.
By taking the time to practice and test the paint sprayer with an air compressor, you will be better prepared for your painting project and ensure a successful outcome.
Applying the Paint
Once you have prepared the surface and selected the appropriate paint, it’s time to start applying the paint using the paint sprayer with the air compressor. Here are the steps to successfully apply the paint:
1. Adjust the air compressor settings
Before starting to paint, make sure that the air compressor is at the right pressure setting. Consult the user manual for your specific air compressor to find the recommended pressure for painting. Adjust the pressure accordingly to ensure a smooth and even application of the paint.
2. Prepare the paint sprayer
Before filling the paint sprayer with paint, make sure to clean it properly to remove any debris or residue from previous use. Once the paint sprayer is clean, fill it with the paint of your choice. Stir the paint thoroughly to ensure a consistent color and texture.
3. Test the paint sprayer
Before applying the paint to the actual surface, it’s a good idea to test the paint sprayer on a small area to ensure that it is spraying evenly. Adjust the nozzle or spray pattern as needed to achieve the desired coverage and finish.
4. Apply the paint
Hold the paint sprayer about 6-12 inches away from the surface and start spraying in a smooth and controlled motion. Keep the sprayer parallel to the surface and move it evenly to avoid uneven application or drips. Apply multiple thin coats rather than one heavy coat for a more professional finish.
5. Maintain a consistent speed
To achieve an even coat of paint, maintain a consistent speed and distance from the surface as you move the paint sprayer. This will help you avoid streaks, excessive buildup, or missed spots. Take your time and be patient to ensure a high-quality result.
Following these steps will help you successfully apply paint using a paint sprayer with an air compressor. Remember to clean the paint sprayer after use to prolong its lifespan and maintain its effectiveness.
FAQ:
What is a paint sprayer?
A paint sprayer is a tool that uses compressed air to atomize paint and create a fine mist. It allows for quick and efficient painting of large surfaces.
How does a paint sprayer work?
A paint sprayer works by pressurizing paint and propelling it through a nozzle at high velocity. This creates a fine mist that evenly coats the surface being painted.
Why should I use a paint sprayer with an air compressor?
Using a paint sprayer with an air compressor allows for greater control over the paint flow and spray pattern. It also allows for a faster and more even application of paint.
What type of paint can I use with a paint sprayer and air compressor?
You can use a variety of paints with a paint sprayer and air compressor, including latex, oil-based, and water-based paints. However, it is important to check the manufacturer’s instructions to ensure compatibility.
Can I use a paint sprayer with an air compressor for small projects?
Yes, a paint sprayer with an air compressor can be used for small projects. However, it may require more setup and cleanup time compared to using a brush or roller.
Do I need any special skills to use a paint sprayer with an air compressor?
While using a paint sprayer with an air compressor does require some practice and skill, it is not overly difficult to learn. With practice, you can achieve professional-looking results.
Video:


Harrison Clayton
Meet Harrison Clayton, a distinguished author and home remodeling enthusiast whose expertise in the realm of renovation is second to none. With a passion for transforming houses into inviting homes, Harrison's writing at https://thehuts-eastbourne.co.uk/ brings a breath of fresh inspiration to the world of home improvement. Whether you're looking to revamp a small corner of your abode or embark on a complete home transformation, Harrison's articles provide the essential expertise and creative flair to turn your visions into reality. So, dive into the captivating world of home remodeling with Harrison Clayton and unlock the full potential of your living space with every word he writes.


