How to Inflate an Air Mattress with an Air Compressor

An air mattress is a versatile and convenient sleeping option for camping trips, overnight guests, or even as a temporary bed during a home renovation. However, inflating an air mattress can be a laborious task if done manually. In this article, we will guide you through the steps to inflate an air mattress with the help of an air compressor, making the process quick and effortless.
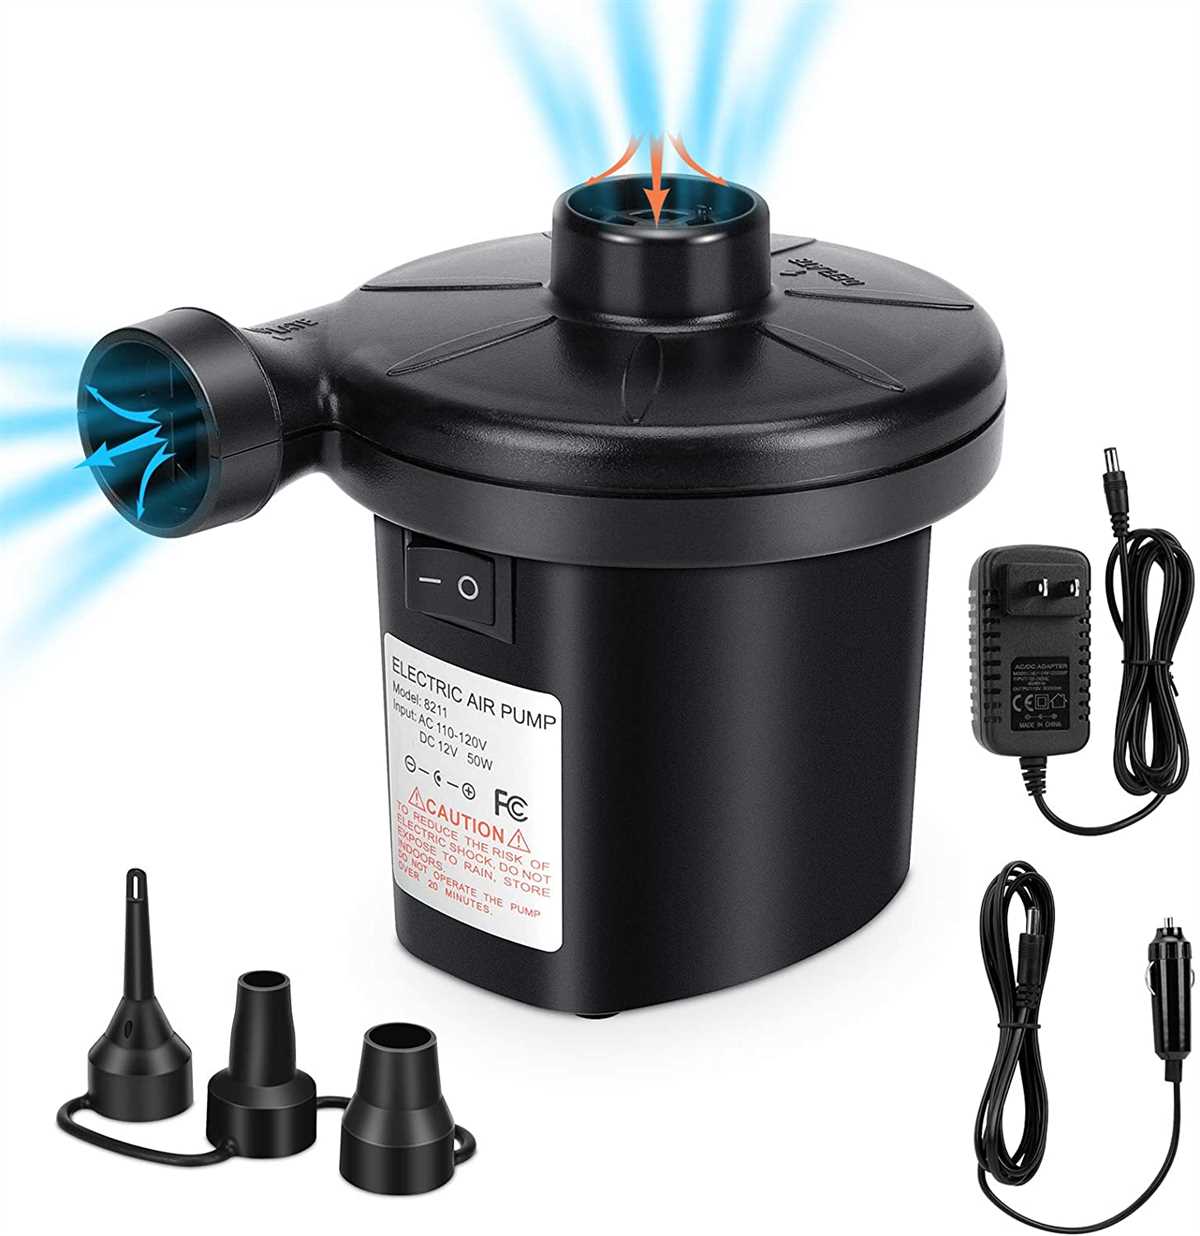
Step 1: Choose the right air compressor
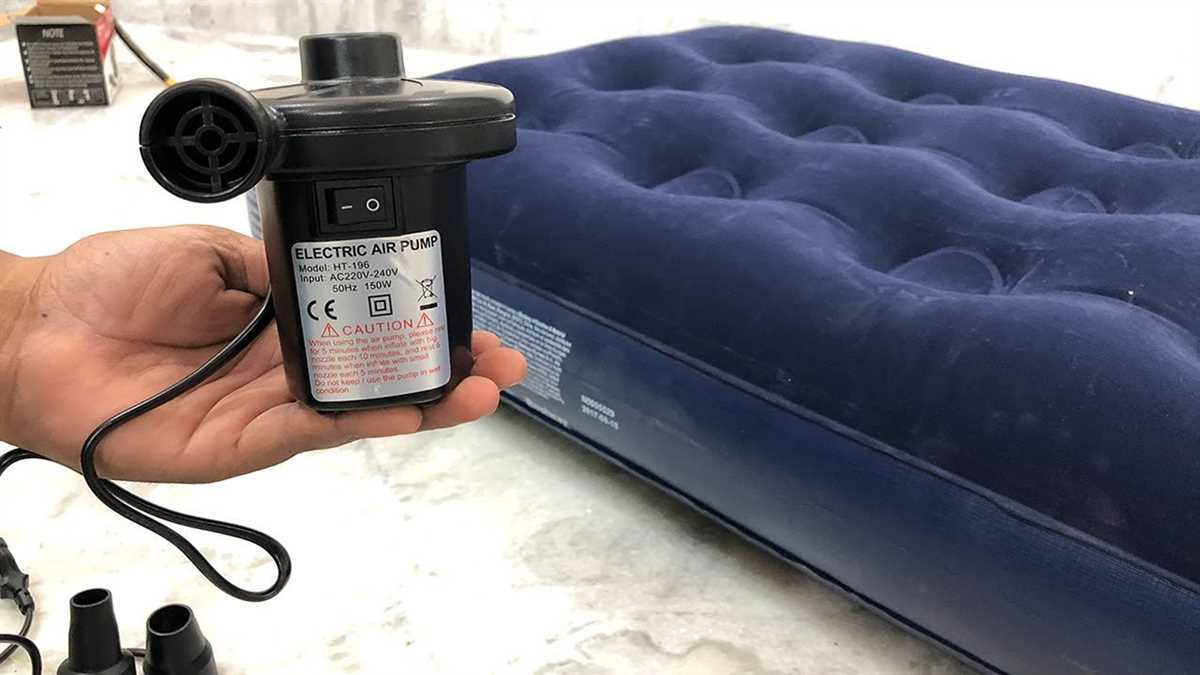
The first step in inflating an air mattress with an air compressor is to ensure that you have the right equipment. Look for an air compressor that has a low to medium pressure range, typically between 10 and 30 psi (pounds per square inch), as higher pressure can cause damage to the mattress. Additionally, check if the air compressor has a nozzle or an adapter that is compatible with the valve of your air mattress.
Step 2: Prepare the air mattress and the air compressor
Before starting the inflation process, make sure that the air mattress is clean and free from any sharp objects or debris that may puncture it. Also, check the valve on the mattress and ensure that it is in the open position. As for the air compressor, connect the hose or adapter to the compressor and make sure everything is securely fastened.
Step 3: Begin the inflation process
With the air mattress and the air compressor ready, it’s time to start inflating. Position the nozzle or adapter of the air compressor onto the valve of the air mattress, making sure it fits snugly. Turn on the air compressor and allow the mattress to gradually fill with air. Keep an eye on the pressure gauge and stop inflating when the desired firmness is reached.
Step 4: Seal the valve and check for leaks
Once the air mattress is fully inflated, remove the nozzle or adapter from the valve and quickly seal the valve to prevent any air from escaping. Next, check the mattress for any signs of leaks. Apply pressure to different areas of the mattress and listen for escaping air or feel for any noticeable loss of firmness. If you find a leak, use a patch kit to repair it before using the mattress.
Step 5: Enjoy a comfortable night’s sleep

After following these steps, your air mattress should be fully inflated and ready to provide a comfortable sleeping surface. Whether you’re using it indoors or outdoors, you can now enjoy a good night’s sleep knowing that you’ve successfully inflated your air mattress using an air compressor.
Preparing the Air Mattress
Before inflating your air mattress with an air compressor, it’s essential to properly prepare the mattress to ensure a smooth inflation process and prevent any damage or leaks. Here are the steps to follow:
1. Choose a suitable location:
Find a clean, flat, and spacious area to set up your air mattress. Clear away any sharp objects or debris that could puncture or damage the mattress.
2. Inspect the mattress:
Carefully examine the air mattress for any signs of damage, such as holes or leaks. Check the seams, corners, and valves to ensure they are intact and properly sealed. Patch any holes or leaks using a repair kit designed specifically for air mattresses.

3. Clean the surface:
Wipe down the surface of the air mattress with a mild soap and water solution or a designated cleaner. This will remove any dirt, dust, or debris from the mattress, ensuring a clean and hygienic sleeping surface.
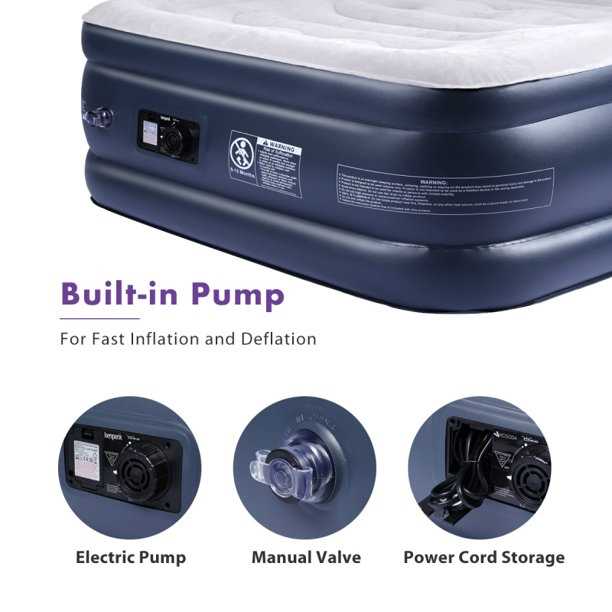
4. Inflate the mattress slightly:

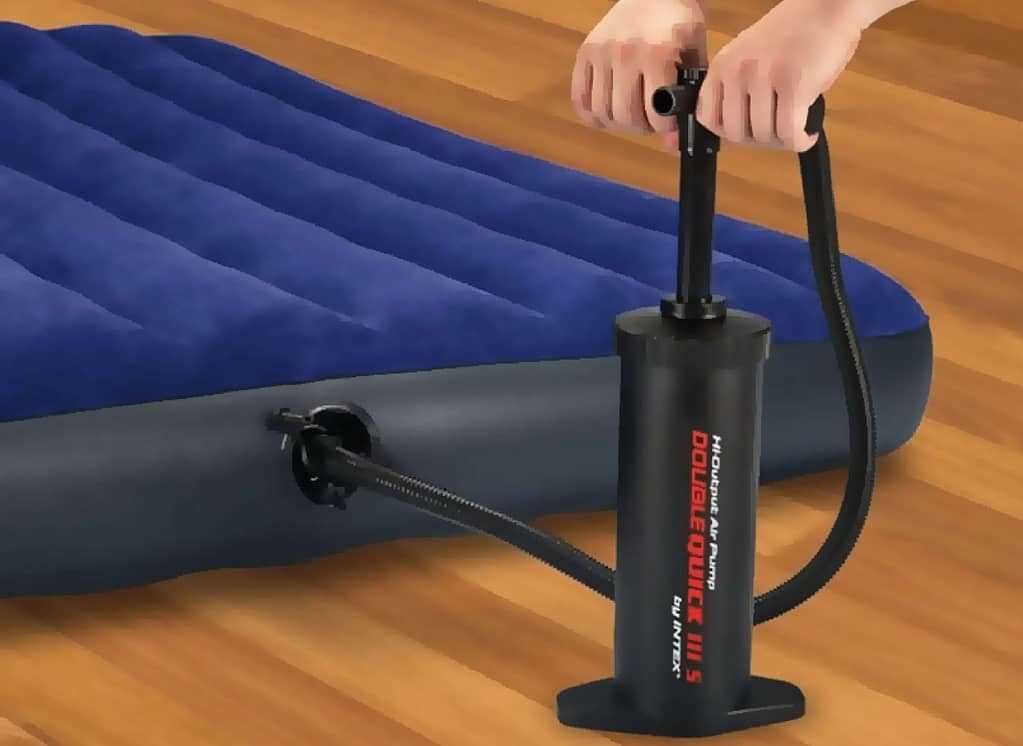
Before connecting the air compressor, partially inflate the mattress manually using the built-in pump or any manual pump. This helps to stretch out the material and makes it easier for the air compressor to inflate the mattress fully.
5. Position the air compressor:
Set up the air compressor near the mattress, ensuring it is stable and secure. Make sure the power cord can reach the mattress without any strain or obstruction.

6. Gather necessary accessories:
Collect all the required accessories, such as the air mattress nozzle or adapter that is compatible with your air compressor. Double-check that the accessories are in good condition and properly connected to the air compressor.
By following these steps to prepare your air mattress, you’ll be ready to efficiently inflate it using an air compressor.
Checking for Defects
Before inflating your air mattress, it is important to check for any defects or damages that may affect its performance. This step is crucial to ensure that you have a safe and comfortable sleeping surface.

1. Visual Inspection:
Start by carefully examining the air mattress for any visible defects or damages. Look for any punctures, tears, or holes in the material. Pay close attention to the seams and edges as they are common areas of weakness. If you notice any damages, repair them before attempting to inflate the mattress.
2. Air Leakage Test:
Another way to check for defects is by performing an air leakage test. Inflate the mattress partially and listen for any hissing sounds or feel for air escaping. If you detect any leakage, try to locate the source and repair it. Remember to also check the valve or air inlet for any damages or loose parts.
3. Pressure Test:
To ensure the mattress can hold air properly, perform a pressure test once it is fully inflated. Apply gentle pressure on different areas of the mattress using your hands. If you feel any significant loss of air or notice a change in pressure, there may be a defect that needs to be addressed.
4. Weight Capacity:
Check the weight capacity of your air mattress to ensure it can support your body weight. Exceeding the weight limit can lead to damages and reduce the lifespan of the mattress. Refer to the manufacturer’s guidelines or product specifications for the recommended weight capacity.
5. Warranty Information:
Lastly, review the warranty information provided by the manufacturer. Most air mattresses come with a warranty that covers defects and damages. Familiarize yourself with the terms and conditions, as well as the process for filing a warranty claim. This will help you in case any defects or damages occur after using the mattress.
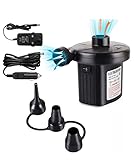
Finding the Right Valve
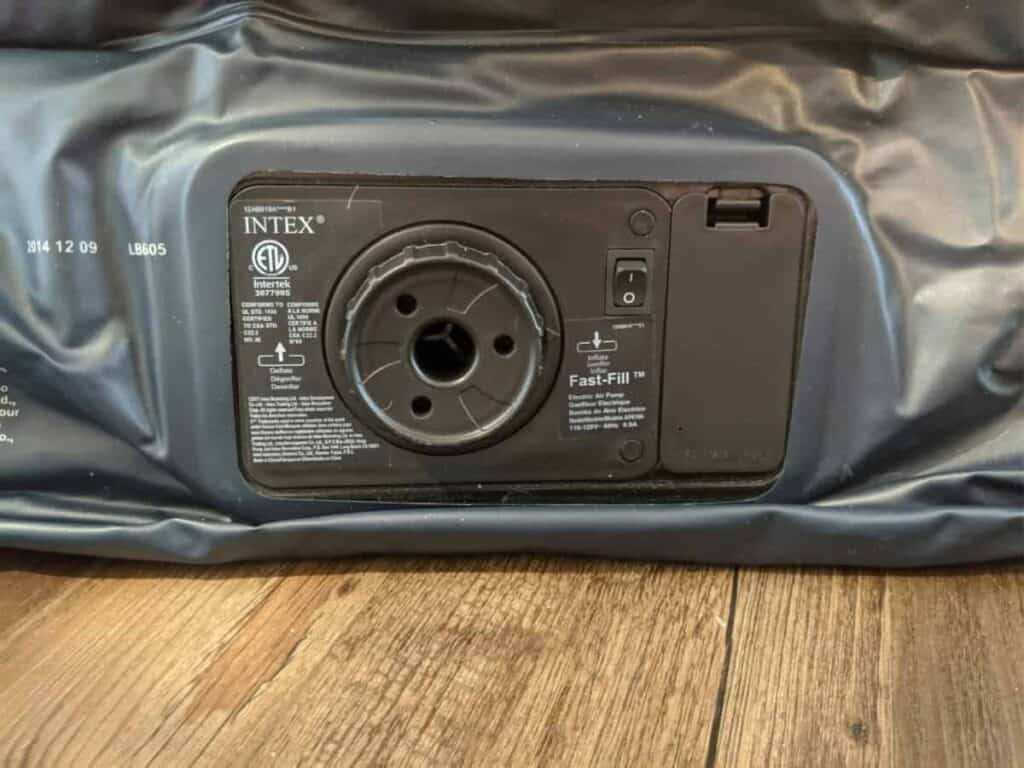
When inflating an air mattress with an air compressor, it’s important to find the right valve to ensure a secure connection and efficient inflation. Different air mattresses may have different types of valves, so it’s essential to identify the specific valve on your mattress before beginning the inflation process.
One common type of valve used on air mattresses is a screw valve. This valve has a small screw cap that needs to be unscrewed before inflation. It allows for easy inflation and deflation and ensures a tight seal when closed. Another type of valve is the push-and-lock valve, which requires pushing the nozzle of the air compressor into the valve and locking it in place for inflation.
Some air mattresses may have multiple valves, such as one for the main section and separate valves for built-in pillows or chambers. It’s important to locate all the valves on your air mattress to ensure proper inflation and avoid any potential leaks. Refer to the manufacturer’s instructions or check the mattress for any labeled valve locations.
If you’re having difficulty identifying the valve on your air mattress, you can also look for clues such as small holes or slits where the valve may be hidden. Additionally, you can try feeling around the mattress for any raised or protruding sections that could indicate the presence of a valve.
Once you’ve found the right valve, make sure it’s clean and free of any debris or obstructions. This will help prevent any issues with the airflow and ensure a smooth inflation process. If the valve is dirty or clogged, use a damp cloth or a gentle cleaning solution to clean it before connecting the air compressor.
Cleaning the Valve
When preparing to inflate an air mattress with an air compressor, it is important to ensure that the valve is clean and free from any debris. Cleaning the valve helps to maintain its functionality and prevents any potential leaks during inflation.
To clean the valve, start by removing any dirt or debris that may have accumulated around it. Use a soft brush or cloth to gently scrub the area, making sure to reach all the crevices. Be careful not to apply too much pressure, as this could damage the valve.
After removing the visible dirt, it is recommended to use a mild detergent or soapy water to further clean the valve. Apply a small amount of detergent to a cloth or sponge and gently scrub the valve, paying special attention to the areas where the valve meets the mattress. Rinse thoroughly with clean water to remove any residue.
Once the valve is clean, it is important to ensure that it is completely dry before proceeding with inflation. Allow the valve to air dry naturally or use a clean, dry cloth to speed up the drying process. Ensuring that the valve is dry will help to prevent any moisture from interfering with the airflow during inflation.
By taking the time to clean the valve before inflating an air mattress with an air compressor, you can help ensure that the inflation process goes smoothly and that the mattress remains properly inflated for your comfort and convenience.
Attaching the Air Compressor
Before you can start inflating your air mattress with an air compressor, you will need to properly attach the compressor to the mattress.
1. Locate the air valve on your air mattress. This may be located on the side or the top of the mattress, depending on the model.
2. Remove the cap or cover from the air valve. This will expose the valve mechanism, allowing air to flow in and out.
3. Check the compatibility of your air compressor with your air mattress. Some air mattresses may require a specific type of air compressor or adapter. Make sure you have the correct attachments before proceeding.
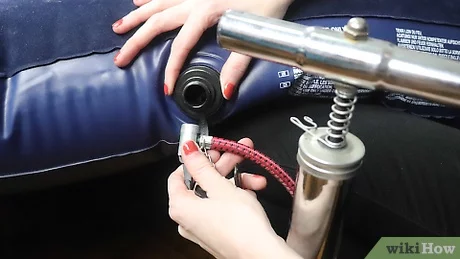
4. Connect the air compressor nozzle or attachment to the air valve on the mattress. Ensure a tight seal to prevent any air leakage during inflation.
5. Double-check the connection to ensure it is secure and the air compressor is ready to inflate the mattress.
6. If your air compressor has adjustable settings, set it to the desired pressure or airflow. Refer to the manufacturer’s instructions for recommended settings for your specific air mattress.
Now that you have properly attached the air compressor to your air mattress, you can proceed to inflate it using the compressor. Follow the instructions provided with your air compressor for safe and effective inflation.
Inflating the Air Mattress
To inflate an air mattress using an air compressor, follow these steps:
- Prepare the air compressor: Make sure the air compressor is in good working condition and has enough air pressure to inflate the mattress.
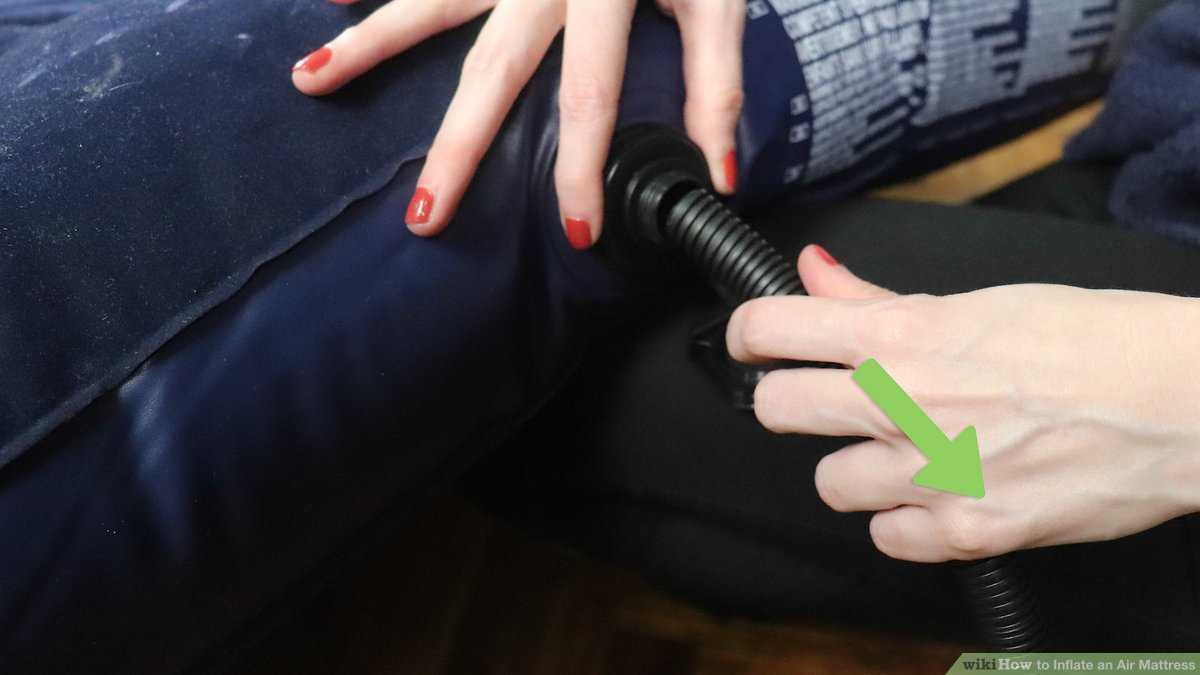
- Attach the air nozzle: Connect the air nozzle of the air compressor to the valve of the air mattress. Ensure a secure connection to prevent air leakage.
- Open the valve: Open the valve of the air mattress by twisting it counterclockwise. This will allow the air to flow into the mattress.
- Turn on the air compressor: Start the air compressor by flipping the switch or pressing the power button. The compressor will begin pumping air into the mattress.
- Monitor the pressure: Keep an eye on the pressure gauge of the air compressor to ensure that the mattress is not overinflated. Adjust the air pressure as needed.
- Fill the air mattress: Allow the air compressor to continue filling the mattress until it reaches your desired level of firmness. Remember to periodically check the mattress by pressing on it with your hand.
- Close the valve: Once the mattress is fully inflated, close the valve by twisting it clockwise. This will seal the air inside and prevent any air from escaping.
- Disconnect the air nozzle: Remove the air nozzle from the valve of the air mattress. Ensure a proper disconnection to avoid any accidental deflation.
- Test the mattress: Give the mattress a final check by lying on it and assessing its comfort and firmness. Make any adjustments if necessary.
By following these steps, you can easily inflate an air mattress using an air compressor. Ensure that the compressor and mattress are compatible, and always exercise caution when using high-pressure devices.
Setting the Pressure
When using an air compressor to inflate an air mattress, it is important to set the proper pressure to ensure the mattress is not underinflated or overinflated. The pressure needed may vary depending on the type of air mattress you have, so it is essential to consult the manufacturer’s instructions or recommendations for the correct pressure setting.
One way to determine the proper pressure is by using a pressure gauge. Attach the gauge to the air mattress valve and slowly inflate the mattress until the desired pressure is reached. The pressure gauge will provide a reading, which can help you adjust the airflow accordingly.
Another method to set the pressure is by using the touch test. Gently press your hand on the inflated mattress surface and gauge its firmness. If the mattress feels too soft or spongy, it may need more air. On the other hand, if it feels overly firm or rigid, you may need to release some air to achieve the desired comfort level.
Always be cautious when adjusting the pressure and avoid overinflating the mattress, as this can put excessive strain on the seams and valves, leading to potential damage. It is also essential to monitor the pressure periodically during inflation to ensure it remains within the recommended range.
Checking for Leaks

Before inflating your air mattress with an air compressor, it is important to check for any leaks. Leaks can prevent the mattress from fully inflating or cause it to deflate quickly, leaving you uncomfortable during your sleep. Here are a few steps to check for leaks:
Visual Inspection
One way to check for leaks is to conduct a visual inspection. Carefully examine the entire surface of the air mattress, paying close attention to seams, valves, and any patches from previous repairs. Look for any signs of damage, such as holes, tears, or loose threads. Make sure to also check the valve area for any cracks or damage.
Submersion Test
Another way to check for leaks is by performing a submersion test. Fill a basin or bathtub with water and submerge the air mattress into it. Gently press down on the mattress to ensure all areas are completely submerged. Look for any bubbles, which indicate the presence of a leak. Pay close attention to the valve area, as this is a common spot for air leaks to occur.
Soap and Water Test
If you are unable to detect any leaks visually or through the submersion test, you can try a soap and water test. Mix a small amount of liquid soap with water and apply it to the surface of the air mattress. Slowly inflate the mattress using the air compressor and observe for any bubbles forming. The soap mixture will create bubbles where there is a leak, making it easier to identify the source of the problem.
If you do find any leaks, it is important to repair them before inflating the air mattress. Depending on the size of the leak, you can use a patch kit specifically designed for air mattresses or a strong adhesive tape. Make sure to follow the instructions provided with the repair materials and allow enough time for the adhesive to fully dry before using the mattress.
FAQ:
Is it possible to inflate an air mattress with an air compressor?
Yes, it is possible to inflate an air mattress with an air compressor. In fact, it can be a quick and efficient way to inflate the mattress.
What type of air compressor should I use to inflate an air mattress?
You can use a small portable air compressor or a larger one, depending on your needs. Make sure the air compressor has a compatible nozzle or attachment to fit the valve of the air mattress.
Can I use any type of air hose with the air compressor to inflate the mattress?
You should use an air hose that is compatible with the nozzle or attachment of the air mattress valve. Check the specifications of the air mattress and the air compressor to ensure compatibility.
How long does it usually take to inflate an air mattress with an air compressor?
The time it takes to inflate an air mattress with an air compressor can vary depending on the size and thickness of the mattress, as well as the power of the air compressor. On average, it can take anywhere from a few minutes to around 10 minutes.
Are there any tips to make the inflation process easier and faster?
Yes, there are a few tips you can follow to make the inflation process easier and faster. First, make sure the air mattress is positioned properly and the valve is open. Also, ensure that the nozzle or attachment of the air compressor is securely connected to the valve. Finally, set the air compressor to the appropriate pressure for the mattress and monitor the inflation process to prevent over-inflating.
Can I use an air compressor to deflate an air mattress as well?
Yes, you can use an air compressor to deflate an air mattress. Simply reverse the process by connecting the nozzle or attachment of the air compressor to the valve of the mattress and turning on the compressor. The air will be sucked out of the mattress, deflating it quickly.
Is it safe to use an air compressor to inflate an air mattress?
Yes, it is generally safe to use an air compressor to inflate an air mattress. However, you should always follow the instructions provided by the manufacturer of the air mattress and the air compressor to ensure safe and proper use. It is also important to monitor the inflation process and prevent over-inflating the mattress.
Video:


Harrison Clayton
Meet Harrison Clayton, a distinguished author and home remodeling enthusiast whose expertise in the realm of renovation is second to none. With a passion for transforming houses into inviting homes, Harrison's writing at https://thehuts-eastbourne.co.uk/ brings a breath of fresh inspiration to the world of home improvement. Whether you're looking to revamp a small corner of your abode or embark on a complete home transformation, Harrison's articles provide the essential expertise and creative flair to turn your visions into reality. So, dive into the captivating world of home remodeling with Harrison Clayton and unlock the full potential of your living space with every word he writes.


