Simple Steps to Drain Your Craftsman Air Compressor

If you own a Craftsman air compressor, it is important to regularly drain the tank to remove any accumulated condensation and prevent any potential damage to the compressor. Draining the tank not only ensures the longevity of your compressor, but also helps maintain optimal performance.
Here are a few simple steps you can follow to effectively drain your Craftsman air compressor:
- Prepare: Before starting the draining process, make sure to turn off the compressor and unplug it from the power source to ensure your safety.
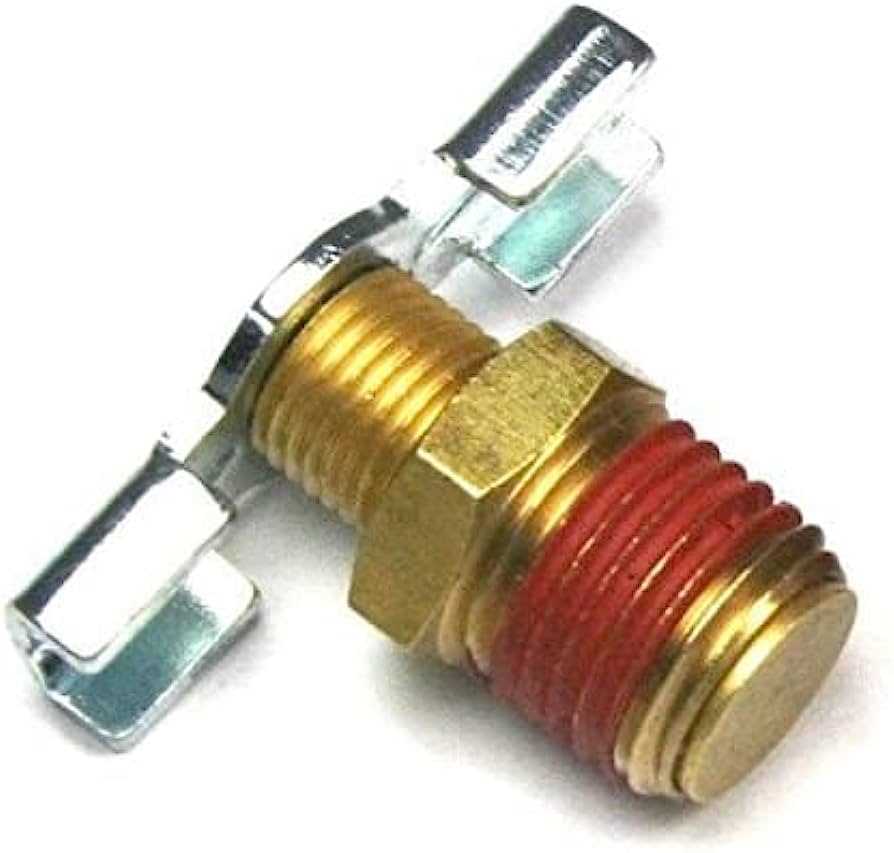
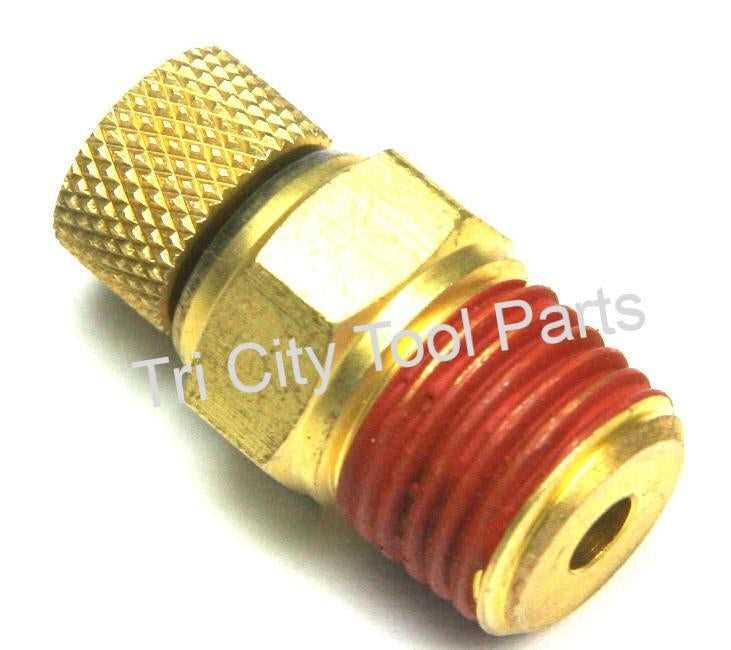
- Locate the Drain Valve: The drain valve is typically located at the bottom of the compressor tank. It may be a small, rectangular or cylindrical valve with a lever or screw for easy operation.
- Position a Container: Place a suitable container or bucket below the drain valve to collect the water and debris that will be released from the tank.
- Open the Drain Valve: Open the drain valve by turning the lever counterclockwise or unscrewing the valve. This will allow the accumulated water and condensation to flow out of the tank and into the container.
- Drain the Tank Completely: Allow the tank to completely drain until no more water or debris is coming out. You can also use a blowgun or air compressor to blow out any remaining water droplets or debris.
- Close the Drain Valve: Once the tank is fully drained, close the drain valve by turning the lever clockwise or tightening the valve screw.
- Test the Compressor: After draining the tank, you can now turn on the compressor to check if it is functioning properly. If you notice any abnormal noises or issues, it is recommended to contact a professional for further inspection.
By regularly draining your Craftsman air compressor, you can ensure its efficient operation and prolong its lifespan. This simple maintenance task only takes a few minutes and can save you from costly repairs or replacements in the future.
Note: It is important to check your Craftsman air compressor’s manual for specific instructions and recommendations regarding draining and maintenance.
Disconnect and Prepare the Air Compressor
Before draining your Craftsman air compressor, it is important to disconnect and prepare the equipment properly to ensure safety and effectiveness.

1. Turn off the Compressor
Before starting any maintenance procedure, make sure to turn off the air compressor by flipping its power switch to the “off” position. This will prevent any accidental startup while you are working on draining the compressor.
2. Depressurize the Tank
In order to safely drain your air compressor, you must first depressurize the tank by releasing any built-up air pressure. Use the drain valve to release the pressure. Keep in mind that there may still be residual pressure in the tank, so take precautions and wear protective gloves and eyewear.
3. Disconnect Power
Make sure to unplug the air compressor from the power source to prevent any accidental power supply during the draining process. This will ensure your safety and the proper functioning of the equipment.
4. Remove the Drain Plug
Locate the drain plug, which is typically located on the bottom of the tank. Use an adjustable wrench to loosen and remove the drain plug. Be prepared for any residual water or debris that may come out when the plug is removed.
5. Drain the Water
Once the drain plug is removed, allow the water to drain completely from the tank. To facilitate the draining process, it may be helpful to tilt the air compressor slightly or use a drain hose to direct the water flow.

Once the water has been fully drained, replace the drain plug securely. You can now proceed with further maintenance or storage of your Craftsman air compressor.
Locate the Drain Valve
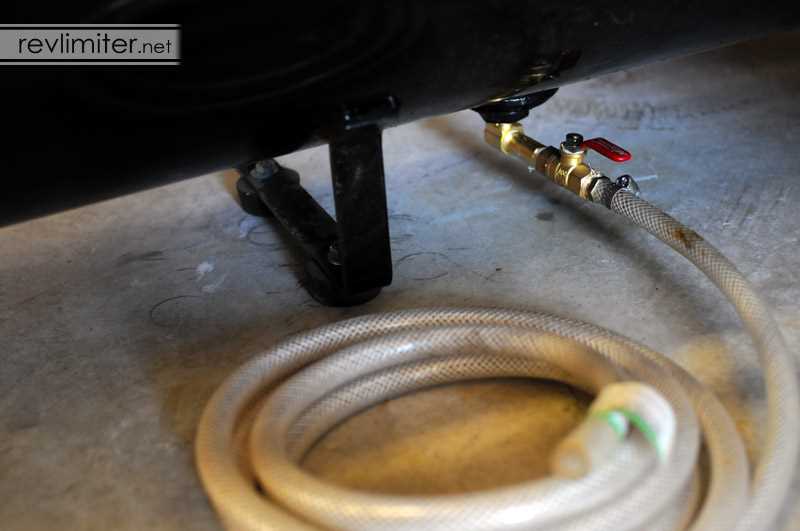
When it comes to draining your Craftsman air compressor, the first step is to locate the drain valve. This valve is typically located at the bottom of the compressor tank and is used to release any accumulated water or condensation from the tank.
To find the drain valve, start by inspecting the bottom of the compressor tank. Look for a small valve or knob that is attached to a pipe or tubing. The drain valve may be made of metal or plastic and can often be easily turned by hand.
Note: The location of the drain valve may vary depending on the specific model of your Craftsman air compressor. If you are having trouble locating the valve, refer to the user manual or contact Craftsman customer support for assistance.
Once you have located the drain valve, make sure to position a bucket or container underneath it to catch the water that will be released. This will help prevent any mess or water damage. You may also want to have a rag or towel handy to wipe up any spills or drips.
Tip: Before opening the drain valve, it is recommended to shut off the air compressor and release all pressure from the tank. This will help prevent any accidents or injuries while draining the tank.
Gather Necessary Tools
Before starting the process of draining your Craftsman air compressor, it is important to gather all the necessary tools. Having the right tools at hand will make the task easier and more efficient. Here are some tools you may need:
- Adjustable wrench: This tool is essential for loosening and tightening connections on the air compressor.
- Bucket or container: You will need a bucket or container to collect the drained water and debris.
- Hose or drain valve: Depending on the model of your Craftsman air compressor, you may need a hose or drain valve to drain the water from the tank.
- Safety goggles: It is important to protect your eyes from any possible debris or splashing water during the draining process.
- Gloves: Wearing gloves will protect your hands from any sharp edges or debris while working on the air compressor.
- Teflon tape: Teflon tape can be used to secure any threaded connections to prevent leaks.
Make sure to gather all these tools before proceeding with the draining process. Having everything ready will save you time and make the task much easier.
Wear Appropriate Safety Gear
Safety should always be a top priority when working with any type of equipment, including an air compressor. Before starting any maintenance or repair tasks, it is important to wear appropriate safety gear to protect yourself from potential hazards.

Eye protection: When working with an air compressor, there is a risk of debris or particles being ejected into the air. It is essential to wear safety glasses or goggles to protect your eyes from any potential flying objects.
Ear protection: Air compressors can be quite loud, especially when they are running. To prevent hearing damage, it is recommended to wear earplugs or earmuffs to reduce the noise levels and protect your hearing.
Gloves: Working with an air compressor may require handling various parts and tools. Wearing gloves can provide an extra layer of protection for your hands, reducing the risk of cuts, abrasions, or burns.
Respiratory protection: Depending on the environment and the type of work being done, it may be necessary to wear a face mask or respirator to protect your lungs from dust, fumes, or other airborne particles. Always check the safety recommendations and requirements for the specific tasks you’re performing.
Clothing: It is important to wear appropriate clothing when working with an air compressor. Avoid loose-fitting clothes and jewelry that can get caught in moving parts. Opt for close-fitting, non-flammable clothing that covers your arms and legs to protect against potential hazards.

Footwear: Choose sturdy, closed-toe shoes or boots with slip-resistant soles when working with an air compressor. This will help prevent foot injuries and provide stability when handling the equipment.
Remember, wearing appropriate safety gear not only helps prevent injuries but also ensures a safer and more efficient working environment. Always follow the manufacturer’s instructions and safety guidelines when working with an air compressor or any other equipment.
Drain the Air Compressor Tank
Draining the air compressor tank is an important maintenance step that should be done regularly to ensure optimal performance and longevity of your Craftsman air compressor. The tank accumulates moisture over time, which can lead to rust and corrosion if not properly drained.
To drain the air compressor tank, follow these simple steps:
- Turn off the air compressor: Before draining the tank, make sure the air compressor is turned off and unplugged. This will prevent any accidental starts or injuries.
- Release the air pressure: Locate the pressure release valve on the tank and slowly open it to release any built-up air pressure. This will make it easier to drain the tank.
- Find the drain valve: The drain valve is usually located at the bottom of the tank. It may be a lever, a screw, or a knob, depending on the model of your air compressor. Consult the owner’s manual if you’re not sure where the drain valve is located.
- Prepare a container: Place a suitable container or a bucket underneath the drain valve to catch the water that will come out of the tank.
- Open the drain valve: Slowly open the drain valve counterclockwise to allow the water to start draining from the tank. Be careful as the water may be hot and under pressure.
- Let the tank fully drain: Allow the tank to fully drain until no more water is coming out. This will ensure that all the moisture and condensation are removed from the tank.
- Clean and close the drain valve: After the tank is fully drained, clean the drain valve and make sure it is tightly closed to prevent any air leaks.
By regularly draining the air compressor tank, you will help prevent rust, extend the life of your air compressor, and ensure optimal performance for your projects.
Release Air Pressure
To drain your Craftsman air compressor, the first step is to release the air pressure inside the tank. This is an important safety measure, as working with pressurized air can be dangerous.
Step 1: Ensure that the compressor is turned off and unplugged from the power source.
Step 2: Locate the pressure relief valve on the compressor tank. This valve is typically located on the top or side of the tank and is marked with a red or yellow ring.
Step 3: Attach a small length of hose to the pressure relief valve, making sure it is securely fastened. The other end of the hose should be directed away from you and towards a safe area where the air can be safely released.
Step 4: Slowly turn the pressure relief valve counterclockwise to open it. You will hear a hissing sound as the air is released from the tank.
Step 5: Keep the valve open until you no longer hear any air escaping and the pressure gauge on the compressor reads zero. This may take a few minutes depending on the size of your tank.
Step 6: Once the air pressure is fully released, close the pressure relief valve by turning it clockwise.
Note: It is important to wait until the pressure is fully released before attempting to drain any remaining water from the tank. This will prevent any accidental release of pressurized air and reduce the risk of injury.
Clean and Inspect the Drain Valve
One of the key components of draining your Craftsman air compressor is the drain valve. This valve is responsible for releasing any accumulated moisture or condensation from the tank. Over time, the drain valve can become clogged with dirt, debris, or rust, which can impede its proper functioning. Therefore, it is important to clean and inspect the drain valve regularly.
To clean the drain valve, start by locating it on the bottom of the air compressor tank. Depending on the model, it may be a twist valve, a pull valve, or a lever valve. Whichever type of valve you have, ensure that the air compressor is turned off and unplugged before proceeding.
Using a wrench or pliers, carefully loosen the drain valve to open it. Be cautious, as there may be residual pressure or air inside the tank. Allow any trapped moisture or condensation to drain completely. While the valve is open, use a brush or cloth to remove any dirt, debris, or rust from the valve and its surrounding area.
After cleaning the drain valve, it is important to inspect it for any damage or wear. Look for signs of corrosion, leaks, or cracks that may indicate the need for a replacement. If the valve is damaged or not functioning properly, it is recommended to consult the manufacturer or a professional for assistance.
Once you have finished cleaning and inspecting the drain valve, close it tightly by turning it in the opposite direction. This will ensure a proper seal and prevent any further air or moisture from entering the tank. Remember to always perform regular maintenance on your Craftsman air compressor to keep it in optimal working condition.
Test the Air Compressor
Testing the air compressor is an important step to ensure its proper functioning. Here are a few simple steps to test your Craftsman air compressor:
- Check the power supply: Make sure the air compressor is properly connected to a power source and that the power switch is turned on. Verify that the circuit breaker or fuse is not tripped or blown.
- Inspect the pressure gauge: Look at the pressure gauge on the air compressor to see if it displays the correct pressure. If the gauge is not functioning properly or shows an inaccurate reading, it may need to be replaced.
- Listen for unusual noises: Turn on the air compressor and listen for any unusual sounds such as grinding, screeching, or rattling. These noises could indicate a problem with the motor or other components.
- Feel for vibrations: While the air compressor is running, place your hand on different parts of the unit to check for excessive vibrations. Excessive vibrations could suggest loose or worn-out parts that need to be tightened or replaced.
- Check the air pressure: Use a pressure gauge to measure the air pressure coming out of the air compressor. Compare this reading to the desired pressure for your specific application. If the air pressure is too low or too high, you may need to adjust the pressure regulator.
By performing these tests, you can identify any issues with your Craftsman air compressor and take the necessary steps to fix them. Regular testing and maintenance can prolong the lifespan of your air compressor and ensure its optimal performance.
FAQ:
Why is draining your Craftsman air compressor important?
Draining your Craftsman air compressor is important because it helps remove moisture and other contaminants that can accumulate and damage the compressor over time. Regular draining helps prolong the life of your compressor and ensures it operates at optimal efficiency.
How often should I drain my Craftsman air compressor?
The frequency of draining your Craftsman air compressor depends on the usage and operating conditions. However, it is generally recommended to drain the compressor at least once a month or after every use, especially in humid environments or when the compressor is used frequently.
Can I use an automatic drain valve for my Craftsman air compressor?
Yes, you can install an automatic drain valve on your Craftsman air compressor. An automatic drain valve eliminates the need for manual draining by automatically releasing moisture from the tank at set intervals or based on specific conditions. This can be a convenient option for those who want to ensure regular draining without the hassle of doing it manually.
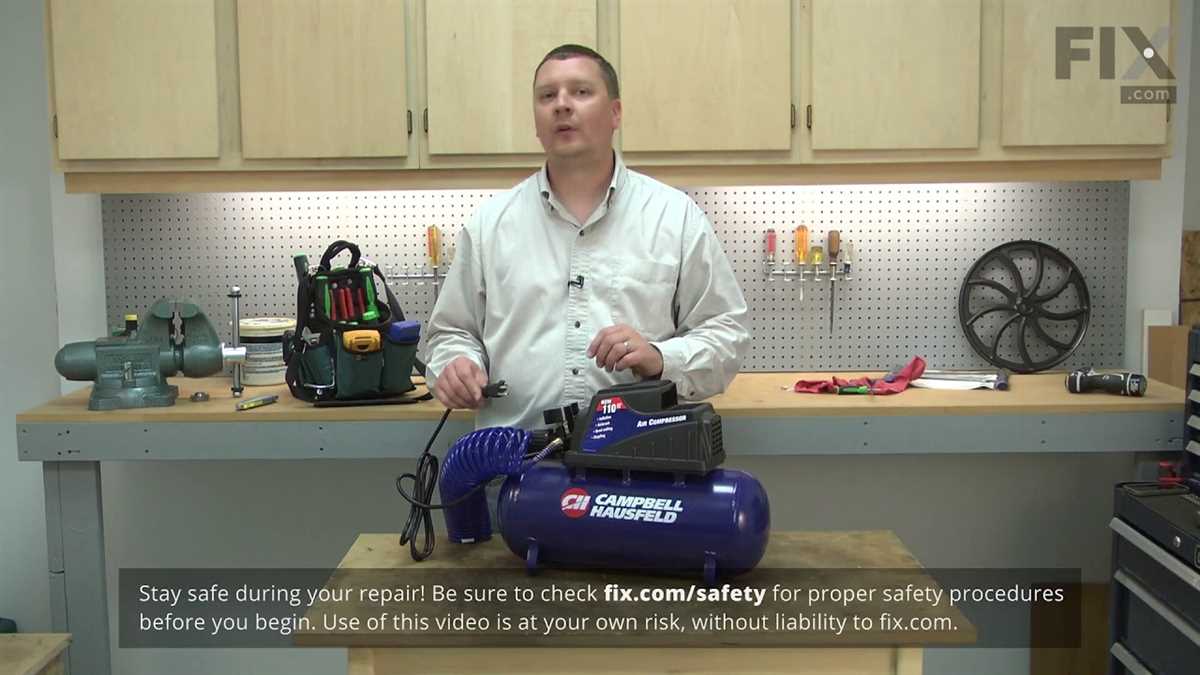
Video:


Harrison Clayton
Meet Harrison Clayton, a distinguished author and home remodeling enthusiast whose expertise in the realm of renovation is second to none. With a passion for transforming houses into inviting homes, Harrison's writing at https://thehuts-eastbourne.co.uk/ brings a breath of fresh inspiration to the world of home improvement. Whether you're looking to revamp a small corner of your abode or embark on a complete home transformation, Harrison's articles provide the essential expertise and creative flair to turn your visions into reality. So, dive into the captivating world of home remodeling with Harrison Clayton and unlock the full potential of your living space with every word he writes.


