How to Use Husky Air Compressor for Tires: A Step-by-Step Guide

Tires are a crucial component of any vehicle, and maintaining the correct tire pressure is essential for ensuring their longevity, performance, and overall safety. One of the most efficient ways to inflate tires is by using a Husky air compressor. Husky air compressors are known for their durability, reliability, and ease of use, making them an ideal choice for both professional mechanics and DIY enthusiasts.
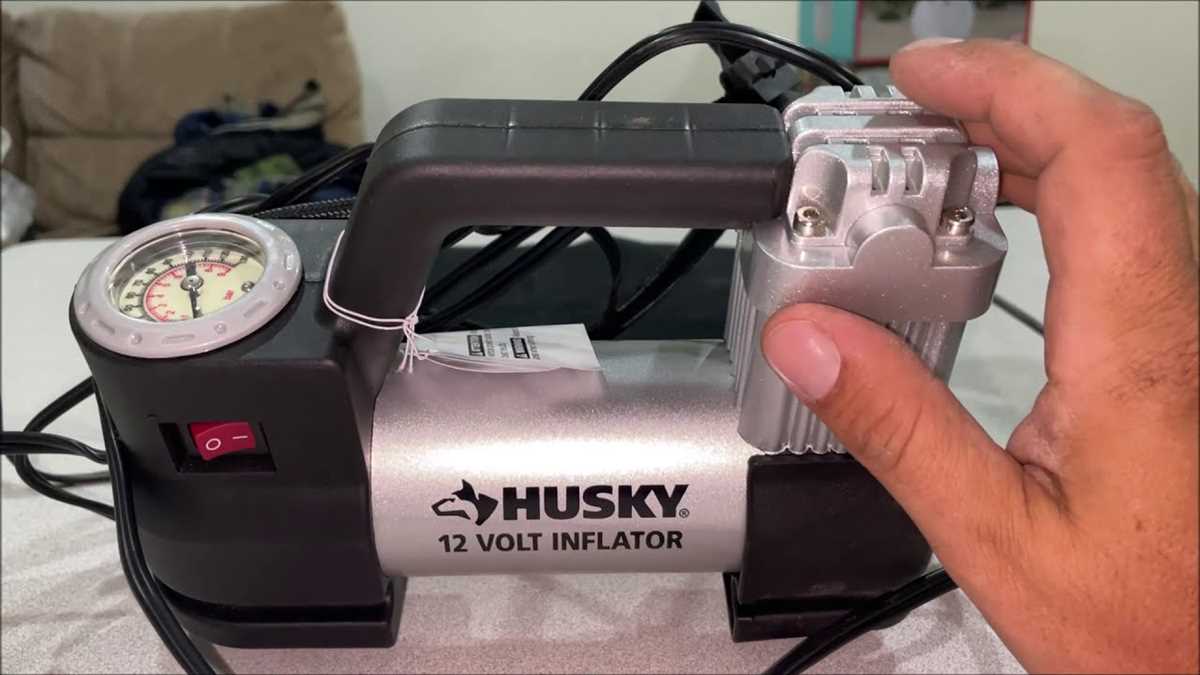
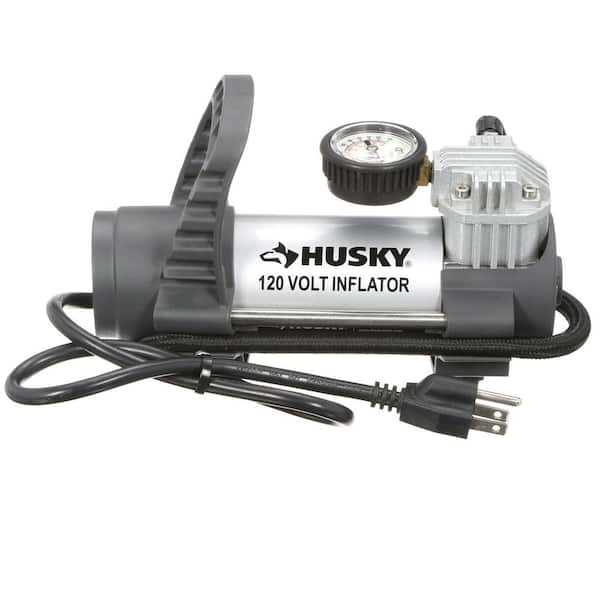
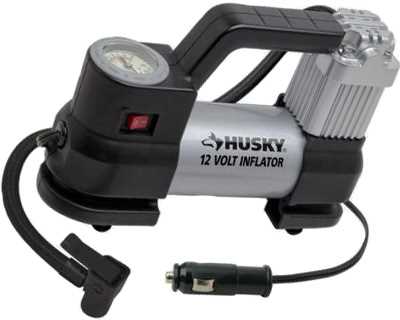
Before you begin using your Husky air compressor for tires, it’s important to familiarize yourself with its various components. The compressor typically consists of a motor, a pump, a tank, and various controls and gauges. Make sure to read the instruction manual provided by the manufacturer to understand the specific features and capabilities of your particular model.
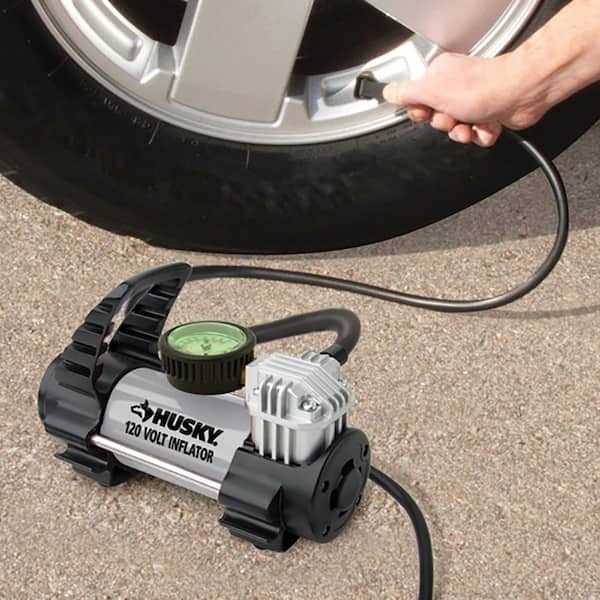
Once you have set up your Husky air compressor and ensured it is in proper working condition, you can start using it to inflate your tires. The first step is to attach the air hose to the tire valve stem. Make sure the connection is secure and tight to prevent any air leakage during the inflation process. It is important to note that the air compressor should only be used to inflate tires and should not be used for any other purpose.
Before you begin inflating the tires, it is recommended to check the tire pressure with a tire pressure gauge. This will allow you to determine the current tire pressure and ensure that you do not over-inflate the tires. Once you have determined the desired tire pressure, you can start the air compressor and begin inflating the tires.
While inflating the tires, it is important to monitor the tire pressure using the gauge on the air compressor or a separate tire pressure gauge. This will help you achieve the desired tire pressure and prevent over-inflation. Once the desired tire pressure is reached, stop the air compressor and disconnect the air hose from the tire valve stem. Repeat this process for all the tires on your vehicle.

In conclusion, using a Husky air compressor for inflating tires is a straightforward process that can be easily mastered with a little practice. By following this step-by-step guide and adhering to the manufacturer’s instructions, you can ensure that your tires are properly inflated, enhancing their performance, safety, and longevity.
Choosing the Right Husky Air Compressor
Consider the size of the air compressor
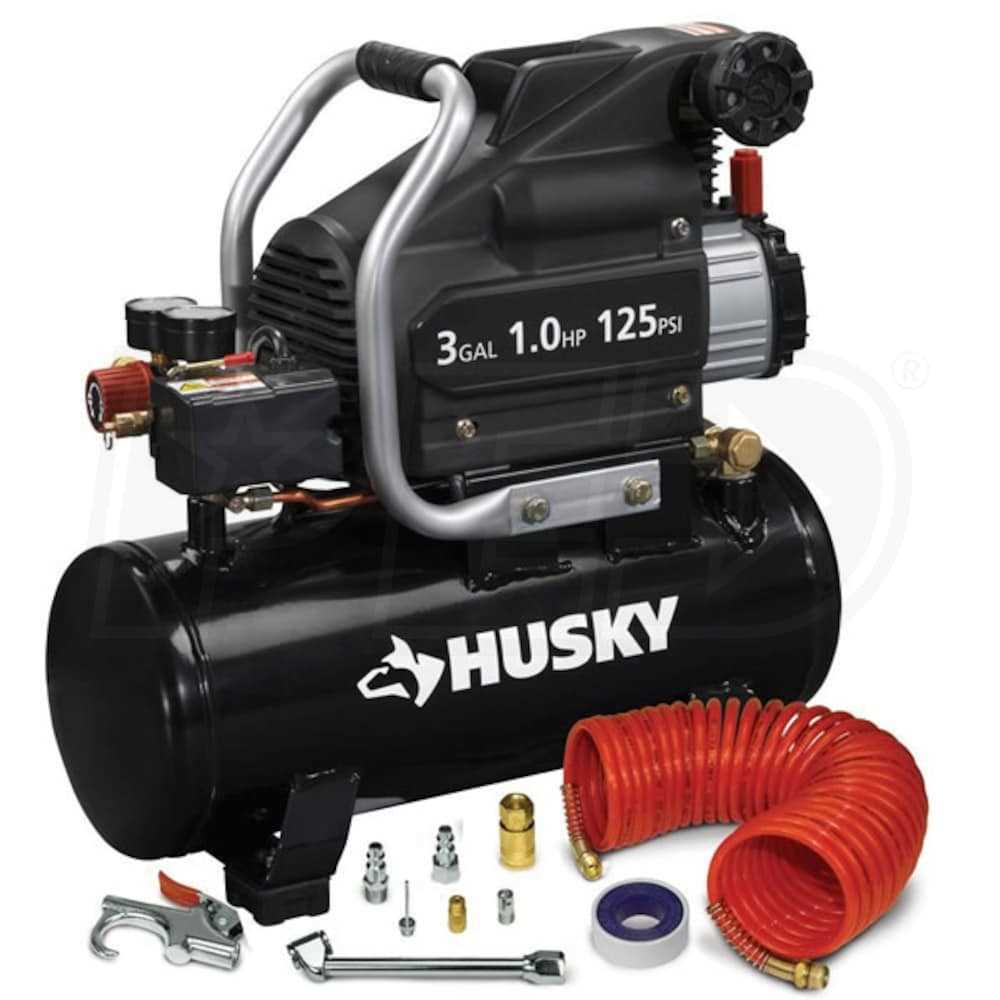
When choosing a Husky air compressor for your tire needs, it is important to consider the size of the compressor. The size of the air compressor will determine its capacity and how much air it can generate. If you plan on using the air compressor for small tasks like inflating tires, a smaller size may be sufficient. However, if you plan on using it for larger tasks or for multiple tires, you may need a larger size with a higher capacity.
Look at the maximum PSI
The maximum PSI (pound per square inch) rating of the air compressor is another important factor to consider. The PSI rating indicates the pressure at which the air compressor can deliver air. A higher PSI rating will allow for faster inflation of tires. When choosing a Husky air compressor, consider the maximum PSI rating that is suitable for your tire needs. Keep in mind that some tires require higher PSI levels than others. It is always better to choose an air compressor with a higher maximum PSI rating to ensure compatibility with a wide range of tires.
Check the noise level
Noise level is an important aspect to consider when choosing a Husky air compressor. If you plan on using the air compressor in a noise-sensitive area or if you have a low tolerance for loud noises, it is recommended to choose a model with a lower noise level. Some air compressors come with noise-reducing features or insulation to minimize noise levels. Be sure to check the product specifications and reviews to get an idea of the noise level before making a purchase.

Consider portability and storage
Portability and storage options are also worth considering when choosing a Husky air compressor. If you plan on using the air compressor for outdoor activities or need to transport it frequently, a portable and compact model would be ideal. Look for air compressors with handles or wheels for easy portability. Additionally, consider the size and design of the air compressor to ensure it can be stored conveniently in your garage or workshop without taking up too much space.
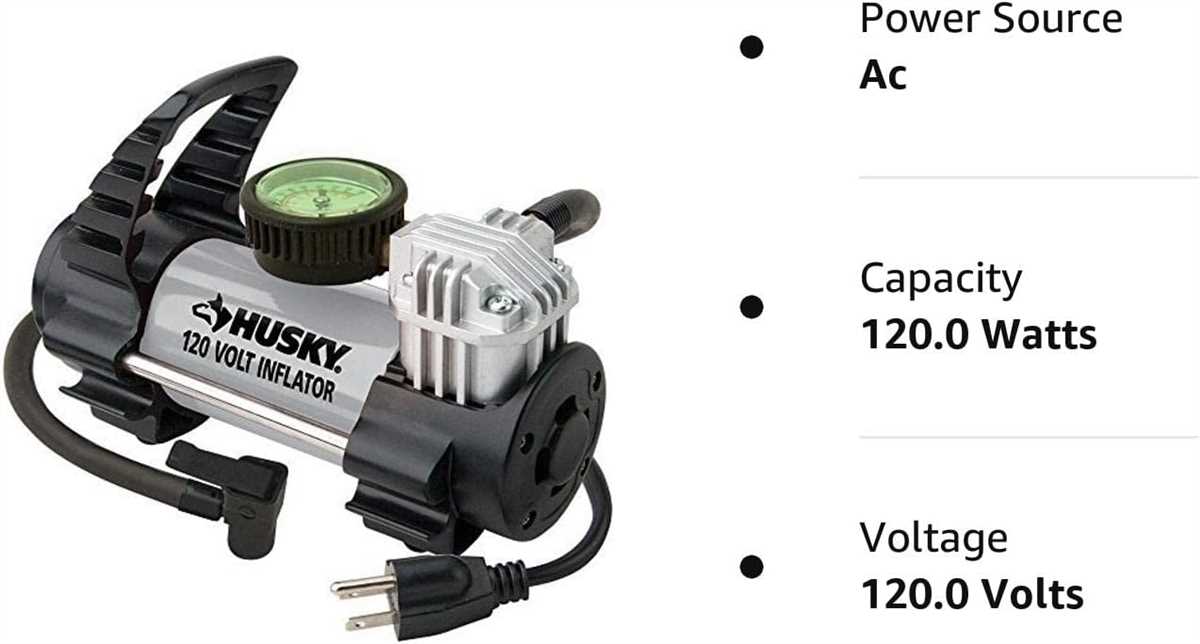
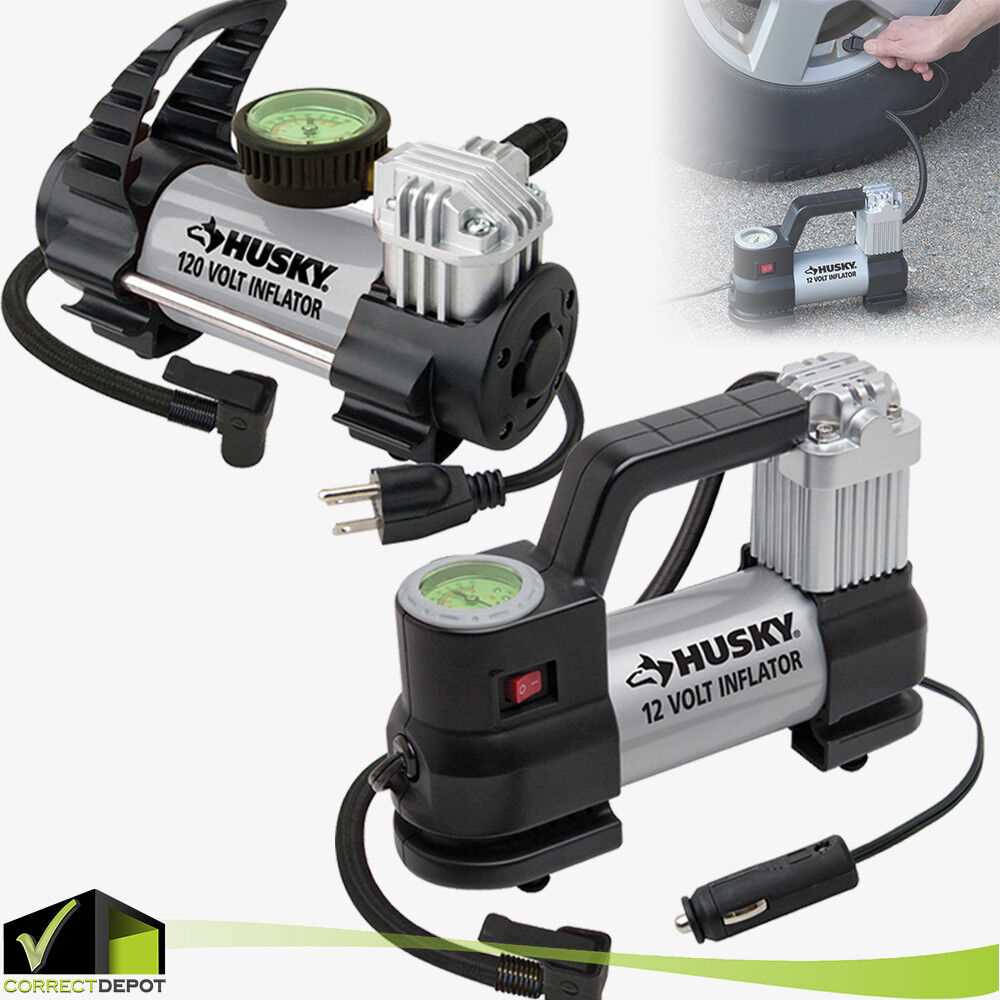
Take into account the power source
Lastly, consider the power source options for the Husky air compressor. Some models are powered by electricity, while others run on gas or are cordless. Each power source has its advantages and limitations. Electric air compressors are usually more convenient for indoor use, as they can be plugged into standard outlets. Gas-powered or cordless air compressors offer more flexibility for outdoor use, but may require refueling or recharging. Choose the power source that aligns with your specific needs and preferences.
Understanding the Key Features
When using a Husky air compressor for tire inflation, it is important to understand the key features that make this tool effective and efficient. By knowing how these features work, you can properly utilize the compressor and ensure optimal performance.
1. PSI Rating

The PSI rating of the Husky air compressor indicates the maximum pressure the tool can deliver. It is crucial to match the PSI rating of the compressor with the recommended PSI level for your specific tires. This ensures safe and accurate inflation without over or underinflating the tires.
2. Tank Capacity
The tank capacity refers to the amount of compressed air the Husky air compressor can store. A larger tank capacity allows for longer continuous operation without frequent refilling. When inflating tires, a larger tank capacity can be beneficial as it reduces the downtime needed to refill the tank.
3. CFM Rating
The CFM (cubic feet per minute) rating of the Husky air compressor represents the volume of air it can deliver. This rating is essential as it determines the speed at which the compressor can inflate tires. A higher CFM rating means faster inflation, reducing the overall time required to fill the tires.
4. Pressure Regulator
A Husky air compressor typically comes equipped with a pressure regulator. This feature allows you to control and adjust the desired pressure level for the tire inflation. By setting the correct pressure, you can avoid overinflation or underinflation, ensuring that the tires have the appropriate pressure for optimal performance and safety.
5. Cord Length and Portability
Consider the cord length and portability of the Husky air compressor when using it for tire inflation. A longer cord allows for more flexibility in reaching all the tires without the need for an extension cord. Additionally, a compact and lightweight design makes the compressor more portable, allowing for easy transportation and storage.

6. Noise Level
The noise level of the Husky air compressor is an important consideration, especially if you plan to use it in residential areas or noise-sensitive environments. Look for models that offer quieter operation to minimize disruptions while still providing efficient tire inflation.
By understanding these key features of a Husky air compressor, you can use the tool effectively and achieve accurate tire inflation. Always refer to the product manual for specific instructions and safety precautions before operating the machine.
Gathering the Necessary Tools
Before you can start using a Husky air compressor for tires, you will need to gather some necessary tools. These tools will ensure that you have everything you need to properly inflate your tires. Here is a list of the tools you will need:
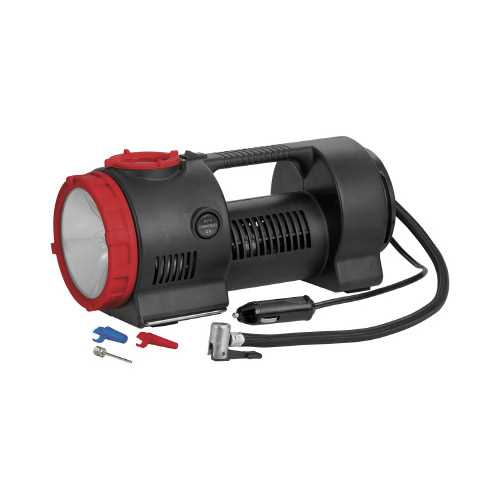
- Husky air compressor: The first tool you will need is a Husky air compressor. This is the main piece of equipment that will allow you to inflate your tires.
- Tire pressure gauge: In order to know the current pressure of your tires and how much air to add, you will need a tire pressure gauge. This tool will help you accurately measure the pressure.
- Tire chuck: A tire chuck is a tool that attaches to the air compressor hose and allows you to easily connect it to the valve stem of your tire. It helps create a tight seal for efficient inflation.
- Tire inflator attachment: This attachment is used to connect the air compressor hose to the tire chuck. It typically comes with the Husky air compressor and ensures a secure connection.
- Extension cord (if needed): Depending on the location of your air compressor and the distance from your tires, you may need an extension cord to reach all the tires.
Once you have gathered these tools, you will be ready to start using your Husky air compressor for tire inflation. Make sure all the tools are in good working condition and follow the manufacturer’s instructions for safe and proper use.
Preparing the Air Compressor

Before using your Husky air compressor for tires, it’s important to properly prepare the machine. Following these steps will ensure that your compressor is ready for use:
1. Check the oil level
Start by checking the oil level in your air compressor. Refer to the manufacturer’s instructions to locate the oil dipstick or sight glass. If the oil level is low, add the recommended oil type until it reaches the proper level.
2. Inspect the air filter
Next, inspect the air filter to ensure it’s clean and free from any dirt or debris. A dirty or clogged air filter can affect the performance of the compressor. If necessary, clean or replace the air filter before using the machine.
3. Connect the compressor to a power source
Once the necessary maintenance checks are complete, connect the air compressor to a suitable power source. Make sure the power source meets the requirements specified in the compressor’s manual.
4. Adjust the pressure regulator
Before inflating your tires, adjust the pressure regulator to the desired psi (pounds per square inch). Refer to your vehicle’s manual or the tire sidewall for the recommended tire pressure. Turning the pressure regulator clockwise will increase the pressure, while turning it counterclockwise will decrease the pressure.
5. Prime the compressor
Finally, prime the compressor by starting it and allowing it to build up pressure. This might take a few minutes. Once the pressure gauge indicates that the desired pressure has been reached, the compressor is ready to use for inflating your tires.
Connecting the Air Hose
Once you have your Husky air compressor ready and set up, the next step is to connect the air hose. The air hose is what will allow you to transfer the compressed air from the compressor to your tires.
First, locate the air outlet on your Husky air compressor. This is typically a small valve with a threaded connector. Make sure the compressor is turned off before connecting the air hose.
Next, take one end of the air hose and thread it onto the air outlet. Twist it clockwise until it is securely tightened. You may want to use a wrench to ensure a tight connection.
Now, take the other end of the air hose and attach it to the valve on the tire. To do this, simply press the nozzle of the air hose onto the valve and hold it securely in place.
Once the air hose is securely connected to both the compressor and the tire, you are ready to start inflating. Make sure the compressor is turned on and adjust the pressure settings to your desired level.
It’s important to monitor the tire pressure as you inflate it to ensure that you don’t overinflate and cause damage. Use a tire pressure gauge to regularly check the pressure and release air if needed.
When you have finished inflating the tire, turn off the compressor and disconnect the air hose from the tire and the compressor. Store the hose properly to keep it in good condition for future use.
Remember to always follow safety precautions while using your Husky air compressor, such as wearing protective eyewear and gloves. Keep the compressor and all accessories out of the reach of children.
Setting the Optimal Pressure
Setting the optimal pressure for your tires is crucial for ensuring proper vehicle performance and safety. When using a Husky air compressor, follow these steps to set the optimal tire pressure:
- Refer to the vehicle manual: The manufacturer’s recommendations for tire pressure can usually be found in the vehicle manual or on a sticker located on the driver’s side door jamb. It’s important to follow these guidelines as they are based on the specific make and model of your vehicle.
- Check the current tire pressure: Before adding or releasing air from your tires, check the current tire pressure using a tire pressure gauge. This will give you an idea of how much air needs to be added or removed.
- Attach the air compressor: Connect the air compressor hose to the valve stem of the tire. Ensure a secure connection to prevent air leaks.
- Add or release air: Use the air compressor to add or release air from the tire. Start by adding a small amount of air and then check the tire pressure again. Repeat this process until the desired pressure is reached.
- Monitor the pressure: While using the air compressor, it’s important to monitor the tire pressure using a tire pressure gauge. This will help you ensure that you don’t over-inflate or under-inflate the tires.
- Remove the air compressor: Once the optimal tire pressure has been reached, disconnect the air compressor hose from the valve stem. Make sure to securely tighten the valve stem cap.
By following these steps, you can easily set the optimal tire pressure using a Husky air compressor. Remember to regularly check and adjust the tire pressure to ensure safe and efficient driving.
Removing the Valve Cap
Step 1: Preparation
Before removing the valve cap from your tire, it’s important to prepare yourself and the area where the compressor will be used. Make sure you have a clear work space and gather all the necessary tools, including the air compressor, the hose, and the pressure gauge. It’s also a good idea to put on some protective gloves to prevent any injuries.
Step 2: Loosening the Valve Cap
Once you are prepared, locate the valve stem on the tire. It is usually located near the center of the rim. To remove the valve cap, use your fingers to twist it counterclockwise. If the valve cap is stuck, you can also use a pair of pliers or a valve cap wrench to loosen it. Be careful not to apply too much force, as this can damage the valve stem or the cap itself.
Step 3: Removing the Valve Cap
Once the valve cap is loosened, continue twisting it counterclockwise until it comes off completely. Set the cap aside in a safe place so you don’t lose it. It’s important to remove the valve cap to ensure that air can flow freely into the tire when using the air compressor.
Step 4: Inspecting the Valve Stem
After removing the valve cap, take a moment to inspect the valve stem for any signs of damage or debris. If you notice any cracks, tears, or blockages, it’s important to address them before using the air compressor. Clear any debris from the valve stem using a small brush or a burst of compressed air.
Now that you have successfully removed the valve cap and inspected the valve stem, you are ready to proceed with using the Husky air compressor for your tires. Remember to always follow the manufacturer’s instructions and guidelines to ensure safe and effective operation.
Attaching the Air Chuck
Attaching the air chuck is an essential step in using a Husky air compressor for tires. The air chuck is the part that connects to the valve stem of the tire, allowing the air to flow into the tire.
To attach the air chuck, follow these steps:
- Locate the valve stem on the tire. It is usually found on the inner side of the tire and is a small metal protrusion.
- Remove the valve stem cap by unscrewing it counterclockwise.
- Hold the air chuck in your hand and align the chuck’s opening with the valve stem.
- Press the air chuck firmly onto the valve stem to create a secure connection.
- Lock the air chuck onto the valve stem by pushing down on the chuck’s lever or twisting the chuck clockwise, depending on the type of air chuck you have.
Once the air chuck is securely attached, you are ready to start using the Husky air compressor to inflate your tires.
Inflating the Tires
Step 1: Prepare the compressor
Before you start inflating the tires, make sure you have properly prepared the Husky air compressor. Check the oil level and ensure that it is at the recommended level. If necessary, add more oil. Also, make sure the compressor is connected to a power source and turned on.
Step 2: Attach the air hose
Once the compressor is ready, locate the air hose and attach it securely to the tire valve stem. Make sure the connection is tight to prevent any air leakage. You may need to use a tire chuck or tire inflator nozzle to properly attach the air hose to the valve stem.
Step 3: Set the desired pressure
Next, set the desired pressure for your tires. You can use a pressure gauge to check the current pressure and adjust it accordingly. To inflate the tires to the recommended pressure, refer to the manufacturer’s guidelines or the tire pressure information often found on the driver’s side door jamb or in the vehicle’s manual.
Step 4: Start the inflation process
Once the desired pressure is set, turn on the compressor and begin the inflation process. Watch the pressure gauge as the air is being pumped into the tire. Take breaks in between to check the pressure and make any necessary adjustments.
Step 5: Inflate evenly

When inflating the tires, it is important to inflate them evenly. Start with one tire and inflate it to the desired pressure level before moving on to the next tire. This will ensure that all tires are properly inflated and balanced.
Step 6: Check the pressure
After inflating all the tires, it is essential to check the pressure once again to ensure they are at the correct level. Use a pressure gauge to measure the pressure in each tire. If necessary, make any adjustments to reach the recommended pressure.
Step 7: Disconnect the air hose
Once you are satisfied with the pressure in all the tires, disconnect the air hose from the valve stem. Be careful not to release any excess air during this process. Securely cap the valve stems to prevent air leakage.
Following these steps will allow you to properly inflate your tires using a Husky air compressor. Regularly checking and maintaining the tire pressure is important for ensuring safe and efficient driving.
FAQ:
Can I use a Husky air compressor to inflate my car tires?
Yes, you can use a Husky air compressor to inflate your car tires. It is specifically designed for such purposes and provides efficient and effective inflation.
What is the recommended pressure for car tires?
The recommended pressure for car tires can vary depending on the specific make and model of your vehicle. However, in general, the recommended pressure is usually between 30 and 35 pounds per square inch (psi).
How do I connect the Husky air compressor to my car tires?
To connect the Husky air compressor to your car tires, first locate the valve stems on the tires. Then, attach the air hose from the compressor to the valve stems by pressing it firmly onto the stem and releasing the locking mechanism.
What should I do if the Husky air compressor doesn’t start?
If the Husky air compressor doesn’t start, first check if it is properly plugged into a power source. Also, make sure the on/off switch is in the “on” position. If these steps don’t solve the issue, check the fuse or circuit breaker and replace them if necessary.
How long should I let the Husky air compressor run to inflate my car tires?
The length of time it takes to inflate your car tires using a Husky air compressor depends on various factors, such as the size and pressure of the tires and the power of the compressor. On average, it may take around 2-5 minutes per tire.
Can I use the Husky air compressor for other purposes besides inflating tires?
Yes, you can use the Husky air compressor for various other purposes besides inflating tires. It can be used for inflating sports equipment, air mattresses, and other inflatables, as well as for powering pneumatic tools such as nail guns or paint sprayers.
Video:


Meet Harrison Clayton, a distinguished author and home remodeling enthusiast whose expertise in the realm of renovation is second to none. With a passion for transforming houses into inviting homes, Harrison's writing at https://thehuts-eastbourne.co.uk/ brings a breath of fresh inspiration to the world of home improvement. Whether you're looking to revamp a small corner of your abode or embark on a complete home transformation, Harrison's articles provide the essential expertise and creative flair to turn your visions into reality. So, dive into the captivating world of home remodeling with Harrison Clayton and unlock the full potential of your living space with every word he writes.


