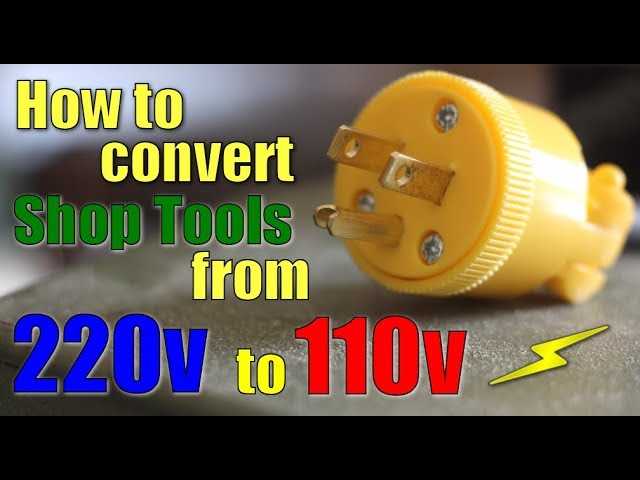
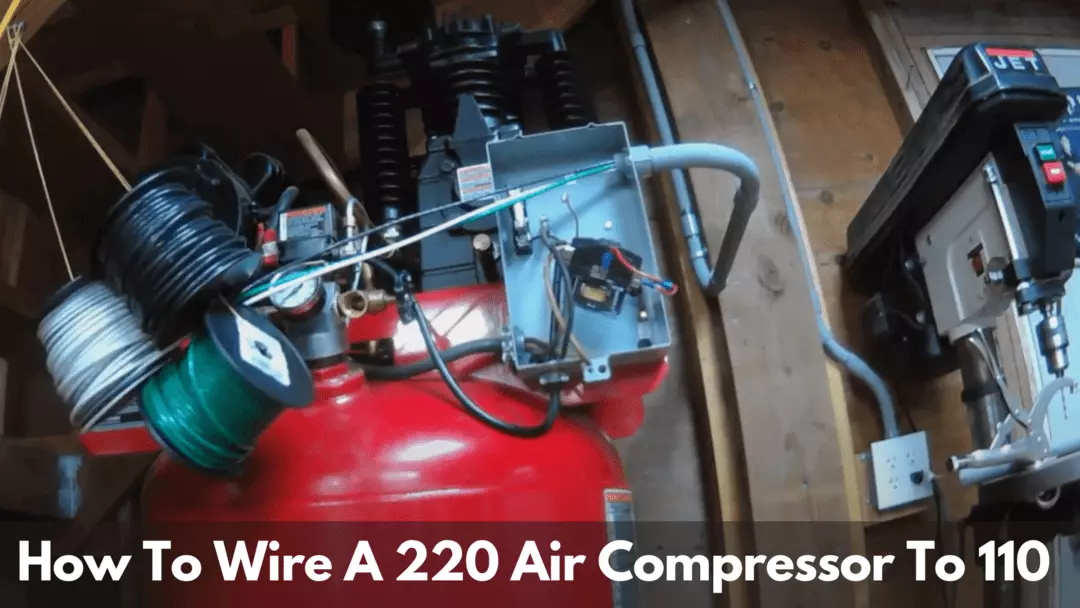
How to Convert a 220 Air Compressor to 110: Step-by-Step Guide

Converting a 220 air compressor to 110 can be a practical solution for those who don’t have access to a 220 volt outlet or simply want to use their compressor on a standard household electrical circuit. While it may seem like a daunting task, with a little bit of knowledge and some basic tools, you can easily convert your air compressor to operate on 110 volts.
Before you begin the conversion process, it’s important to understand the electrical requirements and limitations of your air compressor. Most 220 air compressors are designed to run on a higher voltage for increased power and efficiency. However, by converting it to 110 volts, you will need to take into account the reduced power output and adjust your expectations accordingly.
One of the first steps in converting your air compressor is to check its voltage rating. This information can typically be found on a label or plate attached to the compressor motor. If your compressor is rated for 220 volts, you will need to make sure that the motor can be rewired to operate on 110 volts. Some motors are dual voltage and can be easily rewired, while others may require a transformer or new motor.
Once you have determined that your air compressor motor can be rewired, the next step is to gather the necessary tools and materials. You will need a set of screwdrivers, wire cutters, wire strippers, electrical tape, wire nuts, and possibly a new power cord or plug. It’s important to have these tools on hand before you start the conversion process to avoid unnecessary delays.
What is a 220 Air Compressor?

A 220 air compressor is a power tool that is designed to provide a steady supply of compressed air for various applications. It is called a 220 air compressor because it operates on a voltage of 220 volts, which is higher than the standard household voltage of 110 volts.
These air compressors are commonly used in industrial settings, construction sites, and automotive workshops. They are versatile tools that can be used for tasks such as powering pneumatic tools, inflating tires, or operating machinery and equipment that require compressed air.
220 air compressors are typically larger and more powerful than their 110 volt counterparts. They are capable of delivering higher pressure and larger volumes of compressed air, making them suitable for heavy-duty applications. Due to their higher voltage requirements, special care must be taken when using and installing a 220 air compressor.
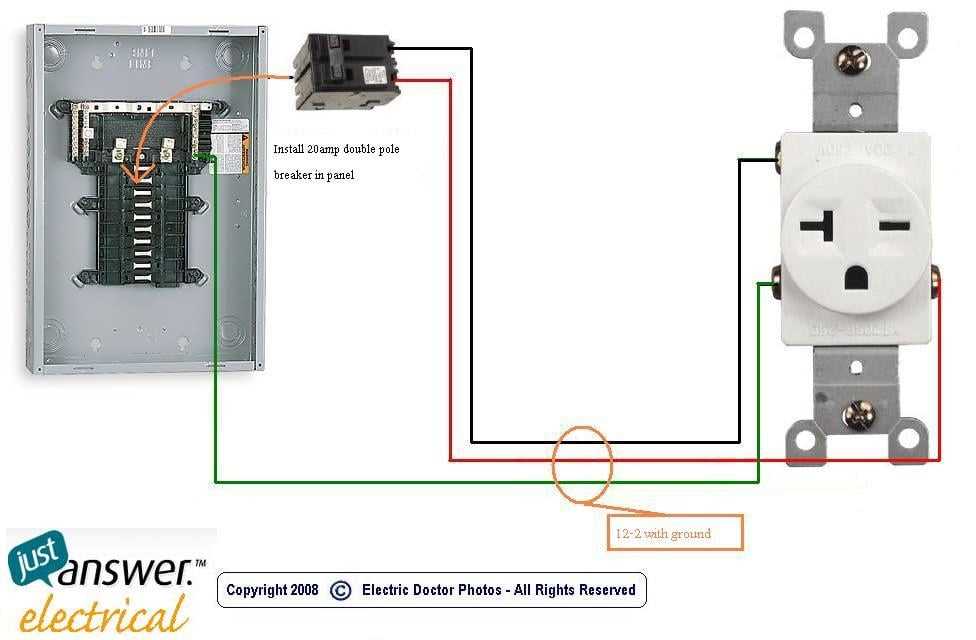
When converting a 220 air compressor to 110 volts, it is important to ensure that the necessary safety precautions are followed to prevent electrical hazards. Consulting a professional electrician or following a step-by-step guide can help ensure a safe and successful conversion process.
Understanding the Differences Between 220V and 110V
When it comes to electrical power systems, one of the main differences between 220V and 110V is the voltage level they provide. While both are commonly used in households and industrial settings, they operate at different voltage levels.

220V: This voltage level is commonly used in many countries around the world, including Europe, Asia, and Africa. It provides a higher voltage level, which allows for more efficient power distribution and the use of higher-powered devices and appliances.
110V: This voltage level is mainly used in North America, as well as some parts of Central and South America. It provides a lower voltage level, which is suitable for smaller electronic devices and appliances.
Key Differences:
1. Voltage Level: The most significant difference between 220V and 110V is the voltage level they provide. 220V enables the use of higher-powered devices, while 110V is suitable for smaller electronic devices and appliances.
2. Power Consumption: Since 220V provides a higher voltage level, devices operating at this level tend to consume less current compared to devices operating at 110V. This means that appliances and devices running on 220V are generally more energy-efficient.
Applications:

Each voltage level has its own applications and is designed to meet specific electrical requirements:
- 220V: This voltage level is commonly used for heavy-duty appliances and devices such as air conditioners, electric ovens, and large power tools.
- 110V: This voltage level is typically used for smaller electronic devices and appliances such as lamps, computers, television sets, and kitchen appliances.
Understanding the differences between 220V and 110V is essential when it comes to using electrical devices and appliances, as using the wrong voltage can lead to damage or improper functioning. It is important to consult the device’s manual or label to determine the appropriate voltage level before connecting it to a power source.
Why Convert a 220 Air Compressor to 110?
There are several reasons why you might want to convert a 220 air compressor to 110 volts.
Compatibility: Converting a 220 air compressor to 110 volts allows you to use the compressor with standard home electrical outlets. If you don’t have a dedicated 220-volt outlet or if it’s not practical to install one, converting the compressor to 110 volts can make it more convenient to use.

Availability: 110-volt electrical outlets are much more common in homes and buildings compared to 220-volt outlets. By converting your air compressor to 110 volts, you increase the number of places where you can use it. This can be especially beneficial if you need to use the compressor in different locations or if you frequently move it around.
Cost: Depending on your location and electrical setup, it can be more cost-effective to convert a 220 air compressor to 110 rather than installing a dedicated 220-volt outlet. Converting the compressor may require less wiring work and materials, saving you money in the process.
Versatility: Many 220 air compressors can operate on both 110-volt and 220-volt power sources. By converting the compressor to work with 110 volts, you give yourself the option to use it in a wider range of situations and environments.
DIY Ability: Converting a 220 air compressor to 110 volts is a relatively straightforward process that can be accomplished by DIY enthusiasts with basic electrical knowledge and tools. By performing the conversion yourself, you can save money on hiring an electrician or professional technician.
Overall, converting a 220 air compressor to 110 volts can increase the versatility, convenience, and compatibility of the compressor, making it a worthwhile modification for many users. Be sure to consult the compressor’s user manual and follow all safety precautions when performing the conversion.

Step 1: Gathering the Necessary Tools and Materials
Before starting the process of converting a 220 air compressor to 110, it is important to gather all the necessary tools and materials. Having everything ready will make the conversion process smoother and more efficient.
Here is a list of the tools and materials you will need:
- A 110-volt electrical outlet
- A voltage conversion kit
- Wire strippers
- Electrical tape
- Screwdriver
- Wire connectors
- Multimeter
- Extension cord (if needed)
Explanation:
In order to convert a 220 air compressor to 110, you will need to have a 110-volt electrical outlet available. This is the standard voltage used in most households. If you don’t have a 110-volt outlet near where you plan to use the air compressor, you may need to use an extension cord to connect the compressor to a nearby outlet.
You will also need a voltage conversion kit, which is essential for ensuring that the compressor’s motor runs smoothly on the lower voltage. This kit typically includes a new power cord, a new plug, and any necessary adapters.
Other tools you will need for the conversion process include wire strippers, electrical tape, and a screwdriver. These tools will be used to remove the existing power cord from the compressor and install the new one from the voltage conversion kit.
Finally, a multimeter will be necessary to test the voltage and ensure that the conversion has been successful. This tool allows you to measure the electrical potential difference between two points in the circuit.
By having all of these tools and materials ready before starting the conversion process, you can save time and complete the task more efficiently.
Step 2: Turning Off the Power
In order to safely convert a 220 air compressor to 110, it is crucial to turn off the power supply. Follow these steps:
- Start by locating the breaker or fuse box. This can usually be found in a utility room or basement.
- Open the breaker or fuse box and identify the switch or fuse that controls the power supply to the air compressor.
- If it is a breaker, switch it off by flipping the switch to the “off” position. If it is a fuse, carefully unscrew it to disconnect the power supply.
- Double-check that the power supply to the air compressor is indeed off by attempting to turn it on. If it does not start, you have successfully turned off the power.
It is important to turn off the power supply to the air compressor before attempting any electrical modifications. This will help prevent electrical shocks and other hazards during the conversion process.
Step 3: Removing the Existing Wiring
Before converting a 220 air compressor to 110, it’s crucial to remove the existing wiring. Here’s how to do it:
- Start by turning off the power source to avoid any electrical accidents. Locate the circuit breaker panel or the main switch and switch off the power supply to the air compressor.
- With the power turned off, use a voltage tester to ensure that there is no electricity flowing through the wires. This step is essential for safety purposes.
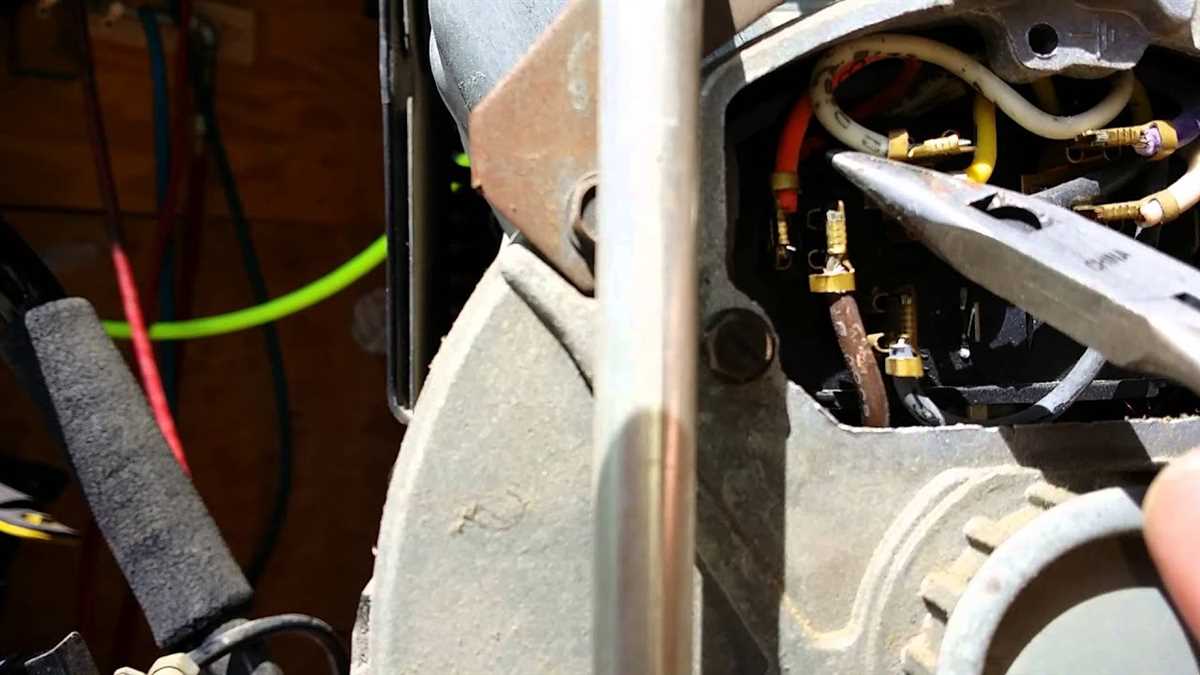
- Open the control panel cover of the air compressor. This cover is usually located on the top or side of the compressor, secured with screws. Remove the screws using a screwdriver and carefully lift off the cover.
- Inside the control panel, locate the existing wiring connections. Take a clear picture or make a diagram of the wiring connections before disconnecting them. This will help you during the reconnection process.
- To remove the wiring, use a wire cutter or stripper tool to cut the wires close to the connectors. Be careful not to damage any other components or wires.
- Once all the wiring connections have been cut, remove them from the control panel and set them aside.
By following these steps, you can safely remove the existing wiring from the 220 air compressor, preparing it for the conversion to 110 volts.
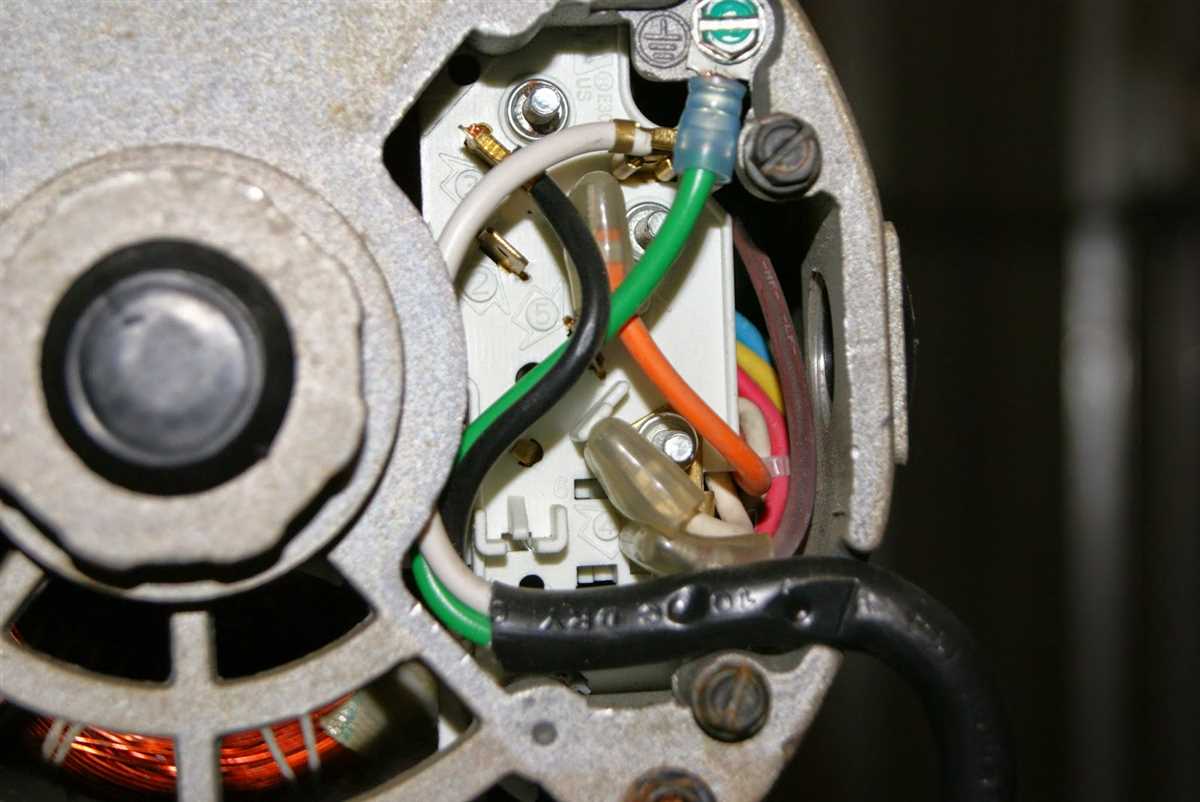
Step 4: Installing the Lower Voltage Wiring
Once you have determined the correct wiring configuration for your 220 air compressor and gathered all necessary tools and materials, it’s time to install the lower voltage wiring. This step is crucial in converting your 220 air compressor to run on 110 volts.
Caution: Before starting this step, make sure the power is disconnected to avoid any electrical accidents or injuries.
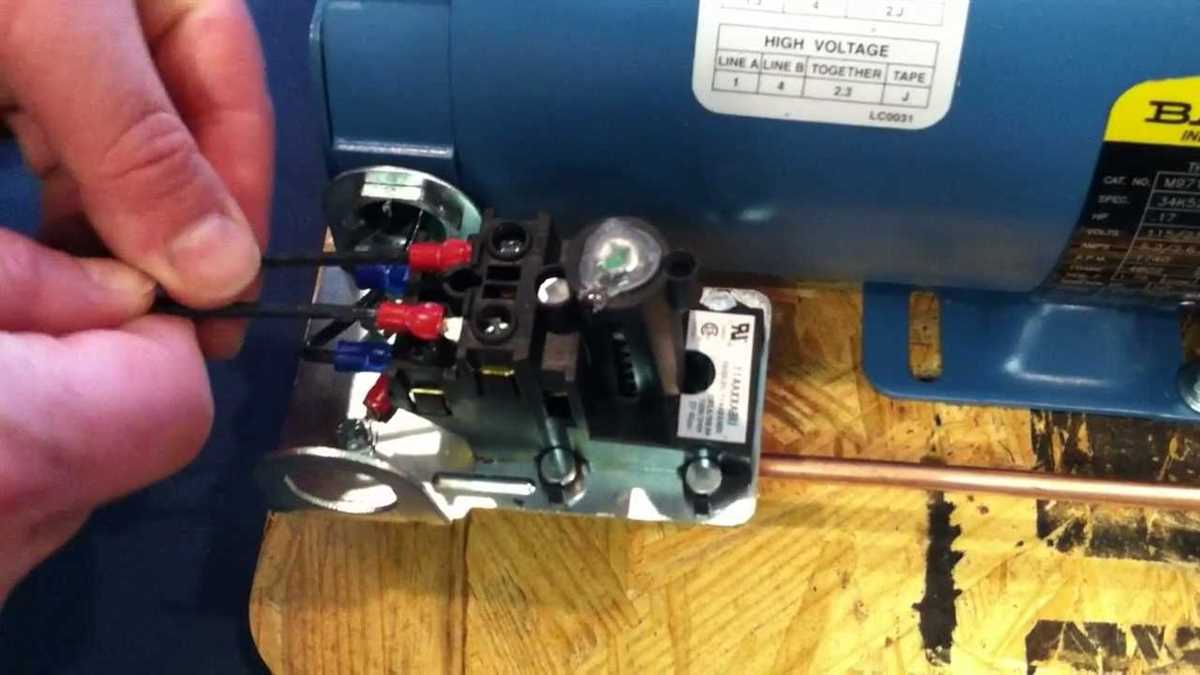
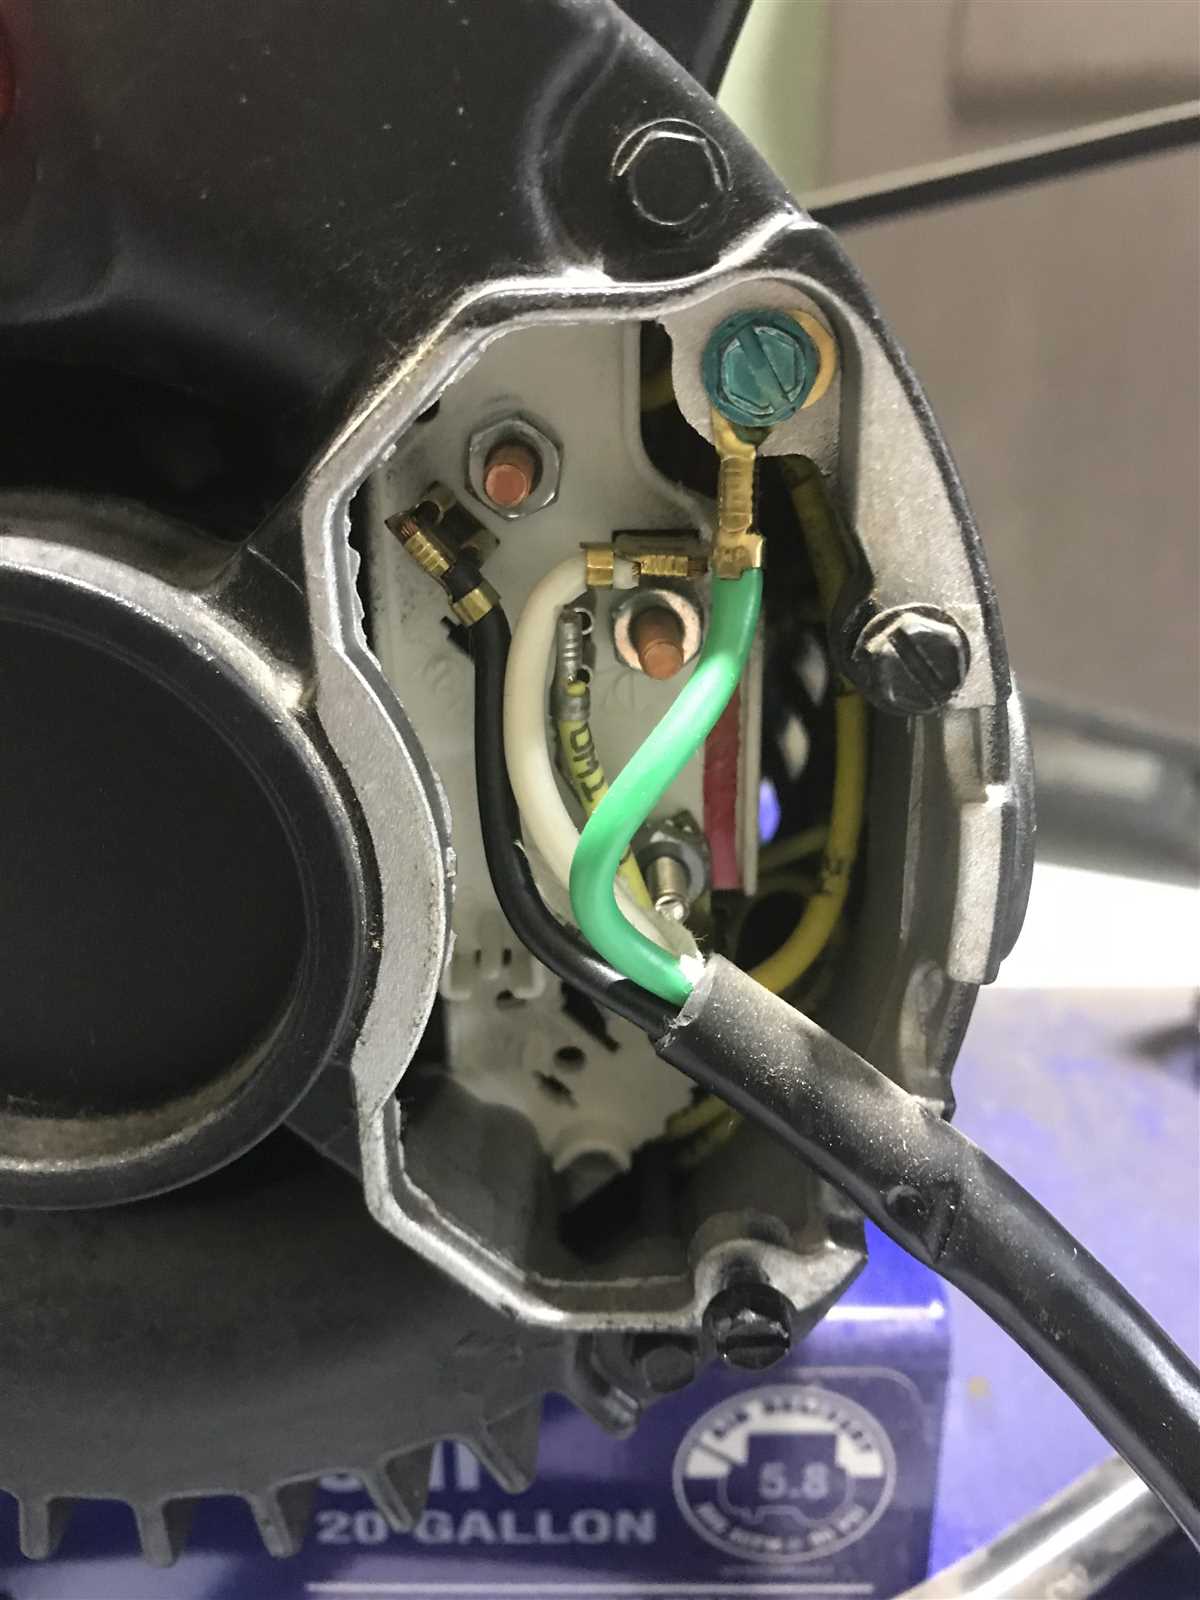
1. Start by removing the cover plate on the air compressor’s motor. This will give you access to the internal wiring.
2. Locate the existing wiring connections for the motor. These will typically be labeled as “L1,” “L2,” and “L3.”
3. Using a voltage tester, confirm that the power has been completely disconnected by testing the wires. Ensure that there is no electrical current running through them.
4. Disconnect the wires connected to “L1,” “L2,” and “L3” terminals. Take note of their positions in case you need to reconnect them later.
5. Using a wire stripper, remove the insulation from the lower voltage wires. These wires will typically be labeled “L1,” “L2,” and “Ground.”
6. Connect the lower voltage wires to the appropriate terminals. Match the wire labeled “L1” with the terminal marked “L1,” the wire labeled “L2” with the terminal marked “L2,” and the ground wire with the ground terminal.
7. Tighten the terminal screws securely to ensure good electrical contact.
8. Inspect the wiring connections to ensure they are secure and free from any loose strands or exposed wires.
9. Replace the cover plate on the motor, making sure it is properly aligned and secured.
10. Once the lower voltage wiring is installed, you can proceed to the next step in the conversion process.
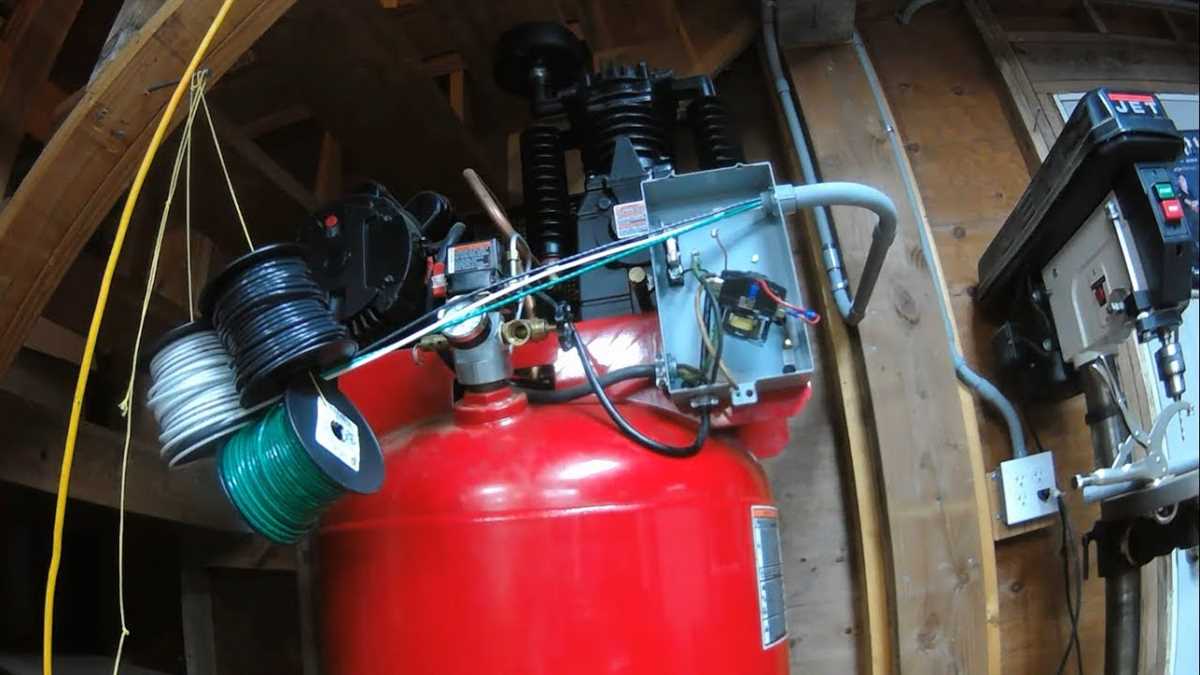
Step 5: Testing and Troubleshooting
After completing the conversion process, it is important to test and troubleshoot your newly converted 220 air compressor to ensure its functionality and safety.
Testing:
1. Plug in the air compressor to a 110V outlet and turn it on. Listen for any unusual noises or vibrations.
2. Check if the compressor is building up pressure properly. Observe the pressure gauge and make sure it reaches the desired pressure level without any issues.
3. Test the airflow by attaching a tool or device to the compressor. Check if the air is flowing consistently and at the desired level.
Troubleshooting:
If you encounter any problems during the testing phase, here are a few troubleshooting steps you can follow:
- Check the power supply: Ensure that the outlet you are using is functioning properly and providing the correct voltage.
- Inspect the wiring: Double-check all the wiring connections you made during the conversion process. Make sure they are secure and correctly connected.
- Examine the motor: If the motor is not running or running inefficiently, inspect it for any visible damage or loose components. Consider consulting a professional if needed.
- Verify the pressure switch: The pressure switch controls the compressor’s operation. Check if it is functioning correctly and adjust it if necessary.
- Review the user manual: Refer to the compressor’s user manual for troubleshooting tips specific to your model or contact the manufacturer for further assistance.
By testing and troubleshooting your converted 220 air compressor, you can ensure that it is working properly and safely for your 110V power supply. Always prioritize safety and consult a professional if you are unsure about any steps or encounter significant issues.
FAQ:
Why would I want to convert my 220 air compressor to 110?
There could be a few reasons why you might want to convert your 220 air compressor to 110. One reason could be that you have limited access to 220 power outlets and it would be more convenient to run your compressor on 110 power. Another reason could be that you want to use your compressor in a location where only 110 power is available. Converting your compressor to 110 allows you to use it in a wider range of situations.
Is it safe to convert a 220 air compressor to 110?
Yes, it is safe to convert a 220 air compressor to 110 as long as the conversion is done correctly and all safety precautions are followed. However, it is important to note that not all air compressors are capable of being converted to a different voltage. Before attempting to convert your compressor, it is recommended to consult the manufacturer’s guidelines or seek the advice of a professional.
What tools do I need to convert a 220 air compressor to 110?
You will need a few tools to convert a 220 air compressor to 110. These may include a voltage converter or transformer, wire strippers, wire nuts, electrical tape, and a screwdriver. The specific tools required may vary depending on the make and model of your air compressor, so it is important to consult the manufacturer’s guidelines or seek the advice of a professional.
Can I convert my 220 air compressor to 110 myself or do I need professional help?
Converting a 220 air compressor to 110 can be a complex task, especially if you are not experienced with electrical work. It is recommended to consult the manufacturer’s guidelines or seek the advice of a professional before attempting the conversion. A professional can ensure that the conversion is done correctly and safely.
Are there any risks or potential issues associated with converting a 220 air compressor to 110?
There can be risks and potential issues associated with converting a 220 air compressor to 110 if it is not done correctly. If the conversion is done improperly, it could damage the compressor or create a safety hazard. It is important to follow all safety precautions and consult the manufacturer’s guidelines or seek the advice of a professional to minimize these risks and potential issues.
What are the step-by-step instructions for converting a 220 air compressor to 110?
The step-by-step instructions for converting a 220 air compressor to 110 can vary depending on the make and model of your compressor. However, a general guide may include steps such as identifying the appropriate voltage conversion method, disconnecting power to the compressor, removing the existing power cord, installing the new power cord, connecting the wires to the appropriate terminals, and testing the compressor to ensure it is functioning correctly. It is important to consult the manufacturer’s guidelines or seek the advice of a professional for detailed and specific instructions for your particular compressor.
Video:


Meet Harrison Clayton, a distinguished author and home remodeling enthusiast whose expertise in the realm of renovation is second to none. With a passion for transforming houses into inviting homes, Harrison's writing at https://thehuts-eastbourne.co.uk/ brings a breath of fresh inspiration to the world of home improvement. Whether you're looking to revamp a small corner of your abode or embark on a complete home transformation, Harrison's articles provide the essential expertise and creative flair to turn your visions into reality. So, dive into the captivating world of home remodeling with Harrison Clayton and unlock the full potential of your living space with every word he writes.


