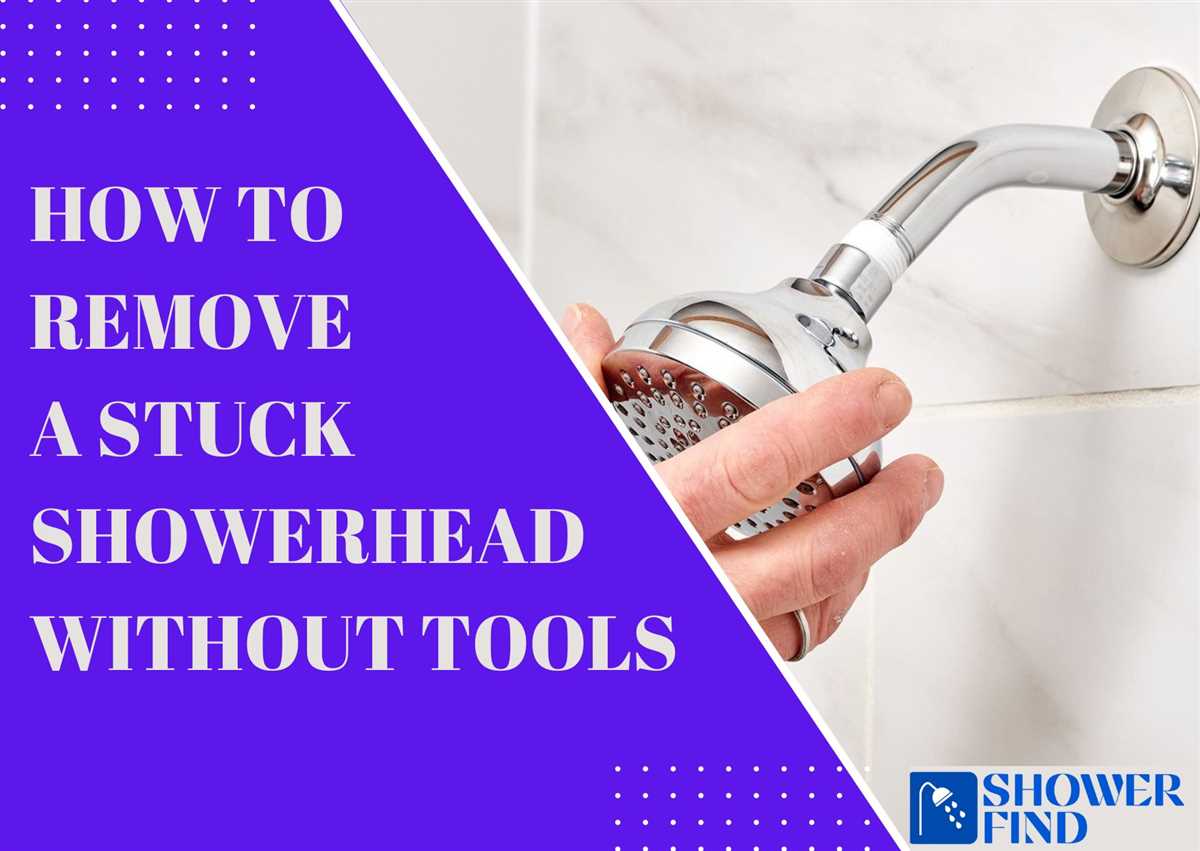
Remove Stuck Shower Head Without a Wrench: Step-by-Step Guide

If you’ve ever encountered a stuck shower head and don’t have a wrench on hand, don’t worry – there are still solutions available to help you remove it. Whether you’re dealing with a stubborn shower head that won’t budge or you simply don’t have the right tools, this step-by-step guide will provide you with alternative methods to tackle the problem.
Before attempting any of these methods, it’s important to turn off the water supply to the shower. This will prevent any accidental releases of water or potential damage. Once the water supply is turned off, you can proceed with the removal process.
One method to remove a stuck shower head without a wrench is by using heat. First, try heating the shower head with a hairdryer for a few minutes. The heat will help to expand the metal, making it easier to loosen the shower head. Once heated, use a towel or rubber gloves to grip the shower head and twist it counterclockwise. If it doesn’t loosen the first time, repeat the process until the shower head comes off.
Another method involves using vinegar to dissolve any mineral deposits that may be causing the shower head to stick. Fill a plastic bag with vinegar and place it over the shower head, ensuring that it’s fully submerged. Secure the bag in place with a rubber band or tape and let it sit for a few hours or overnight. The vinegar will work to break down the mineral deposits, making it easier to twist the shower head off.
If the shower head is still stubbornly stuck, you can try using pliers to grip and twist it. Wrap a cloth around the base of the shower head to protect it from scratches, then use a pair of pliers to grip the cloth and turn the shower head counterclockwise. Apply gentle pressure and be careful not to overtighten, as this may damage the shower head or plumbing.

By following these step-by-step methods, you can successfully remove a stuck shower head without a wrench. Remember to always use caution when attempting any DIY projects and if all else fails, it may be best to consult a professional plumber for assistance.
How to Remove a Stuck Shower Head Without a Wrench: Step-by-Step Guide
Introduction
Removing a stuck shower head can be a frustrating task, especially if you don’t have the proper tools on hand. However, with a few simple steps, you can easily remove a stuck shower head without a wrench. This step-by-step guide will walk you through the process.
Materials Needed
- Adjustable pliers or channel locks
- Rubber gloves
- WD-40 or similar penetrating oil
- Old towel or cloth
- Bucket or container
Step 1: Prepare the Shower Area
Before you begin, make sure to turn off the water supply to the shower. This will prevent any water from accidentally spraying you or flooding the bathroom. You can usually find the shutoff valve located near the shower or in the basement.
Step 2: Protect Your Shower
Wrap the jaws of the pliers or channel locks with rubber gloves or a cloth to prevent scratching the shower head. This will also provide a better grip when trying to loosen the stuck shower head.

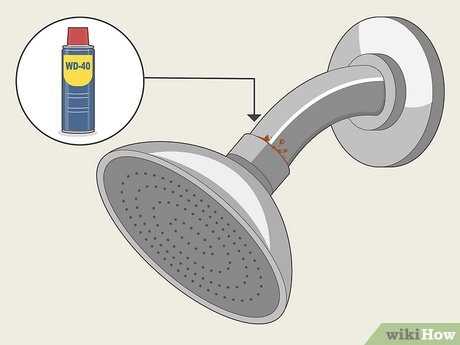
Step 3: Apply Lubricant
Spray WD-40 or a similar penetrating oil onto the area where the shower head meets the shower arm. Allow the lubricant to sit for a few minutes, as this will help loosen any corrosion or mineral deposits that may be causing the shower head to stick.
Step 4: Loosen the Shower Head
Using the protected pliers or channel locks, grip the shower head firmly and slowly rotate it counterclockwise. Apply steady pressure while turning to loosen it. If the shower head is still stuck, try using a back-and-forth motion to break it free.
Step 5: Remove the Shower Head
Once the shower head is loose, continue unscrewing it by hand until it is completely removed from the shower arm. Be cautious of any residual water that may come out when you remove the shower head, and have a bucket or container ready to catch any excess water.
Step 6: Clean and Replace
Now that the shower head is off, clean the threads of both the shower head and the shower arm using a brush or cloth. This will help ensure a proper seal when you reattach the shower head. If you notice any damage or excessive wear, consider replacing the shower head.

Conclusion
By following these steps, you should be able to remove a stuck shower head without a wrench. Remember to take your time, apply lubricant, and use the appropriate tools to protect the shower head. Once removed, clean the threads and inspect for any damage. With a little patience and effort, you’ll have a successfully removed shower head and be on your way to enjoying a refreshing shower.
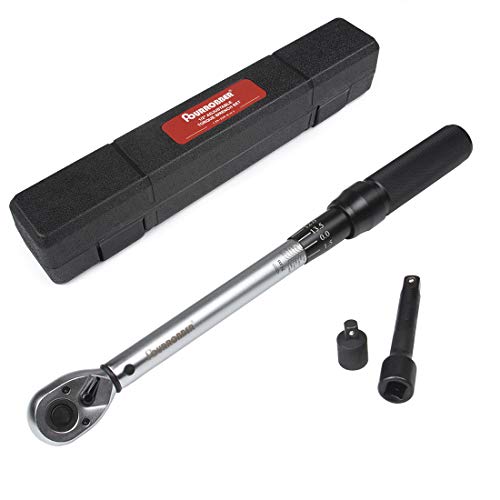
Tools You Will Need
- Adjustable wrench or pliers
- Bucket or towel
- Vinegar or lime dissolver
- Old toothbrush or scrub brush
- Soft cloth or sponge
- Teflon tape or thread sealant
Before you begin removing the stuck shower head, gather the necessary tools to ensure a smooth and successful process. Having these tools on hand will make the task easier and quicker.
An adjustable wrench or pliers will help you loosen and remove the shower head from the pipe. If you don’t have an adjustable wrench or pliers, you can try using a strap wrench or even a large pair of channel-lock pliers.
It’s a good idea to have a bucket or towel nearby to catch any water that may spill when you remove the shower head. This will help prevent any water damage to the surrounding area.

If the shower head is stuck due to mineral buildup or limescale, you may need some vinegar or a lime dissolver to help dissolve the deposits. Simply soak the shower head in vinegar or apply the lime dissolver according to the manufacturer’s instructions, and this should help loosen the stuck shower head.
You will also need an old toothbrush or scrub brush to clean any remaining buildup or debris from the shower head and pipe once it has been removed. This will ensure that the shower head functions properly once it is reinstalled.
A soft cloth or sponge can be used to wipe away any dirt or grime from the surrounding area and to dry the shower head and pipe after cleaning.
Finally, you may want to have some Teflon tape or thread sealant on hand to reseal the shower head when you reinstall it. This will help prevent any leaks from occurring.
Step 1: Turn Off the Water Supply
Before attempting to remove a stuck shower head, it is important to turn off the water supply to prevent any leaks or water damage. Turning off the water supply will ensure that no water is flowing through the pipes and shower head while you are working on it, making it easier to remove without causing any mess.

To turn off the water supply, you can locate the shut-off valve in your bathroom. The shut-off valve is usually located near the shower area or in the basement if you have one. It can either be a lever-style valve or a knob-style valve.
Here are the steps to turn off the water supply using a lever-style valve:
- Locate the lever-style valve near the shower area or in the basement.
- Rotate the lever clockwise until it is perpendicular to the water pipe. This will shut off the water supply to the shower head.
Here are the steps to turn off the water supply using a knob-style valve:
- Locate the knob-style valve near the shower area or in the basement.
- Rotate the knob clockwise until it is fully closed. This will shut off the water supply to the shower head.
Once you have turned off the water supply, you can proceed to remove the stuck shower head without any worries of water leakage.
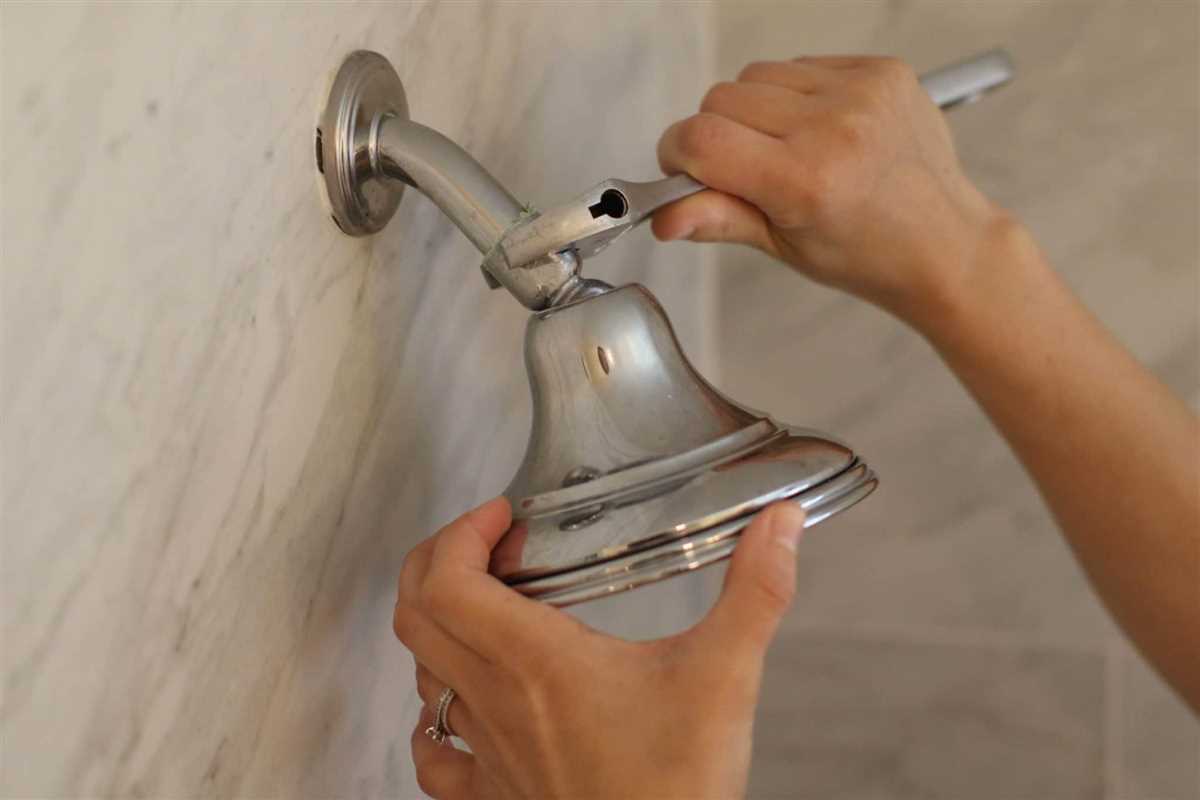
Step 2: Prepare the Shower Head
Before you start trying to remove a stuck shower head, it’s important to prepare the area to ensure a smooth process. Follow these steps to prepare the shower head:
- Turn off the water supply: Locate the water shut-off valve for your shower. This valve is typically located near the shower or in the basement. Turn the valve clockwise to shut off the water supply. This step is essential to prevent water from spraying everywhere when you remove the shower head.
- Clean the shower head: Use a mild soap and water solution to clean the shower head. Remove any debris or mineral build-up that may be causing the shower head to become stuck. Scrub gently with a soft brush or cloth to avoid scratching the surface of the shower head.
- Apply lubricant: Apply a lubricant, such as WD-40 or a penetrating oil, to the joint between the shower head and the shower arm. This will help loosen any rust or corrosion that may be causing the shower head to stick. Allow the lubricant to sit for a few minutes to work its magic.
- Wrap the shower head in a cloth: Use a soft cloth or rag to wrap around the shower head. This will provide additional grip when you try to unscrew it. It will also help protect the surface of the shower head from scratches or damage.
Once you have prepared the shower head, you are ready to move on to the next step of removing the stuck shower head.
Step 3: Apply Lubricant
Once you have detached the shower head from the wall, you may encounter some resistance when trying to unscrew it. This can be due to mineral deposits or rust that has built up over time. To make the removal process easier, it is recommended to apply a lubricant.
Here are the steps to apply lubricant:
- Choose a lubricant: There are several types of lubricants that can be used, such as WD-40, penetrating oil, or vinegar. WD-40 is a popular choice as it can break down mineral deposits and rust easily.
- Spray the lubricant: Spray the lubricant around the base of the shower head where it connects to the shower arm. Make sure to cover the entire area evenly.
- Let it sit: Allow the lubricant to penetrate and work its magic for about 15-20 minutes. This will help loosen the mineral deposits and rust.
- Wipe off excess lubricant: After the waiting time, use a clean cloth or paper towel to wipe off any excess lubricant. This will prevent it from dripping onto the shower floor.
Lubricating the connection between the shower head and the shower arm will make it easier to remove the stuck shower head without damaging any parts. It will help loosen any buildup and create a smoother turning motion for unscrewing.
Note: If the shower head still does not come off after applying the lubricant, you may need to use additional tools or seek professional help.
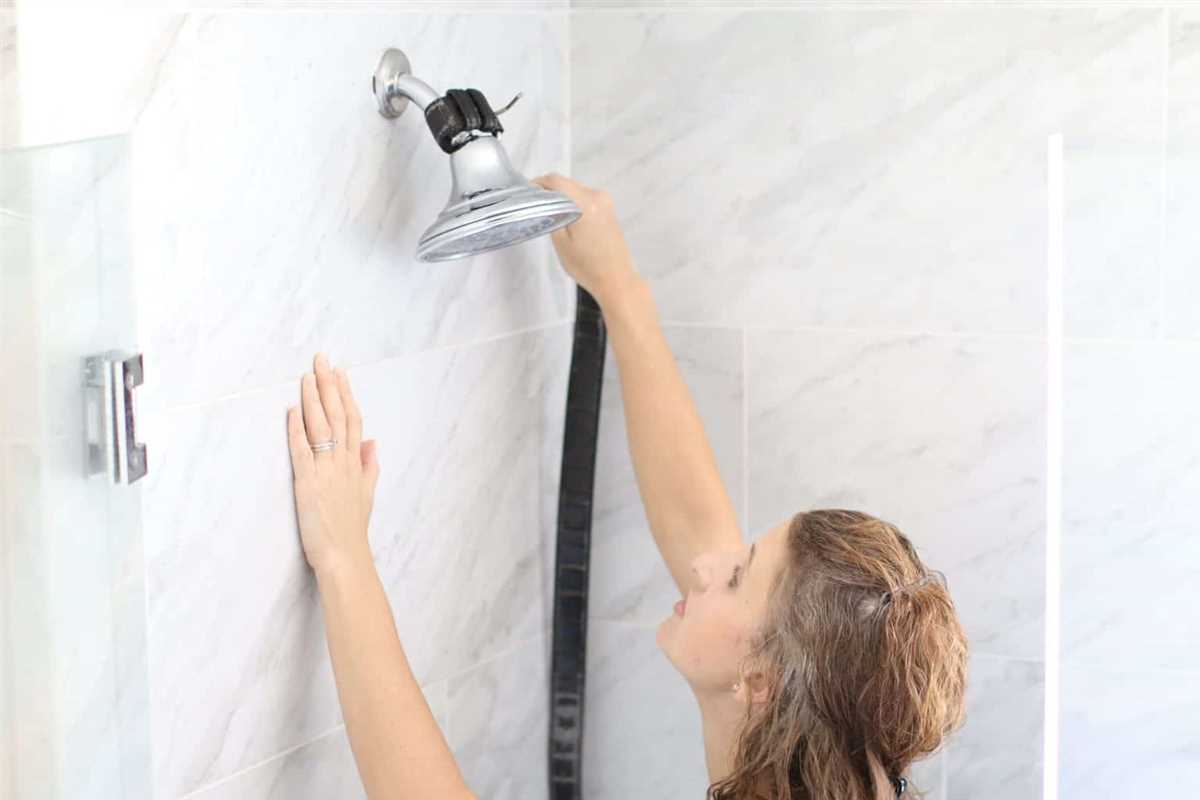
Step 4: Use a Rubber Band or Strap Wrench
If the shower head is still stuck and you don’t have access to a wrench, you can try using a rubber band or a strap wrench to get the job done. Both of these tools offer a good grip and can help you loosen the stuck shower head without causing any damage.
Here’s how you can use a rubber band or strap wrench to remove a stuck shower head:
- Wrap a thick rubber band around the base of the shower head.
- Tightly grip the rubber band with your hand.
- Try turning the shower head counterclockwise to loosen it.
- If the rubber band doesn’t provide enough grip, you can try using a strap wrench.
- Wrap the strap wrench around the shower head, making sure it’s secure.
- Apply steady pressure and turn the wrench counterclockwise.
Using a rubber band or strap wrench allows you to apply more leverage to the shower head, making it easier to remove. However, be careful not to twist too hard or use excessive force, as this can damage the shower head or plumbing connections.
If the shower head is still stuck after trying these methods, it may be necessary to call a professional plumber for assistance.
Step 5: Use Heat to Loosen the Shower Head
If the shower head is still stuck and won’t budge, applying heat can help to loosen the connection. Heat causes metal to expand, which can make it easier to remove the shower head.
Here’s how to use heat to loosen the shower head:
- Turn off the water supply to the shower.
- Use a heat-resistant glove or cloth to protect your hand.
- Hold a hairdryer or heat gun a few inches away from the shower head.
- Apply heat to the shower head for about 1 minute, moving the heat source around to heat all sides evenly.
- After heating, try to unscrew the shower head using a cloth or towel for extra grip.
- If the shower head is still stuck, repeat the heating process for another minute and try again.
Be careful not to overheat the shower head, as excessive heat can damage the fixtures or surrounding area. It’s also important to avoid touching the hot shower head directly to prevent burns.
If the shower head remains stuck even after using heat, you may need to consider using a wrench or contacting a professional plumber for assistance.
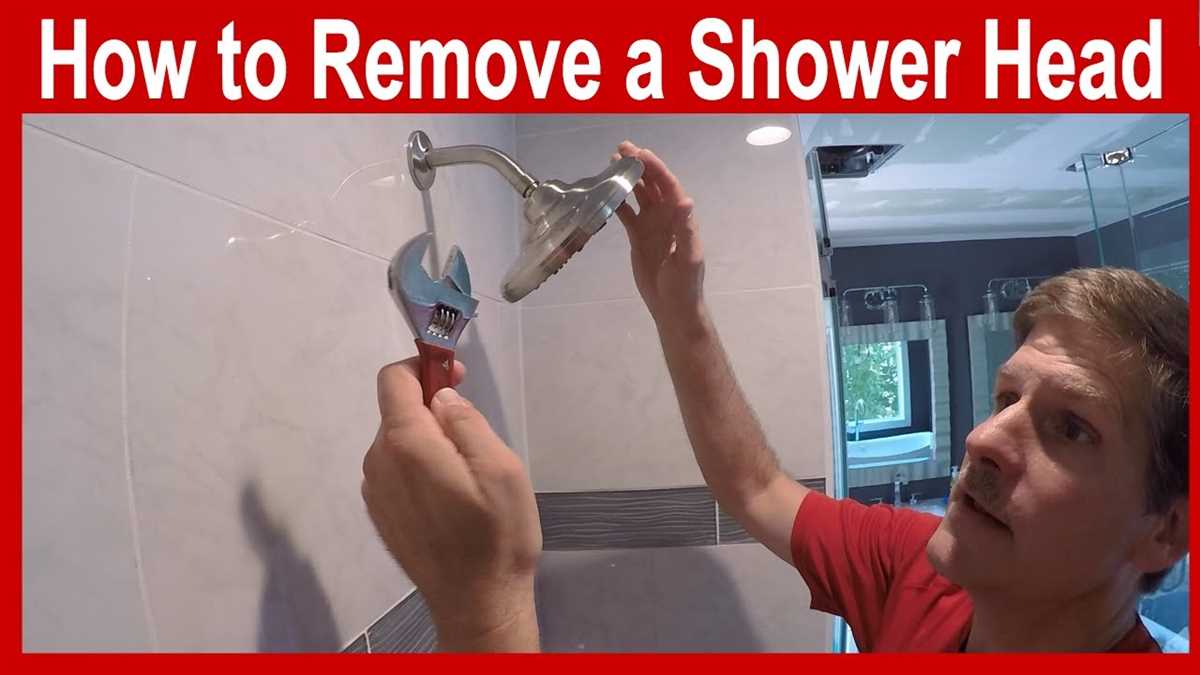
Step 6: Use a Pliers or Adjustable Wrench
If your showerhead is still stuck after trying the previous methods, it may be necessary to use a pair of pliers or an adjustable wrench to remove it. This method should be used as a last resort, as it can potentially damage the showerhead or the plumbing.
Here is how you can use pliers or an adjustable wrench to remove a stuck showerhead:
- Put on a pair of protective gloves to protect your hands.
- Locate the flat sides of the showerhead where a wrench or pliers can grip securely.
- Position the pliers or adjustable wrench around the flat sides of the showerhead.
- Gently apply pressure in a counterclockwise direction to loosen the showerhead.
- If the showerhead does not loosen, try tapping it gently with a hammer to help break any corrosion or rust that may be holding it in place.
- Continue applying pressure with the pliers or adjustable wrench, being careful not to apply too much force or damage the showerhead.
- Once the showerhead starts to loosen, you can use your hand to unscrew it completely.
If you are still unable to remove the showerhead using pliers or an adjustable wrench, it may be best to consult a professional plumber to avoid any further damage to the showerhead or plumbing system.
Remember to turn off the water supply to the shower before attempting to remove the stuck showerhead to avoid any potential water leakage.
Step 7: Clean and Reinstall the Shower Head
After successfully removing the stuck shower head, it’s important to clean it thoroughly before reinstalling it. This will help to remove any mineral deposits or dirt that may have accumulated over time.
Here are the steps to clean and reinstall the shower head:
- Fill a basin or bucket with warm water.
- Add a few drops of mild dish soap to the water and mix it well.
- Remove any removable parts from the shower head, such as the flow restrictor or filter screen, if applicable.
- Place the shower head in the soapy water and let it soak for about 15-20 minutes. This will help to loosen any stubborn dirt or mineral deposits.
- After soaking, use a soft-bristle brush or toothbrush to gently scrub the shower head, paying attention to all the nozzles and crevices. Make sure to remove any residue or debris.
- Rinse the shower head thoroughly with clean water to remove any soap or remaining dirt.
- If you removed any removable parts, make sure to clean them as well and rinse them thoroughly.
- Inspect the shower head for any signs of damage or wear. If necessary, replace any worn-out parts.
- Once the shower head is clean and dry, reinstall any removable parts if applicable.
- Screw the shower head back onto the shower arm and tighten it securely using your hands.
- Turn on the water supply and check for any leaks. If there are no leaks, test the shower head to ensure that the water flow is smooth and even.
Cleaning and reinstalling the shower head will not only improve its performance but also prolong its lifespan. It is recommended to clean the shower head regularly to prevent any buildup of mineral deposits or clogs.
FAQ
What should I do if my shower head is stuck and I don’t have a wrench?
If your shower head is stuck and you don’t have a wrench, you can try using a pair of pliers or a strap wrench to loosen it. If those options don’t work, you can try using a vinegar solution to dissolve any mineral deposits that may be causing the shower head to stick. If all else fails, you may need to call a professional plumber to remove the stuck shower head.
Can I remove a stuck shower head without any tools?
While it’s preferable to have some tools on hand, it is possible to remove a stuck shower head without any tools. One method you can try is wrapping a rubber band around the shower head and using it for grip. If that doesn’t work, you can try twisting the shower head with your hands while applying pressure. Another option is to use a towel or cloth to provide additional grip. If all else fails, you may need to resort to using tools or calling a professional plumber.
What is the easiest way to remove a stuck shower head without a wrench?
The easiest way to remove a stuck shower head without a wrench is to try using a pair of pliers or a strap wrench. If you have either of these tools on hand, they can provide the necessary leverage to loosen the shower head. Simply grip the shower head with the pliers or strap wrench and turn it counterclockwise to loosen it. If the shower head is still stuck, you can try using a vinegar solution or calling a professional plumber.
Is it possible to remove a stuck shower head without damaging it?
Yes, it is possible to remove a stuck shower head without damaging it. One way to do this is by using a soft cloth or towel to protect the finish of the shower head while using tools. Another method is to use a strap wrench, which provides a more even grip and reduces the risk of damage. Additionally, using a vinegar solution to dissolve mineral deposits can help minimize the risk of damage. If you’re unsure about removing the stuck shower head yourself, it’s best to call a professional plumber to avoid any potential damage.
Why won’t my shower head come off even with a wrench?
If your shower head won’t come off even with a wrench, it could be due to a couple of reasons. One possibility is that the shower head is corroded or rusted, making it difficult to loosen. In this case, you can try using a vinegar solution to dissolve the corrosion or rust. Another reason could be mineral deposits that have built up over time, causing the shower head to stick. Again, using a vinegar solution can help dissolve these deposits. If these methods don’t work, it’s best to call a professional plumber to avoid causing any damage.
Can I remove a stuck shower head without using any chemicals?
Yes, you can remove a stuck shower head without using any chemicals. One method you can try is using a strap wrench or a pair of pliers to loosen the shower head. Another option is to wrap the shower head with a rubber band to provide grip and then turn it counterclockwise. If these methods don’t work, you can also try using a cloth or towel to protect the shower head while using tools. If the shower head is still stuck, it may be necessary to call a professional plumber.
Video


Meet Harrison Clayton, a distinguished author and home remodeling enthusiast whose expertise in the realm of renovation is second to none. With a passion for transforming houses into inviting homes, Harrison's writing at https://thehuts-eastbourne.co.uk/ brings a breath of fresh inspiration to the world of home improvement. Whether you're looking to revamp a small corner of your abode or embark on a complete home transformation, Harrison's articles provide the essential expertise and creative flair to turn your visions into reality. So, dive into the captivating world of home remodeling with Harrison Clayton and unlock the full potential of your living space with every word he writes.