Learn How to Draw a Wrench Step-by-Step | Easy DIY Tutorial

Whether you’re an aspiring artist or just looking for a fun and creative project, learning how to draw a wrench can be a great way to improve your drawing skills. With a few simple steps, you can create a realistic and detailed representation of this useful and iconic tool.
To begin, gather your drawing materials, including paper and a pencil. You may also want to have an eraser handy in case you make any mistakes along the way. It’s important to start with a light sketch, as this will allow you to easily make adjustments as needed.
Start by drawing a straight line horizontally across the middle of your paper. This will serve as the handle of the wrench. Next, draw two parallel lines starting from the left end of the handle, creating the top part of the tool known as the jaw. Angle the lines slightly as they extend upwards, and then bring them back down to meet the handle.
Once you have the basic shape of the wrench outlined, you can begin to add more details. Add a rounded shape at the end of the handle to represent the grip. Then, draw a series of short, horizontal lines on the jaw to create the teeth of the wrench. Shade in the jaw area to give it depth and dimension.
Finally, give your drawing some finishing touches by using shading and highlighting techniques to add depth and dimension. Add any additional details or embellishments as desired. With some practice, you’ll be able to create a realistic and impressive drawing of a wrench.

Learn How to Draw a Wrench Step-by-Step Easy DIY Tutorial
Introduction
If you’ve ever wanted to learn how to draw a wrench, you’ve come to the right place! In this easy DIY tutorial, we will guide you through a step-by-step process on how to draw a wrench. Whether you’re a beginner or an experienced artist, this tutorial will help you create a realistic representation of a wrench with just a few simple steps.
Materials Needed
- Paper or sketchbook
- Pencil
- Eraser
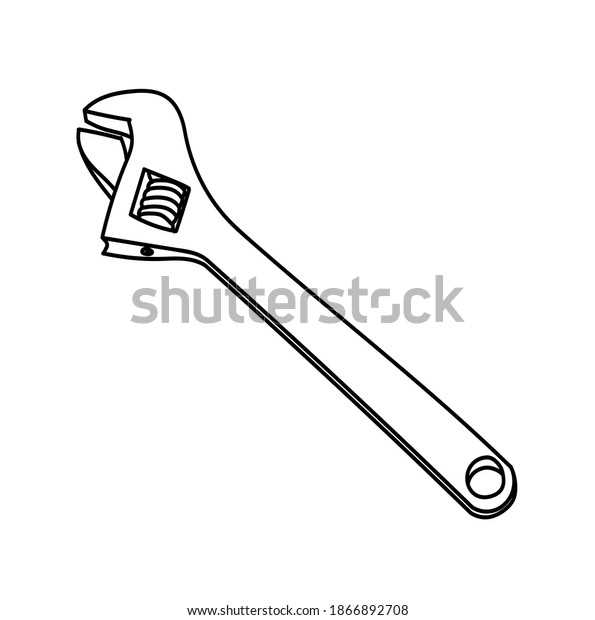
Step 1: Draw the Outline
Start by drawing a vertical line in the center of your paper. This will serve as the handle of the wrench. Then, draw a horizontal line near the top of the vertical line, creating the opening of the wrench.
Step 2: Add Details to the Handle
Next, add details to the handle of the wrench. Draw two parallel lines along the length of the vertical line, representing the ridges on the handle. You can also add some curved lines to give the handle a more realistic look.
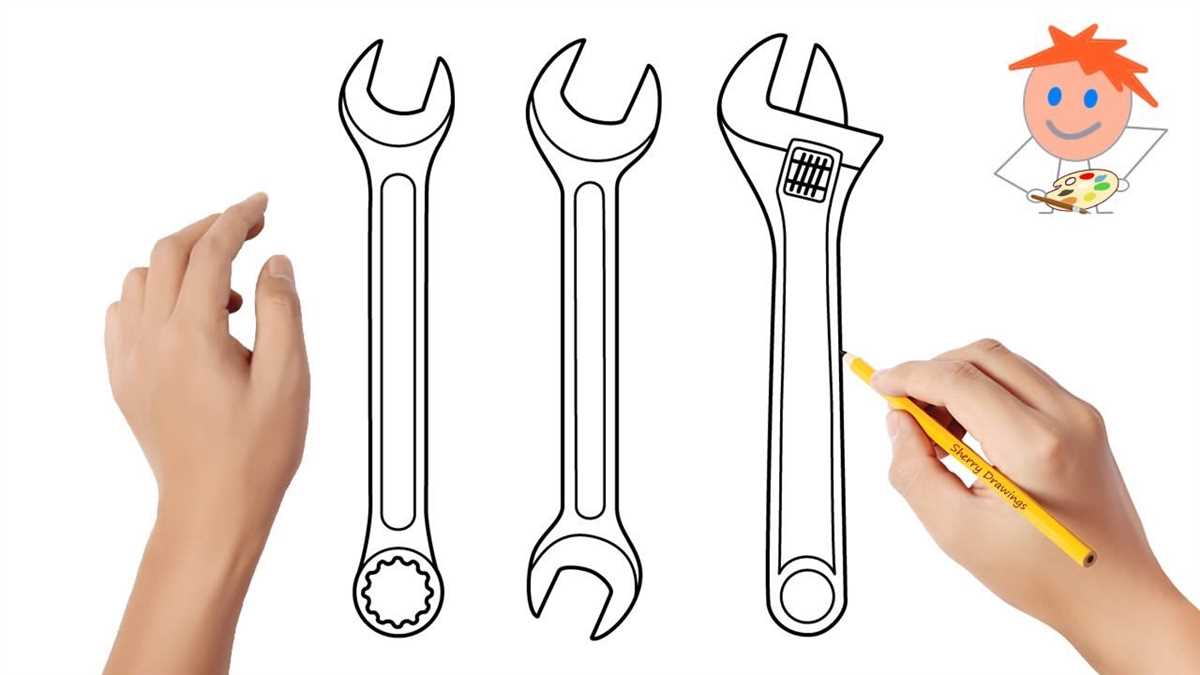
Step 3: Create the Jaw of the Wrench
Now, draw the jaw of the wrench. Start by drawing a curved line connecting the opening of the wrench to the handle. Then, add two more curved lines to create the shape of the jaw. Make sure the jaw is slightly wider at the opening and narrows towards the handle.

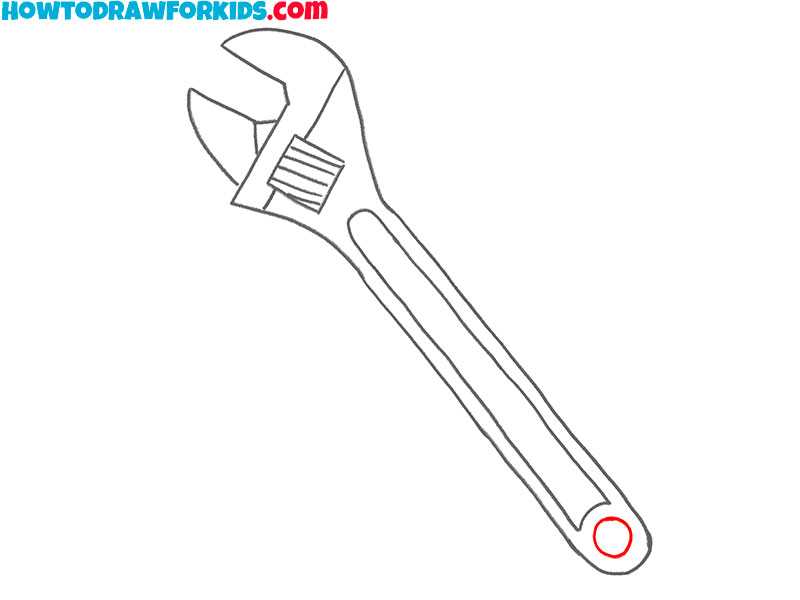
Step 4: Add the Adjusting Screw
To make your wrench look more realistic, add an adjusting screw near the opening of the wrench. Draw a small rectangle perpendicular to the jaw of the wrench, and then add a small circle at the end of the rectangle.
Step 5: Finalize the Details
In this step, add any final details to your wrench. You can add shading to create a sense of depth or add additional lines to enhance the texture of the handle. Take your time to refine the shape and proportions of the wrench to make it look as realistic as possible.
Conclusion
Congratulations! You have successfully learned how to draw a wrench step-by-step. With practice, you’ll be able to draw a wrench with ease and even add your own creative touches. So grab your pencil and paper and start creating your own DIY drawings of a wrench today!
Gather Your Materials
Before you start drawing a wrench, you will need to gather a few materials. Here’s what you will need:

- Paper or sketchbook
- Pencil
- Eraser
- Ruler
You can use any type of paper that you have available, but it’s recommended to use a sketchbook or drawing paper as they are thicker and better suited for sketching.
A pencil is essential for drawing, as it allows for easy erasing and adjustments. Make sure your pencil is sharpened and ready to use.
An eraser is handy for making corrections and removing any unwanted lines. It’s a good idea to have a separate eraser dedicated to drawing to avoid smudging your paper.
A ruler is useful for creating straight lines and measuring proportions. If you don’t have a ruler, you can use any straight edge that you have available, such as a book or a piece of cardboard.
Once you have gathered all your materials, you are ready to start learning how to draw a wrench step-by-step!

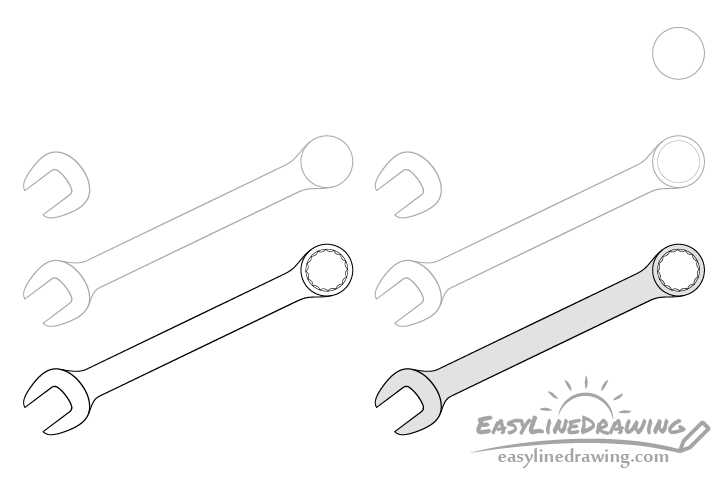
Start with the Basic Shape
To begin drawing a wrench, we will start with the basic shape of the handle. This will serve as the foundation for the rest of the drawing. You can think of the handle as a long, rectangular shape.
- Start by drawing a vertical line in the center of your paper. This will be the main axis of the wrench.
- Then, draw two horizontal lines on either side of the vertical line to form the top and bottom edges of the handle. These lines should be parallel to each other.
Pro tip: Use a ruler or straight edge to ensure straight and even lines.
Next, we will add some details to the handle to give it a more realistic look. Start by drawing two small vertical lines near the top and bottom edges of the handle, closer to the center. These lines will create the effect of a grip on the handle.
Finally, add two short, angled lines at the top and bottom of the handle, connecting the vertical lines to the top and bottom edges of the handle. These lines will give the handle a tapered shape.
Once you have drawn the basic shape of the handle, you can move on to adding more details and refining the drawing to make it look more like a wrench.

Add the Details
Now that we have the basic outline of the wrench, it’s time to add some details to make it look more realistic. Follow these steps to add the details:
- Handle shape: First, enhance the shape of the handle by adding some curves and indentations to give it a more textured look.
- Bolts and nuts: Next, draw a few small circles along the handle to represent the bolts and nuts. You can vary the sizes and positions to make it look more interesting.
- Teeth: Draw a set of serrated teeth at the end of the wrench. These teeth are used to grip objects firmly.
- Adjustment mechanism: Sketch a small rectangle on the side of the handle to represent the adjustment mechanism of the wrench. This is the part that allows you to adjust the opening of the jaws.
- Texture lines: To add more depth and texture to the wrench, draw some diagonal lines across the handle and other areas to represent the metal texture.
- Shading and highlights: Finally, add shading and highlights to give the wrench a three-dimensional appearance. Shade the areas where shadows would naturally fall, and add highlights to the areas where light would hit the metal surface.
When adding the details, pay attention to the proportions and make sure everything is symmetrical. Take your time and use reference images if needed. Once you’re satisfied with the details, you can proceed to the next step: coloring your wrench!
Draw the Handle
Now, let’s move on to drawing the handle of the wrench. Follow these steps:
- Start by drawing a straight vertical line at the bottom left corner of the wrench head.
- From the top of this line, draw a slightly curved line that goes towards the right.
- At the end of the curved line, draw a short horizontal line going to the right.
- Connect the end of this horizontal line to the bottom of the wrench head by drawing a straight vertical line.
- To create the grip on the handle, draw a series of parallel horizontal lines along the length of the handle. These lines should be evenly spaced apart.
- To add some depth to the handle, draw a diagonal line starting from the top left corner of the handle and going towards the right.
- Repeat step 6 on the other side of the handle, drawing a diagonal line starting from the top right corner and going towards the left.
- To finish off the handle, draw a small curved line at the bottom right corner to create a rounded edge.
That’s it! You have successfully drawn the handle of the wrench. Now you can move on to the next step and add more details to complete your drawing.

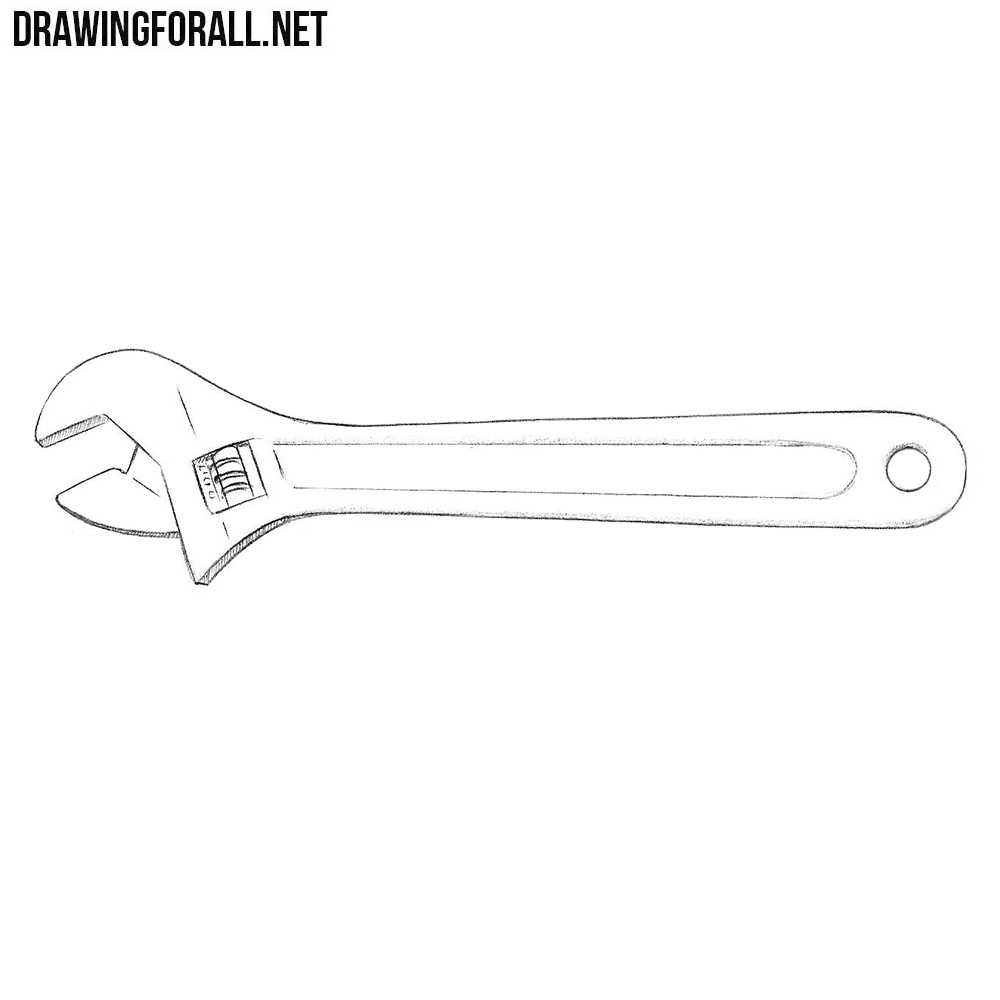
Sketch the Jaw
Start by drawing a curved line that represents the lower part of the wrench’s jaw. The lower part of the jaw should be slightly wider than the upper part.
- Begin by drawing a diagonal line slanting downwards from the top left corner.
- Then, draw a curved line starting from the bottom of the diagonal line and curving upwards to meet the top right corner.
- Continue the curved line downwards and connect it to the bottom right corner to complete the lower part of the jaw.
Make sure to leave some gap between the upper part and lower part of the jaw to indicate the wrench’s mouth or opening.
Tips:
- Keep the lines smooth and clean, using light pencil strokes.
- It’s okay if your lines aren’t perfectly straight or curved – it adds a bit of character to your drawing.
- If you make a mistake, don’t worry! You can always erase and try again.
|
|
Here’s an example of what the sketch should look like after sketching the jaw. |

![How to Draw Characters: [2022-2023] Learn to Draw Step-By-Step With 30+ Drawing Tutorials For Beginners and All Fans. Great Gift for Kids and Adults (Draw & Enjoy)](https://m.media-amazon.com/images/I/51gOz-8nsyL._SS520_.jpg)
Add Depth and Dimension
Once you have mastered the basic shape of the wrench, you can take your drawing to the next level by adding depth and dimension. This will bring your drawing to life and make it appear more realistic.
Shading
One way to add depth to your drawing is by using shading techniques. Start by identifying the light source in your drawing. This will help you determine which parts of the wrench should be brighter and which parts should be darker.
Use a pencil or shading tool to lightly shade the areas of the wrench that are further away from the light source. These areas will be darker. Gradually build up the shading to create a smooth transition from light to dark.
Highlights
In addition to shading, also add highlights to your drawing. These are the areas that reflect the most light and appear brighter. Use an eraser or a white pencil to create highlights on the parts of the wrench that are closest to the light source.
Be sure to make the highlights subtle and blend them in with the shading. This will create a more realistic effect.
Details
Lastly, add details to your drawing to enhance the depth and dimension. Pay attention to the small features of the wrench, such as screws, bolts, or any other distinct markings. Use a thin pencil or pen to carefully draw these details and make them stand out.
Remember to be patient and take your time when adding depth and dimension to your drawing. It may require some practice to master these techniques, but the more you practice, the better you will become.
| Tips for Adding Depth and Dimension: |
|
Erase the Guidelines
Now that you have finished drawing the basic shape of the wrench, it’s time to erase the guidelines. This will give your drawing a clean and polished look.
Start by taking a good look at your drawing and identifying the guidelines that you drew in the beginning. These guidelines were meant to help you establish the proportions and shapes of the different parts of the wrench.
Using a soft eraser, gently erase the guidelines one by one. Take your time and be careful not to erase any of the lines that you want to keep in your final drawing. It’s always a good idea to have a reference image nearby to help you navigate through the erasing process.
You can erase the guidelines completely or leave faint traces of them, depending on the look you want for your drawing. If you want your drawing to appear more realistic, you can lightly erase the guidelines so that they are still visible but not as prominent.
Once you have erased all the guidelines, take a step back and admire your clean and finished drawing of a wrench. You can now move on to the next step, which is adding details and shading to your drawing to make it come to life.
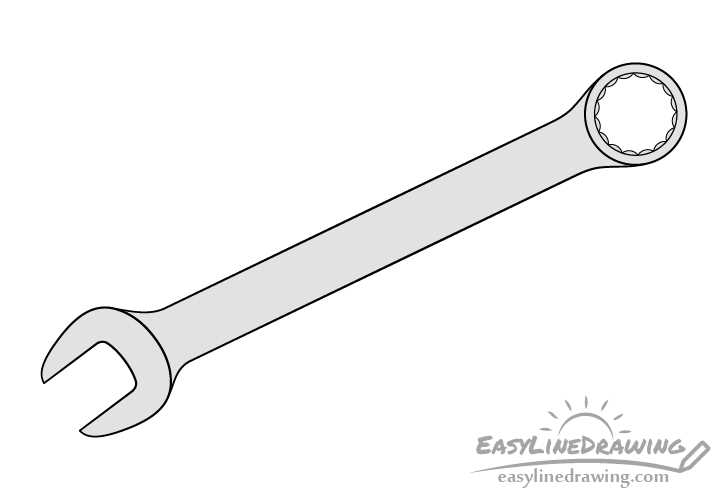
Final Touches and Finishing Details
Now that you have drawn the basic outline of the wrench, it’s time to add some final touches and finishing details to make it look more realistic. Here are some steps to follow:
1. Add Texture
Use short, curved lines to add texture to the metal parts of the wrench. This will give it a more realistic and three-dimensional look. Pay close attention to the shape and direction of the curves to create a convincing texture.
2. Define the Features
Use darker lines or shading to define the features of the wrench, such as the jaws and the handle. This will help give it a more finished and polished appearance.
3. Add Shadows and Highlights
To make the wrench stand out and look more three-dimensional, add shadows and highlights. Use darker shades to create shadows where the wrench overlaps or casts a shadow on itself, and lighter shades to create highlights where the light hits the metal.
4. Clean Up the Lines
Go over your drawing and clean up any stray or uneven lines. Use an eraser to remove any unnecessary guidelines or smudges. This will give your drawing a more polished and professional look.
5. Optional: Add Color
If you want to add some color to your drawing, you can use colored pencils, markers, or digital coloring tools. Choose colors that match the real-life appearance of a wrench, or get creative and use any colors you like!
6. Sign and Date Your Artwork
Once you are happy with your drawing, sign and date it in a corner. This will add a personal touch and make your artwork feel complete.
Remember, practice makes perfect! Keep practicing and experimenting with different drawing techniques to improve your skills. And most importantly, have fun!
FAQ
What materials do I need to draw a wrench?
To draw a wrench, you will need a pencil, eraser, paper, and some colored pencils or markers if you want to add color to your drawing.
Can I draw a wrench even if I’m not good at drawing?
Yes, absolutely! This tutorial is designed to be easy to follow, even for beginners. Just take your time and follow the step-by-step instructions, and you’ll be able to draw a wrench.
How long does it take to draw a wrench?
The time it takes to draw a wrench will vary depending on your skill level and how much detail you want to add to your drawing. On average, it can take anywhere from 10 minutes to an hour.
Can I use a pen instead of a pencil to draw a wrench?
Yes, you can definitely use a pen instead of a pencil. Just make sure to use a pen that you’re comfortable with, as it can be harder to erase any mistakes.
Do I have to add color to my wrench drawing?
No, adding color is completely optional. You can choose to leave your drawing in black and white or add color using colored pencils or markers. It’s up to you!
What if my wrench doesn’t look perfect?
That’s totally okay! Remember, drawing is all about practice. If your wrench doesn’t look exactly like the one in the tutorial, don’t get discouraged. Keep practicing, and with time, your drawings will improve.
Video


Meet Harrison Clayton, a distinguished author and home remodeling enthusiast whose expertise in the realm of renovation is second to none. With a passion for transforming houses into inviting homes, Harrison's writing at https://thehuts-eastbourne.co.uk/ brings a breath of fresh inspiration to the world of home improvement. Whether you're looking to revamp a small corner of your abode or embark on a complete home transformation, Harrison's articles provide the essential expertise and creative flair to turn your visions into reality. So, dive into the captivating world of home remodeling with Harrison Clayton and unlock the full potential of your living space with every word he writes.