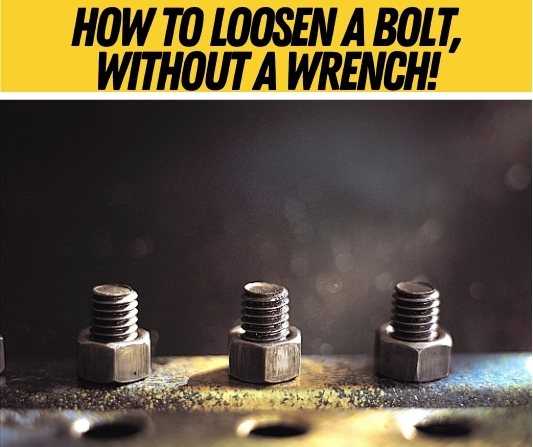
How to Remove a Spanner Nut Without a Spanner Wrench – Easy DIY Guide
When it comes to DIY projects, having the right tools is essential. However, there are times when you may find yourself in a situation where you don’t have a specific tool on hand. One such situation is when you need to remove a spanner nut but don’t have a spanner wrench. Fortunately, there are alternative methods you can use to remove a spanner nut without a spanner wrench, and we will guide you through them in this easy DIY guide.
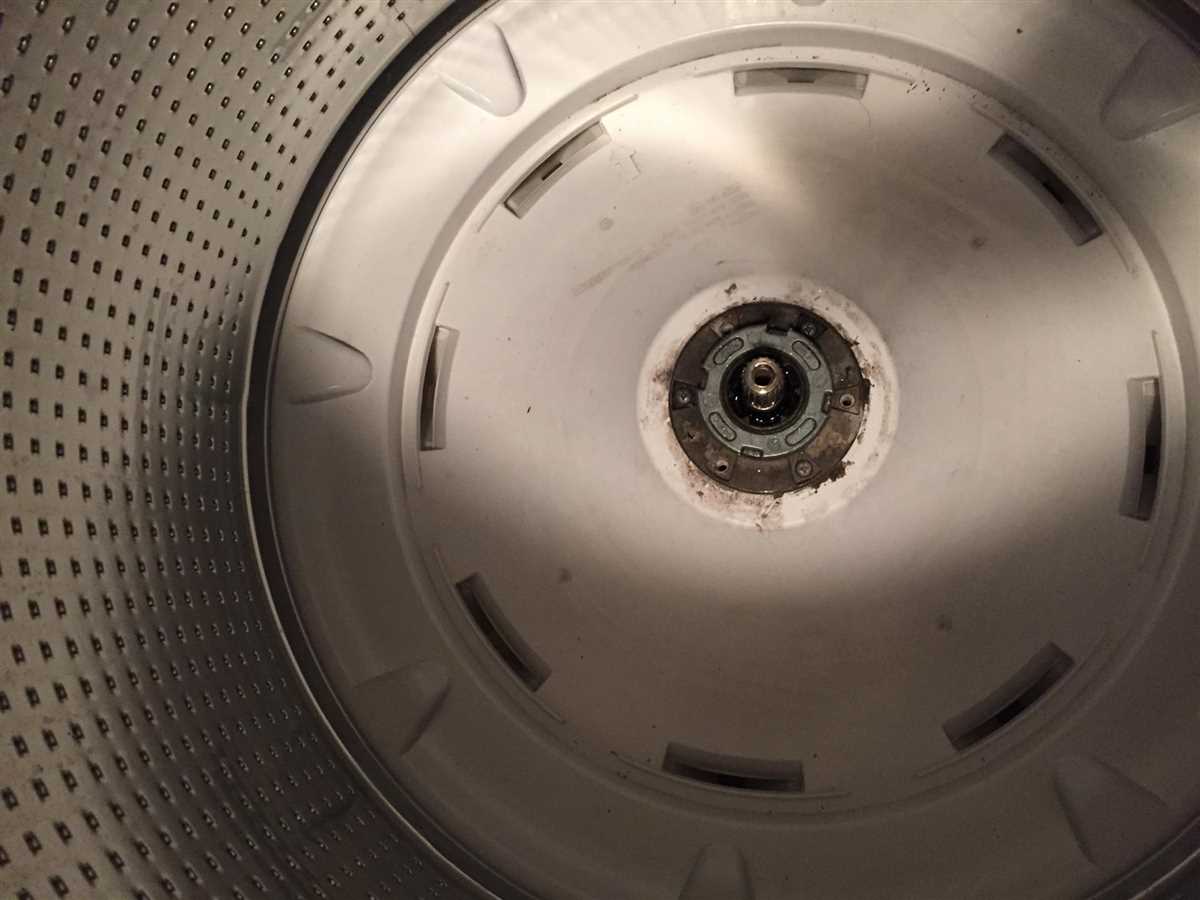
The spanner nut is a type of nut that is commonly used in plumbing and automotive applications. It has two or more notches on its outer surface, which require a spanner wrench or a similar specialized tool to remove. However, if you find yourself without a spanner wrench, you can try some other tools that may help you remove the nut.
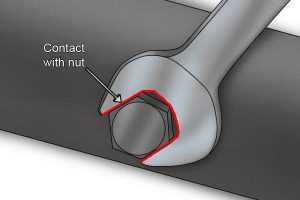
One method you can use is to try using a pair of pliers. Ideally, you would want to use a pair of needle-nose pliers, as they can provide better grip and reach into tight spaces. However, if you don’t have needle-nose pliers, regular pliers can still work. Simply grip the notched edges of the spanner nut with the pliers and turn it counterclockwise to loosen and remove it. Keep in mind that this method may not work if the spanner nut is too tight or if the notches are worn down.
Another method you can try is using a flathead screwdriver. Look for a flathead screwdriver that matches the width of the notches on the spanner nut. Insert the screwdriver into one of the notches and use it as a leverage to turn the nut counterclockwise. Be careful not to apply too much force, as this can damage the notches or slip and cause injury. This method may not be as effective as using a spanner wrench, but it can work in a pinch.
Removing a spanner nut without a spanner wrench may require some improvisation, but with the right tools and careful technique, it can be done. Just remember to take your time, apply steady pressure, and be cautious of any potential hazards. And if all else fails, it may be worth considering a trip to the local hardware store to purchase a spanner wrench for future projects.

What is a Spanner Nut?
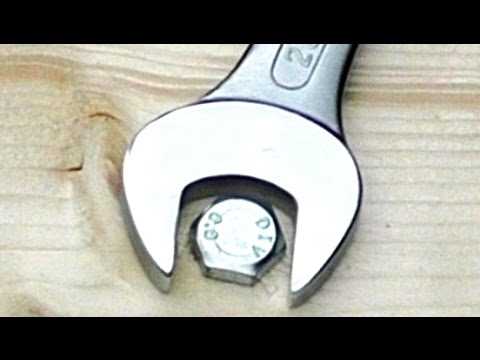
A spanner nut is a type of fastener that is used to secure two objects together by screwing it onto a threaded rod or bolt. It is called a “spanner” nut because it is typically tightened or loosened using a spanner wrench. The spanner wrench is a special tool that has two prongs or pins that fit into the holes on the nut, allowing it to be turned.
Spanner nuts are commonly used in various applications, such as automotive, plumbing, and machinery. They are designed to provide a secure and reliable connection, preventing the objects from coming loose or separating.
Spanner nuts are made from durable materials, such as steel or stainless steel, to ensure strength and resistance to wear and tear. They are available in different sizes and styles to accommodate various thread sizes and specific applications.
Overall, spanner nuts are essential components in many mechanical and engineering projects, providing a reliable and secure fastening solution. However, if you find yourself without a spanner wrench, there are alternative methods to remove a spanner nut, which will be discussed further in this article.
Why You Might Need to Remove a Spanner Nut Without a Spanner Wrench
A spanner nut is a type of fastener that is commonly used in various applications to secure or adjust components. However, there may be situations where you need to remove a spanner nut without a spanner wrench. Here are a few reasons why:

1. Lack of Tools
One possible reason for needing to remove a spanner nut without a spanner wrench is simply not having the required tools on hand. Spanner wrenches can be a specialized tool that is not commonly found in every toolbox. If you find yourself in a situation where you don’t have a spanner wrench available, knowing alternative methods for removing a spanner nut can be helpful.
2. Emergency Repairs
In some cases, you may encounter a situation where a spanner nut needs to be removed quickly for emergency repairs. Waiting for a spanner wrench to become available may not be an option. Having alternative methods for removing the nut can help you address the emergency promptly.
3. Accessibility Issues
Sometimes, the location or position of the spanner nut makes it difficult to use a spanner wrench. For instance, if the nut is recessed, tight against another component, or located in a small space, it may be challenging to maneuver a spanner wrench properly. Knowing alternative removal methods can help you overcome these accessibility issues.
4. Damage or Loss of Spanner Wrench
Lastly, there is always a possibility of misplacing or damaging your spanner wrench. If you find yourself in a situation where you don’t have a spanner wrench or the one you have is damaged, using alternative methods to remove the spanner nut can save you time and effort.
Overall, learning how to remove a spanner nut without a spanner wrench can be beneficial in various situations. Whether you don’t have the necessary tools, need to perform emergency repairs, face accessibility challenges, or have lost or damaged your spanner wrench, knowing alternative methods can help you overcome these obstacles.

Tools Required for Removing a Spanner Nut Without a Spanner Wrench
If you don’t have a spanner wrench available, don’t worry! There are a few alternative tools that you can use to remove a spanner nut. Here are some tools you can use:
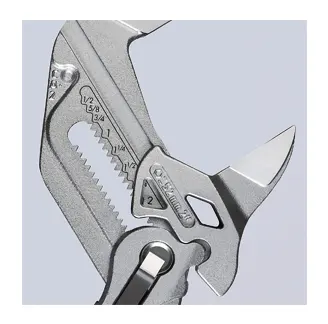
1. Adjustable Pliers
- Adjustable pliers, also known as channel-lock pliers, can be a great option for removing a spanner nut.
- Make sure to choose a pair of pliers with wide, flat jaws for better grip and leverage.
- Adjust the pliers to fit the size of the spanner nut and carefully grip the nut.
- Twist the pliers counterclockwise to loosen and remove the nut.
2. Pipe Wrench
- A pipe wrench can also be used to remove a spanner nut.
- Choose a pipe wrench with a jaw size that matches the spanner nut.
- Fit the pipe wrench around the spanner nut and make sure it is securely in place.
- Apply pressure in the opposite direction of the nut’s rotation and turn counterclockwise to loosen and remove the nut.
3. Locking Pliers
- Locking pliers, also known as Vise-Grip pliers, can also be a handy tool for removing a spanner nut.
- Set the locking pliers to the appropriate size and place them on the nut, ensuring a tight grip.
- Twist the locking pliers counterclockwise to loosen and remove the nut.
4. Hammer and Chisel
- If you don’t have any of the above tools available, you can try using a hammer and chisel.
- Place the chisel on the edge of the spanner nut and strike it gently with the hammer.
- Continue to strike the chisel in a counterclockwise direction to loosen the nut.
- Once the nut is loose enough, you can use your hands to remove it completely.
Note: When using alternative tools to remove a spanner nut, be careful not to damage the underlying surface or the nut itself. Take your time and apply steady pressure to avoid any accidents or injuries.
Step-by-Step Guide on How to Remove a Spanner Nut Without a Spanner Wrench
1. Gather the necessary tools
Before you start, make sure you have the following tools on hand:
- Adjustable pliers or Vise-grips
- Hammer
- Chisel or flathead screwdriver
2. Prepare the area

Ensure that the area around the spanner nut is clear and you have enough space to work. It’s also a good idea to protect the surrounding surfaces with a cloth or cardboard to prevent any scratches or damage.
3. Secure the spanner nut
Using the adjustable pliers or Vise-grips, firmly grip the spanner nut. Make sure the grip is tight and secure to avoid any slipping or accidents.
4. Loosen the nut with a hammer
Using a hammer, gently tap the spanner nut in a counterclockwise direction to loosen it. Apply steady pressure while tapping to avoid damaging the nut or the surrounding area. If the spanner nut is stuck, you may need to tap it with more force, but be careful not to overdo it.
5. Use a chisel or flathead screwdriver
If the spanner nut is still not budging, you can try using a chisel or flathead screwdriver for extra leverage. Position the chisel or screwdriver on one of the corners of the spanner nut and tap it gently with the hammer. This will create a slight rotation and help break the nut free.
6. Continue tapping and rotating
Alternate between tapping the spanner nut with the hammer and rotating it counterclockwise with the pliers or Vise-grips. This combination of tapping and rotating will gradually loosen the nut and make it easier to remove.

7. Remove the spanner nut
Once the spanner nut is sufficiently loosened, use the pliers or Vise-grips to completely unscrew it from the threaded shaft. Keep turning the nut until it comes off completely.
8. Clean and inspect the area
After removing the spanner nut, clean the area surrounding the threaded shaft to remove any debris or dirt. Inspect the shaft and nut for any damage or wear that may require repair or replacement.
9. Replace or reinstall the spanner nut (if necessary)
If you need to reinstall the spanner nut, make sure it is clean and undamaged. Screw it back onto the threaded shaft in a clockwise direction, and use the pliers or Vise-grips to tighten it securely.
Following these step-by-step instructions, you should be able to remove a spanner nut without a spanner wrench. Remember to always exercise caution and work carefully to avoid any injuries or damage to the surrounding area or the nut itself.
Safety Precautions to Consider When Removing a Spanner Nut Without a Spanner Wrench
1. Wear Proper Safety Gear
When working on any DIY project, it is important to prioritize safety. Before attempting to remove a spanner nut without a spanner wrench, make sure you are wearing the appropriate safety gear. This may include gloves, safety goggles, and ear protection.
2. Disconnect All Power Sources
Before starting any work, ensure that any power sources connected to the equipment or machinery are disconnected. This will prevent the possibility of electrical shocks or accidents while removing the spanner nut.
3. Use a Sturdy Replacement Tool
Since you do not have a spanner wrench, it is essential to find a suitable replacement tool that is sturdy and fits securely onto the spanner nut. Using the wrong or unstable tool may lead to accidents or damage to the equipment.
4. Secure the Equipment Properly
Before attempting to remove the spanner nut, ensure that the equipment or machinery is adequately secured. This may involve using clamps or other means to prevent any movement that could cause accidents during the process.
5. Use Proper Techniques
When removing the spanner nut, make sure to use proper techniques and apply the right amount of force. Avoid excessive force or striking the spanner nut with a tool, as this can cause damage or injury.
6. Follow Manufacturer’s Instructions
Refer to the equipment’s manufacturer manual for specific instructions on how to remove the spanner nut without a spanner wrench. Following the recommended steps will ensure that you are taking the appropriate approach and minimizing the risk of accidents.
7. Work in a Well-Lit Area
Working in a well-lit area will help you see what you are doing and avoid any accidental slips or missteps. Ensure that there is sufficient lighting in the workspace before attempting to remove the spanner nut.
8. Work with a Partner
In some cases, removing a spanner nut without a spanner wrench may require additional assistance. Having a partner can help provide support, stabilize the equipment, or offer guidance during the process, reducing the risk of accidents.
9. Take Breaks and Rest as Needed
Working on a project for an extended period can lead to fatigue and reduced concentration, increasing the risk of accidents. Take regular breaks and rest as needed to maintain focus and minimize the chances of making mistakes or causing injuries.
Remember, safety should always be the top priority when working on any DIY project. If you encounter any difficulties or feel uncomfortable at any point, consider seeking professional assistance to avoid any potential risks.
Tips and Tricks for Removing a Spanner Nut Without a Spanner Wrench
Removing a spanner nut can be a tricky task, especially if you don’t have a spanner wrench on hand. However, with a few tips and tricks, you can still get the job done. Here are some methods you can try:
1. Adjustable Pliers
If you have a pair of adjustable pliers, they can serve as a makeshift spanner wrench. Adjust the pliers to fit the size of the spanner nut and grip it firmly. Use the pliers to turn the spanner nut counterclockwise to loosen it. Be careful not to apply too much force and strip the nut.
2. Pipe Wrench
A pipe wrench is another tool that can be used in the absence of a spanner wrench. Place the pipe wrench around the spanner nut and adjust it to get a secure grip. Turn the pipe wrench counterclockwise to loosen the nut. Keep in mind that pipe wrenches are larger and bulkier than spanner wrenches, so make sure you have enough space to maneuver the wrench.
3. Screwdriver and Hammer
If the spanner nut has slots or holes, you can try using a screwdriver and a hammer to remove it. Insert the screwdriver into one of the slots or holes on the nut and tap it gently with a hammer in a counterclockwise direction. The impact and leverage from the hammer can help loosen the nut. Repeat this process for each slot or hole until the nut is loose enough to remove by hand.
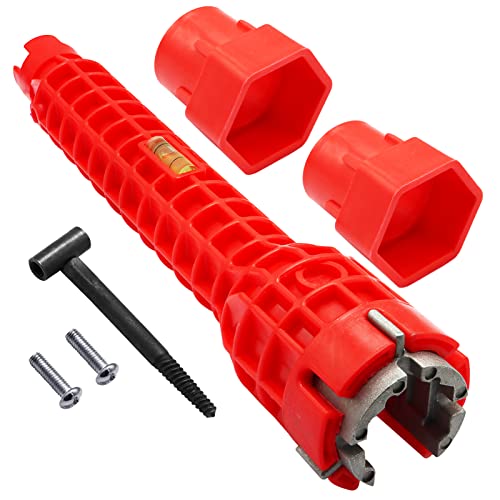
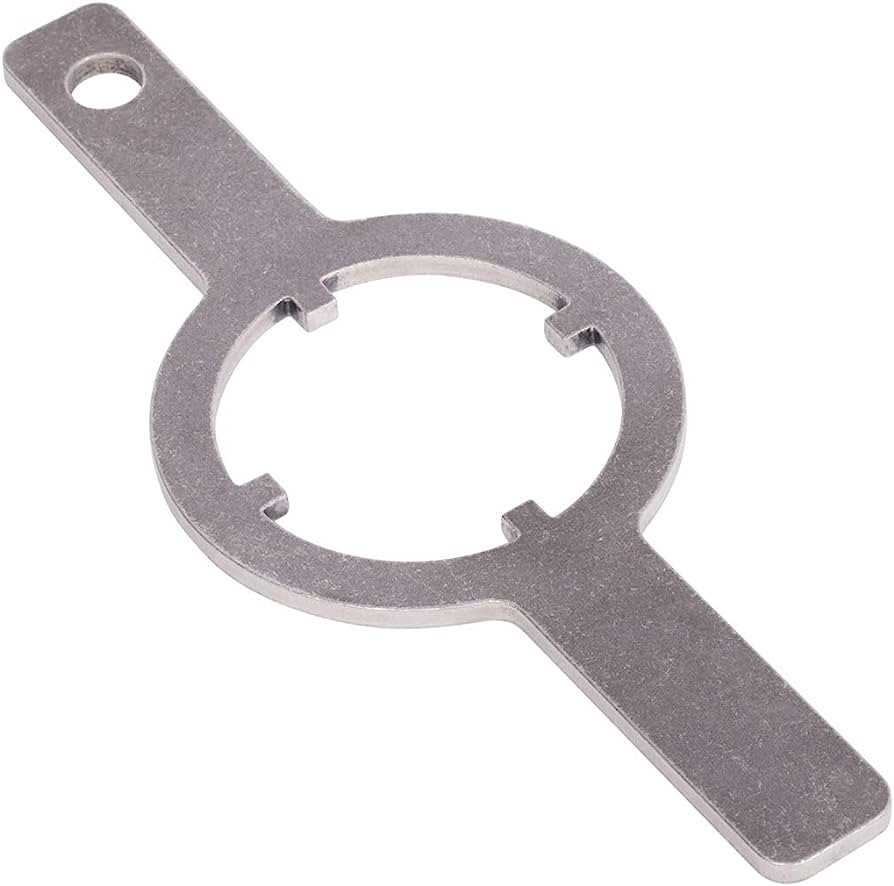
4. Spanner Nut Removal Tool
If none of the above methods work, consider purchasing a spanner nut removal tool. This tool is specifically designed to remove spanner nuts and can make the job much easier. Follow the instructions provided with the tool to properly remove the nut.
Remember to always exercise caution when working with tools, and if you are unsure or uncomfortable with the task, it is best to seek professional assistance. It is also important to use the appropriate safety gear, such as gloves or eye protection, when working with tools.
With these tips and tricks, you should be able to remove a spanner nut without a spanner wrench. Happy DIYing!
FAQ
What is a spanner nut?
A spanner nut is a type of fastener used to secure various components in a threaded assembly, typically in plumbing or automotive applications.
Why would I need to remove a spanner nut?
You may need to remove a spanner nut in order to disassemble or service a specific component that it secures, such as a faucet or a wheel bearing.
What is a spanner wrench?
A spanner wrench is a specialized tool used to tighten or loosen spanner nuts. It has two pins that fit into the holes or notches on the nut, providing leverage for rotation.
What if I don’t have a spanner wrench?
If you don’t have a spanner wrench, there are several alternative methods you can use to remove a spanner nut, such as using a hammer and chisel, pliers, or a pipe wrench.
How do I remove a spanner nut with a hammer and chisel?
To remove a spanner nut with a hammer and chisel, you need to position the chisel against one of the slots or notches on the nut and strike it firmly with a hammer in a counterclockwise direction to loosen the nut.
Can I use pliers to remove a spanner nut?
Yes, you can use pliers to remove a spanner nut by gripping onto the nut’s outer edges and turning it counterclockwise. However, be cautious as pliers may not provide as much leverage as a spanner wrench, and there’s a risk of damaging the nut.
When should I use a pipe wrench to remove a spanner nut?
A pipe wrench is a good option for removing a spanner nut when it’s tightly secured and difficult to loosen with other methods. The adjustable jaws of the pipe wrench can provide a strong grip on the nut for easier removal.
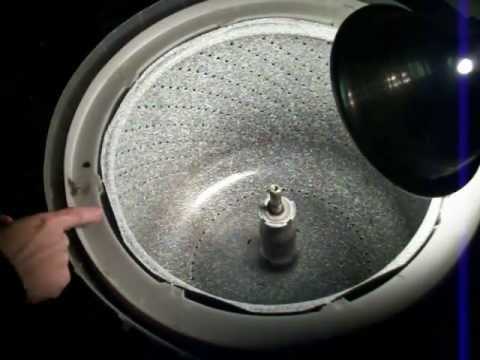
Video

Meet Harrison Clayton, a distinguished author and home remodeling enthusiast whose expertise in the realm of renovation is second to none. With a passion for transforming houses into inviting homes, Harrison's writing at https://thehuts-eastbourne.co.uk/ brings a breath of fresh inspiration to the world of home improvement. Whether you're looking to revamp a small corner of your abode or embark on a complete home transformation, Harrison's articles provide the essential expertise and creative flair to turn your visions into reality. So, dive into the captivating world of home remodeling with Harrison Clayton and unlock the full potential of your living space with every word he writes.