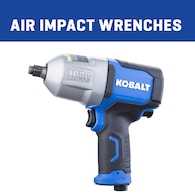
How to Adjust Torque on an Air Impact Wrench: Step-by-Step Guide

An air impact wrench is a powerful tool used in a variety of industries, including automotive repair and construction. It uses compressed air to deliver high torque output, making it ideal for loosening or tightening stubborn bolts and nuts. However, it’s important to know how to adjust the torque on an air impact wrench to avoid damaging the fasteners or the equipment you’re working on.
Adjusting the torque on an air impact wrench is a straightforward process that requires a few simple steps. First, you’ll need to locate the torque adjustment knob on the tool. This knob is usually located at the back or the bottom of the wrench. It may be labeled with numbers or symbols indicating the torque settings.
Next, you’ll want to select the desired torque setting based on the specific application. Keep in mind that different torque settings are required for different types and sizes of fasteners. It’s important to consult the manufacturer’s specifications or the equipment’s manual for the recommended torque settings.
Once you’ve selected the appropriate torque setting, use your fingers to turn the torque adjustment knob in the direction indicated by the arrows or symbols. Turning the knob clockwise will increase the torque output, while turning it counterclockwise will decrease the torque output. Make sure to turn the knob gradually until you reach the desired torque setting.
It’s important to note that over-tightening or under-tightening fasteners can lead to potential problems. Over-tightening can strip the threads or break the fasteners, while under-tightening can result in loose or unstable connections. Always double-check your work and use a torque wrench for critical applications that require precise torque settings.

Pro tip: It’s a good practice to test the torque setting on a scrap piece of material or an inconspicuous area before applying it to the actual fasteners. This will allow you to ensure that the torque setting is appropriate for the task and make any necessary adjustments before working on valuable or delicate components.
By following these simple steps, you can easily adjust the torque on an air impact wrench to suit your specific application. Taking the time to properly adjust the torque will help you work efficiently, protect the integrity of your fasteners and equipment, and ensure long-lasting results.
Air Impact Wrench Torque Adjustment: Step-by-Step Guide
Introduction
An air impact wrench is a powerful tool used for tightening and loosening bolts and nuts. The torque of an air impact wrench determines the amount of force it applies to fasteners. Adjusting the torque on an air impact wrench is essential to ensure the proper tightening of fasteners and prevent damage. In this step-by-step guide, we will show you how to adjust the torque on an air impact wrench.
Step 1: Gather the Necessary Tools
Before you begin, make sure you have the following tools:
- Adjustable torque air impact wrench
- Torque adjustment tool (usually included with the air impact wrench)
- Protective gloves
Step 2: Set the Desired Torque
Use the torque adjustment tool to set the desired torque on the air impact wrench. The torque adjustment tool usually has markings that represent different torque levels. Rotate the tool to align the desired torque level with the indicator on the air impact wrench.

Step 3: Test the Torque
Before using the air impact wrench on actual fasteners, it is important to test the torque setting. To do this, find a scrap piece of material similar to what you will be working with and fasten it securely. Apply the air impact wrench to the fastener and check if it tightens or loosens according to the set torque. If the torque is not adjusted correctly, repeat step 2 until the desired torque is achieved.
Step 4: Adjusting the Torque on the Fly
In some cases, you may need to adjust the torque while using the air impact wrench. To do this, securely hold the air impact wrench with one hand and use the torque adjustment tool with the other hand. Rotate the tool to increase or decrease the torque while the air impact wrench is in use. Make sure to maintain a secure grip on the wrench to prevent accidents.
Step 5: Final Testing
Once you have adjusted the torque setting, perform a final test on the desired fasteners. Make sure they are tightened or loosened properly according to the set torque. If necessary, make further adjustments using step 4 until the desired results are achieved.
Conclusion
Adjusting the torque on an air impact wrench is a simple process that requires attention to detail. By following this step-by-step guide, you can ensure that your air impact wrench is set to the proper torque and that your fasteners are tightened or loosened correctly. Remember to always wear protective gloves and exercise caution when using power tools.
Safety Precautions for Torque Adjustment
1. Read the User Manual
Before attempting to adjust the torque on an air impact wrench, it is important to thoroughly read and understand the user manual provided by the manufacturer. The user manual will contain specific instructions and safety guidelines for your particular tool.

2. Wear Personal Protective Equipment
Always wear appropriate personal protective equipment (PPE) when working with power tools, including an air impact wrench. This may include safety glasses, gloves, and ear protection to protect yourself from potential hazards such as flying debris, noise, and vibration.
3. Power Off and Disconnect
Before making any adjustments to the torque on your air impact wrench, ensure that it is powered off and disconnected from any power source. This will prevent any accidental activation and reduce the risk of injury.
4. Secure the Workpiece
Prior to adjusting the torque, ensure that the workpiece is securely clamped or held in place to prevent movement during the operation. This will minimize the risk of injury and ensure a more accurate torque adjustment.
5. Use Proper Technique
When performing torque adjustment on an air impact wrench, use the proper technique as outlined in the user manual. This may include using specific tools or following a particular sequence of steps. Using the correct technique will help ensure your safety and the proper functioning of the tool.
6. Gradual Torque Adjustment

Avoid making drastic or sudden changes to the torque setting on your air impact wrench. Instead, make gradual adjustments and test the torque incrementally. This will help prevent potential damage to the tool and reduce the risk of accidents.
7. Familiarize Yourself with the Control
Before attempting to adjust the torque, take the time to familiarize yourself with the control mechanism of your air impact wrench. Understand how to properly operate and adjust the torque to avoid any unintentional or improper changes that could lead to injuries.
8. Check for Damage
Prior to using an air impact wrench or adjusting its torque, inspect the tool for any signs of damage or wear. This includes checking the air hose, connectors, and any other components for cracks, leaks, or other potential safety hazards. If any damage is detected, do not use the tool and have it inspected or repaired by a qualified professional.
9. Follow Manufacturer’s Recommendations
Always follow the manufacturer’s recommendations and guidelines for torque adjustment on your specific air impact wrench. They are the experts and know the tool best. Deviating from their recommendations may lead to unsafe operation or damage to the tool.
10. Seek Professional Assistance If Necessary
If you are uncertain about how to adjust the torque on your air impact wrench or encounter any difficulties during the process, seek professional assistance. Contact the manufacturer or consult with a qualified technician who can provide guidance and ensure the proper adjustment of the tool.

By following these safety precautions, you can reduce the risk of accidents and injuries when adjusting the torque on your air impact wrench.
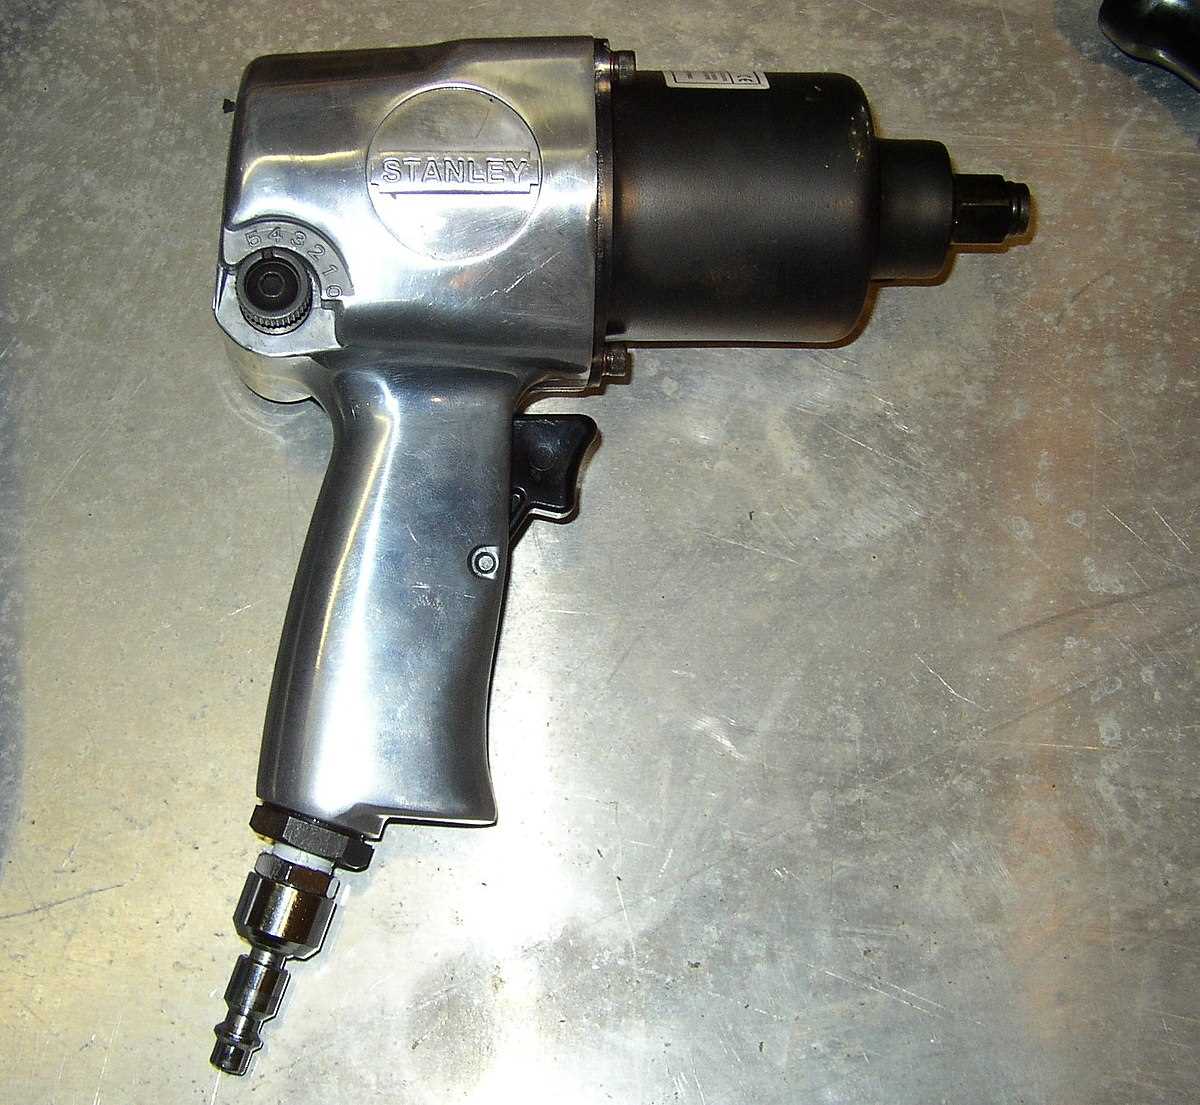
Understanding Torque Settings on an Air Impact Wrench
An air impact wrench is a powerful tool that uses compressed air to generate torque and loosen or tighten bolts and nuts. It is commonly used in automotive, construction, and industrial applications. However, to ensure that you achieve the desired results without causing damage or injury, it is essential to understand and adjust the torque settings on the air impact wrench properly.
What is Torque?
Torque is a rotational force applied to an object. In the context of an air impact wrench, torque refers to the amount of rotational force that the tool generates to tighten or loosen fasteners. It is measured in units of force multiplied by distance, such as pound-feet (lb-ft) or Newton meters (Nm).
Why Adjust Torque Settings?
Adjusting the torque settings on an air impact wrench is necessary to ensure that you apply the appropriate amount of force to a fastener. Using too much torque can lead to overtightening or damage to the fastener or the equipment being worked on. On the other hand, insufficient torque may result in loose connections that can compromise safety or functionality.
Torque Adjustment Steps

Adjusting the torque settings on an air impact wrench typically involves the following steps:
- Identify the torque adjustment mechanism on the wrench. This is usually a dial, switch, or setting located near the trigger or handle.
- Refer to the manufacturer’s instructions or torque specifications for the specific application to determine the recommended torque range.
- Turn the torque adjustment mechanism to the desired setting. Some wrenches have numbered settings, while others have adjustable increments.
- If necessary, use a torque wrench or torque tester to verify the accuracy of the torque output.
Importance of Proper Torque
Using the proper torque settings on an air impact wrench is crucial for several reasons:
- Prevents damage to fasteners: Applying too much torque can lead to stripped threads, snapped bolts, or sheared nuts. Using the correct torque setting ensures that fasteners are tightened to the proper specifications, preventing damage.
- Ensures safety: Properly torqued fasteners provide secure connections, reducing the risk of accidents or equipment failures due to loosening fasteners.
- Optimizes performance: In some applications, such as automotive work, certain components require specific torque settings for optimal performance. Using the correct torque ensures that the components function as intended.
Conclusion
Understanding and adjusting the torque settings on an air impact wrench is essential for achieving accurate and safe results. By following the recommended torque specifications and using the appropriate torque adjustment steps, you can ensure that fasteners are tightened or loosened with the correct amount of force, preventing damage and ensuring optimal performance.
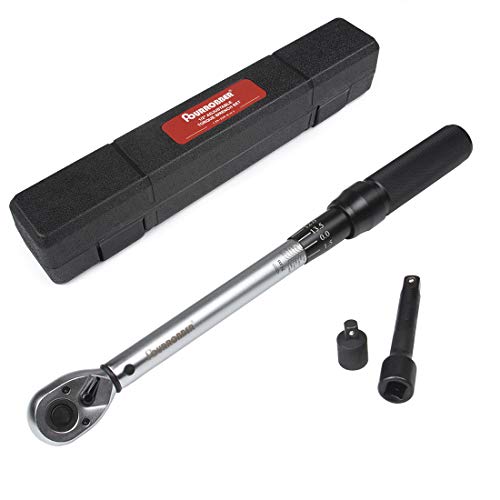
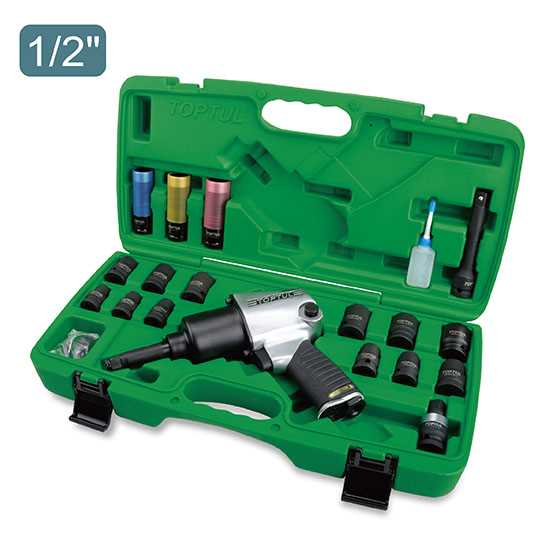
Required Tools for Torque Adjustment
Before you can adjust the torque on an air impact wrench, you will need to gather some tools. These tools will help you properly adjust the wrench and ensure that it is working correctly. Here are the tools you will need:
- Adjustment gauge: This is a tool that measures the torque output of the wrench. It allows you to see the amount of torque that is being applied.
- Allen wrench: This is a key-shaped tool that is used to tighten or loosen the set screws on the torque adjustment mechanism.
- Owner’s manual: This is a document that provides instructions and information about the air impact wrench. It will give you important details on how to adjust the torque.
- Safety glasses: It is always important to wear safety glasses when working with tools to protect your eyes from any debris that may fly off.
Having these tools handy will make the torque adjustment process much easier and safer. Make sure you have them all before you begin.
Step 1: Preparing the Air Impact Wrench
Before you begin adjusting the torque on your air impact wrench, it is important to make sure that it is properly prepared for the task at hand. This step involves a few key preparations that will help ensure the accuracy and effectiveness of your torque adjustments.
1.1 Lubricate the wrench
Start by lubricating the moving parts of the wrench, such as the anvils and the ratchet mechanism. This will help reduce friction and wear, allowing for smoother operation and more accurate torque adjustments. Use a high-quality lubricant specifically designed for air tools to ensure optimal performance.
1.2 Check the air pressure
Next, check the air pressure in your compressor and make sure it is set to the proper level for your specific air impact wrench. Refer to the manufacturer’s instructions or product manual for the recommended air pressure range. Adjust the pressure regulator on your compressor accordingly to match the requirements of your wrench.
1.3 Connect an appropriate air hose
Ensure that you have a suitable air hose connected to your air impact wrench. The hose should be compatible with the wrench’s air inlet and have the capacity to deliver the necessary volume of air. Make sure the hose is securely connected to both the wrench and the air compressor to prevent any air leaks that can affect the performance of your wrench.
1.4 Set the direction of rotation
Before adjusting the torque, determine whether you need to tighten or loosen a fastener. Use the switch on your air impact wrench to set the desired direction of rotation – clockwise for tightening and counterclockwise for loosening. Ensuring that the wrench is set to the correct direction will help prevent any unnecessary complications during the torque adjustment process.
1.5 Verify the torque specification
Lastly, it is crucial to have the correct torque specification for the fastener you are working with. Consult the manufacturer’s recommendations or look up the specifications in a reliable torque chart. Having the accurate torque value will ensure that you make the appropriate adjustments on your air impact wrench.
By following these steps to prepare your air impact wrench, you can ensure that it is ready for accurate torque adjustment and that it will perform optimally during your tasks. Skipping any of these preparations can lead to inaccurate adjustments and potential damage to your tools or workpieces.
Step 2: Setting the Desired Torque
Setting the desired torque on an air impact wrench is an important step to ensure the proper level of tightening or loosening force is applied to a fastener. Follow the steps below to set the desired torque:
- Refer to the manufacturer’s specifications: Look for the recommended torque range for the specific fastener or application you are working on. This information is usually provided in the tool’s manual or can be found online.
- Adjust the torque settings: Most air impact wrenches have a torque adjustment feature, which allows you to set the desired torque level. This can usually be done by rotating a torque adjustment collar located near the front of the tool.
- Align the torque setting: Once you have located the torque adjustment collar, align the desired torque level with the indicator on the tool. This can be done by rotating the collar clockwise or counterclockwise until the desired torque level is visible.
- Test the torque setting: Before using the air impact wrench on the actual fastener, it is recommended to test the torque setting on a separate torque tester or a torque calibration device. This will ensure that the wrench is set to the desired torque level and provides accurate results.
It is important to note that different applications may require different torque levels. Always consult the manufacturer’s specifications or engineering guidelines to determine the appropriate torque setting for a specific task. Adjusting the torque level properly will help prevent over-tightening, under-tightening, or damage to the fasteners.
Tip: If you frequently work with different torque settings, it may be helpful to create a torque setting chart or record the torque levels used for various applications. This can serve as a quick reference guide and ensure the proper torque setting is always used.
Step 3: Calibrating the Torque Adjustment
Calibrating the torque adjustment on an air impact wrench is an important step to ensure accurate and consistent torque application. Here’s how you can calibrate the torque adjustment on your wrench:
- Locate the torque adjustment knob or dial on your air impact wrench. This is typically located near the trigger or at the base of the tool.
- Turn on the air compressor and attach the air hose to your wrench.
- Select a torque setting that you want to calibrate the wrench to. This can be done by referring to the manufacturer’s specifications or consulting a torque chart.
- Securely hold the air impact wrench and place a torque testing device, such as a torque transducer or torque analyzer, onto the output square drive of the wrench.
- Apply pressure to the torque testing device while simultaneously pulling the trigger on the air impact wrench. The wrench will start to apply torque to the testing device.
- Watch the torque reading on the testing device and compare it to the desired torque setting. If the reading is higher or lower than the desired torque, you will need to adjust the torque adjustment knob or dial on the wrench.
- To increase the torque, turn the torque adjustment knob or dial in the direction indicated by the manufacturer. To decrease the torque, turn it in the opposite direction.
- Repeat steps 4 to 7 until the torque reading on the testing device matches the desired torque setting.
- Once the torque is calibrated, use the wrench to apply torque to your desired application, ensuring accurate and consistent torque output.
It’s important to note that the calibration process may vary slightly depending on the specific model of the air impact wrench you are using. Always consult the manufacturer’s instructions for specific calibration procedures.
By properly calibrating the torque adjustment on your air impact wrench, you can ensure precise torque application and avoid over-tightening or under-tightening fasteners.
Step 4: Testing and Verifying the Adjusted Torque
After adjusting the torque setting on your air impact wrench, it is important to test and verify the changes you made. This will ensure that the wrench is now delivering the desired torque and performing as expected. Here are the steps to test and verify the adjusted torque:
- Select a suitable test object: Choose a test object that requires the desired torque setting, such as a bolt or nut. Make sure the object is securely fastened and will not move during the testing process.
- Position the wrench: Position the air impact wrench on the test object and ensure that it is properly aligned with the fastener.
- Apply torque: Engage the wrench and apply the desired torque by pulling the trigger or pressing the button. Make sure to hold the wrench firmly and maintain a steady hand during this process.
- Check for fastener movement: After applying the torque, check if the fastener moves or if there is any visible damage. If the fastener moves or if there are signs of damage, the torque may need further adjustment.
- Repeat the test: If the torque setting needs further adjustment, repeat the steps above until the desired torque is achieved and the fastener remains secure.
- Verify the torque: Use a torque wrench to verify the torque applied by the air impact wrench. Compare the readings between the torque wrench and the impact wrench to ensure they are within an acceptable range of each other.
By following these steps, you can properly test and verify the adjusted torque on your air impact wrench. This will help guarantee that the wrench is functioning correctly and delivering the desired amount of torque.
Maintenance and Periodic Review of Torque Settings
Regular maintenance and periodic review of torque settings are essential to ensure the proper functioning and reliability of your air impact wrench. Here are some steps you can follow to maintain and review the torque settings:
1. Clean and Inspect the Wrench
Before reviewing the torque settings, it is important to clean and inspect the wrench. Use a clean cloth to wipe off any debris or dirt on the wrench. Inspect it for any signs of damage or wear and tear.
2. Check the Torque Settings
Next, check the torque settings on your air impact wrench. Look for the torque adjustment switch or dial on the wrench. Make sure it is clearly marked and easy to read.
Refer to the manufacturer’s manual or specifications to determine the recommended torque settings for your specific application. Adjust the torque settings accordingly if necessary.
3. Test the Torque Accuracy
After adjusting the torque settings, it is important to test the accuracy of the wrench. You can do this by using a torque calibration tool or a torque testing device.
Apply the wrench to a torque testing device and compare the results with the desired torque value. If the results are within an acceptable range, the torque settings are accurate. If not, you may need to readjust the settings or seek professional calibration.
4. Lubricate the Wrench
Regular lubrication is essential to maintain the performance of your air impact wrench. Follow the manufacturer’s recommendations for lubrication intervals and use a high-quality lubricant.
Apply a few drops of lubricant to the air inlet of the wrench and run it for a few seconds to distribute the lubricant throughout the internal components. This will help reduce friction and extend the lifespan of your wrench.
5. Keep a Maintenance Log
To ensure proper maintenance and periodic review of torque settings, it is a good practice to keep a maintenance log. Note down the date of each maintenance activity, including torque adjustments, lubrication, and any repairs or replacements.
This log will help you keep track of when each maintenance activity was performed and will serve as a reference for future reviews and inspections.
By following these steps, you can maintain the torque settings of your air impact wrench and ensure its optimal performance and longevity.
FAQ
What is an air impact wrench?
An air impact wrench is a pneumatic tool that is used to tighten or loosen bolts and nuts. It uses compressed air to generate torque, making it more powerful than traditional wrenches.
Why would I need to adjust the torque on an air impact wrench?
You may need to adjust the torque on an air impact wrench to ensure that you are not over-tightening or under-tightening bolts. Different applications require different levels of torque, and adjusting the wrench allows you to achieve the desired torque setting.
Can I adjust the torque on any air impact wrench?
Not all air impact wrenches have adjustable torque settings. Some lower-end models may not have this feature. It is important to check the specifications of your wrench to determine if it is adjustable or not.
Video


Meet Harrison Clayton, a distinguished author and home remodeling enthusiast whose expertise in the realm of renovation is second to none. With a passion for transforming houses into inviting homes, Harrison's writing at https://thehuts-eastbourne.co.uk/ brings a breath of fresh inspiration to the world of home improvement. Whether you're looking to revamp a small corner of your abode or embark on a complete home transformation, Harrison's articles provide the essential expertise and creative flair to turn your visions into reality. So, dive into the captivating world of home remodeling with Harrison Clayton and unlock the full potential of your living space with every word he writes.