Easy Steps to Tune an Autoharp Without a Tuning Wrench

Autoharp is a beloved instrument for many musicians and enthusiasts. However, keeping it in tune can be a challenge, especially if you don’t have a tuning wrench on hand. Luckily, there are alternative methods you can use to tune your autoharp without a tuning wrench. In this article, we will guide you through the process of tuning your autoharp using everyday objects you can find at home.
Step 1: Identify the strings
The first step in tuning your autoharp without a tuning wrench is to identify the strings. Autoharps typically have 36 strings, grouped into different chords. Each chord has multiple strings, which need to be tuned to the same pitch. To simplify the tuning process, it’s recommended to start with one chord at a time.
Step 2: Find a reference pitch
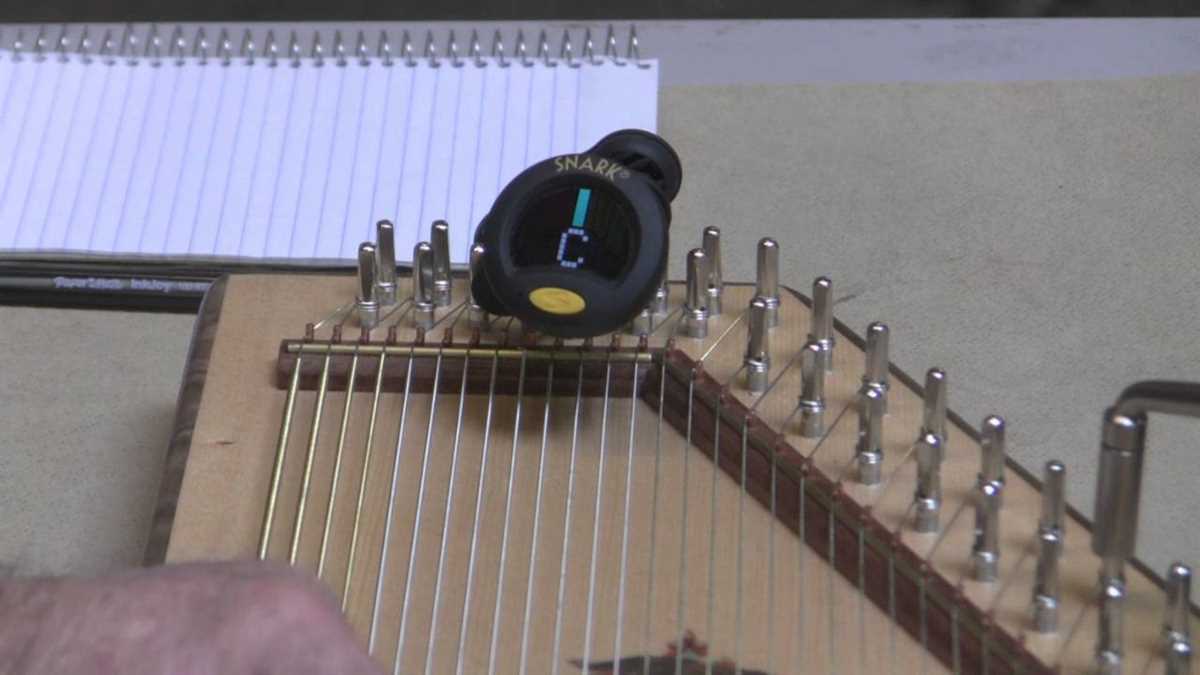
Next, you need to find a reference pitch to tune your autoharp. You can use a piano, a tuning app on your smartphone, or even an online tuner. Play the reference pitch and listen carefully to its sound. You’ll use this pitch to match the tuning of your autoharp strings.

Step 3: Use a small object as a makeshift wrench
In the absence of a tuning wrench, you can use a small object such as a paperclip or a coin as a makeshift wrench. Gently press the object against the tuning peg of the string you want to tune and turn it in the desired direction. Be cautious not to apply too much pressure, as you could damage the peg or the string.
Step 4: Adjust the tension
As you turn the tuning peg, you will notice a change in the tension of the string. Keep adjusting the tension until the pitch matches that of the reference note. Be patient, and make small adjustments at a time to avoid over-tightening or loosening the string.
Remember to tune each string within a chord to the same pitch to ensure a harmonious sound.
By following these easy steps, you can tune your autoharp without a tuning wrench. Regular tuning is essential to maintain the instrument’s sound quality and enjoy playing it to its fullest. So, grab a paperclip or a coin, and start tuning your autoharp today!

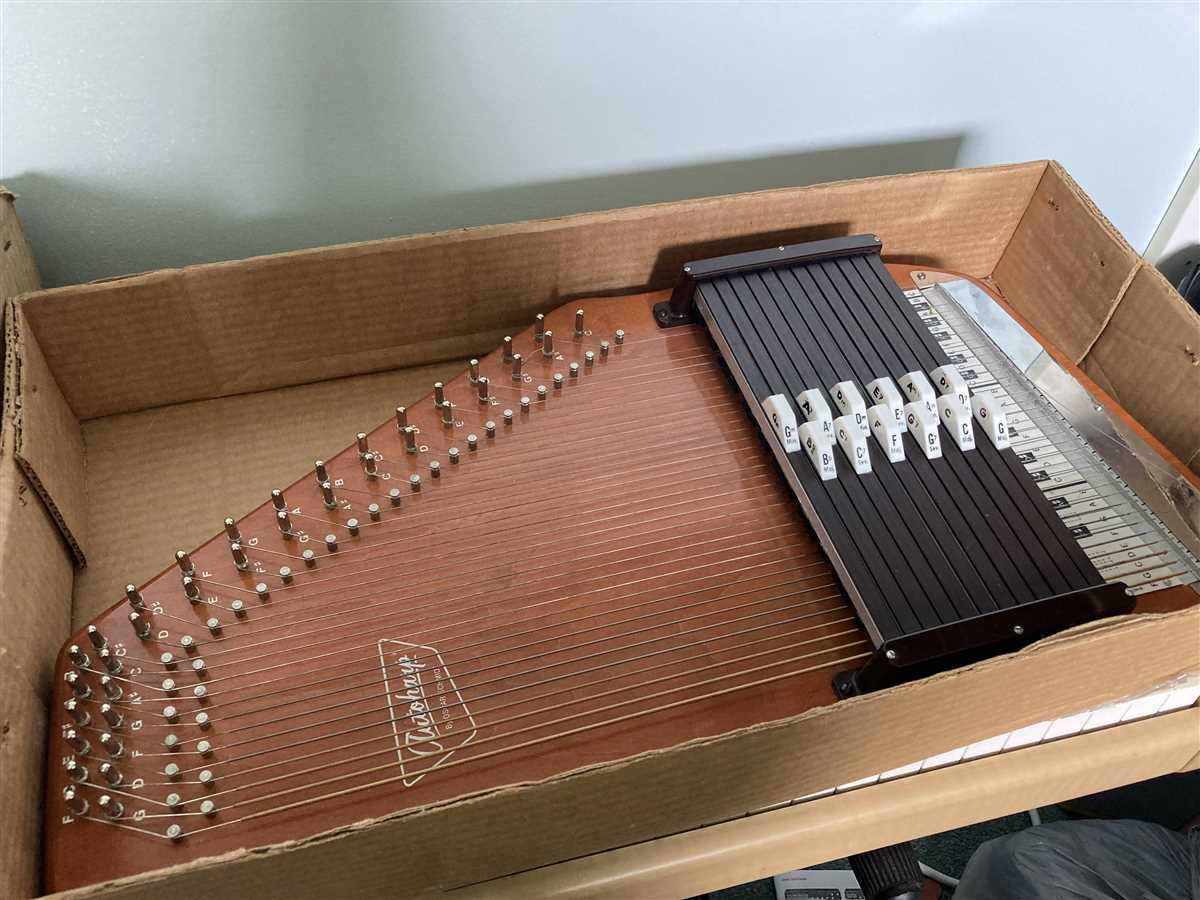
What is an Autoharp?
An autoharp is a unique musical instrument that belongs to the chorded Zither family. It consists of a series of strings that are attached to a wooden frame, with each string representing a specific note or chord. The strings are tuned to specific pitches, enabling the player to strum or fingerpick them to produce beautiful melodies.
The autoharp is commonly used in folk, country, and bluegrass music genres. It is known for its versatility and ease of use, making it a popular choice among musicians of all skill levels. The instrument typically features a series of buttons or keys that allow the player to easily change chords while strumming.
Key Characteristics of an Autoharp:
- Wooden frame with a series of strings
- Chord buttons or keys for easy chord changes
- Can be played by strumming or fingerpicking
- Commonly used in folk, country, and bluegrass music
- Provides harmonic accompaniment to vocals or other instruments
- Can be tuned to different keys and pitches
Autoharps often come in different sizes and configurations. They can have anywhere from 15 to 37 strings, with the most common being 36 strings. The instrument has undergone various developments and improvements since its invention in the late 1800s by Oscar Schmidt. Today, it is still widely used and loved by musicians for its unique sound and versatility.
Whether you’re a beginner or an experienced player, learning to tune an autoharp is an essential skill to ensure that you produce the best possible sound from your instrument. In this article, we will guide you through the process of tuning an autoharp without a tuning wrench, using simple steps that anyone can follow.
Why is Tuning an Autoharp Important?
Properly tuning your autoharp is essential for several reasons:
- Sound Quality: When an autoharp is out of tune, it produces unpleasant sounds that can be jarring to the listener. By tuning your autoharp, you ensure that each string is vibrating at the correct frequency, resulting in a harmonious and pleasing sound.
- Playing in Tune with Others: If you plan to play your autoharp with other musicians, it is crucial to have it properly tuned. Playing out of tune can be very distracting to others and can disrupt the overall sound of the group. By tuning your autoharp, you can ensure that you are playing in tune with other instruments and musicians.
- Prolonging the Life of Your Strings: Autoharp strings can become worn or break over time, especially if they are continually played out of tune. When an autoharp is out of tune, there is extra tension on the strings, which can cause them to stretch or snap. By regularly tuning your autoharp, you can help prolong the life of your strings and avoid unnecessary replacements.
- Musical Expression: A properly tuned autoharp allows you to fully express yourself musically. When your instrument is in tune, you can play with confidence, knowing that the notes and chords you are playing are accurate. This allows you to explore different musical styles, experiment with melodies, and create a more dynamic and engaging performance.
In conclusion, tuning your autoharp is an essential task that should not be overlooked. It not only ensures that your instrument produces the best sound quality but also enables you to play in tune with others, prolong the life of your strings, and express yourself fully as a musician.
Step 1: Prepare Your Autoharp
Before you begin tuning your autoharp, it is important to prepare it properly to ensure accurate and smooth tuning. Follow these steps to prepare your autoharp:
- Inspect Your Autoharp: Check your instrument for any visible damage or loose parts. Make sure there are no broken strings or missing pins.
- Clean Your Autoharp: Use a soft cloth to gently remove any dust or dirt from the surface of your autoharp. Avoid using water or harsh chemicals that could damage the wood or finish.
- Find a Stable Surface: Place your autoharp on a flat and stable surface, such as a table or a music stand. This will provide a secure base for tuning and prevent any accidental movement.
- Adjust the Position: Position your autoharp in a way that is comfortable for you. You may want to place it at an angle or adjust the height to ensure easy access to all strings and pins.
By following these steps, you will ensure that your autoharp is in good condition and ready for tuning. Taking the time to prepare your instrument properly will help you achieve the best results when tuning.
Clean Your Autoharp
Keeping your autoharp clean is important for maintaining its sound quality and prolonging its lifespan. Here are some easy steps to clean your autoharp:
1. Gather the necessary cleaning supplies
Before you begin cleaning your autoharp, make sure you have the following supplies:
- Soft, lint-free cloth
- Mild soap or instrument cleaner
- Water
2. Clean the exterior of the autoharp
Start by wiping down the exterior of the autoharp with a soft, lint-free cloth. This will remove any dust or dirt that may have accumulated on the surface. Be gentle to avoid scratching the finish.
3. Clean the strings
Take a clean cloth and gently wipe each string of the autoharp. This will remove any residual dirt or oil that may have built up on the strings. Be careful not to put too much pressure on the strings, as they can easily break.
4. Clean the soundboard
Dampen a cloth with mild soap and water solution and gently wipe the soundboard of the autoharp. Avoid using too much water as it can damage the wood. Dry the soundboard thoroughly with a clean cloth after cleaning.
5. Clean the tuning pins
Take a cloth dampened with water and gently wipe the tuning pins of the autoharp. This will remove any dust or dirt that may be affecting the tuning. Be careful not to get the tuning pins too wet, as it can cause rusting.
6. Clean the felts and dampers
Inspect the felts and dampers of your autoharp and remove any debris or dust that may have accumulated. Use a soft brush or cloth to gently clean these parts. If any of the felts or dampers are worn out or damaged, consider replacing them.
7. Store your autoharp properly
After cleaning, make sure to store your autoharp in a dry and dust-free environment. Use a protective case or bag to prevent any damage during storage or transportation.
By regularly cleaning and maintaining your autoharp, you can ensure that it continues to produce beautiful music for years to come.
Make Sure the Strings Are in Good Condition
Before tuning your autoharp, it’s important to ensure that the strings are in good condition. This is because damaged or worn strings can affect the accuracy of the tuning. Here are some steps to follow to check the condition of your autoharp strings:
-
Inspect the Strings: Carefully examine each string to look for any signs of wear, fraying, or damage. Pay attention to the areas where the strings contact the bridge and the tuning pins, as these are common areas for wear.
-
Replace Any Damaged Strings: If you notice any strings that are damaged or worn, it’s important to replace them before attempting to tune the autoharp. You can find replacement strings at music stores or online retailers that specialize in autoharp supplies.
-
Check for Loose or Slack Strings: Ensure that all the strings are securely attached to the tuning pins and that there is no excessive slack. If you notice any loose or slack strings, tighten them or reattach them to the tuning pin as necessary.
-
Consider String Age: Keep in mind that autoharp strings can wear out over time, even with proper care. If you haven’t replaced the strings in a long time, consider whether it’s time for a full string replacement to ensure optimal sound quality.
By making sure the strings are in good condition, you’ll create a solid foundation for tuning your autoharp effectively. Remember to regularly check the string condition and replace any damaged or worn strings to maintain the best sound quality possible.
Step 2: Find a Suitable Replacement
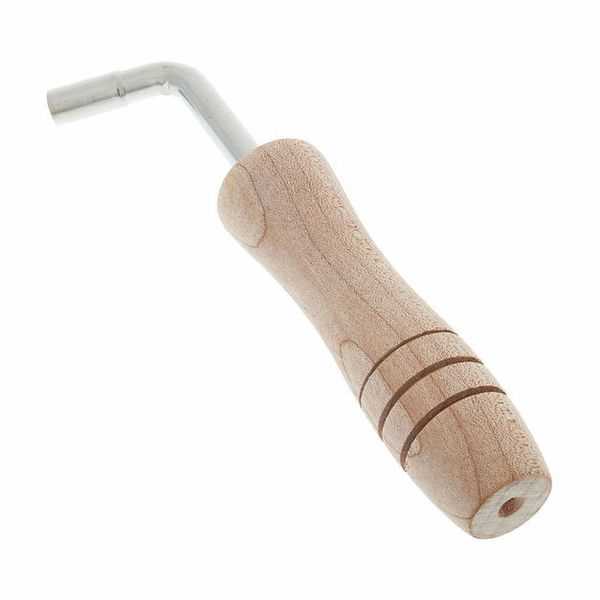
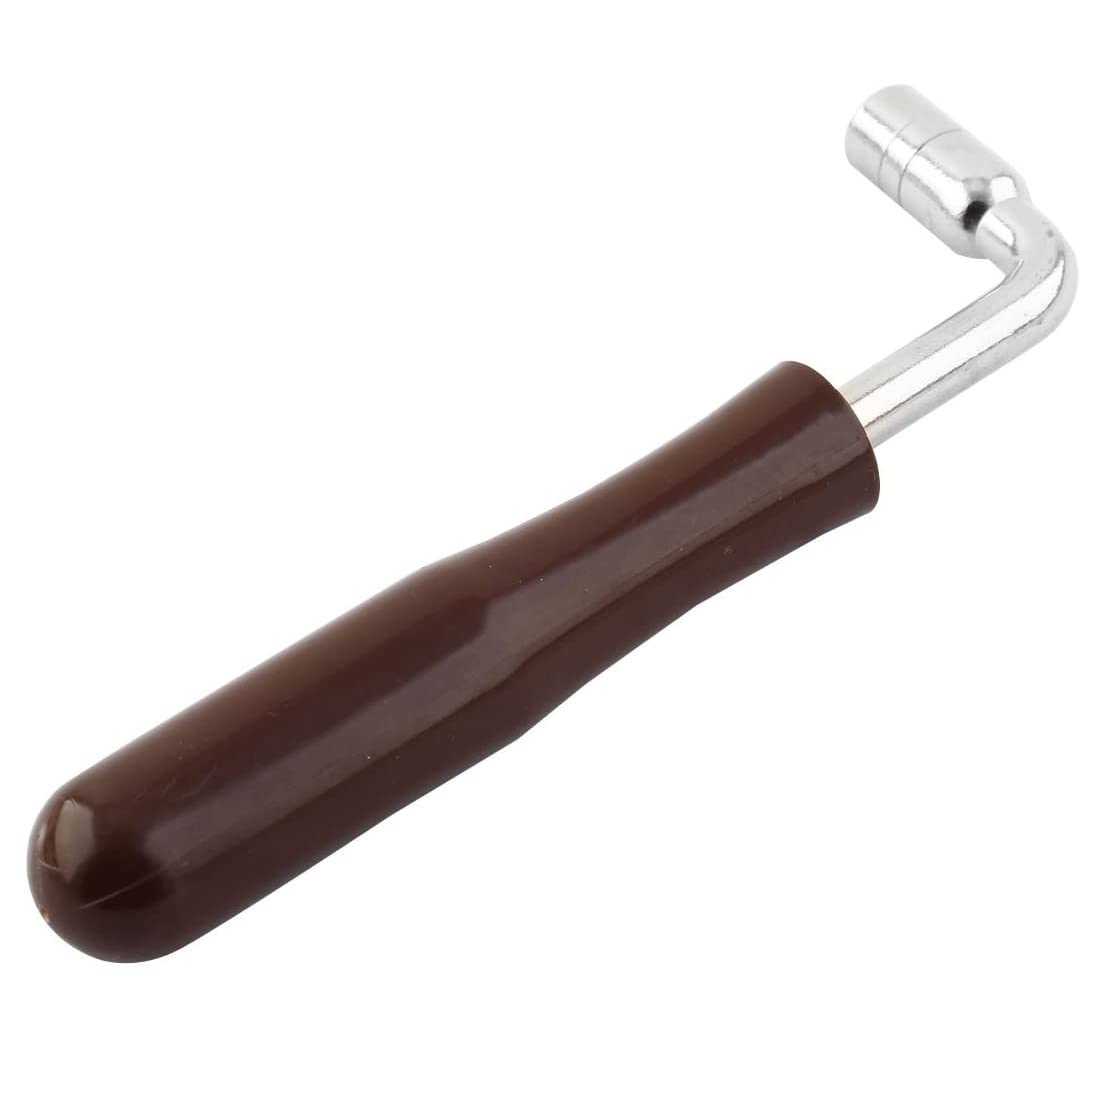
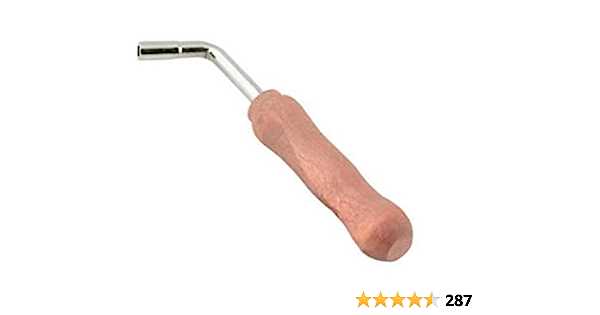
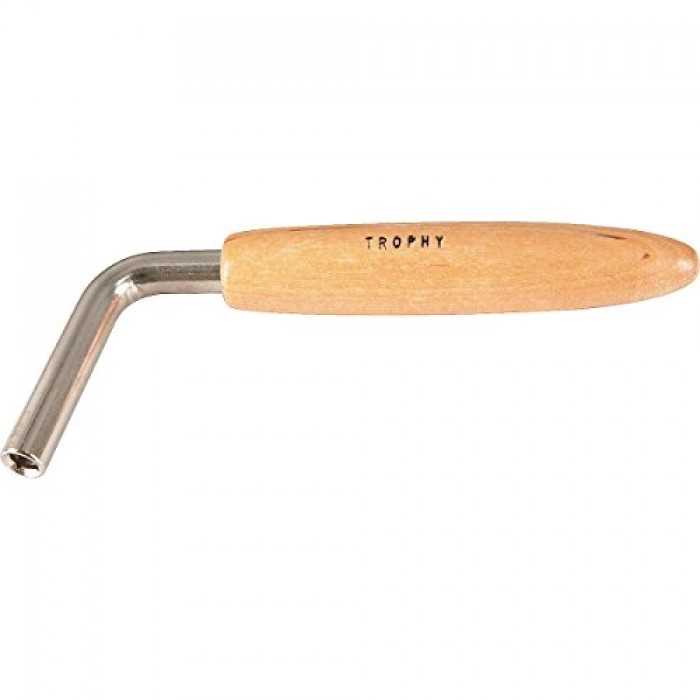
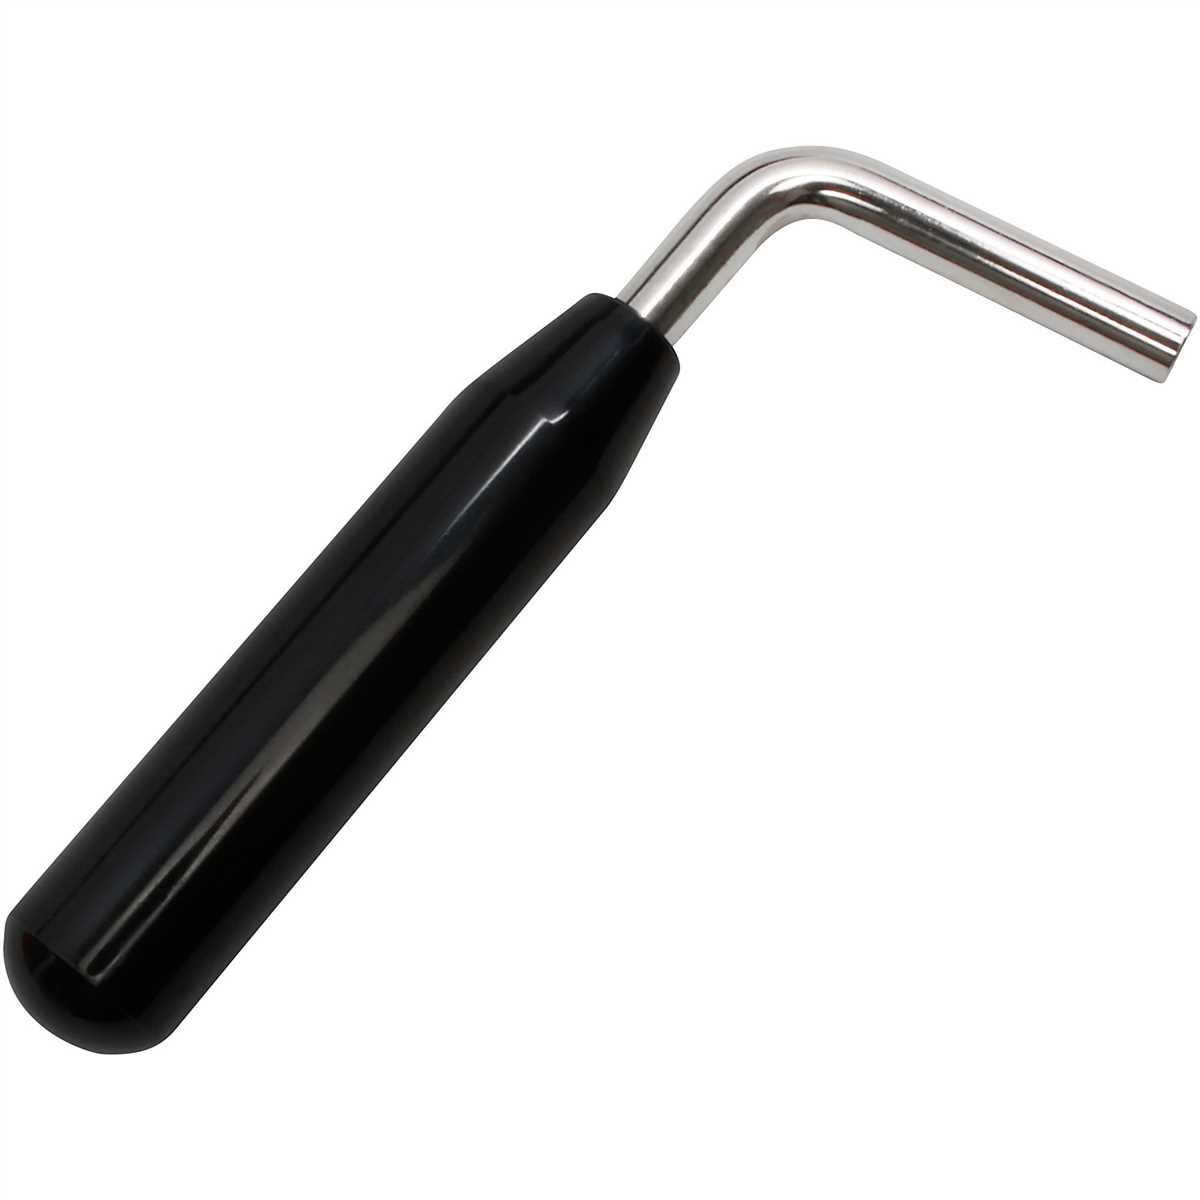
Once you’ve determined that your autoharp needs tuning, the next step is to find a suitable replacement for the missing tuning wrench. While having a dedicated autoharp tuning wrench is ideal, there are several alternative options you can use in a pinch.
Here are some possible replacements you can consider:
- Guitar Tuning Key: If you happen to have a guitar tuning key, it can be used to tune the autoharp. Simply insert the end of the key into the tuning peg and turn it to adjust the tension of the string.
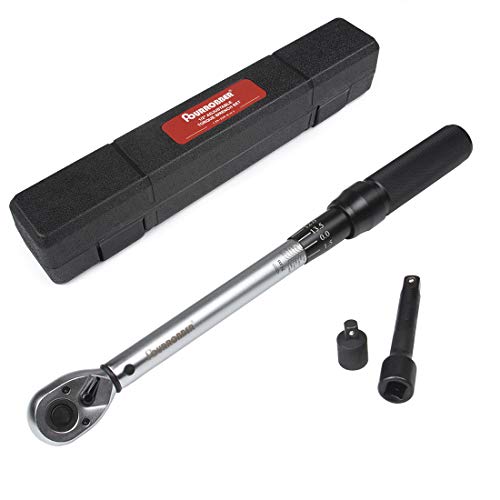
- Standard Wrench: In some cases, a standard adjustable wrench can be used as a makeshift tuning wrench. Adjust the width of the wrench to fit the tuning peg and turn it to tune the string.
- Needle-Nose Pliers: Needle-nose pliers can be used as an unconventional but effective tuning tool. Grip the tuning peg firmly with the pliers and turn it to adjust the tension.
It’s important to note that these alternative options may not provide the same level of precision as a dedicated autoharp tuning wrench. However, they can still be effective in getting your autoharp back in tune.
If you don’t have any of these tools readily available, you may also consider visiting a local music store or contacting an autoharp technician to inquire about purchasing a replacement tuning wrench.
Measure the Length of the Broken or Worn String
Before replacing a broken or worn string on your autoharp, you will need to measure the length of the string to ensure that you purchase the correct replacement.
To measure the length of the string, follow these steps:
- First, locate the broken or worn string on your autoharp.
- Use a measuring tape or a ruler to measure the length of the string from the end to the tuning peg.
- Record the measurement in inches or centimeters.
It’s important to measure the length accurately to ensure that the replacement string is the correct size. If the replacement string is too long, it may not fit properly on the autoharp. If it’s too short, it may not produce the correct pitch when tuned.
Once you have measured the length of the broken or worn string, you can proceed to purchase a replacement string of the same length. It’s recommended to buy replacement strings from a reputable music store or an online retailer that specializes in autoharp accessories.
Choose a Replacement String
If you need to replace a string on your autoharp, it’s important to choose the right replacement string. The strings on an autoharp are typically made of either steel or nylon, and each type has its own unique sound and feel. Here are some factors to consider when choosing a replacement string:
- Gauge: The gauge of the string refers to its thickness. Thicker strings generally produce a louder and fuller sound, while thinner strings produce a brighter and more delicate sound. Consider the overall sound you want to achieve and choose a gauge that matches your preference.
- Material: Steel strings have a more metallic and bright sound, while nylon strings have a softer and warmer sound. Consider the type of music you plan to play and choose a material that complements the style.
- Tension: Each string on the autoharp has a specific tension that affects its pitch. When replacing a string, make sure to choose one with the appropriate tension to maintain balance and harmony in the instrument.
It’s a good idea to consult the manufacturer’s recommendations or seek advice from an experienced autoharp player when choosing replacement strings. They can provide guidance based on your specific instrument and playing style. Additionally, you can consider experimenting with different types of strings to discover the sound that suits you best.
Step 3: Attach the Replacement String
After removing the broken string, you will need to attach the replacement string onto the autoharp. Here is how you can do it:
- Identify the correct hole: Each string on the autoharp is attached to one of the tuning pins. Locate the hole on the tuning pin where the broken string was originally attached.
- Thread the string: Insert one end of the replacement string into the hole you identified on the tuning pin. Make sure to thread it through the hole so that it is securely attached.
- Tie a knot: Once the string is threaded through the hole, tie a small knot at the end of the string to prevent it from slipping back through the hole. Make sure the knot is tight, but not too tight that it puts unnecessary tension on the string.
- Stretch and tune the string: After tying the knot, gently pull the string away from the autoharp to stretch it. This will help ensure that it stays in tune once you start playing. Use a digital tuner or a tuning app to tune the replacement string to the correct pitch. Adjust the tension by turning the tuning pin with your fingers or a tuning wrench until the string is in tune.
Repeat these steps for each replacement string, making sure to attach them to the correct tuning pins and tune them to the correct pitch. Once all the replacement strings are in place and properly tuned, your autoharp will be ready to play again.
Locate the Bridge Pins
Before you can tune your autoharp without a tuning wrench, you will need to locate the bridge pins. These pins are located on the bridge of the instrument, which is the part that holds the strings in place.
The bridge pins are small metal pegs that can be found on the underside of the autoharp. They are usually evenly spaced along the length of the bridge. The number of bridge pins can vary depending on the model of the autoharp, but most autoharps have at least 21 bridge pins.
Each bridge pin corresponds to a specific string on the autoharp. When the pins are tightened or loosened, it changes the tension of the corresponding string, which in turn affects the pitch of the note produced when the string is plucked or strummed.
Locating the bridge pins is an important first step in tuning your autoharp without a tuning wrench, as it allows you to identify which strings need to be adjusted in order to bring the instrument into tune. Once you have located the bridge pins, you can proceed to the next step of the tuning process.
FAQ
Can I tune an autoharp without a tuning wrench?
Yes, you can tune an autoharp without a tuning wrench by using a digital tuner or a pitch pipe. These tools can help you accurately tune the strings of your autoharp without the need for a tuning wrench.
Are there any alternative ways to tune an autoharp without a tuning wrench?
Yes, there are alternative ways to tune an autoharp without a tuning wrench. Besides using a digital tuner or a pitch pipe, you can also use a piano or another tuned instrument as a reference. Simply play the desired pitch on the reference instrument and match the strings of your autoharp to that pitch. This method can be helpful if you don’t have a tuning wrench or other tuning tools available.
What should I do if I don’t have access to a digital tuner, pitch pipe, or a reference instrument?
If you don’t have access to tuning tools like a digital tuner, pitch pipe, or a reference instrument, it can be more challenging to tune your autoharp accurately. However, you can try using an online tuner or a tuning app on your smartphone. These tools can provide you with the correct pitch for each string, allowing you to adjust the tuning pegs accordingly. Keep in mind that using these tools may not be as precise as using dedicated tuning equipment, but they can still help you get your autoharp in tune.
Video


Meet Harrison Clayton, a distinguished author and home remodeling enthusiast whose expertise in the realm of renovation is second to none. With a passion for transforming houses into inviting homes, Harrison's writing at https://thehuts-eastbourne.co.uk/ brings a breath of fresh inspiration to the world of home improvement. Whether you're looking to revamp a small corner of your abode or embark on a complete home transformation, Harrison's articles provide the essential expertise and creative flair to turn your visions into reality. So, dive into the captivating world of home remodeling with Harrison Clayton and unlock the full potential of your living space with every word he writes.