Choosing the Right Wrench Size to Bleed Brakes – A Comprehensive Guide

When it comes to bleeding brakes, having the right tools is essential for a successful job. One of the most important tools you’ll need is a wrench. But how do you know what size wrench to use?
First, it’s important to understand that there are different types of brakes and each may require a different wrench size. For example, drum brakes typically use a 9/16-inch or 11/16-inch wrench, while disc brakes may require a 10mm or 11mm wrench.
To determine the correct wrench size for bleeding your specific brakes, you can refer to the vehicle’s owner’s manual or consult a professional mechanic. It’s also a good idea to have a set of metric and standard wrenches on hand, as this will cover most brake bleeding scenarios.
Once you have the correct wrench size, it’s important to use it properly. Make sure the wrench is securely fitted onto the bleeder valve and apply steady pressure to loosen the valve. Be careful not to apply too much force, as this can strip the valve or cause damage to the brake system.
In conclusion, choosing the right wrench size is crucial for bleeding brakes effectively. By understanding the specific requirements of your vehicle’s brakes and using the appropriate wrench, you can ensure a safe and successful brake bleeding process.
Why Choosing the Right Wrench Size is Important
Choosing the right wrench size is crucial when it comes to bleeding brakes. A wrench is an essential tool used to turn and tighten bolts and nuts. It comes in different sizes and shapes, and selecting the correct size is necessary for effective brake bleeding. Here are several reasons why choosing the right wrench size is important:
1. Proper Fit
Using the correct wrench size ensures a proper fit on the brake bleeder valve. A loose or ill-fitting wrench can slip off, leading to stripped or damaged valves. It can also result in air getting drawn into the system, compromising the brake bleeding process.
2. Preventing Damage
If the wrench size is too large or too small, it can cause damage to the brake bleeder valve. Applying excessive force with an incorrect size wrench can round off the valve or create leaks, leading to brake fluid loss and potential brake failure. It is crucial to choose the right wrench size to avoid damaging the brake system.
3. Speed and Efficiency
Using the correct wrench size allows for faster and more efficient brake bleeding. A properly fitting wrench provides better leverage, making it easier to open and close the brake bleeder valve. This can save time and effort during the bleeding process.
4. Safety
Selecting the right wrench size ensures your safety while working on the brake system. If the wrench slips off or doesn’t fit properly, it can cause hand or finger injuries. By using the correct size wrench, you can minimize the risk of accidents and work safely.

Overall, choosing the right wrench size is crucial for a successful brake bleeding process. It ensures a proper fit, prevents damage to the valve, improves speed and efficiency, and enhances safety. Always refer to the vehicle manufacturer’s specifications or a professional guide to determine the correct wrench size for your specific brake system.
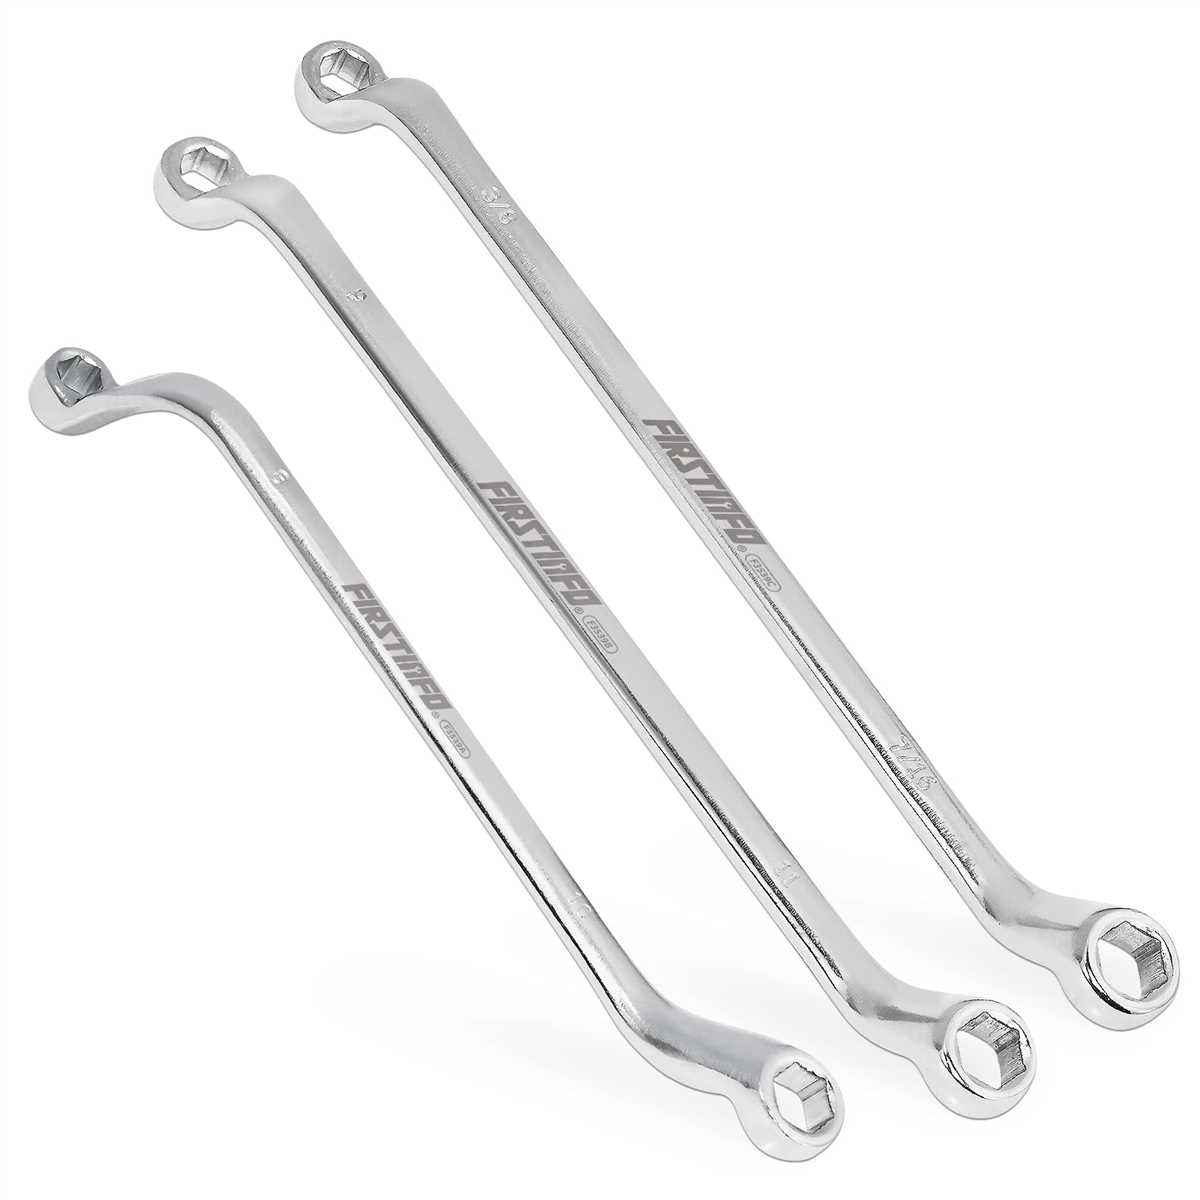
The Different Wrench Sizes for Bleeding Brakes
When it comes to bleeding your brakes, having the right wrench size is essential for ensuring a proper and secure fit. The wrench size refers to the width across the flats of the wrench, which is the part that grips the brake fittings. Different brake fittings may require different wrench sizes, so it’s important to have a variety of sizes on hand to ensure you can tackle any job.
Here are some common wrench sizes used for bleeding brakes:
1. 8 mm Wrench
The 8 mm wrench is commonly used for bleeding the bleeder valves on calipers and wheel cylinders. It’s a smaller sized wrench that is perfect for accessing tight spaces and reaching the bleed screws.
2. 10 mm Wrench
The 10 mm wrench is another popular size for bleeding brakes. It’s often used for bleeding the brake line fittings and bleeder valves on calipers and wheel cylinders.

3. 11 mm Wrench
The 11 mm wrench is less common, but can still be useful for bleeding certain brake fittings. It may be used for bleeding the brake line fittings or bleeder valves on calipers and wheel cylinders.
4. 12 mm Wrench
The 12 mm wrench is commonly used for bleeding the brake line fittings and bleeder valves on calipers and wheel cylinders. It’s a versatile size that can handle a range of brake fittings.
5. 14 mm Wrench
The 14 mm wrench is often used for bleeding the brake line fittings and bleeder valves on calipers and wheel cylinders. It’s a larger size that provides a secure grip on the fittings.
It’s important to note that these are just some of the common wrench sizes used for bleeding brakes. Depending on the make and model of your vehicle, you may encounter different sizes. Always consult your vehicle’s manual or a professional mechanic to determine the correct wrench size for your specific brake fittings.
Having a set of wrenches that cover a range of sizes is a good investment for any DIY mechanic or car enthusiast. It ensures that you’ll always have the right tool for the job and can perform brake bleeding accurately and safely.

Tools Needed for Bleeding Brakes
Bleeding brakes is a crucial maintenance task that ensures the proper functioning of your vehicle’s braking system. To successfully bleed brakes, you will need a few essential tools to make the process easier and more efficient.
1. Brake Bleeder Kit
A brake bleeder kit is a must-have tool for bleeding brakes. It typically includes a hand pump or vacuum pump, a container to collect the old brake fluid, and a collection of adapters to fit various brake bleeder valves. The kit makes it easier to remove air bubbles and old brake fluid from the brake lines.
2. Brake Fluid
High-quality brake fluid is essential for bleeding brakes. Make sure to use the recommended type and grade of brake fluid specified by your vehicle’s manufacturer. Using the wrong type of fluid can lead to brake system failure and compromise the safety of your vehicle.
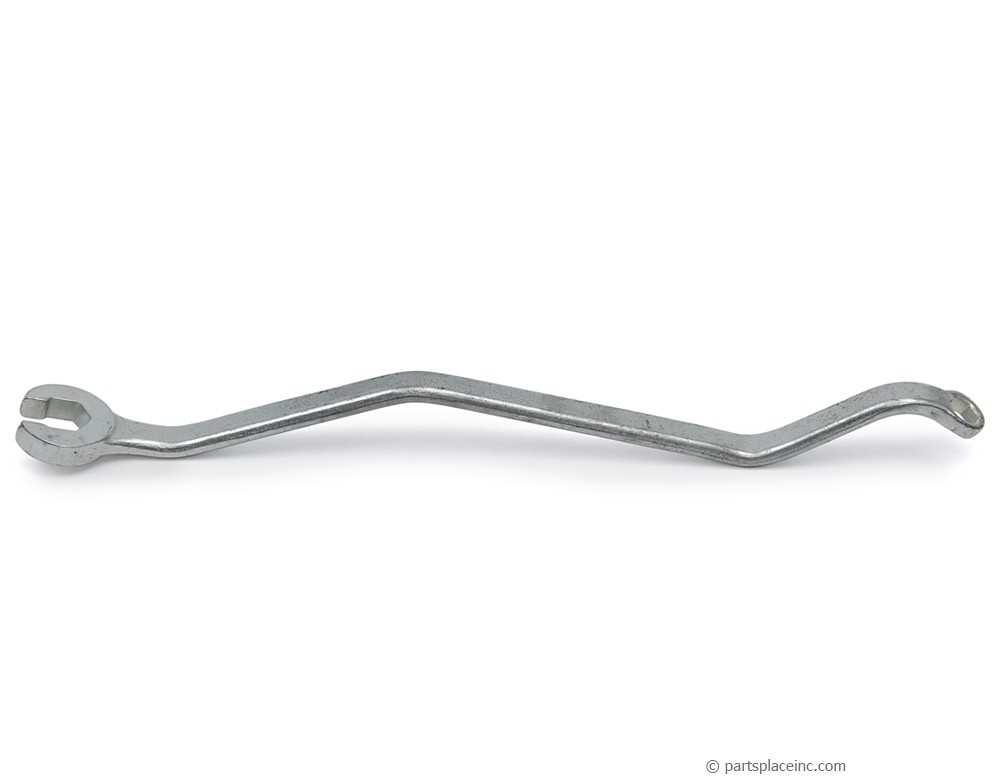
3. Wrench or Spanner
A wrench or spanner is necessary to open and close the brake bleeder valve. The size of the wrench or spanner required depends on the specific vehicle and brake system. It is important to use the correct size to avoid damaging the valve or causing leaks.
4. Clear Vinyl Tubing
Clear vinyl tubing is used to connect the brake bleeder valve to the collection container. It allows you to easily observe the color and consistency of the old brake fluid and any air bubbles that are being removed from the system. Make sure the tubing fits tightly over the bleed valve and container connections to prevent leaks.

5. Safety Gloves and Eye Protection
When working with brake fluid, it is essential to protect your hands and eyes from potential hazards. Brake fluid is corrosive and can cause skin irritation or damage if it comes into contact with your skin. Safety gloves and eye protection will help prevent any accidents or injuries.
6. Brake System Cleaning Spray
Before bleeding the brakes, it is a good idea to clean the brake calipers and bleeder valves to remove any dirt or debris that may cause contamination. A brake system cleaning spray can make this task easier and help ensure a clean, smooth flow of brake fluid during the bleeding process.
7. Brake Bleeding Sequence Guide
Each vehicle may have a specific brake bleeding sequence that should be followed to ensure all air is removed from the brake lines. A brake bleeding sequence guide provides step-by-step instructions on the order in which the brake lines should be bled. It is important to follow the correct sequence to achieve optimal brake performance.
8. Jack and Jack Stands
In some cases, you may need to elevate the vehicle to access the brake bleeder valves. A jack and jack stands are essential tools for safely lifting and supporting the vehicle. Always follow proper safety procedures when using a jack and jack stands.
By having these tools ready and using them correctly, you can ensure a successful brake bleeding process and maintain the safety and efficiency of your vehicle’s braking system.
Step-by-Step Guide to Bleeding Brakes
What You Will Need:
- A wrench of the appropriate size
- A brake bleeding kit
- A container for collecting old brake fluid
- A clean rag or shop towel
- A helper (optional, but recommended)
Step 1: Prepare the Vehicle
Ensure that the vehicle is on a flat surface and the parking brake is engaged. Also, make sure the engine is turned off and the key is removed from the ignition.
Step 2: Locate the Brake Bleeder Valve
Locate the brake bleeder valve on the brake caliper or wheel cylinder of each brake. The valve will have a small hexagonal shape and may be covered with a rubber cap.
Step 3: Prepare the Bleeding Kit
Attach the plastic tubing from the bleeding kit to the brake bleeder valve. Place the other end of the tubing into the container for collecting old brake fluid.
Step 4: Bleed the Brakes
- Have your helper sit in the driver’s seat and pump the brake pedal several times, then hold it down.
- Open the bleeder valve slowly using the appropriate size wrench. This will allow the old brake fluid to be pushed out of the system by the pressure from the brake pedal.
- Observe the fluid flowing through the tubing. Once it becomes clean and free of air bubbles, close the bleeder valve tightly.
- Repeat this process for each brake, starting from the brake farthest away from the master cylinder and moving closer.
Step 5: Check the Brake Fluid Level
After bleeding all the brakes, check the brake fluid reservoir and add new fluid as necessary. Follow the manufacturer’s recommendations for the type of brake fluid to use.
Step 6: Test the Brakes
Gently press the brake pedal a few times to ensure that it feels firm and responsive. Take the vehicle for a test drive at low speeds to confirm that the brakes are working correctly.
Step 7: Dispose of Old Brake Fluid Properly
Dispose of the old brake fluid in accordance with local regulations. Do not pour it down the drain or throw it in the trash.
Step 8: Clean Up
Wipe away any spilled brake fluid and ensure that all tools and equipment are properly stored.
Tips and Tricks for a Successful Brake Bleeding Process
1. Gather the Necessary Tools and Materials
Before starting the brake bleeding process, make sure you have all the necessary tools and materials. You will need:
- A wrench of the correct size for the bleeder valve
- A clear plastic hose to connect to the bleeder valve
- A clean container to collect the old brake fluid
- A new bottle of brake fluid
- A friend or assistant to help pump the brakes
2. Prepare the Vehicle
Prior to bleeding the brakes, it is important to prepare the vehicle by following these steps:
- Ensure the vehicle is on a level surface and securely parked with the parking brake engaged
- Remove the wheel from the bleeding brake caliper to access the bleeder valve
- Clean the area around the bleeder valve to prevent any dirt or debris from entering the brake system
3. Begin the Brake Bleeding Process
Once the vehicle is prepared, follow these steps to bleed the brakes:
- Start with the brake furthest from the master cylinder (usually the rear passenger side)
- Attach the clear plastic hose to the bleeder valve and place the other end into the container
- Open the bleeder valve using the correct size wrench, and have your assistant slowly press and hold the brake pedal
- Close the bleeder valve while the brake pedal is still depressed, then instruct your assistant to release the pedal
- Repeat the process until clean, bubble-free brake fluid flows consistently through the hose
- Move on to the next brake furthest from the master cylinder and repeat the process
4. Check the Brake Fluid Level and Repeat if Necessary
After bleeding all the brakes, check the brake fluid level in the master cylinder. It may need to be topped up with new brake fluid. If any of the brakes still feel spongy or have air bubbles, repeat the bleeding process for that particular brake until the pedal feels firm and there are no more air bubbles present.
5. Test the Brakes
Once you have completed the brake bleeding process, it is crucial to test the brakes for proper functionality. Take the vehicle for a test drive in a safe and open area to ensure the brakes are working correctly and there are no abnormalities or issues with the braking system.
6. Dispose of the Old Brake Fluid Properly
Dispose of the old brake fluid properly by taking it to a recycling center or an automotive shop that accepts used fluids. Do not pour it down the drain or on the ground, as it can be harmful to the environment.
7. Maintain a Regular Brake Maintenance Schedule
To ensure the optimal performance and safety of your vehicle, it is important to maintain a regular brake maintenance schedule. Regularly check the brake fluid level, inspect for any leaks or damage, and bleed the brakes as recommended by the vehicle manufacturer or a certified mechanic.
| Tips | Tricks |
|---|---|
| Use a specialized brake bleeding tool to make the process easier and faster | Have a rag or towel handy to clean up any spills or drips |
| Elevate the bleeding brake caliper to ensure any air bubbles rise to the top | Use a vacuum pump to assist in removing air bubbles from the brake system |
| Apply a small amount of thread sealant to the bleeder valve threads to prevent leaks | Keep an eye on the brake fluid reservoir during the bleeding process to prevent it from going empty |
| Have someone else assist you during the bleeding process for better accuracy and efficiency | Follow the vehicle manufacturer’s recommended bleeding sequence |
Common Mistakes to Avoid when Bleeding Brakes
- Using the Wrong Wrench Size: One of the most common mistakes when bleeding brakes is using the wrong wrench size. Make sure to have the correct size wrench for the bleeder valve to avoid stripping or damaging the valve.
- Not Removing the Brake Cap: Failing to remove the brake cap before bleeding the brakes can cause pressure to build up and potentially damage the brake system. It is important to remove the cap to allow air to escape during the bleeding process.
- Not Using the Proper Bleeding Sequence: Each vehicle has a specific bleeding sequence that must be followed to ensure all air is removed from the brake system. Failing to follow the correct sequence can result in poor brake performance.
- Allowing the Brake Fluid to Run Dry: It is essential to monitor the brake fluid level and ensure it does not run dry while bleeding the brakes. Allowing the fluid to run dry can introduce air into the system and lead to brake failure.
- Not Properly Securing the Bleeder Hose: When using a bleeder hose, it is important to properly secure it to the bleeder valve to prevent air from entering the system. Poorly secured hoses can result in a less effective bleeding process.
- Rushing the Bleeding Process: Bleeding brakes is a precise and delicate process that should not be rushed. Take the necessary time to properly bleed each brake and ensure all air is removed from the system.
- Reusing Old Brake Fluid: Using old or contaminated brake fluid during the bleeding process can introduce debris or moisture into the brake system. It is crucial to use fresh brake fluid to maintain optimal brake performance.
- Not Checking for Leaks: After bleeding the brakes, it is important to check for any leaks in the brake system. Leaks can lead to a loss of brake fluid and compromise the effectiveness of the brakes.
- Ignoring Warning Signs: If you notice any warning signs of brake problems, such as a spongy brake pedal or a decrease in braking power, do not ignore them. Address the issue promptly to prevent further damage or potential accidents.
What to Do if the Wrench Size Doesn’t Fit
If you find that the wrench size you have doesn’t fit the bleeding screw on your brakes, there are a few steps you can take to resolve the issue.
1. Double-check the Size
First, make sure that you have correctly identified the size of the bleeding screw. Sometimes, it can be difficult to determine the exact size, especially if the screw is rusty or worn. Use a caliper or a set of wrenches to measure the diameter of the screw and verify if you have the correct size.
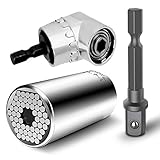
2. Try an Adjustable Wrench
If the wrench you have is too small or too large, consider using an adjustable wrench. These wrenches have a movable jaw that can be adjusted to fit a wide range of sizes. Simply open the wrench to the appropriate size and use it to loosen or tighten the bleeding screw.
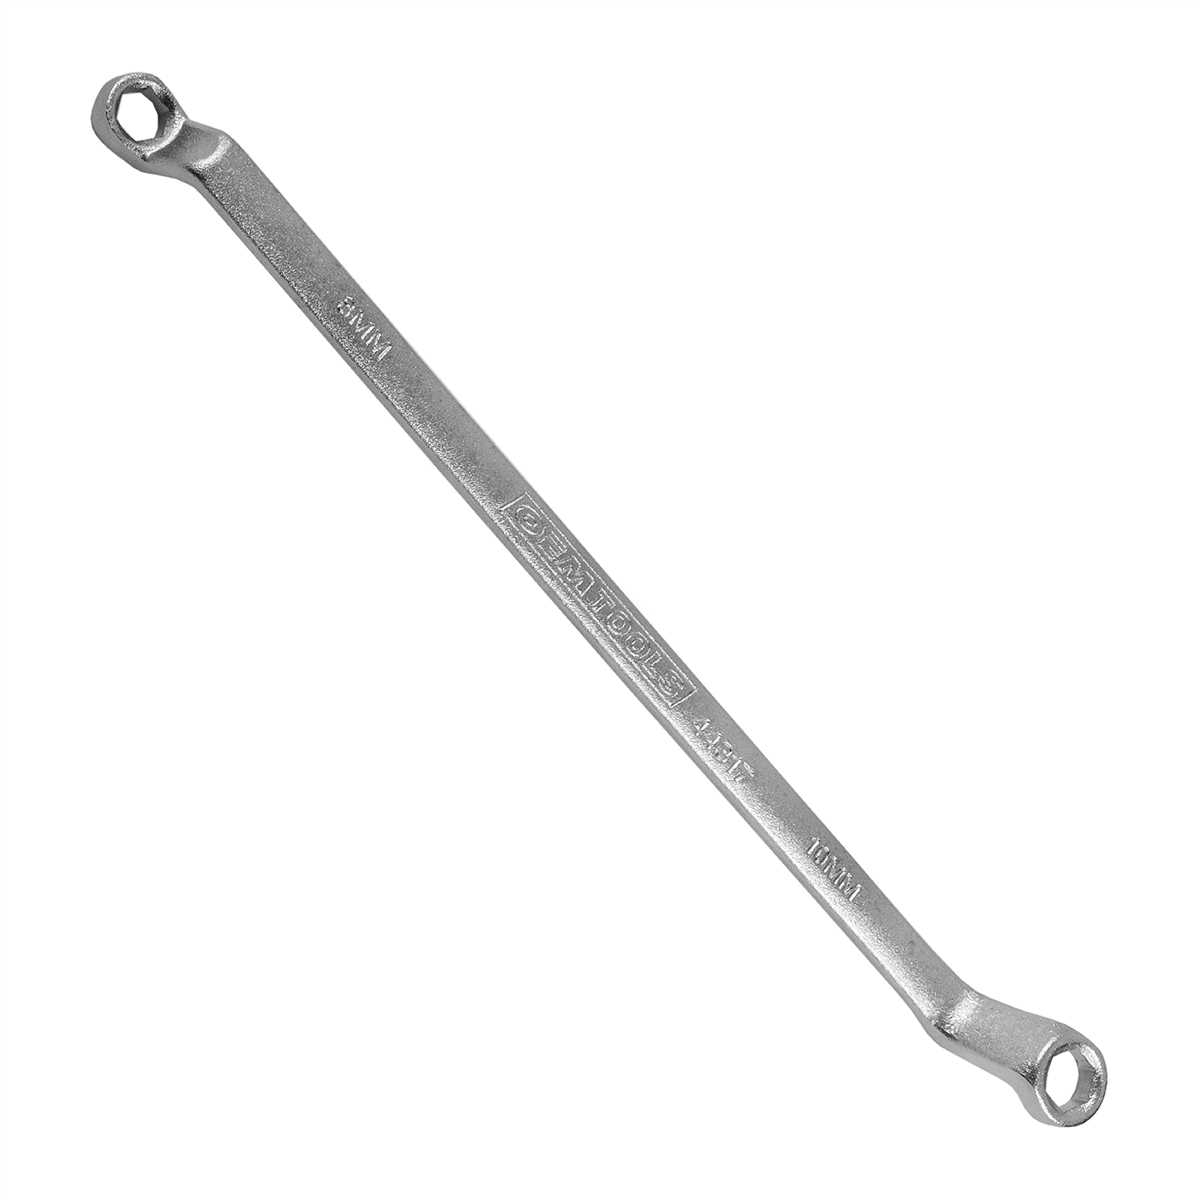
3. Purchase a New Wrench
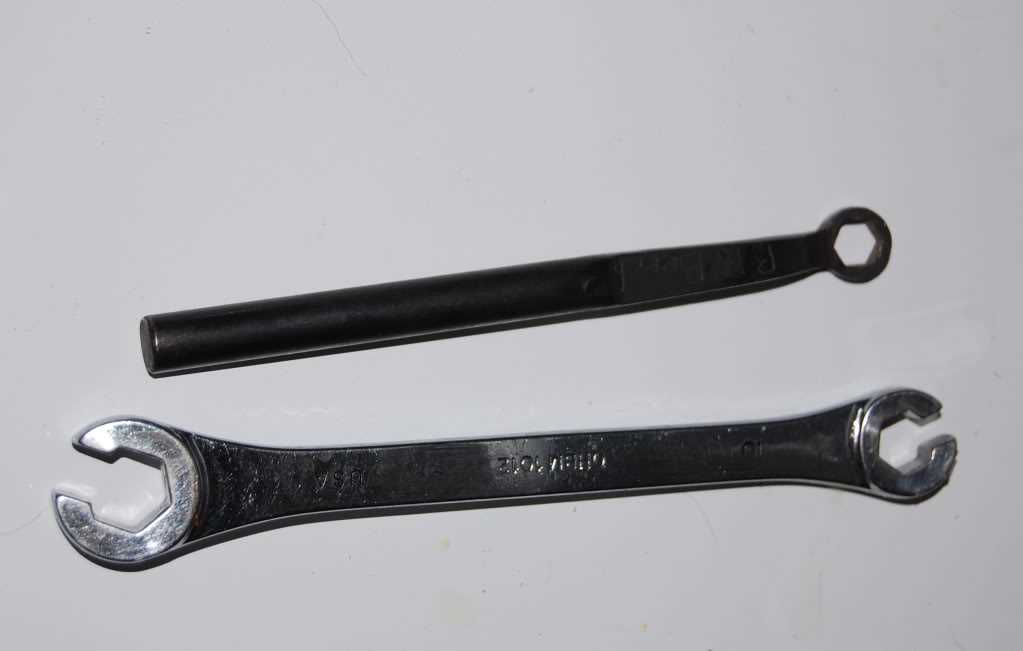
If you cannot find a wrench that fits the bleeding screw, you may need to purchase a new one. It’s important to have the right tools for the job to ensure that you can properly bleed your brakes. Look for a wrench set that includes the sizes you need or consider buying a set of flare nut wrenches, which are specifically designed for use with brake bleeding screws.
4. Seek Professional Help
If you are unable to find a wrench that fits or are unsure about the process, it may be best to seek professional help. Brake systems are critical for your safety, and improper bleeding can lead to brake failure. Consult a mechanic or take your vehicle to a brake specialist who can ensure that the bleeding process is done correctly.
Remember, it is essential to use the correct wrench size when bleeding your brakes. Using the wrong size can strip or damage the bleeding screw, making it difficult to loosen or tighten. Take the time to find the right wrench size or seek professional assistance to ensure that your brakes are properly bled and functioning safely.
FAQ
Which wrench size is best for bleeding brakes?
The wrench size that is best for bleeding brakes depends on the specific brake system. Common wrench sizes for bleeding brakes are 8mm, 10mm, and 11mm. It is important to consult the vehicle’s manual or a trusted mechanic to determine the correct wrench size for a particular brake system.
What happens if the wrong wrench size is used for bleeding brakes?
If the wrong wrench size is used for bleeding brakes, it can result in stripped or rounded brake bleeder valves. This can lead to leaks and difficulty bleeding the brakes properly. It is important to use the correct wrench size to avoid any damage to the brake system.
Can any adjustable wrench be used for bleeding brakes?
While an adjustable wrench can be used for bleeding brakes in some cases, it is generally recommended to use a wrench of the correct size. Adjustable wrenches may not provide a tight enough grip on the brake bleeder valve and can increase the risk of stripping or rounding the valve. It is best to use a properly sized wrench for the job.
Is it necessary to bleed brakes with a wrench?
Yes, a wrench is necessary for bleeding brakes as it is used to loosen and tighten the brake bleeder valve. The valve needs to be opened to allow air and old brake fluid to escape, and then closed again to create the necessary pressure for proper brake bleeding. A wrench is essential for this process.
Video


Harrison Clayton
Meet Harrison Clayton, a distinguished author and home remodeling enthusiast whose expertise in the realm of renovation is second to none. With a passion for transforming houses into inviting homes, Harrison's writing at https://thehuts-eastbourne.co.uk/ brings a breath of fresh inspiration to the world of home improvement. Whether you're looking to revamp a small corner of your abode or embark on a complete home transformation, Harrison's articles provide the essential expertise and creative flair to turn your visions into reality. So, dive into the captivating world of home remodeling with Harrison Clayton and unlock the full potential of your living space with every word he writes.


