Choosing the Right Size Wrench for a Bleeder Screw
When it comes to servicing your vehicle’s brake system, having the right tools is essential. One of the key tools you’ll need is a wrench to loosen or tighten the bleeder screw. The bleeder screw is a small valve located on the brake caliper or wheel cylinder that allows air or fluid to be bled out of the brake system.
Choosing the right size wrench for the bleeder screw is important to avoid stripping or damaging the screw. The most common sizes for bleeder screws are 8mm, 10mm, and 11mm. It’s a good idea to check your vehicle’s owner’s manual or consult a professional mechanic to determine the correct size for your specific vehicle.
When selecting a wrench, you’ll want to ensure that it fits snugly onto the bleeder screw without any play or wiggle room. Using an adjustable wrench can work in a pinch, but using a wrench with a fixed size specifically designed for bleeder screws is the best option for ensuring a secure fit. Additionally, consider the length of the wrench. A longer wrench will provide more leverage, making it easier to loosen or tighten the bleeder screw.
In conclusion, choosing the right size wrench for a bleeder screw is crucial for properly servicing your vehicle’s brake system. Taking the time to determine the correct size and selecting a wrench that fits securely will help prevent damage to the screw and ensure effective brake bleeding. Remember to always consult your vehicle’s owner’s manual or seek professional advice if you’re unsure of the correct size wrench to use.
Understanding Bleeder Screws
- Definition: A bleeder screw is a small valve-like component used in hydraulic systems to release trapped air or fluid from the system. It is typically found in brake systems, clutch systems, and hydraulic cylinders.
- Function: The main function of a bleeder screw is to remove air bubbles or trapped fluid from the hydraulic system. These air bubbles can cause a loss of pressure and affect the performance of the system.
- Design: Bleeder screws are usually made of brass or steel and have a threaded body for easy installation and removal. They generally have a small hole or vent at the top for the air or fluid to escape.
- Location: Bleeder screws are commonly found at the highest point in a hydraulic system, as air bubbles tend to rise to the top. They are often located on brake calipers, wheel cylinders, or slave cylinders.
- Procedure: When bleeding a hydraulic system, the bleeder screw is loosened to allow the air or fluid to escape. This is typically done in conjunction with pumping or pressing the brake pedal, clutch pedal, or operating the hydraulic cylinder.
- Bleeder Screw Sizes: Bleeder screws come in different sizes and thread patterns, such as metric or standard. It is important to use the correct size wrench or socket to avoid damaging the bleeder screw.
- Common Issues: Bleeder screws can become corroded or stuck over time, making them difficult to loosen or remove. It is important to regularly inspect and maintain bleeder screws to ensure proper functioning of the hydraulic system.
- Maintenance Tips: Lubricating the bleeder screw with an anti-seize compound can help prevent corrosion and make the screw easier to remove. It is also recommended to replace the bleeder screw if it shows signs of damage or wear.
- Conclusion: Understanding bleeder screws and their role in hydraulic systems is important for proper maintenance and repair. Knowing how to correctly use and care for bleeder screws can help ensure the performance and longevity of the system.
What Is a Bleeder Screw?

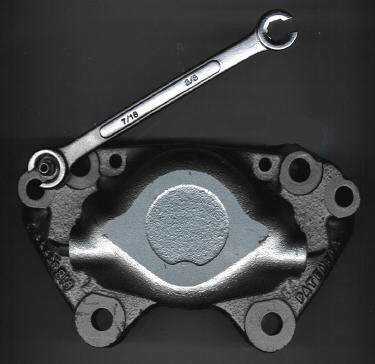
A bleeder screw is a small valve or screw that is used in automotive braking systems and other hydraulic systems to remove air or fluid from the system. It is typically located on the brake caliper or wheel cylinder and is used to release trapped air or excess fluid that may be causing brake performance issues.
The bleeder screw is designed to be easily open and closed, allowing the technician to purge air or fluid from the system. It is typically closed when the system is in operation and opened when bleeding the system. Opening the bleeder screw allows air or fluid to be expelled, creating a clear path for the brakes to operate effectively.
When bleeding the brake system, the bleeder screw is opened and pressure is applied to the brake pedal or brake system. This pressure forces air or fluid out of the system through the bleeder screw, ensuring that there are no air pockets or obstructions in the system. Bleeding the brakes is an important maintenance task that helps maintain the performance and safety of the brake system.
It is important to use the correct size wrench or socket to loosen and tighten the bleeder screw to avoid damaging it. Using the wrong size tool can strip the threads or cause other damage to the bleeder screw, making it difficult to tighten or loosen properly. It is also important to use the correct technique when opening and closing the bleeder screw to prevent leaks or air from entering the system.
Importance of Bleeder Screws
Bleeder screws are an essential component of a brake system. They play a crucial role in ensuring the proper functioning and maintenance of the system. The importance of bleeder screws can be summarized in the following points:
1. Removing Air from the Brake System
One of the primary purposes of a bleeder screw is to remove air from the brake system. Air can enter the system during repairs or due to other reasons, and it can cause a spongy or soft brake pedal. By opening the bleeder screw, the trapped air can be expelled, allowing for a firm and responsive brake pedal.
2. Flushing Old Brake Fluid
Bleeder screws are also used to flush out old brake fluid from the system. Over time, brake fluid can deteriorate and become contaminated with moisture, dirt, and other impurities. Flushing the old fluid and replacing it with fresh fluid helps maintain the performance and longevity of the brake system.
3. Checking Brake System Integrity
When bleeding the brakes, the bleeder screw provides an opportunity to inspect the brake system for any signs of leaks or other issues. By opening the bleeder screw, brake fluid should flow steadily and consistently. Any irregularities or lack of fluid flow may indicate a problem that requires further investigation and repair.

4. Facilitating Brake Maintenance
Bleeder screws make it easier to perform routine brake maintenance tasks such as pad and rotor replacement. By opening the bleeder screw, pressure on the brake system can be released, allowing for the easy removal and installation of brake components. This helps ensure the proper installation and functioning of new brake parts.
5. Preventing Brake Contamination
By closing the bleeder screw tightly after bleeding the brakes or performing other maintenance tasks, the system is protected from contamination. Dust, debris, and moisture can enter the brake system through open bleeder screws, which can compromise the performance and safety of the brakes. Properly sealed bleeder screws help maintain the integrity of the system.
In conclusion, bleeder screws are crucial for the proper functioning, maintenance, and safety of a brake system. They allow for the removal of air, flushing of old fluid, inspection of the system, and facilitate brake maintenance tasks. By understanding the importance of bleeder screws, you can ensure the proper care and performance of your brakes.
Selecting the Correct Wrench Size

When it comes to bleeding brakes or other hydraulic systems, having the right size wrench is crucial to ensure a proper and secure connection. Here are some tips for selecting the correct wrench size:
1. Know the bleeder screw size
Before choosing a wrench, it’s important to know the size of the bleeder screw you will be working with. Common sizes include 8mm, 10mm, and 12mm. Look for markings on the screw itself or consult the vehicle’s manual to determine the size.
2. Consider the type of wrench
There are various types of wrenches available, such as open-end wrenches, combination wrenches, and flare nut wrenches. Each type has its advantages and disadvantages. Open-end wrenches are more versatile and can fit different sizes, but they may not provide as secure of a grip as a flare nut wrench.
3. Use a flank drive wrench
Flank drive wrenches are specifically designed to provide maximum gripping power and reduce the risk of rounding off the bleeder screw. They have special grooves that help distribute the force evenly across the flats of the screw, minimizing the chance of damage.
4. Opt for a metric wrench set
Since most vehicles use metric-sized bleeder screws, it’s a good idea to invest in a metric wrench set. This will ensure that you have the right size wrenches for various maintenance tasks, including bleeding brakes.

5. Have a backup option
In case the bleeder screw is severely corroded or damaged and cannot be loosened with a wrench, it’s always a good idea to have a backup option. This could be a pair of locking pliers or a specialized bleeder screw removal tool.
Remember, using the correct wrench size is essential to avoid damaging the bleeder screw and ensure a proper connection. Take the time to find the right wrench and always use the appropriate amount of force when working with hydraulic systems.
Measuring the Bleeder Screw
Before choosing the right size wrench for a bleeder screw, it is important to measure the screw accurately. This will ensure that the wrench fits correctly and prevents any damage to the screw or surrounding components.
The first step in measuring the bleeder screw is to determine the diameter of the screw. This can be done with the help of a caliper, which is a measuring tool that is commonly used in automotive applications. Place the caliper’s jaws on opposite sides of the screw and tighten them until they make contact with the screw. Take note of the measurement displayed on the caliper.
Next, measure the thread pitch of the bleeder screw. The thread pitch refers to the distance between the threads on the screw. This measurement is important because it will determine the size of the wrench needed to fit the screw. Use a thread pitch gauge, which is a tool specifically designed for measuring the thread pitch of screws. Place the gauge on the screw and align the threads with the appropriate size slot on the gauge. The slot that matches perfectly with the threads will indicate the thread pitch measurement.
After obtaining the diameter and thread pitch measurements, it is necessary to cross-reference this information with a wrench size chart. These charts provide the necessary information to select the appropriate size wrench for the bleeder screw. The wrench size will be determined by the diameter and thread pitch measurements, ensuring a proper fit and preventing any damage to the screw or surrounding components.
It is important to note that bleeder screws can vary in size and thread pitch depending on the make and model of the vehicle. Therefore, it is crucial to measure the bleeder screw each time and not assume a standard size for all vehicles.
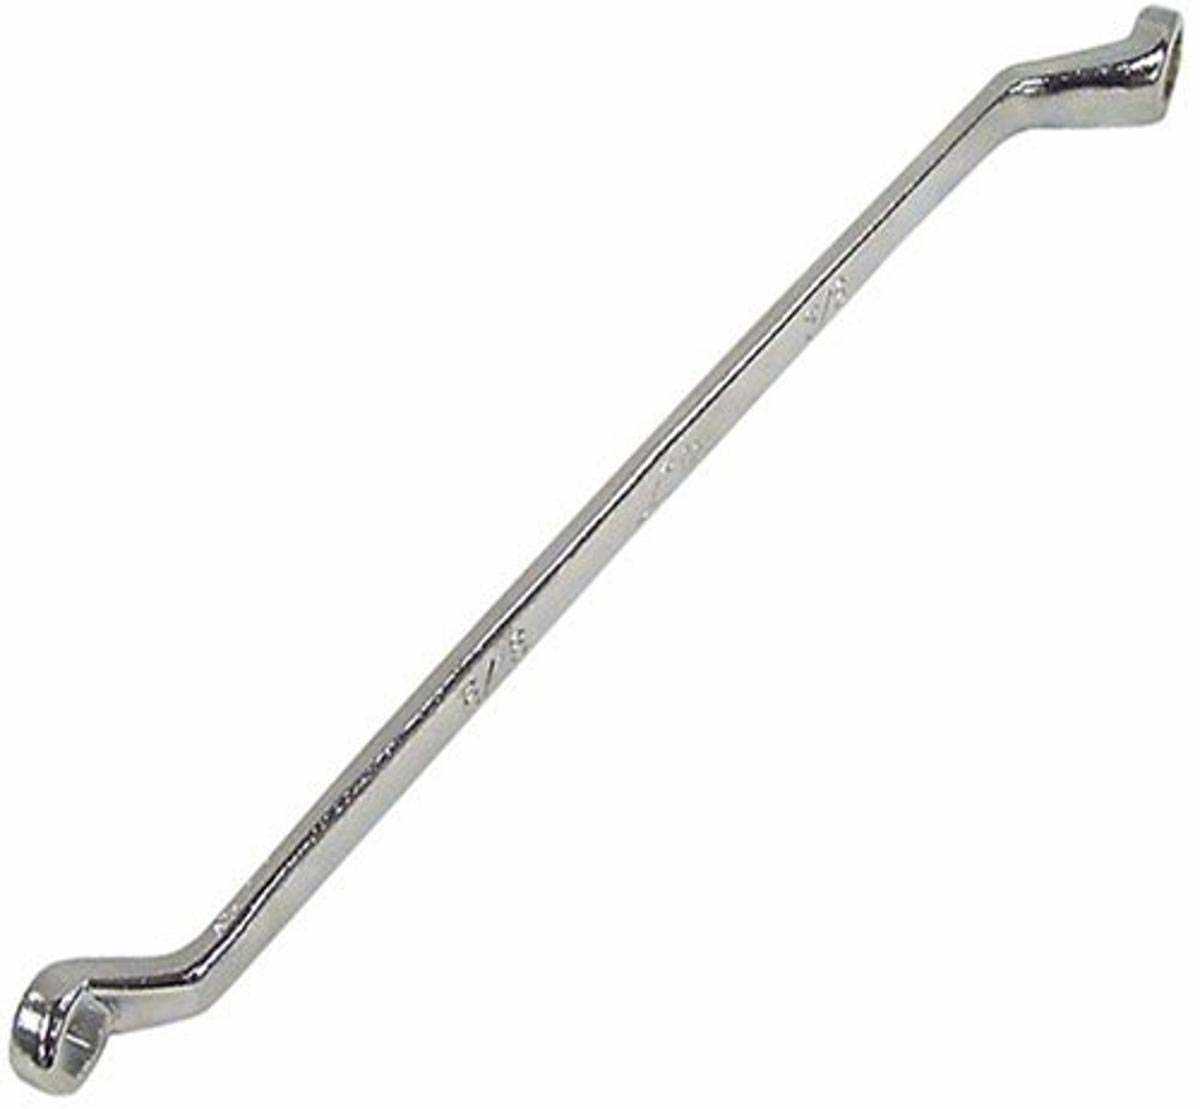
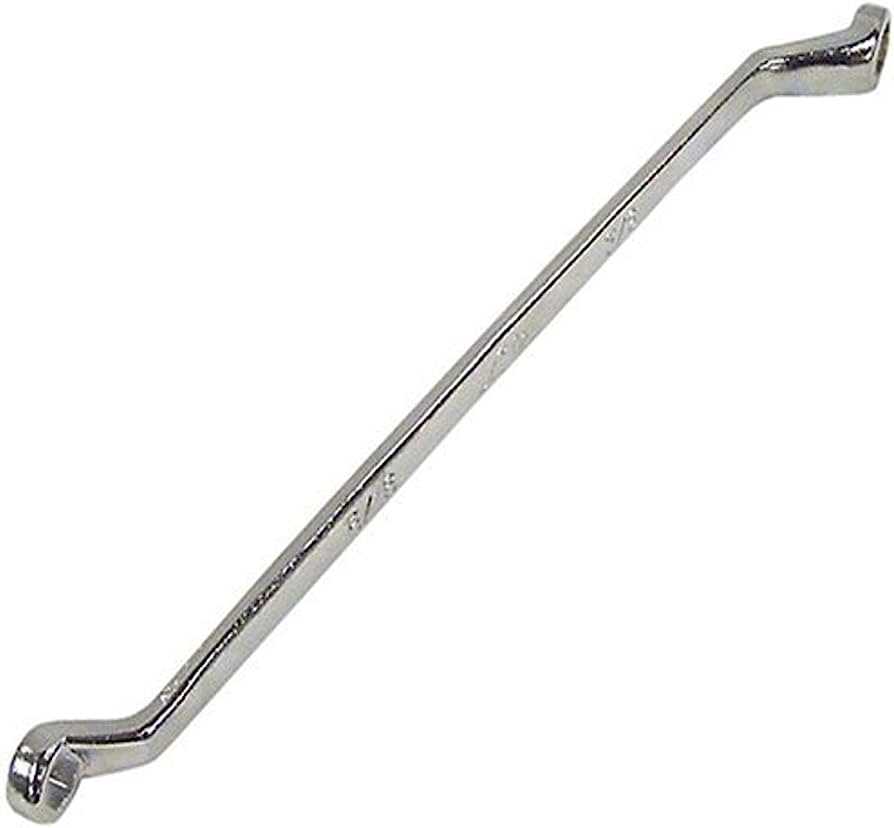
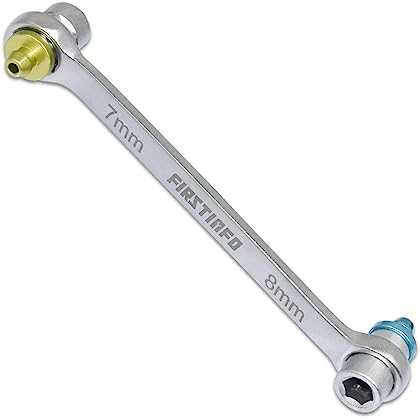
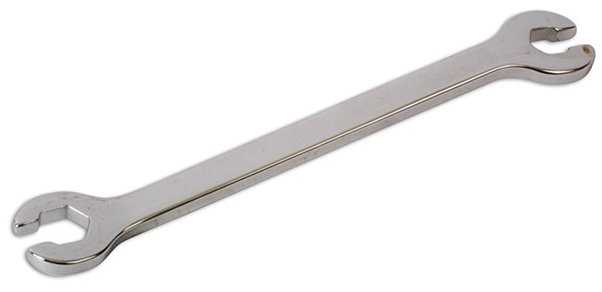
Types of Wrenches
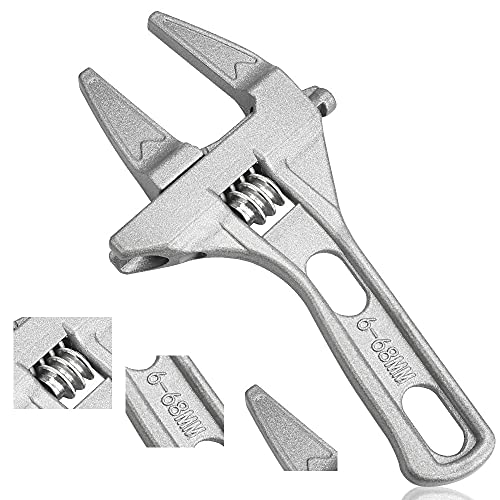
1. Adjustable wrench
An adjustable wrench, also known as a Crescent wrench, is a versatile tool that has a movable jaw that can be adjusted to fit different sizes of nuts and bolts. This type of wrench is useful when working with bleeder screws of varying sizes, as it can be adjusted to fit the specific size needed.
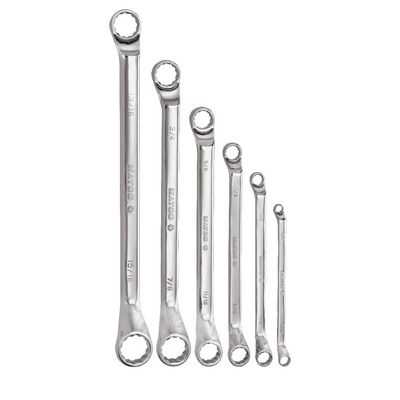
2. Combination wrench
A combination wrench is a double-ended tool that has a box-end on one side and an open-end on the other. The box-end is typically used for tightening or loosening bleeder screws, as it provides a better grip on the screw and helps prevent rounding off the edges. The open-end can be used in tight spaces where the box-end may not fit.
3. Socket wrench
A socket wrench, also known as a ratchet wrench, is a tool that uses interchangeable sockets to tighten or loosen fasteners. This type of wrench is often used in automotive work and is available in various sizes. A socket wrench set with different socket sizes can be useful when working with bleeder screws of different sizes.
4. Crowfoot wrench
A crowfoot wrench is a specialized tool that is used for reaching fasteners in tight spaces where a regular wrench or socket cannot fit. It is essentially a socket without the square drive, allowing it to be used with a combination wrench or a torque wrench. This type of wrench is useful when the bleeder screw is located in a hard-to-reach area.
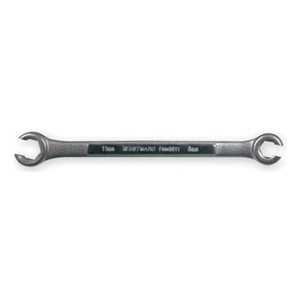
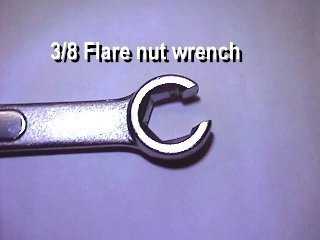
5. Flare nut wrench
A flare nut wrench, also known as a line wrench, is designed to be used on fittings with six flat sides, such as bleeder screws. It provides a more secure grip on the fastener, reducing the risk of stripping or rounding off the edges. This type of wrench is commonly used in automotive, plumbing, and hydraulic applications.
6. Torque wrench
A torque wrench is a tool used to apply a specific amount of torque to a fastener. It is essential when working with delicate or precision components, as it allows for accurate tightening without over-tightening. A torque wrench with a suitable socket or crowfoot attachment can be used to tighten bleeder screws to the specified torque.
Each type of wrench has its own advantages and is suited for different applications. It is essential to choose the right size and type of wrench when working with bleeder screws to ensure proper and safe operation.
Tips for Using the Wrench
- Make sure you select a wrench size that matches the bleeder screw on your vehicle. Using the wrong size wrench may damage the screw and make it harder to remove.
- If you’re unsure of the wrench size, consult your vehicle’s manual or do a quick online search to find the correct size.
- Before using the wrench, apply penetrating oil to the bleeder screw to help loosen any rust or debris that may have accumulated.
- When using the wrench, make sure you apply steady, even pressure. Avoid using excessive force, as this can strip or round off the edges of the screw.
- If the bleeder screw is difficult to turn, try using a breaker bar or a socket wrench with a longer handle to provide more leverage. Just be careful not to apply too much force.
- Always turn the wrench in the proper direction to loosen the screw. Remember, “lefty loosey, righty tighty.”
- If the bleeder screw is stuck or seized, apply more penetrating oil and let it sit for a while before attempting to loosen it again. You may need to repeat this process several times.
- After loosening the bleeder screw, use a drain pan or cloth to catch any fluid that may come out. This will prevent spills and keep your work area clean.
- If the bleeder screw remains difficult to remove, it may be necessary to seek professional help from a mechanic or technician who has the proper tools and experience.
Proper Wrench Placement
When working with a bleeder screw, it is important to use the right size wrench to ensure proper torque and prevent damage. The wrench should fit snugly around the bleeder screw so that it can be turned easily without slipping or causing any friction. Here are a few guidelines for placing the wrench correctly:
- Choose the proper size wrench: The wrench size should match the size of the bleeder screw. Using a wrench that is too small can result in stripped threads or rounded corners on the screw, while using a wrench that is too big may not provide enough torque.
- Position the wrench at a right angle: When placing the wrench on the bleeder screw, make sure it is positioned perpendicular to the screw. This will provide optimal leverage and help prevent the wrench from slipping off.
- Ensure a secure grip: As you tighten or loosen the bleeder screw, hold the wrench firmly and make sure it does not shift or slip. This will help maintain control and prevent any accidental damage or injury.
By following these guidelines for proper wrench placement, you can safely and effectively work with a bleeder screw without risking damage to the screw or injury to yourself. Always double-check the wrench size and placement before applying any force to the bleeder screw to ensure accurate and successful completion of the task.
Applying the Right Amount of Force
When working with bleeder screws, it is important to apply the right amount of force to prevent damage or breakage. Applying too much force can cause the screw to become stripped or break off completely, which can make the bleeding process more difficult and expensive.
1. Use a torque wrench
One way to ensure that you are applying the right amount of force is to use a torque wrench. A torque wrench allows you to measure the amount of force you are applying to the bleeder screw. Refer to the manufacturer’s specifications to determine the appropriate torque value for your specific vehicle.
2. Follow the user manual
Another way to ensure that you are applying the right amount of force is to consult your vehicle’s user manual. The manual should provide information on the recommended torque value for the bleeder screw. It may also provide additional instructions or precautions to follow.
3. Apply steady pressure
When loosening or tightening the bleeder screw, it is important to apply steady, even pressure. Avoid sudden or jerky movements, as this can increase the likelihood of stripping or breaking the screw. Use a slow and consistent motion to apply the necessary force.
4. Avoid using excessive force
It is important to avoid using excessive force when working with bleeder screws. If you encounter resistance while loosening or tightening the screw, stop and reassess the situation. Applying more force than necessary can lead to damage and should be avoided.
5. Seek professional help if needed
If you are unsure about the amount of force to apply or if you encounter any difficulties, it is recommended to seek professional help. A mechanic or technician will have the experience and expertise to handle the bleeder screw correctly and prevent any potential damage.
- Use a torque wrench to measure the force applied
- Refer to the user manual for recommended torque values
- Apply steady and even pressure
- Avoid using excessive force
- Seek professional help if unsure or encountering difficulties
By applying the right amount of force when working with bleeder screws, you can ensure a successful and damage-free bleeding process.
FAQ
What is a bleeder screw?
A bleeder screw is a small valve usually found on brake calipers and wheel cylinders that is used to release trapped air and fluid from the braking system.
Why do I need a wrench for a bleeder screw?
A wrench is needed to loosen and tighten the bleeder screw. It is used to open and close the valve so that air and fluid can be released or trapped in the braking system.
How do I choose the right size wrench for a bleeder screw?
To choose the right size wrench, you need to measure the diameter of the bleeder screw. Once you have the measurement, you can match it with the appropriate wrench size.
What happens if I use the wrong size wrench for a bleeder screw?
If you use the wrong size wrench, you run the risk of damaging the bleeder screw. It can result in stripped threads or a rounded-off shape, making it difficult to remove or tighten the screw.
Can I use an adjustable wrench for a bleeder screw?
While using an adjustable wrench is possible, it is not recommended. An adjustable wrench may not provide a secure and snug fit, increasing the risk of slipping and causing damage to the bleeder screw. It is best to use a properly sized wrench.
Is there a standard wrench size for bleeder screws?
There is no universal standard wrench size for bleeder screws. The size can vary depending on the manufacturer and model of the vehicle. It is important to measure the specific bleeder screw and choose the corresponding wrench size.
Video


Harrison Clayton
Meet Harrison Clayton, a distinguished author and home remodeling enthusiast whose expertise in the realm of renovation is second to none. With a passion for transforming houses into inviting homes, Harrison's writing at https://thehuts-eastbourne.co.uk/ brings a breath of fresh inspiration to the world of home improvement. Whether you're looking to revamp a small corner of your abode or embark on a complete home transformation, Harrison's articles provide the essential expertise and creative flair to turn your visions into reality. So, dive into the captivating world of home remodeling with Harrison Clayton and unlock the full potential of your living space with every word he writes.


