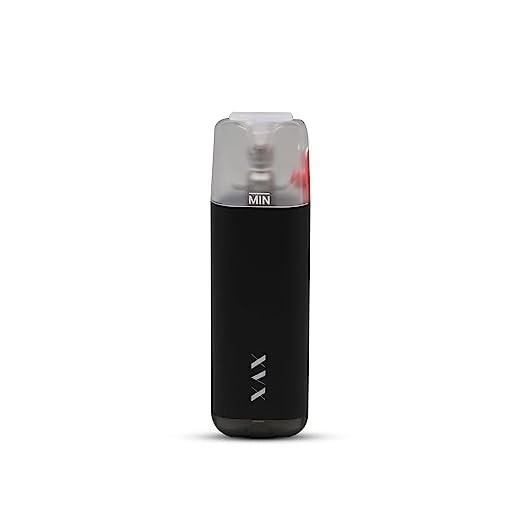
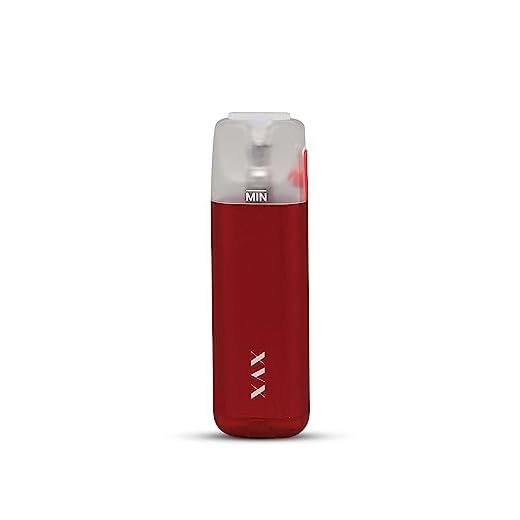
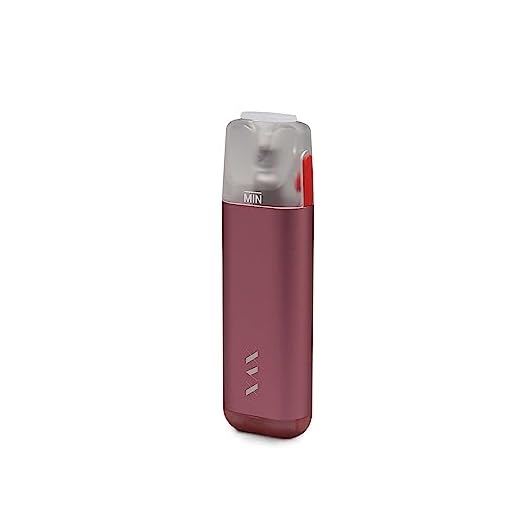
How to unburn a disposable vape

Disposable vapes have gained immense popularity in recent years as an alternative to traditional cigarettes. They are convenient and easy to use, making them a popular choice for many individuals looking to quit smoking or reduce their nicotine intake. However, one common issue that vapers may encounter is the unfortunate experience of burning the coil in their disposable vape.
Burning the coil can lead to a harsh and unpleasant taste, as well as a decrease in vapor production, ultimately compromising your vaping experience. But fear not! There are some steps you can take to unburn a disposable vape and bring it back to life.
The first step is to remove the pod or cartridge from the device. This can usually be done by simply pulling it out. Once you have removed the pod, inspect the coil for any visible signs of burning, such as dark or charred spots. If you notice any damage to the coil, it may need to be replaced.
If the coil appears to be intact and there are no visible signs of burning, you can try priming it. Priming the coil involves saturating it with e-liquid to ensure proper wicking and prevent dry hits. To prime the coil, slightly wet the exposed cotton wicking material with a few drops of e-liquid. Be sure not to oversaturate, as this can lead to flooding or leaking.
After priming the coil, reassemble the pod or cartridge back into the device. Make sure it is securely in place. Once everything is back in order, you can take a few dry pulls without activating the device to help the e-liquid flow to the coil. It is recommended to let the device sit unused for a couple of minutes to allow the e-liquid to fully saturate the coil.
If these steps do not resolve the burnt taste and decrease in vapor production, it may be time to replace the disposable vape. Keep in mind that disposable vapes are designed for single-use and may not always be able to be revived.
Remember, prevention is key! To avoid burning the coil in your disposable vape in the future, make sure to follow the manufacturer’s guidelines for usage, avoid chain vaping, and never exceed the recommended wattage or voltage for the device.
Step-by-step guide for unburning a disposable vape
If you accidentally burn a disposable vape, don’t worry! You can still salvage it by following these steps:
- Stop using it immediately: If you notice a burnt taste or smell coming from your disposable vape, it’s important to stop using it right away to prevent further damage.
- Inspect the coil: Unscrew the mouthpiece or remove the cap to access the coil. Carefully examine it for any signs of burning, such as blackened or discolored areas.
- Clean the coil: If there are no visible signs of burning, gently clean the coil using a soft cloth or a cotton swab dipped in rubbing alcohol. Make sure to remove any residue or debris.
- Prime the coil: To prevent burning or dry hits, prime the coil by saturating it with e-liquid. Drip a few drops of your favorite e-liquid onto the coil and let it soak for a few minutes.
- Reassemble the vape: Once the coil is primed, carefully reassemble the vape by screwing the mouthpiece back on or replacing the cap.
- Wait before taking a puff: Give the vape a couple of minutes to allow the e-liquid to fully saturate the coil before taking a puff. This will help prevent any potential burning.
- Note: If you continue to experience a burnt taste or smell after following these steps, it may be best to dispose of the vape and purchase a new one. Continued use of a burnt disposable vape can be unpleasant and potentially harmful.
Remember, prevention is always better than trying to fix a burnt disposable vape. Make sure to properly prime your coils and avoid exceeding the recommended wattage or voltage levels to maintain the longevity of your device.
Identifying the Issue
If you have noticed that your disposable vape is burned or producing a burnt taste, it is important to identify the issue before attempting to fix it. There can be several reasons why your vape may be burning, and understanding the cause will help you troubleshoot and prevent future incidents.
1. Check the coil
The coil is responsible for vaporizing the e-liquid and delivering a smooth and flavorful vape experience. A burnt coil can result in a burnt taste. Inspect the coil for any signs of discoloration, blackening, or charring. If you notice these signs, it means that the coil is burnt out and needs to be replaced.
2. Check the e-liquid level
Low e-liquid levels can cause your disposable vape to burn. When the liquid level is low, the wicking material may not be properly saturated, causing the coil to burn the wick rather than vaporizing the e-liquid. Make sure your disposable vape has enough e-liquid before use.
If the e-liquid level is not the issue, verify that the wicking material is properly saturated. Sometimes, the vape could have been stored in conditions that caused the e-liquid to separate from the wicking material or evaporate, resulting in a burnt taste.
3. Check your vaping technique
Using a disposable vape requires a slightly different technique compared to traditional cigarettes or refillable e-cigarettes. Take shorter and gentler puffs to prevent overheating the coil and avoid taking dry hit that can cause a burnt taste. Experiment with different puffing intensities and durations to find the optimal vaping technique.
Following these troubleshooting steps will help you pinpoint and address the issue with your disposable vape. By identifying and resolving the problem, you can enjoy a better and burn-free vaping experience.

Disassembling the vape
To unburn a disposable vape, you will need to disassemble the device carefully. Here are the steps to follow:
- Remove the mouthpiece: Start by taking off the mouthpiece from the top of the vape. This can usually be done by twisting or pulling it off, depending on the design.
- Remove the pod or cartridge: Once the mouthpiece is removed, you will be able to access the pod or cartridge. Slide it out gently, being careful not to apply too much force as it may damage the device.
- Check for burnt residue: Examine the pod or cartridge for any signs of burnt residue. This may appear as dark and sticky spots on the coil or wick. If you find any residue, it is an indication that the device was burnt.
- Clean or replace the coil or pod: If there is burnt residue, you can try cleaning the coil or pod using a cotton swab dipped in isopropyl alcohol. Gently wipe away the residue until it is removed completely. If the residue cannot be removed or if the coil or pod is damaged, it is best to replace it with a new one.
- Reassemble the vape: Once the coil or pod is cleaned or replaced, put the pod or cartridge back into the device and secure it in place. Attach the mouthpiece by twisting or sliding it back onto the top of the vape.
By carefully disassembling the vape and cleaning or replacing any burnt components, you can fix a disposable vape that has been burned and enjoy a better vaping experience.
Cleaning and repairing the components
If your disposable vape has been burnt, cleaning and repairing the components may help restore it to working condition. Here are some steps you can take:
1. Disassembling the device
Carefully disassemble the disposable vape by removing the mouthpiece, cartridge, and battery. Be sure to separate all the components to clean them individually.
2. Cleaning the mouthpiece and cartridge
Start by cleaning the mouthpiece and cartridge. Use a paper towel or cotton swab dipped in isopropyl alcohol to gently wipe away any residue or built-up gunk. Make sure to clean both the inside and outside of the mouthpiece and cartridge.

3. Cleaning the battery connection
Next, clean the battery connection. Use a cotton swab dipped in isopropyl alcohol to gently clean the contact points where the cartridge attaches to the battery. Remove any debris or residue that may be interfering with the connection.
4. Letting the components dry
After cleaning, ensure that all the components are thoroughly dry before reassembling the disposable vape. You can air dry them for a few minutes or use a clean paper towel to pat them dry.
5. Checking for any visible damage
While cleaning, inspect the individual components for any visible damage. Look for cracks, leaks, or burnt marks, as these may indicate more severe damage. If you notice any significant damage, it may be best to consider replacing the disposable vape altogether.
6. Reassembling the device
After ensuring that all the components are clean and dry, carefully reassemble the disposable vape. Make sure the mouthpiece, cartridge, and battery are securely attached and aligned.
7. Testing the device
Before using the disposable vape, it’s crucial to test its functionality. Attach a fully charged battery and a new cartridge, and take a few light puffs. If the device works properly without any burnt tastes or strange sensations, it should be safe to use.

Keep in mind that cleaning and repairing may not always be successful, especially if the disposable vape has suffered severe damage. If the device continues to have issues or the burnt taste persists, it’s recommended to purchase a new one to ensure a safe and enjoyable vaping experience.


Meet Harrison Clayton, a distinguished author and home remodeling enthusiast whose expertise in the realm of renovation is second to none. With a passion for transforming houses into inviting homes, Harrison's writing at https://thehuts-eastbourne.co.uk/ brings a breath of fresh inspiration to the world of home improvement. Whether you're looking to revamp a small corner of your abode or embark on a complete home transformation, Harrison's articles provide the essential expertise and creative flair to turn your visions into reality. So, dive into the captivating world of home remodeling with Harrison Clayton and unlock the full potential of your living space with every word he writes.


