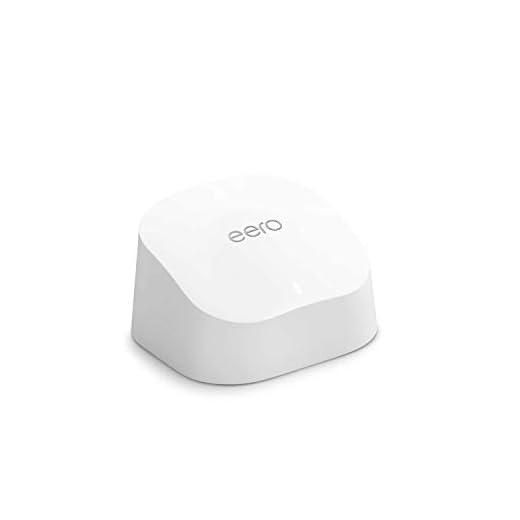
How to set up eero
Welcome to the world of mesh networking with eero! Setting up a new eero Wi-Fi system is quick and easy, and it will provide you with reliable and speedy internet coverage throughout your home. In this guide, we will walk you through the step-by-step process of setting up your eero device and optimizing your network for seamless connectivity.
Step 1: Unboxing and connecting your eero devices
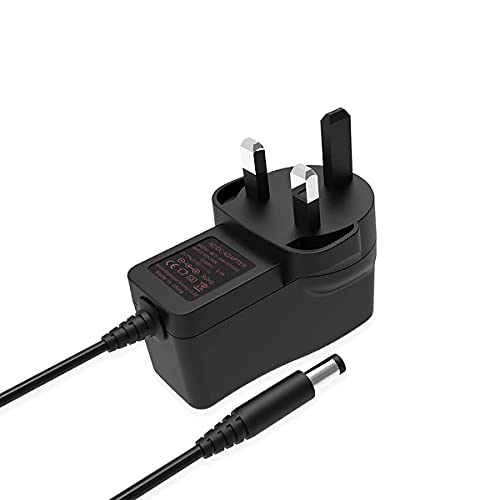
Start by unboxing your eero kit and connecting the main eero device to your modem using the provided Ethernet cable. Plug the power cord into the eero device and a power outlet. Wait for the eero light to turn solid white.
Step 2: Installing the eero mobile app
Next, install the eero mobile app on your smartphone or tablet. It is available for both iOS and Android devices. Launch the app and follow the on-screen instructions to create an account with eero. Make sure your mobile device is connected to Wi-Fi during this setup process.

Step 3: Adding additional eero devices
If you have additional eero devices, plug them into power outlets in desired areas of your home. The eero app will guide you through the process of connecting them to your main eero device wirelessly.
Optimizing your eero network
After successfully setting up your eero devices, it’s time to optimize your network for the best performance. The eero app provides numerous features and options, such as creating a guest network, setting up parental controls, and running network diagnostics. Take advantage of these tools to tailor your network to your specific needs.
With eero, you can say goodbye to dead spots and buffering. Enjoy seamless Wi-Fi connectivity throughout your home!
Getting started with eero
Welcome to eero! This guide will help you get started with your eero system and ensure smooth and reliable Wi-Fi coverage throughout your home.
Before you begin
Before setting up your eero system, make sure you have the following:
- An active internet connection and modem.
- A supported mobile device (iOS or Android) with the eero app installed.
- Your eero devices and power cables.
1. Download the eero app
Start by downloading the eero app from the App Store or Google Play Store.
- Open the app and create an account if you don’t have one.
- Follow the on-screen instructions to sign in to your account.
2. Set up your first eero device
Plug in your first eero device to a power outlet and connect it to your modem using the included Ethernet cable.
Open the eero app and follow the instructions to add your eero device to your network.
- Make sure your device is powered on and in range of your Wi-Fi network.
- The app will guide you through the setup process step by step.
- Once the setup is complete, your eero device will be ready to go.
3. Add additional eero devices
If you have additional eero devices, follow the app’s instructions to add them to your network.
Plug in each eero device to a power outlet and make sure it’s within range of your existing eero network.
- Open the eero app and select “Add an eero” to start the setup process.
- Follow the instructions to connect your additional devices.
- Once all devices are set up, they will automatically form a seamless Wi-Fi network.
Congratulations! You’ve successfully set up your eero system. Now you can enjoy fast, reliable Wi-Fi coverage in every corner of your home.
Connecting your eero devices
Once you have unboxed your eero devices and plugged them in, it’s time to connect them to your network. Follow the steps below to get your eero network up and running:
- Launch the eero app on your smartphone or tablet.
- Tap on the “Add eero” option to start the setup process.
- The app will prompt you to connect your device to the eero network. Open the Wi-Fi settings on your device, select the eero network, and enter the password provided.
- Once connected, return to the eero app and follow the on-screen instructions to configure your eero devices.
- The app will guide you through the process of naming your network and creating a secure password.
- After configuring your eero devices, the app will ask you to place them around your home. Follow the app’s recommendations for optimal placement.
- Once you have placed all your eero devices, the app will automatically connect them and create a mesh network.
- Finally, the app will perform a network test to ensure everything is working correctly. If any issues arise, the app will guide you through troubleshooting steps.
- Congratulations! Your eero network is now set up and ready to use.
Remember, if you need any further assistance, you can always refer to the eero support documentation or reach out to their customer support team for help.
Setting up your eero network
Setting up your eero network is a straightforward process that can be completed in just a few simple steps. Follow these instructions to get your network up and running:
| Step 1: | Unbox your eero devices and connect them to power using the provided power cables. |
| Step 2: | Using the included Ethernet cable, connect your primary eero to your modem or gateway device. |
| Step 3: | Download and launch the eero mobile app on your smartphone or tablet. |
| Step 4: | Follow the on-screen instructions to create an eero account and choose a name for your network. |
| Step 5: | Scan the QR code on your primary eero device using the app to add it to your network. |
| Step 6: | Once the primary eero is connected, the app will guide you through the process of adding additional eero devices to your network to create a mesh network. |
| Step 7: | Position your eero devices throughout your home in areas where you want to improve your Wi-Fi coverage. |
| Step 8: | Customize your network settings, such as network name and password, in the eero app to match your preferences. |
| Step 9: | Once the setup is complete, connect your devices to your eero network and enjoy fast and reliable Wi-Fi throughout your home. |
By following these simple steps, you can easily set up your eero network and enjoy a seamless and reliable internet connection from anywhere in your home.
Configuring eero settings
Once you have set up your eero system, it’s important to configure the settings to ensure a smooth and secure network experience. Here are the steps to configure eero settings:
- Launch the eero application on your smartphone or tablet.
- Sign in to your eero account.
- Tap on the “Settings” tab at the bottom of the screen.
- Select your eero network from the list.
- Under the “Network Settings” section, you can change the network name and password.
- Tap on “Advanced Settings” to access additional configurations.
- In the “Advanced Settings” menu, you can enable or disable features like port forwarding, UPnP, and static IP addressing.
- If you have eero Secure, you can also manage security settings such as content filtering and ad blocking.
- Once you have made the desired changes, tap on “Save” to apply the configurations.
It’s important to note that making changes to the eero settings may require a restart of your eero network. Additionally, ensure that any changes you make are in accordance with your internet service provider’s guidelines to avoid any connectivity issues.
Optimizing your eero network
Getting the most out of your eero network is all about optimizing its performance. Here are some tips to help you achieve faster speeds and better coverage:
Placement
Choosing the right location for your eero devices is crucial. Place them in central locations where the Wi-Fi signal can reach all areas of your home or office. Avoid placing them in areas with obstructions like thick walls or large appliances that could hinder the signal.
Interference
To further enhance your Wi-Fi network, minimize any possible sources of interference. Keep your eero devices away from other electronics that emit strong signals, such as microwaves, cordless phones, and baby monitors.
Additionally, neighboring Wi-Fi networks can cause congestion and reduce the performance of your network. Use the eero app to identify which channels your neighbors are using, and adjust your network to use a channel with less interference.
Mesh Network Optimization
Make sure your eero devices are within range of each other to form a strong mesh network. When placing your eero devices, consider their range and ensure there is adequate overlap between them. This will help provide seamless wireless coverage throughout your home or office.
Enable “TrueMesh” in the eero app to facilitate quick and efficient communication between the eero devices, which will optimize the performance of your network.
Note: Using a wired ethernet backhaul connection can further improve the performance of your eero network, especially for bandwidth-intensive activities like gaming and streaming.
Updates
Keep your eero devices up to date with the latest firmware for optimal performance and security. The eero app can help you easily check for and install any available updates.
By following these optimization tips, you can ensure that your eero network delivers the fastest and most reliable Wi-Fi experience for all your devices.


Meet Harrison Clayton, a distinguished author and home remodeling enthusiast whose expertise in the realm of renovation is second to none. With a passion for transforming houses into inviting homes, Harrison's writing at https://thehuts-eastbourne.co.uk/ brings a breath of fresh inspiration to the world of home improvement. Whether you're looking to revamp a small corner of your abode or embark on a complete home transformation, Harrison's articles provide the essential expertise and creative flair to turn your visions into reality. So, dive into the captivating world of home remodeling with Harrison Clayton and unlock the full potential of your living space with every word he writes.


