How to repair marble
Marble is a timeless and elegant natural stone that can add a touch of luxury to any space, whether it’s used for flooring, countertops, or decorative accents. However, over time, marble surfaces can become worn, damaged, or dull, detracting from their original beauty. But don’t worry – repairing marble is a task that you can easily tackle with the right knowledge and techniques.
In this article, we will guide you through the process of repairing your marble surfaces, step by step. From small scratches and stains to more significant damage like chips and cracks, we’ve got you covered. By following our expert tips, you’ll be able to renew the shine and luster of your marble and bring back its stunning aesthetic appeal.
First and foremost, it’s essential to assess the level of damage or wear on your marble surfaces. If you are dealing with minor imperfections such as light scratches or dullness, you can usually tackle the repair yourself. Simple techniques like using a marble polishing powder or a baking soda paste can help restore the smoothness and shine of your marble. However, for more severe damage, it’s recommended to seek professional assistance to ensure excellent results and prevent further harm.
Tips for Repairing Damaged Marble
Marble is a beautiful and elegant material often used in homes and buildings. However, over time, it can become damaged or worn. If you have damaged marble surfaces, it’s important to repair them properly to restore their beauty and protect them from further damage. Here are some tips to help you repair damaged marble:
- Inspect the damage: Before attempting any repair, carefully inspect the damaged area to determine the extent of the damage. This will help you choose the appropriate repair method.
- Clean the damaged area: Thoroughly clean the damaged area with a mild soap and water solution. Remove any dirt, grime, or debris that may interfere with the repair process.
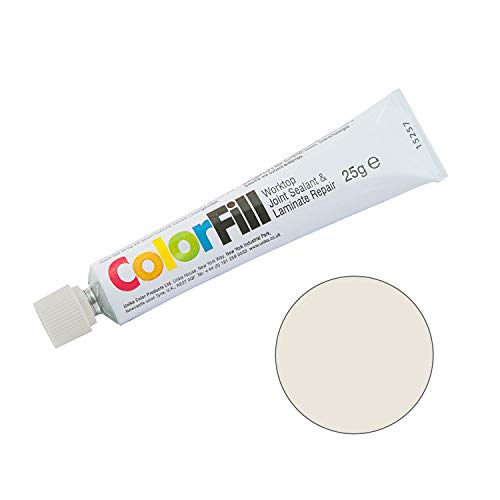
- Fill in small chips and cracks: For small chips and cracks, you can use color-matched epoxy or special marble repair kits. Follow the instructions provided with the product to ensure a successful repair.
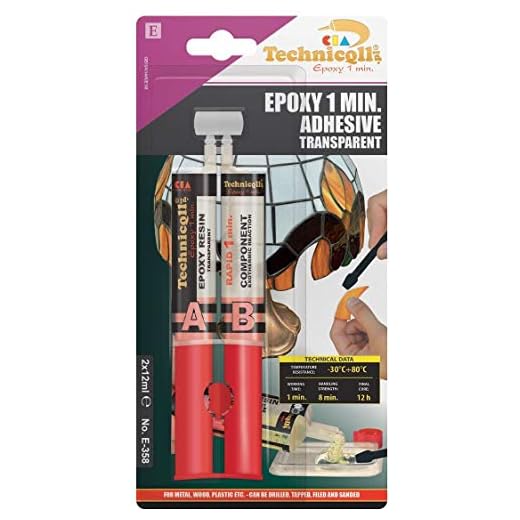
- Use epoxy resin for larger repairs: If you have larger areas of damage, you may need to use epoxy resin to fill in the gaps. Mix the resin according to the manufacturer’s instructions and apply it to the damaged area. Smooth and level the surface using a putty knife.
- Sand and polish: After the repaired area has dried completely, sand it gently with fine-grit sandpaper to smooth out any rough edges. Once the surface is smooth, polish it with a marble polishing powder or paste to restore its shine.
- Seal the repaired area: To protect the repaired area and prevent future damage, apply a marble sealer. Follow the manufacturer’s instructions and allow the sealer to dry completely before using the marble surface.
- Maintain regular care and cleaning: To keep your marble surfaces looking their best, perform regular maintenance and cleaning. Wipe up spills immediately, use coasters or placemats to protect surfaces, and avoid using abrasive cleaners or tools that could scratch the marble.
By following these tips, you can effectively repair damaged marble and extend the lifespan of your beautiful surfaces. Remember to always consult professional help if the damage is extensive or if you are uncertain about the repair process.

Before you start:
1. Assess the damage: Before you begin the marble repair process, carefully examine the extent of the damage to determine if you can handle the repairs yourself or if you should seek professional help.
2. Gather the necessary materials: Make sure you have all the materials and tools you will need for the repair, such as a marble repair kit, sandpaper, a soft cloth, marble sealer, and any other products recommended for your specific repair project.
3. Clean the marble: Thoroughly clean the marble surface with a mild detergent and warm water. This will remove any dirt, grime, or residue that could interfere with the repair process.
4. Protect the surrounding area: Cover nearby furniture, floors, and other surfaces with plastic or drop cloths to prevent any accidental damage from occurring during the repair process.
5. Practice on a small inconspicuous area: If you are using a new product or technique, it is a good idea to test it out on a small hidden area of the marble before applying it to the damaged area. This will ensure that you achieve the desired results and avoid any further damage.

6. Follow the instructions: Read and follow the instructions provided with your marble repair kit or any other products you are using. This will help you apply the products correctly and achieve the best possible results.
7. Take your time: Marble repair requires patience and precision. Take your time to carefully follow each step of the repair process to ensure that you achieve a seamless repair.
Step-by-Step Guide to Repairing Marble
If your marble surfaces have become damaged or worn over time, it’s important to know how to properly repair them in order to restore their beauty and functionality. Follow this step-by-step guide to repairing marble:
1. Clean the damaged area: Start by thoroughly cleaning the damaged area with a mild soap and water solution. Use a soft cloth or sponge to gently scrub away any dirt or debris. Allow the area to dry completely before moving on to the next step.
2. Evaluate the damage: Carefully assess the extent of the damage to determine the best course of action. Minor scratches and chips can often be repaired using a DIY marble repair kit, while larger or deeper damage may require professional help.

3. Prepare the repair material: If you are using a marble repair kit, carefully follow the instructions provided to prepare the repair material. This may involve mixing a specific ratio of epoxy or resin with a pigment that matches your marble’s color. If you are not using a kit, consult with a professional or research the appropriate materials for your specific repair.
4. Apply the repair material: Using a small spatula or putty knife, apply the repair material to the damaged area, filling in any cracks, scratches, or chips. Smooth the material with a flat edge to ensure a level surface. Take your time and work in small, controlled motions to achieve the best possible result.
5. Allow the material to cure: After applying the repair material, allow it to cure according to the manufacturer’s instructions. This typically involves letting it dry for a certain amount of time, or applying heat to expedite the curing process. Be sure to follow the instructions closely to ensure the material sets properly.
6. Sand and polish the repaired area: Once the repair material has fully cured, use fine-grit sandpaper to gently smooth and blend the repaired area with the surrounding marble surface. Start with a lower grit sandpaper and gradually move up to a higher grit for a smoother finish. Finish off by polishing the entire surface to restore its shine.
7. Maintain and protect the repaired area: After completing the repair, take steps to maintain and protect the repaired area. Regularly clean the surface with a mild soap and water solution, and avoid using abrasive cleaners or tools that may further damage the marble. Consider applying a sealant to provide an extra layer of protection.
By following these steps, you can successfully repair your marble surfaces and enjoy their beauty for years to come.


Meet Harrison Clayton, a distinguished author and home remodeling enthusiast whose expertise in the realm of renovation is second to none. With a passion for transforming houses into inviting homes, Harrison's writing at https://thehuts-eastbourne.co.uk/ brings a breath of fresh inspiration to the world of home improvement. Whether you're looking to revamp a small corner of your abode or embark on a complete home transformation, Harrison's articles provide the essential expertise and creative flair to turn your visions into reality. So, dive into the captivating world of home remodeling with Harrison Clayton and unlock the full potential of your living space with every word he writes.


