How to put up a fence with concrete posts

Putting up a fence with concrete posts is a durable and long-lasting solution for securing your property. Concrete posts provide stability and strength, making them ideal for supporting different types of fences, whether it’s wood, vinyl, or metal. This step-by-step guide will walk you through the process of installing a fence with concrete posts, ensuring a sturdy and secure barrier for your property.
Before you begin the installation process, it’s essential to plan out your fence design and determine the precise location of the posts. Measure and mark the areas where each post will be positioned, ensuring they are evenly spaced. Consider any potential obstacles, such as underground utilities or slope in the terrain; make the necessary adjustments in your design to accommodate these factors.
The next step is to dig holes for the concrete posts. Use a post hole digger to dig holes based on your marked positions. The depth and diameter of the holes will depend on the height and type of your fence. Generally, the holes should be at least one-third the height of the post and twice the diameter of the post. It’s recommended to consult the specific instructions or guidelines provided by the fence manufacturer.
Step-by-step Guide: Installing a Fence with Concrete Posts
Installing a fence can provide privacy, security, and a visually appealing boundary for your property. One of the sturdiest methods of fence installation involves using concrete posts. Follow this step-by-step guide to learn how to install a fence with concrete posts and ensure a long-lasting and durable fence for your property.
Step 1: Gather the Materials
Before you start the installation process, make sure you have all the necessary materials on hand. This includes:

| Fence panels | Concrete posts | ||||
| Post mix |

|
1. Dig the Holes: Using a post hole digger or an auger, dig holes for the concrete posts. The holes should be deep enough to bury at least one-third of the post length plus an extra 6 inches for the gravel base. |
|
2. Insert the Posts: Place the concrete posts one by one into the holes, making sure that they are level and plumb. Use a spirit level and a tape measure to ensure accuracy. |
|
3. Fill with Concrete: Mix the concrete according to the instructions on the packaging. Fill the holes with the concrete mixture, making sure there are no voids or air pockets. Tamp down the concrete to remove any air bubbles. |
|
4. Position the Posts: While the concrete is still wet, position the posts in the desired alignment and check that they are level and plumb. You can use temporary supports or braces to hold the posts in place until the concrete sets. |
|
5. Let It Set: Allow the concrete to dry and cure as per the manufacturer’s instructions. This usually takes around 24 to 48 hours. |
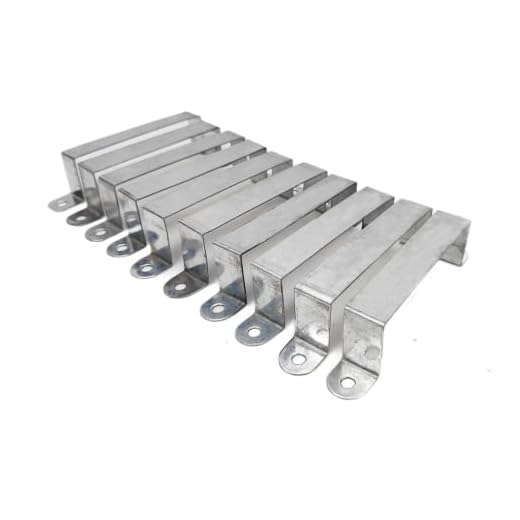
![[FIXINGS DIRECT®] (10 Pack) Ultimate 4Inch Fence Post Security Brackets (for 100mm/4" Posts) Concrete Or Wood (Check Sizing Before Ordering) Anti Rattle Post Clips, Galvanised Anti Corrosion](https://m.media-amazon.com/images/I/41CQxrOoD3L._SS520_.jpg)
![Fence Panel Security Brackets [20 Pack] for Concrete Fence Posts or Wooden 4x4 Posts Prevents Panel Theft and Fence Panels Rattling & Banging in The Wind (20)](https://m.media-amazon.com/images/I/41PT6bEd-CL._SS520_.jpg)
Remember to double-check the spacing and alignment of your posts before the concrete sets. Once the concrete is dry and fully set, you can proceed with attaching the fence panels to create a sturdy and secure fencing system.


Meet Harrison Clayton, a distinguished author and home remodeling enthusiast whose expertise in the realm of renovation is second to none. With a passion for transforming houses into inviting homes, Harrison's writing at https://thehuts-eastbourne.co.uk/ brings a breath of fresh inspiration to the world of home improvement. Whether you're looking to revamp a small corner of your abode or embark on a complete home transformation, Harrison's articles provide the essential expertise and creative flair to turn your visions into reality. So, dive into the captivating world of home remodeling with Harrison Clayton and unlock the full potential of your living space with every word he writes.


