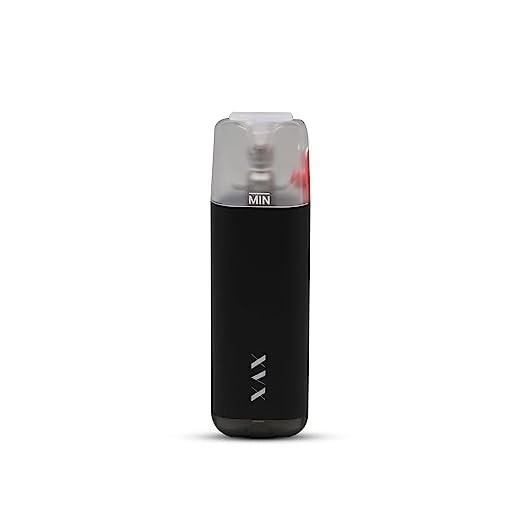
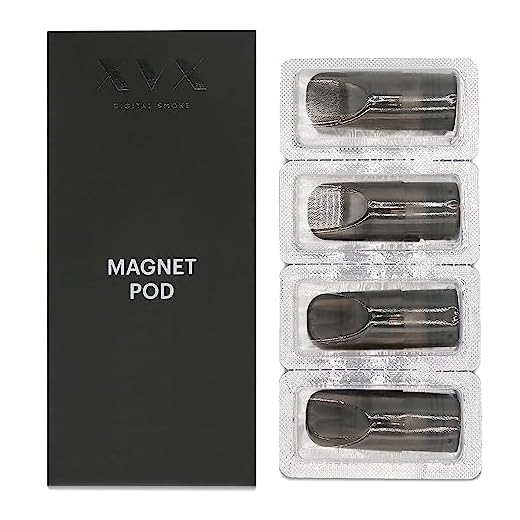
How to prime a vape coil

If you are new to vaping or have recently purchased a new coil for your vape device, it is crucial to understand the importance of properly priming your coil. Priming your coil ensures that it is saturated with e-liquid before you start vaping, preventing dry hits and prolonging the lifespan of your coil.
What is priming?
Priming a vape coil involves the process of saturating the cotton inside the coil with e-liquid. When you install a new coil, the cotton is often dry and needs to be properly soaked before use. By priming your coil, you allow the e-liquid to fully absorb into the cotton, avoiding the unpleasant burnt taste that comes with dry hits.
How to prime your vape coil?
Here are the steps to properly prime your vape coil:
- Start by ensuring that your vape device is turned off to avoid accidentally activating the coil during the priming process.
- Take your new coil and apply a few drops of e-liquid onto the exposed cotton on each side.
- Allow the e-liquid to soak into the cotton for a few minutes.
- Once the cotton appears fully saturated, insert the coil into the tank and reassemble your vape device.
- Fill your tank with e-liquid and let it sit for a couple of minutes to allow further saturation of the coil.
- After the waiting period, you can turn your vape device on and start vaping at a low wattage. Gradually increase the wattage as you continue vaping.
By following these steps, you can ensure that your coil is properly primed and ready to deliver smooth and flavorful vaping experiences. Remember to regularly check your coil’s condition and replace it when necessary to maintain optimal performance.
Why Should You Prime a Vape Coil?
Priming your vape coil is an essential step in ensuring the longevity and optimal functionality of your vaping device. By properly priming your coil, you can avoid dry hits, burnt tastes, and potentially damaging your coil. Here are a few reasons why you should always prime your vape coil:
1. Prolonging Coil Life
Priming your coil is crucial when it comes to prolonging its lifespan. By saturating the wick with e-liquid beforehand, you allow the coil to heat evenly and prevent any burning or scorching of the cotton. Properly primed coils can have a longer life, allowing you to enjoy your vaping experience for an extended period.
2. Enhancing Flavor
When you prime your vape coil, you’re essentially preparing it for optimal e-liquid absorption. When the coil is properly saturated with e-liquid, it translates into better flavor production when you start vaping. By taking the time to prime your coil, you can ensure a flavorful and enjoyable vaping experience.
3. Preventing Dry Hits
Priming your coil with sufficient e-liquid helps to prevent dry hits, which can leave you with a burnt taste in your mouth and a harsh vaping experience. By allowing the e-liquid to soak into the coil before use, you ensure continuous and consistent e-liquid flow to the wick, minimizing the risk of dry hits.
Overall, priming your vape coil is a simple yet effective practice that significantly contributes to the overall performance and lifespan of your coil. By following the proper priming technique, you can enjoy a smoother vaping experience, full of rich flavors, and avoid any unpleasant burnt tastes or coil damage caused by dry hits.
What Does Priming a Vape Coil Mean?
Priming a vape coil refers to the process of preparing the coil by saturating it with e-liquid before it is used for regular vaping. This preliminary step helps to prevent dry hits and improve the overall vaping experience.
When a new coil is installed or an old one is replaced, it is important to prime the coil in order to ensure optimal performance. Priming involves soaking the wicking material, typically made of cotton, with e-liquid. This allows the coil to absorb the liquid, preventing it from burning out or producing a burnt taste.
To prime a vape coil, follow these steps:
1. Unscrew the tank from the mod and remove the coil.
2. Apply a few drops of e-liquid directly onto the exposed cotton wicks of the coil.
3. Give the coil a few minutes to soak up the e-liquid.
4. Screw the coil back into the tank and reattach the tank to the mod.
5. Fill the tank with e-liquid.
6. Let the tank sit for a few additional minutes to allow for further saturation of the coil.
Priming a vape coil ensures that the cotton wicking material is fully saturated with e-liquid, minimizing the risk of dry hits and burnt taste. It also helps to extend the lifespan of the coil and improve the overall flavor production. Taking the time to properly prime a vape coil is essential for achieving a satisfying and consistent vaping experience.
Steps to Prime a Vape Coil
Priming a vape coil is essential to ensure an optimal vaping experience and prevent dry hits. Here are the steps to properly prime your vape coil:
- Start by assembling your vape tank if it’s not already done.
- Check the manufacturer’s instructions for your specific coil to see if there are any priming recommendations.
- For a new coil or after replacing an old one, apply a few drops of e-liquid to each of the exposed wick holes on the coil. This will help saturate the cotton and prevent it from burning.
- Screw the coil into the tank base, making sure it’s securely in place.
- Fill your vape tank with e-liquid, making sure not to overfill it to avoid leakage. Leave some space for the airflow to function properly.
- Screw the tank back together, ensuring it’s tightly sealed to prevent any leaks.
- Let the tank sit for a few minutes to allow the e-liquid to fully saturate the coil. This is an essential step to avoid dry hits.
- After waiting for a few minutes, take a few primer puffs without pressing the fire button. This will draw the e-liquid into the coil and help speed up the process.
- Set your wattage or temperature settings to the recommended range for your coil.
- You’re now ready to start vaping. Take a gentle draw and slowly increase the power if needed, making sure not to exceed the coil’s recommended limits.
Priming your vape coil is a simple yet crucial step that ensures you get the best flavor and performance from your device. By following these steps, you can extend the lifespan of your coils and enjoy a consistently satisfying vaping experience.
How Long Should You Wait After Priming a Vape Coil?
After priming a vape coil, it is crucial to wait for a certain amount of time before using it. This waiting period allows the e-juice to saturate the coil properly, ensuring optimal flavor and performance. The length of time you should wait depends on several factors, including the type of coil and the e-juice you are using.
Generally, it is recommended to wait at least 5-10 minutes after priming a vape coil before vaping. During this time, the e-juice will gradually soak into the coil’s wicking material, eliminating the risk of a dry hit. However, some coils may require longer steeping times, especially those with thicker wicking materials or high VG e-juices.

Increase Steeping Time for Sub-Ohm Coils
If you are using sub-ohm coils, it is advisable to wait a bit longer after priming. Sub-ohm coils often have larger wicking ports, allowing for faster e-juice absorption. However, they also tend to go through e-liquid at a faster rate, so it is essential to ensure the coil is fully saturated before vaping.
A recommended waiting time for sub-ohm coils is around 15-20 minutes after priming. This extra time allows the coil to absorb a sufficient amount of e-juice, preventing the coil from burning out prematurely.
Factor in E-Juice Thickness
The viscosity or thickness of the e-juice can also impact the waiting time after priming a coil. Thicker e-juices, such as those with higher VG (vegetable glycerin) content, take longer to saturate the coil compared to thinner e-juices with higher PG (propylene glycol) ratios.
If you are using a high VG e-juice, it is recommended to wait for at least 10-15 minutes after priming. This waiting period allows the coil to absorb the thicker e-liquid adequately.
Remember: It is always better to be patient and wait a little longer to ensure the coil is fully primed. Rushing the process may result in a burnt taste and a shortened coil lifespan.

In conclusion, waiting 5-10 minutes after priming a vape coil is generally a good rule of thumb, but consider longer steeping times for sub-ohm coils and thicker e-juices. Taking the time to properly prime the coil helps to ensure optimal vaping experience and extends the lifespan of the coil.
Troubleshooting: What to Do if You Experience Dry Hits
If you are experiencing dry hits while vaping, it can be an unpleasant and frustrating experience. Dry hits occur when the wick of your vape coil becomes dry and fails to properly vaporize the e-liquid, resulting in a harsh and burnt taste. Here are some troubleshooting steps to take if you find yourself dealing with dry hits:
1. Check your e-liquid levels
Ensure that you have enough e-liquid in your tank or pod. If the tank is running low on e-liquid, it can lead to dry hits. Consider refilling if necessary.
2. Prime your coil properly
Properly priming your vape coil is crucial to prevent dry hits. To prime the coil, add a few drops of e-liquid directly onto the exposed wicking material, or for pre-made coils simply let it sit in the tank for 5-10 minutes before using. This allows the cotton wick to fully saturate and enhances the coil’s ability to vaporize the e-liquid.
3. Adjust your wattage
Dry hits can also occur if your wattage is set too high for the coil you are using. Consult the recommended wattage range for your coil and adjust your device’s settings accordingly. Lower wattage can sometimes help prevent dry hits.
4. Check your airflow
If your airflow is too restricted, it may not allow enough e-liquid to reach the coil, leading to dry hits. Adjusting the airflow control on your device to a more open setting can help alleviate this issue.
5. Clean your tank
A dirty or clogged tank can affect the performance of your vape coil and increase the likelihood of dry hits. Regularly clean your tank and replace coils to ensure optimal performance.
6. Replace your coil
If you have tried all of the above steps and are still experiencing dry hits, it may be time to replace your vape coil. Over time, coils can become clogged or burnt out, leading to poor performance.
| Issue | Solution |
|---|---|
| Low e-liquid levels | Refill the tank |
| Improper coil priming | Properly prime the coil |
| High wattage | Adjust the wattage |
| Restricted airflow | Adjust the airflow control |
| Dirty tank | Clean the tank |
| Old or burnt coil | Replace the coil |


Meet Harrison Clayton, a distinguished author and home remodeling enthusiast whose expertise in the realm of renovation is second to none. With a passion for transforming houses into inviting homes, Harrison's writing at https://thehuts-eastbourne.co.uk/ brings a breath of fresh inspiration to the world of home improvement. Whether you're looking to revamp a small corner of your abode or embark on a complete home transformation, Harrison's articles provide the essential expertise and creative flair to turn your visions into reality. So, dive into the captivating world of home remodeling with Harrison Clayton and unlock the full potential of your living space with every word he writes.


