How To Renovate Rusty Garden Shears


Garden shears are an essential tool for any gardener, allowing you to effortlessly prune and shape your plants. However, over time, these shears can become rusty and lose their effectiveness. Rust can cause the blades to stick, making it difficult to make clean cuts.
Fortunately, renovating rusty garden shears is a relatively simple process that can be done at home with a few basic tools. By following a few easy steps, you can restore your garden shears to their former glory and ensure they continue to perform at their best.
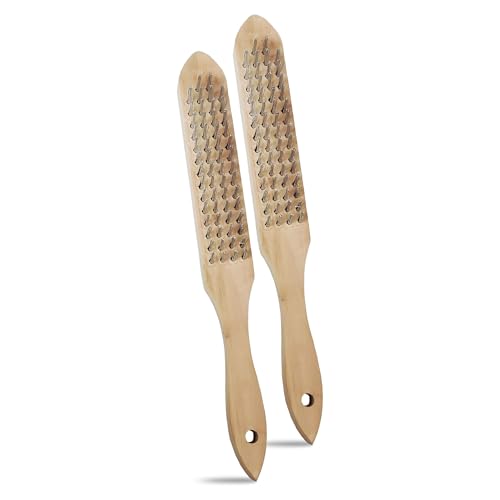
The first step in renovating rusty garden shears is to remove any dirt or debris from the blades. Use a stiff brush or an old toothbrush to scrub away any dirt or rust particles. After cleaning the blades, make sure to dry them thoroughly to prevent further rusting.
Next, you will need to remove the rust from the shears. One effective method is to soak the blades in white vinegar overnight. The vinegar will dissolve the rust, making it easier to remove. After soaking, use a steel wool pad or a piece of fine-grit sandpaper to gently scrub away the loosened rust.
Once the rust has been removed, it’s important to protect the blades from future rusting. Apply a thin layer of rust-resistant oil to the blades, using a clean cloth or sponge. This will create a protective barrier and help prevent future rust formation.
Finally, it’s crucial to keep your garden shears well-maintained to prolong their lifespan. After each use, wipe the blades clean and apply a thin layer of oil to prevent rusting. Regularly sharpen the blades to maintain their cutting effectiveness.
By following these simple steps, you can easily renovate rusty garden shears and ensure they continue to perform at their best. With well-maintained shears, you’ll be able to tackle your gardening tasks more efficiently and enjoy the beauty of a well-maintained garden.
Assessing the Condition
Before beginning the renovation process, it’s important to assess the condition of your rusty garden shears. By examining the tool closely, you can determine the extent of damage and develop a plan for restoration. Here are some steps to follow:
1. Inspect the blades: Carefully examine the blades for signs of rust, corrosion, or damage. Look for any areas where the metal may be chipped or pitted.
2. Check the pivot point: The pivot point is where the blades connect to the handles. Make sure it is secure and in good working condition. If it’s loose or damaged, it may need to be repaired or replaced.
3. Evaluate the handles: Check the handles for any cracks or breaks. Look for signs of wear or damage, such as splintering or worn-out grips.
4. Examine the spring mechanism: If your shears have a spring mechanism, make sure it is intact and functioning properly. Look for any signs of rust or damage that may hinder its operation.
5. Test the cutting action: Open and close the shears to test the cutting action. Pay attention to whether they close completely and smoothly or if there is any resistance.
6. Consider overall usability: Think about how comfortable the shears are to hold and use. If they are too heavy or awkward to handle, it may be worth investing in a new pair instead of renovating.
By assessing the condition of your rusty garden shears, you can determine the necessary steps to take in order to restore them to their former glory. Whether it involves cleaning, sharpening, or replacing certain parts, a thorough evaluation will guide you in the renovation process.
Cleaning the Shears
Before starting the renovation process, it’s essential to thoroughly clean the rusty garden shears. This will help remove any dirt, debris, and grime that may have accumulated over time, making the renovation process more effective.
1. Gather the necessary supplies
First, gather the necessary supplies for cleaning the shears. This will include a bucket of warm soapy water, a stiff brush, steel wool, and a clean cloth.
2. Soak the shears
Begin by soaking the rusty shears in the bucket of warm soapy water. Allow the shears to soak for about 15-20 minutes to loosen up any dirt and debris.
3. Scrub off the rust
Using the stiff brush, scrub off the rust from the shears. Pay extra attention to the rusty areas, ensuring that all the rust is adequately removed. For tougher rust, consider using steel wool to scrub off the stubborn rust spots.
4. Rinse and dry
After scrubbing off the rust, rinse the shears with clean water to remove any soap residue. Then, dry the shears thoroughly with a clean cloth, ensuring that no moisture remains.
By cleaning the rusty garden shears properly, you’ll achieve a clean and rust-free surface, ready for the renovation process.
Removing Rust
To start removing rust from your garden shears, you will need a few supplies:
- Steel wool or a wire brush
- Vinegar or lemon juice
- Baking soda
- A bucket or basin
- A soft cloth or rag
Begin by using the steel wool or wire brush to scrub away any large patches of rust on the shears. This will help remove the majority of the rust and prepare the surface for further treatment.
Next, fill the bucket or basin with a mixture of vinegar or lemon juice and water. The acidic properties of these liquids will help to break down the rust and loosen it from the shears. Leave the shears to soak in the mixture for at least an hour, or overnight for more stubborn rust.
After soaking, remove the shears from the mixture and rinse them under running water. Use the steel wool or wire brush again to scrub away any remaining rust particles.
For more persistent rust, create a paste using baking soda and water. Apply the paste to the affected areas of the shears and let it sit for 15-20 minutes. Then, scrub the paste away with the steel wool or wire brush.
Once all the rust has been removed, rinse the shears thoroughly with water to remove any residue from the cleaning process. Dry the shears completely with a soft cloth or rag to prevent any new rust from forming.
Remember to regularly oil your garden shears to prevent future rusting and keep them in good working condition. With proper maintenance, your garden shears can stay rust-free and last for years to come.
Sharpening the Blades
Before starting the renovation process, it is essential to sharpen the blades of your rusty garden shears. Dull blades can make your gardening tasks difficult and can also cause damage to the plants.
Here’s an easy step-by-step guide to sharpen your garden shear blades:
1. Cleaning the Blades
Start by cleaning off any dirt, debris, or rust from the blades. Use a wire brush or a piece of sandpaper to gently scrub the surface. This will ensure a smooth sharpening process.
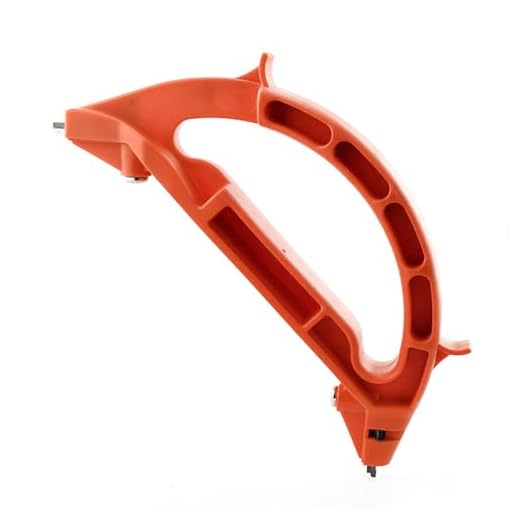
2. Using a Sharpening Stone
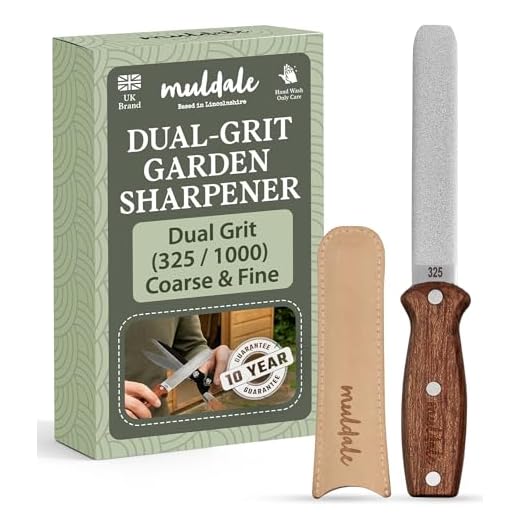
Next, you will need a sharpening stone to restore the edges of the blades. Wet the stone with water and hold it firmly on a stable surface. Angle the blade at approximately 20 degrees to the stone.
Using smooth, sweeping motions, move the blade along the sharpening stone from the base to the tip. Ensure that you maintain a consistent angle and apply light pressure. Repeat this process several times until you see a shiny edge forming on the blade.
Note: If the blades are severely damaged or have deep nicks, you may need to invest in a professional sharpening service or consider replacing the shears.
3. Honing the Blades
After sharpening, use a honing tool or a leather strop to remove any burrs formed during the sharpening process. This step will give your blades a polished and refined finish.
Gently rub the honing tool or strop along the blade’s edge in a back-and-forth motion, applying light pressure. Repeat this process for both blades until they feel smooth and sharp to the touch.
Remember to clean the blades thoroughly after sharpening and honing. This will remove any metal filings or debris that may affect the shears’ performance.
By regularly sharpening your rusty garden shears, you can ensure that they remain in optimal condition and improve their cutting efficiency.
Lubricating the Shears
After removing any rust and cleaning the shears, the next step in renovating rusty garden shears is to lubricate them. Lubrication is important because it helps to prevent rust from forming again and keeps the shears moving smoothly.
Here are the steps to correctly lubricate your shears:
- Choose a high-quality lubricant specifically designed for garden tools.
- Apply a few drops of the lubricant to the pivot point of the shears. The pivot point is where the two blades meet and move.
- Open and close the shears several times to spread the lubricant evenly and ensure it reaches all the necessary parts.
- If there are any other moving parts on the shears, such as a locking mechanism or an adjustable tension screw, apply a small amount of lubricant to those areas as well.
- Wipe off any excess lubricant with a clean cloth.
By properly lubricating your garden shears, you can help extend their lifespan and keep them working effectively for years to come.
Proper Storage and Maintenance
Proper storage and maintenance are key factors in keeping your garden shears in good working condition. By following these simple tips, you can extend the lifespan of your shears and ensure they are always ready for use.
1. Clean and Dry
After each use, it is important to clean your shears to remove any dirt, debris, or sap that may have accumulated. Use a wire brush or steel wool to scrub off any rust or stuck-on residue. Rinse the shears with water and dry them thoroughly using a clean cloth or towel. This will prevent any moisture from causing corrosion.
2. Lubricate
Regular lubrication is essential to keep your garden shears in smooth working order. Apply a few drops of oil or a silicone-based lubricant to the pivot joint and cutting blades. This will prevent rust and ensure that the shears open and close easily. Wipe off any excess oil to avoid attracting dirt and dust.
3. Store Properly
When not in use, store your shears in a safe and dry place. Consider using a dedicated tool storage rack or hanging them on a pegboard to keep them organized and easily accessible. Avoid storing them in damp areas, such as a shed with a leaky roof, as this can promote rust and corrosion.
4. Sharpen Regularly
Keep the cutting blades of your garden shears sharp to ensure clean and efficient cutting. Use a sharpening stone or a file to remove any nicks or burrs on the blades. Hold the stone at a slight angle and move it along the edge of the blade in smooth, even strokes. Test the sharpness by making a few cuts on a piece of paper.
By following these storage and maintenance practices, you can enjoy the benefits of sharp and rust-free garden shears for years to come. Remember, a little care goes a long way!
Questions and answers
What causes garden shears to become rusty?
Garden shears can become rusty due to exposure to moisture, lack of proper cleaning and maintenance, or storing them in humid conditions.
How can I prevent my garden shears from becoming rusty?
To prevent your garden shears from becoming rusty, you should clean and dry them thoroughly after each use, store them in a dry place, and regularly oil the pivot point and blades to protect them from moisture.


