How To Properly Use Thinning Shears
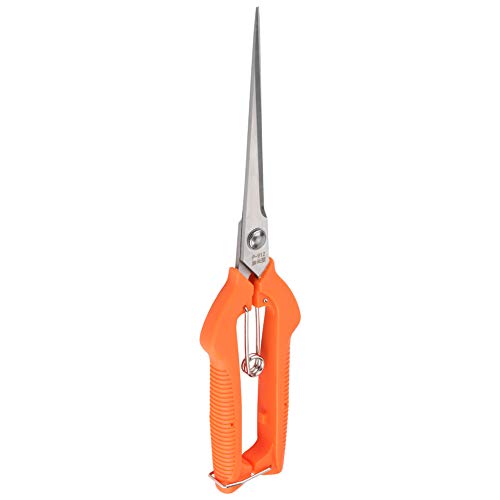
Thinning shears are a vital tool for hairstylists looking to achieve texture, movement, and volume in their clients’ hair. When used correctly, thinning shears can create a soft, blended look by removing excess bulk and weight from the hair. However, improper use of thinning shears can result in a less-than-desirable outcome, causing hair to look uneven and choppy.
To properly use thinning shears, it is important to understand the technique and have the right tools. Firstly, you should choose the right type of thinning shears for your client’s hair texture and desired result. Thinning shears come in various tooth widths, with wider tooth spacing ideal for removing more hair and creating a more drastic effect, while closer tooth spacing is better for more subtle thinning.
When using thinning shears, it’s crucial to have a good grasp of the hair section you are working on. Hold the shears at a slight angle and insert them into the hair section about an inch away from the scalp. Using a gentle closing motion, slide the shears down towards the ends of the hair, without cutting all the way through. This technique helps create a soft, blended look while maintaining the integrity and length of the hair. Repeat this process throughout the desired areas, working in small sections at a time.
It’s important to remember that less is more when it comes to using thinning shears. Start conservative and gradually remove more hair if necessary. Always step back and evaluate your work during the process to ensure you are achieving the desired result. Practice and experience will help you develop a better understanding of how much hair to remove and where, to create the perfect look for your client.
In conclusion, thinning shears are a valuable tool for hairstylists, allowing for texture, movement, and volume in the hair. By choosing the right type of thinning shears and mastering the proper technique, you can achieve a soft, blended look that enhances your clients’ hair. Remember to start conservative, evaluate your work, and practice regularly to hone your skills in using thinning shears effectively.
The Ultimate Guide to Using Thinning Shears
Thinning shears are an essential tool for any hairstylist or barber. These specialized scissors are designed to remove bulk and create texture in the hair, resulting in a more natural and blended look. However, using thinning shears incorrectly can lead to unwanted results. To ensure you achieve the best outcome, here is the ultimate guide to using thinning shears:
- Choose the right pair of shears: The first step to using thinning shears effectively is selecting the right pair. Look for shears with teeth or notches on one blade and a straight edge on the other. The number of teeth can vary, with fewer teeth producing a more aggressive thinning effect.
- Section the hair: Before using thinning shears, it’s important to section the hair to ensure even and controlled thinning. Separate the hair into small, manageable sections using clips or hair ties.
- Start with dry hair: Thinning shears are typically used on dry hair to accurately assess the amount of hair being removed. Wet hair can appear more voluminous, making it difficult to gauge the thinning effect.
- Select the right section of hair: Choose a section of hair that you want to thin, focusing on areas that have excessive bulk or appear too heavy.
- Hold the shears correctly: Proper grip and hand positioning are crucial for using thinning shears effectively. Hold the shears with your thumb in the larger hole and your ring and pinky fingers in the smaller hole. This grip allows for better control and precision.
- Angle the shears: Hold the shears at a slight angle to the hair, positioning them about 45 degrees from the scalp. This angle helps to prevent visible cut lines and ensures a more natural-looking result.
- Work from mid-shaft to ends: Start cutting with the thinning shears halfway down the hair shaft and slowly work towards the ends, making small, gentle snips. Avoid cutting too close to the scalp, as this can create uneven layers.
- Gradually thin the hair: Rather than removing a large amount of hair at once, it’s best to thin the hair gradually. Take your time and assess the thinning effect after each snip to avoid over-thinning.
- Blend the sections: After thinning one section, release another section of hair and blend it with the previously thinned section. This technique ensures a seamless and cohesive look.
- Finalize the style: Once you have achieved the desired thinning effect, style the hair as usual. Thinning shears can be used in combination with other cutting techniques to create a customized and polished style.
Remember, practice makes perfect when it comes to using thinning shears. Experiment with different techniques and find what works best for you. With time and experience, you’ll become a master at creating beautifully textured and layered hairstyles.
Benefits of Using Thinning Shears
Thinning shears are a popular tool among professional hairstylists due to their versatility and ability to create texture and movement in hair. Here are some of the top benefits of using thinning shears:
1. Removes bulk: Thinning shears are excellent for removing excess hair volume, especially in areas where the hair is thick. By selectively removing some strands of hair while leaving others untouched, thinning shears can create a more balanced and polished look.
2. Enhances natural texture: Thinning shears can be used to enhance the natural texture of the hair. By removing some weight and bulk, thinning shears can help curly or wavy hair to better hold its shape, reducing frizz and promoting a more defined texture.

3. Creates seamless layers: Thinning shears can be used to create seamless layers in the hair, blending different lengths together for a smooth and cohesive finish. This technique is especially useful in creating soft and flowing hairstyles.
4. Adds dimension: Thinning shears can add dimension to flat or lifeless hair. By strategically removing some strands, thinning shears can create depth and movement, giving the hair a more voluminous and dynamic appearance.
5. Promotes healthier hair: Thinning shears can help promote healthier hair by removing split ends and preventing damage caused by excessive weight and tension. By creating a lighter and more balanced haircut, thinning shears can help reduce breakage and promote hair growth.
In conclusion, thinning shears are a valuable tool for hairstylists, offering numerous benefits such as bulk removal, enhancing natural texture, creating seamless layers, adding dimension, and promoting healthier hair. By using thinning shears correctly and understanding their advantages, hairstylists can achieve a wide range of desired hair looks and styles.
Step-by-Step Guide on Using Thinning Shears
Thinning shears are a great tool for creating texture and reducing the thickness of hair. However, using them incorrectly can result in uneven cuts and damage to the hair. To help you properly use thinning shears, follow this step-by-step guide:

Step 1: Prepare the Hair
Start by ensuring that the hair is clean, dry, and tangle-free. This will make it easier to work with and achieve the desired results. Comb through the hair to remove any knots or tangles.
Step 2: Section the Hair
Divide the hair into manageable sections using clips or hair ties. Thinning shears should be used on small sections at a time to create a more controlled and precise cut.
Step 3: Hold the Thinning Shears Correctly
Hold the thinning shears with your dominant hand, ensuring that your thumb is in the smaller hole and your other fingers are in the larger hole. This grip allows for better control and maneuverability.
Step 4: Start Thinning
Starting at the desired point on the hair section, insert the thinning shears vertically and make small, quick cuts. Avoid cutting too much hair at once to prevent an uneven look. Continue thinning the section, moving the shears along the hair shaft in a slight diagonal motion.
Step 5: Blend the Hair
After thinning one section, release another section of hair and repeat the process until you have thinned out all the desired areas. Blend the thinned sections with the rest of the hair by combing through gently.
Step 6: Evaluate and Adjust
Step back and evaluate the results. If needed, make further adjustments by thinning certain areas or blending the hair further. It’s important to continually check for balance and symmetry throughout the process.
Remember, practice makes perfect. Take your time and be patient with the process. With practice, you will become more comfortable and skilled in using thinning shears to achieve the desired results.
Tips and Techniques for Using Thinning Shears
Thinning shears are an essential tool for creating texture and removing bulk in hair. When used properly, they can help achieve a desired hairstyle and add dimension to any haircut. Here are some tips and techniques to help you make the most of your thinning shears:
1. Choose the Right Shears
There are different types of thinning shears available, each with its own purpose and effect. Choose a pair that is appropriate for your specific needs. The number of teeth on the shears determines the amount of hair that will be removed. The higher the number of teeth, the more hair will be thinned.
2. Use on Dry Hair
Thinning shears are best used on dry hair as wet hair can stretch and result in uneven cutting. Before starting, make sure the hair is clean, dry, and free of any tangles or knots. Comb through the hair to ensure even distribution and to remove any excess hair that may interfere with the thinning process.
3. Section the Hair
To ensure an even thinning effect, divide the hair into sections. Start from the bottom and work your way up, taking thin sections of hair at a time. This will help prevent over-thinning in certain areas and ensure a balanced look.
4. Angle the Shears
The angle at which you hold the thinning shears can greatly affect the outcome. Hold the shears at an angle, starting at the mid-shaft of the hair. This will help create a natural, blended effect rather than a harsh, choppy look. Experiment with different angles to determine the best result for the desired hairstyle.
5. Avoid Over-Thinning
It’s important not to over-thin the hair, as this can result in a choppy and uneven appearance. Thin the hair gradually and periodically check the progress by combing through the hair. Stop thinning once the desired texture and thickness are achieved.
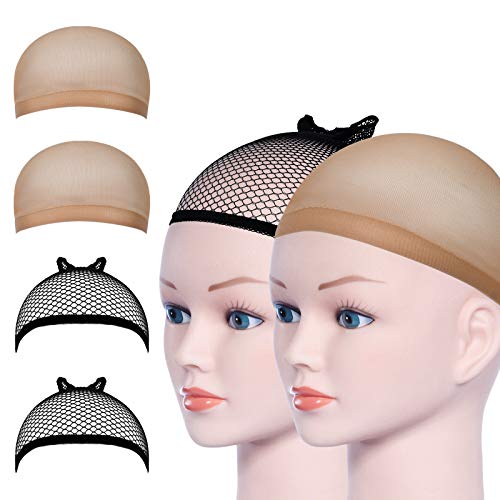
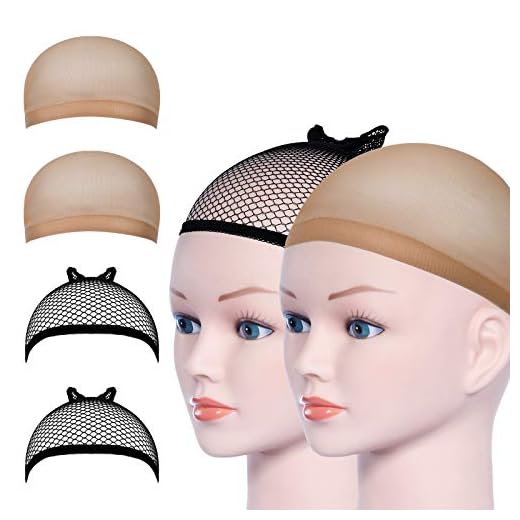
6. Practice on Mannequin Heads
If you are new to using thinning shears, it can be helpful to practice on mannequin heads first. This will allow you to become comfortable with the tool and experiment with different techniques without the risk of ruining someone’s hair.
Thinning shears are a versatile tool that can transform a hairstyle. By following these tips and techniques, you can effectively use thinning shears to achieve the desired look and add texture to any haircut.
Common Mistakes to Avoid When Using Thinning Shears
Thinning shears are a valuable tool for creating texture and volume in hair, but when used incorrectly, they can lead to less than desirable results. To ensure you achieve the desired effect and avoid any mishaps, it’s important to avoid the following common mistakes:
| Mistake | Explanation |
| 1. Using dull blades | If your thinning shears have dull blades, they can create an uneven and choppy appearance in the hair. Regularly sharpen and maintain your shears to ensure clean and precise cuts. |
| 2. Over-thinning | Over-thinning the hair can result in an overly sparse and thin appearance. It’s important to use thinning shears sparingly and judiciously, focusing on specific areas that require additional texture. |
| 3. Improper sectioning | When using thinning shears, it’s crucial to properly section the hair to ensure an even and balanced look. Failing to section the hair properly can lead to uneven thinning and an overall messy appearance. |
| 4. Cutting too close to the roots | Cutting too close to the roots with thinning shears can result in an unnatural and bulky look. Always leave a small distance between the shears and the scalp to maintain a seamless blend. |
| 5. Neglecting to comb through the hair | Before using thinning shears, it’s important to comb through the hair to remove any tangles or knots. Neglecting this step can lead to uneven and jagged cuts. |
Avoiding these common mistakes will help you achieve professional-looking results when using thinning shears. Practice proper technique and take your time to ensure a flawless finish that enhances texture and volume in the hair.
Questions and answers
What are thinning shears used for?
Thinning shears are used to remove bulk and texture from the hair, creating a softer and more blended look.
Can I use thinning shears on any type of hair?
Thinning shears can be used on most types of hair, but they are especially effective on thick and bulky hair that needs to be thinned out.
Are thinning shears easy to use?
Thinning shears require some skill and practice to use properly. It’s important to have a good understanding of how they work and to take your time when using them to avoid cutting too much hair.
Will using thinning shears make my hair look shorter?
Using thinning shears will not make your hair look shorter in length, but it will remove some of the bulk and weight from your hair, making it appear lighter and less dense.


Meet Harrison Clayton, a distinguished author and home remodeling enthusiast whose expertise in the realm of renovation is second to none. With a passion for transforming houses into inviting homes, Harrison's writing at https://thehuts-eastbourne.co.uk/ brings a breath of fresh inspiration to the world of home improvement. Whether you're looking to revamp a small corner of your abode or embark on a complete home transformation, Harrison's articles provide the essential expertise and creative flair to turn your visions into reality. So, dive into the captivating world of home remodeling with Harrison Clayton and unlock the full potential of your living space with every word he writes.