How To File Nails With Rotary Tool

Keeping your nails trimmed and well-maintained is an important part of personal grooming. While many people opt for traditional tools like nail files or clippers, using a rotary tool can provide an efficient and precise alternative. The rotary tool, with its small grinding attachments, allows for controlled shaping and smoothing of the nails with minimal effort.
If you’re new to using a rotary tool for nail filing, it’s important to learn the proper technique to achieve the desired results. First, ensure that you have a clean and well-maintained rotary tool with the appropriate grinding attachment. It’s essential to choose the right attachment for the type of filing you want to achieve, as different attachments provide different levels of grit and abrasiveness.
Once you have the appropriate attachment, it’s time to start filing your nails. Begin by selecting a speed setting on your rotary tool that feels comfortable for you. It’s recommended to start with a lower speed setting and gradually increase as you become more comfortable and experienced. Remember to hold the tool with a firm grip but not too tight, allowing for precise control while maintaining a steady hand.
Why You Should Consider Using a Rotary Tool for Filing Nails
1. Precision and Control
One of the biggest advantages of a rotary tool is the level of precision and control it offers. With different speed settings and interchangeable attachments, you can easily customize the tool to suit your specific needs. Whether you want to shape your nails, remove gel or acrylic overlays, or simply smooth out rough edges, a rotary tool allows you to do so with unmatched precision.
2. Time and Effort Saving
Using a rotary tool can save you time and effort when it comes to filing your nails. With the high-speed rotation of the tool, you can remove excess nail material quickly and efficiently. This means that filing your nails will take less time and effort compared to using a traditional nail file.

3. Versatility
A rotary tool is a versatile tool that can be used for various tasks beyond just filing nails. With the right attachments, it can be used for tasks such as cutting, polishing, and even carving. This means that investing in a rotary tool will not only benefit your nail filing routine but can also be used for other DIY projects around the house.
4. Long-lasting Results
When using a rotary tool to file your nails, you can achieve long-lasting results. The high-speed rotation of the tool helps to create smooth and even nail surfaces. This not only makes your nails look more polished and professional but also helps to prevent chipping and peeling, allowing your manicure to last longer.
Overall, using a rotary tool for filing your nails can offer numerous benefits, including precision, time saving, versatility, and long-lasting results. If you’re looking for a more efficient and effective way to file your nails, it’s definitely worth considering investing in a rotary tool.
Step-by-Step Guide on Filing Nails with a Rotary Tool
Filing nails with a rotary tool can be a quick and efficient way to achieve the desired shape and length. Follow these steps to safely file your nails using a rotary tool:
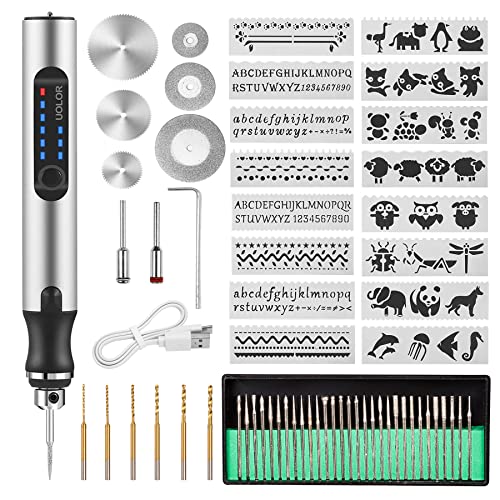
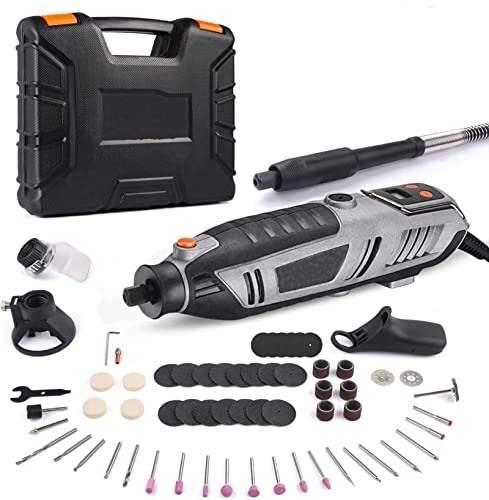
- Start by choosing the right rotary tool for the job. Look for a tool with a small, fine-grit sanding attachment or a diamond bit specifically designed for filing nails.
- Before you begin, make sure your nails are clean and dry. Remove any old nail polish and gently clean the nails with a mild soap and water.
- Next, select the appropriate speed setting on your rotary tool. It’s recommended to start with a lower speed and adjust as needed.
- Hold the rotary tool like a pen, with a firm grip but without applying too much pressure. Begin filing the nail in your desired shape, working from the sides toward the center. Be cautious not to file too short or close to the skin to avoid injury.
- Move the rotary tool in small, gentle motions to prevent overheating or damaging the nail. Keep the file moving continuously and avoid staying in one spot for too long.
- Periodically check the length and shape of the nail to ensure you’re achieving the desired result. Stop filing once you’ve achieved the desired length and shape.
- Once you’re finished, gently buff the nails to smooth out any rough edges or uneven surfaces. You can use a buffing attachment on your rotary tool or a fine-grit nail buffer.
- Finally, apply a moisturizer or cuticle oil to hydrate and nourish the nails and cuticles. This will help prevent dryness and promote healthy nail growth.
Remember, it’s important to exercise caution and go slowly when using a rotary tool to file your nails. With practice and the proper technique, you can achieve beautiful, salon-quality results from the comfort of your own home.

Tips and Tricks for Achieving Perfectly Filed Nails
When it comes to filing your nails with a rotary tool, there are a few tips and tricks you can follow to achieve perfectly filed nails. Whether you are a beginner or have been using a rotary tool for some time, these tips will help you get the best results.
1. Start with clean nails: Before you begin filing your nails, make sure they are clean and free from any nail polish or residue. This will ensure a smoother filing process and prevent any unevenness.
2. Use a low-speed setting: When using a rotary tool to file your nails, it is important to use a low-speed setting. This will give you better control over the filing process and minimize the risk of accidentally filing too much off.
3. Choose the right bit: There are different types of bits available for rotary tools, such as coarse-grit bits for shaping and fine-grit bits for smoothing. Depending on the desired outcome, choose the right bit that suits your needs.
| Type of Bit | Use |
|---|---|
| Coarse-grit bit | Use for shaping and shortening nails |
| Fine-grit bit | Use for smoothing and removing rough edges |
| Buffing bit | Use for polishing and shining nails |
4. File in one direction: Always file your nails in one direction to prevent any damage or splitting. Filing back and forth can weaken the nails and cause them to break easily.

5. Take breaks: If you are filing your nails for an extended period of time, take breaks to give your nails a rest. This will prevent overheating and reduce the risk of damage to your nails.
6. Finish with a nail buffer: Once you have achieved the desired shape and length, finish off by using a nail buffer to smooth out any rough edges and give your nails a polished look.
With these tips and tricks, you can achieve perfectly filed nails using a rotary tool. Remember to practice caution and take your time to ensure the best results. Happy filing!
Questions and answers
Why would I use a rotary tool to file my nails?
A rotary tool can be used to file nails because it is versatile and can quickly and efficiently shape and smooth the nails. It can also be useful for removing gel or acrylic nails.
Is it safe to use a rotary tool on my nails?
Using a rotary tool on your nails can be safe if done properly. It is important to use a low speed setting and gentle pressure to avoid damaging the nails or causing irritation. It is also recommended to use a fine-grit attachment and to keep the tool moving in order to prevent excessive heat or friction.


Harrison Clayton
Meet Harrison Clayton, a distinguished author and home remodeling enthusiast whose expertise in the realm of renovation is second to none. With a passion for transforming houses into inviting homes, Harrison's writing at https://thehuts-eastbourne.co.uk/ brings a breath of fresh inspiration to the world of home improvement. Whether you're looking to revamp a small corner of your abode or embark on a complete home transformation, Harrison's articles provide the essential expertise and creative flair to turn your visions into reality. So, dive into the captivating world of home remodeling with Harrison Clayton and unlock the full potential of your living space with every word he writes.