Step-by-step guide: Installing chair rail without a nail gun

If you’re looking to add some elegance and charm to your home, installing chair rail is a great way to achieve that. Chair rail is a decorative molding that is typically installed on the walls about 30 inches from the floor, adding an architectural element and protecting the walls from scuffs and scratches. While using a nail gun can make the installation process quicker and easier, not everyone has access to one. In this step-by-step guide, we will walk you through the process of installing chair rail without a nail gun, using alternative methods that can be done with basic hand tools.
Step 1: Measure and mark
Start by measuring the length of the wall where you want to install the chair rail. Use a pencil and a tape measure to mark the desired height for the chair rail, typically around 30 inches from the floor. Measure and mark the height at several points along the wall to ensure accuracy.
Step 2: Cut the chair rail
Using a miter saw or a coping saw, cut the chair rail to the desired length. Be sure to make straight cuts and double-check your measurements before cutting. If you have multiple walls to cover, cut all the pieces of chair rail at once to save time.
Step 3: Apply adhesive
Apply a strong adhesive, such as construction adhesive, to the back of the chair rail. Be sure to apply the adhesive evenly along the entire length of the chair rail to ensure a secure bond to the wall.
Step 4: Press the chair rail onto the wall
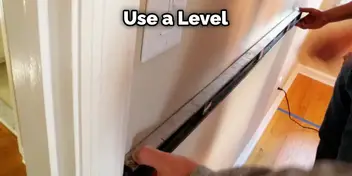
Carefully press the chair rail onto the wall at the marked height, ensuring it is level and straight. Apply firm pressure to help the adhesive bond properly. Use a level to double-check the alignment of the chair rail.
Step 5: Secure the chair rail with finishing nails
If you want extra security, you can use finishing nails to further secure the chair rail. Pre-drill small pilot holes at regular intervals along the chair rail. Then, carefully hammer in the finishing nails, being careful not to damage the chair rail or the wall. Use a nail set to sink the nail heads slightly below the surface of the chair rail.
Step 6: Fill the nail holes and paint
After securing the chair rail, fill the nail holes with wood putty or a suitable filler. Allow the filler to dry, then sand it smooth. Finally, paint or stain the chair rail to your desired color to match the overall aesthetic of the room.
By following these step-by-step instructions, you can successfully install chair rail without a nail gun, giving your home a touch of sophistication and style.
Choosing the right type of chair rail
When it comes to choosing the right type of chair rail for your project, there are a few key factors to consider. The chair rail not only serves as a decorative accent, but it also helps protect the walls from damage caused by chairs or other furniture. Here are some important considerations to keep in mind:
1. Material
Chair rails are available in a variety of materials, each with its own unique look and durability. Some common options include:
- Wood: Wood chair rails are a popular choice due to their timeless appeal and versatility. They can be stained or painted to match your decor and are available in various wood species.
- MDF: Medium-density fiberboard (MDF) chair rails are an affordable alternative to wood. They are made from compressed wood fibers and can be easily painted.
- Polyurethane: Polyurethane chair rails are lightweight and resistant to moisture and insects. They come in a variety of styles and can be painted to resemble wood.
2. Style
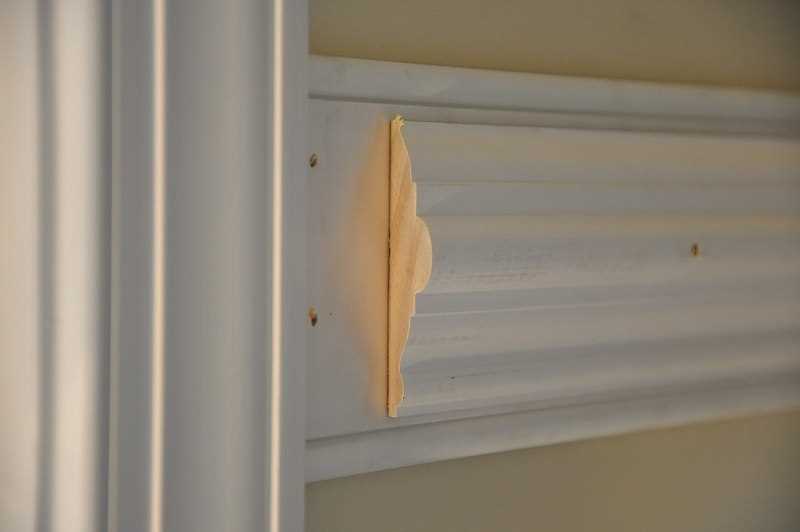
Chair rails come in a wide range of styles, from traditional to modern. Consider the overall aesthetic of your space and choose a chair rail that complements it. You can opt for a simple and understated design or go for something more ornate and decorative.
3. Height
Chair rails are typically installed at a height of 36 to 42 inches from the floor. However, you can adjust the height based on your personal preference and the proportions of your room. Just make sure the chair rail is positioned at a height that will effectively protect your walls.
4. Installation method
Lastly, consider the installation method that suits your needs. If you don’t have access to a nail gun, you’ll want to choose a chair rail that can be easily installed using adhesive or screws. Look for chair rails that come with installation instructions and choose one that fits your skill level.
By taking these factors into consideration, you can choose the right type of chair rail that will enhance the look of your space and protect your walls for years to come.
Measuring and marking the correct height
Before installing chair rail, it’s important to measure and mark the correct height on the wall. Here is a step-by-step guide to help you with this process:
- Gather your materials: You will need a measuring tape, a level, a pencil, and a chair rail.
- Find the desired height: Measure the height at which you want to install the chair rail. Typically, chair rail is installed around 36 inches from the floor, but you can choose a different height if desired.
- Mark the wall: Use a pencil to make a small mark on the wall at the desired height. This will be your reference point for the chair rail.
- Measure and mark intervals: Use a measuring tape and a level to measure and mark equal intervals along the wall. This will depend on the length of the chair rail and the desired spacing between each section. For example, if your chair rail is 8 feet long and you want 4 sections, you would measure and mark intervals every 2 feet.
- Connect the marks: Use a straightedge or a level to connect the marks you made on the wall. This will create a horizontal line at the desired height for the chair rail.
- Double-check your measurements: Before proceeding with the installation, it’s important to double-check your measurements to ensure accuracy. Use the level to make sure the horizontal line is straight and check the intervals to make sure they are equal.
Once you have measured and marked the correct height for the chair rail, you are ready to move on to the next step in the installation process.
Gathering the necessary tools and materials
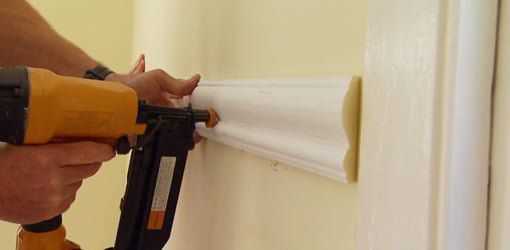
Before you begin installing chair rail without a nail gun, it’s important to gather all the necessary tools and materials. Having everything you need on hand will ensure a smooth and efficient installation process. Here is a list of the essential tools and materials you will need:
Tools:
- Measuring tape
- Miter saw
- Level
- Coping saw
- Hammer
- Chisel
- Screwdriver
- Utility knife
- Pry bar
- Pencil
- Ruler or straightedge
Materials:
- Chair rail molding
- Construction adhesive
- Finishing nails
- Spackle or wood filler
- Sandpaper
- Caulk
- Paint or stain
- Paintbrush
Make sure to check that you have all the tools and materials listed above before you begin the installation process. Having everything you need at hand will help you work efficiently and complete the project with ease.
Cutting the chair rail to size
Before installing your chair rail, you will need to cut it to the correct size. Follow these steps to ensure a precise fit:
- Measure the wall: Use a measuring tape to determine the length of the wall where you will be installing the chair rail. Write down this measurement.
- Mark the chair rail: Use a pencil to mark the length of the chair rail on the backside. Make sure to mark the exact length that you measured in the previous step.
- Set up your saw: If you have a miter saw, set it to a 45-degree angle. This will create clean, angled cuts on the chair rail. If you don’t have a miter saw, a handsaw or a circular saw with a guide can also be used.
- Cut the chair rail: Place the chair rail on the saw, keeping it steady against the fence and making sure the marked line is aligned with the saw blade. Carefully cut the chair rail at a 45-degree angle.
- Repeat for other ends: If your chair rail needs to be cut at both ends, repeat the previous step for the other end. Remember to measure and mark each end individually to ensure a proper fit.
- Check the fit: After cutting the chair rail, hold it up against the wall to check the fit. Make sure it lines up properly and that the angles are correct. Trim or adjust as necessary.
By following these steps, you’ll be able to cut your chair rail to the correct size and ensure a professional-looking installation.
Preparing the walls for installation
Before you begin the installation of chair rail, it is important to prepare the walls to ensure a smooth and successful process. Here are the steps to follow:
- Remove any existing chair rail or trim: Use a pry bar or a hammer and chisel to carefully remove any existing chair rail or trim from the walls. This will provide a clean surface for the new chair rail.
- Repair any wall damage: Inspect the walls for any holes, cracks, or other damage. Fill these imperfections using a wall repair compound or spackle. Allow the compound to dry, and then sand it until smooth.
- Clean the walls: Wipe down the walls with a damp cloth to remove any dust, dirt, or grease. Ensure that the walls are completely dry before proceeding.
- Measure and mark the wall: Using a measuring tape, measure the desired height for the chair rail and make small marks along the wall at regular intervals. This will serve as a guide during installation.
- Protect the wall: To protect the wall from any accidental paint or adhesive splatters, apply painter’s tape along the top and bottom perimeter where the chair rail will be installed.
By properly preparing the walls, you can ensure that the chair rail installation goes smoothly and the end result is both aesthetically pleasing and long-lasting.
Attaching the chair rail using adhesive
If you don’t have a nail gun or prefer not to use nails, you can also attach the chair rail using adhesive. This method requires a strong adhesive that is designed for bonding trim to walls.
Materials you will need:
- Chair rail
- Measuring tape
- Pencil
- Miter saw or coping saw
- Sandpaper
- Adhesive
- Applicator gun
- Painter’s tape
- Clamps
Step 1: Prepare the chair rail
Measure and cut the chair rail to fit the desired length using a miter saw or coping saw. Make sure to cut the ends at 45-degree angles for a proper fit in the corners. Sand any rough edges or uneven surfaces.
Step 2: Apply adhesive to the chair rail
Using an applicator gun, apply a thin and even layer of adhesive to the back of the chair rail.
Step 3: Position the chair rail
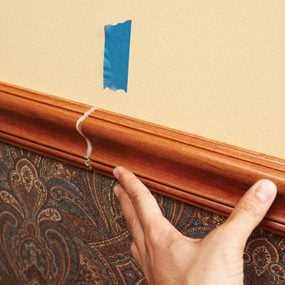
Hold the chair rail against the wall, aligning it with the pencil marks made during the measuring process. Use painter’s tape to temporarily secure the chair rail in place.
Step 4: Secure the chair rail
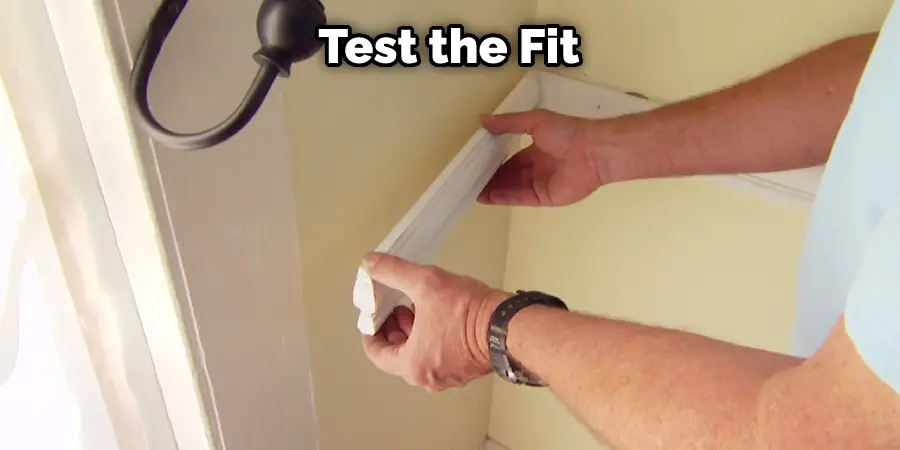
Place clamps along the chair rail to hold it securely in place while the adhesive dries. Make sure the chair rail is level using a level tool.
Step 5: Remove excess adhesive
Wipe away any excess adhesive that may have squeezed out from under the chair rail using a damp cloth or sponge.
Step 6: Let the adhesive dry
Follow the manufacturer’s instructions on the adhesive packaging for the recommended drying time. Do not disturb the chair rail until the adhesive is fully dry.
Step 7: Finishing touches
Once the adhesive has dried, remove the clamps and painter’s tape. Fill any gaps or holes with wood filler or caulk, and touch up with paint or stain as desired.
Final thoughts
Attaching chair rail using adhesive can be a convenient alternative to using nails. However, make sure to choose a high-quality adhesive that is suitable for trim installation and follow the manufacturer’s instructions for the best results.
Securing the chair rail with finishing nails
Once you have made all the necessary cuts and measurements for your chair rail, it’s time to secure it to the wall. In this step, we will be using finishing nails to ensure a secure and professional installation.
Materials needed:
- Chair rail
- Finishing nails
- Hammer
- Level
- Pencil
- Measuring tape
Step 1: Measure and mark the placement of the chair rail
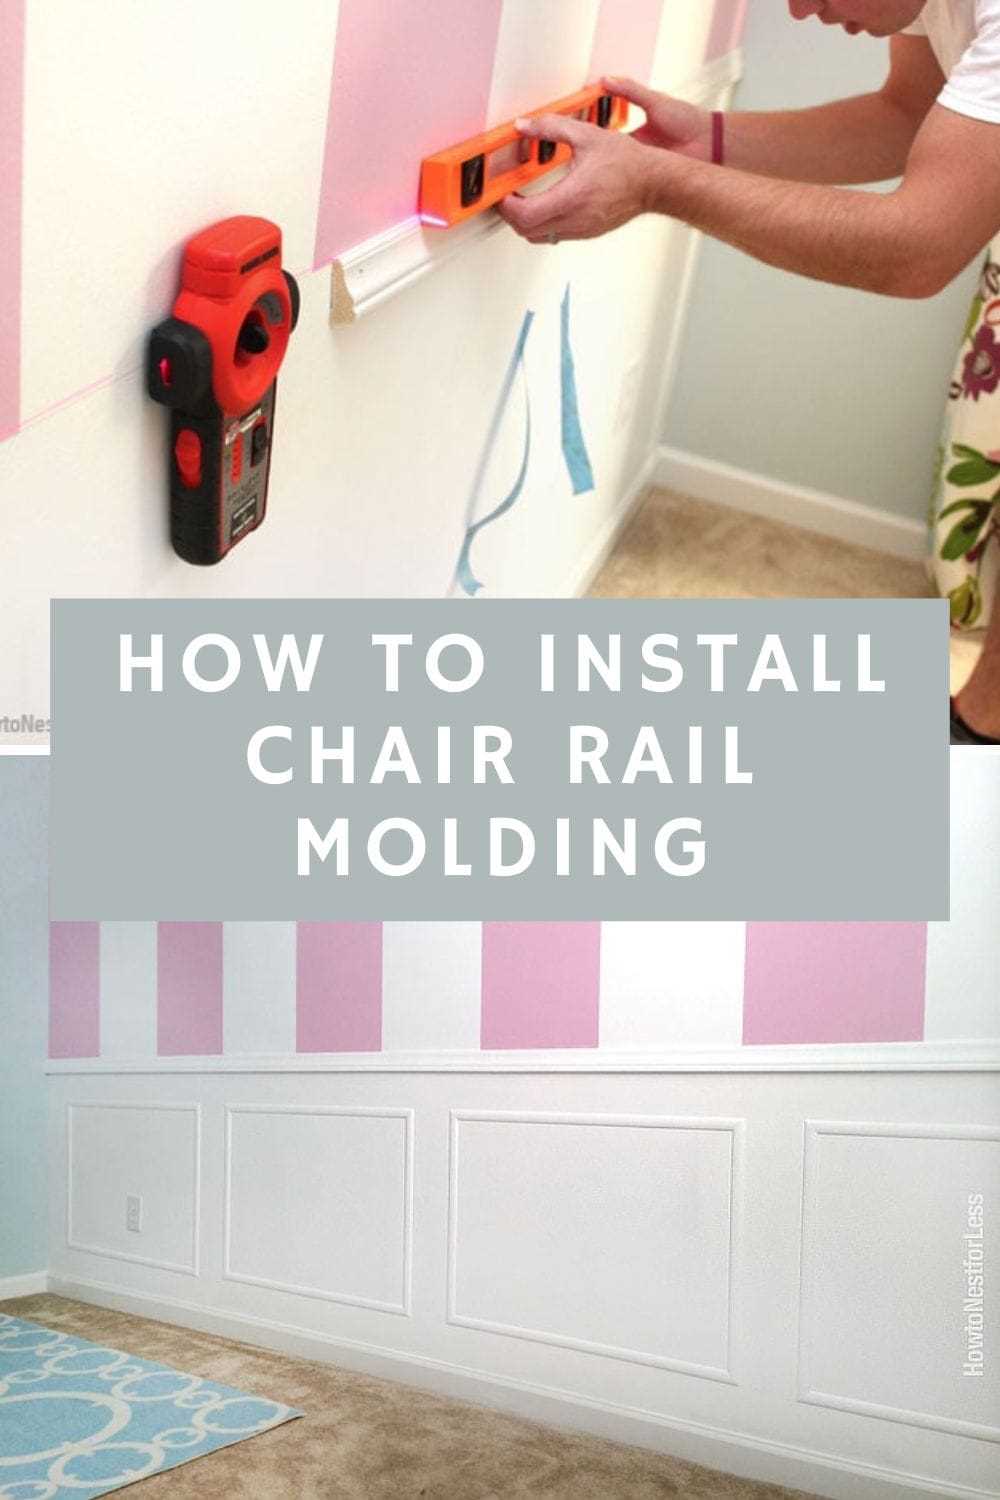
Using your measuring tape, measure the desired height for your chair rail and mark it on the wall with a pencil. Make sure to use a level to ensure that the line is straight across the wall.
Step 2: Cut the chair rail to size
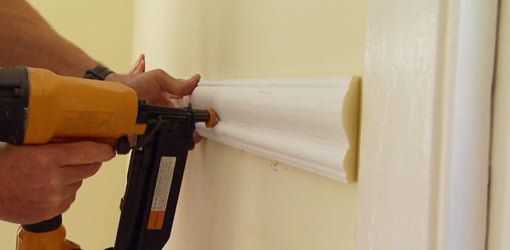
Using a miter saw or a miter box, cut the chair rail to the appropriate lengths to fit your wall. Make sure to cut the ends at a 45-degree angle for a clean and professional look.
Step 3: Apply adhesive to the back of the chair rail
Apply a thin bead of adhesive along the back of the chair rail. This will help provide extra support and prevent the chair rail from shifting once it’s installed.
Step 4: Position the chair rail on the wall
Hold the chair rail against the wall, aligning it with the pencil markings you made in step 1. Make sure it is level and centered before moving on to the next step.
Step 5: Secure the chair rail with finishing nails
Using a hammer, carefully nail the chair rail to the wall, starting from one end and working your way to the other. Make sure to place the nails evenly along the length of the chair rail, approximately every 12-16 inches.
Pro tip: To prevent the chair rail from splitting, pre-drill small holes for the finishing nails using a drill bit that is slightly smaller than the nail itself.
Step 6: Fill the nail holes
After securing the chair rail with finishing nails, use wood filler to fill in the nail holes. Allow the wood filler to dry according to the manufacturer’s instructions, and then sand it down until it is smooth and level with the chair rail.
Final thoughts: Securing the chair rail with finishing nails is a straightforward process that can be done without the use of a nail gun. By following these steps, you can achieve a professional and secure installation of your chair rail.
Applying paint or stain to the chair rail
After installing the chair rail, you will likely want to apply a finish to enhance its appearance and protect it from damage. This can be done by painting or staining the chair rail.
Materials you will need:
- Paint or stain of your choice
- Paintbrush or foam brush
- Sandpaper (if necessary)
- Drop cloth or newspaper
- Clean cloth
Steps to apply paint:
- Prepare the surface by ensuring it is clean, dry, and free of any dust or debris. If necessary, lightly sand the chair rail to create a smooth surface.
- Place a drop cloth or newspaper underneath the chair rail to protect the floor or surrounding areas from paint drips.
- Open the paint can and stir the paint thoroughly to ensure an even consistency.
- Dip the paintbrush or foam brush into the paint, ensuring you have a moderate amount on the bristles.
- Starting at one end of the chair rail, apply the paint evenly using long, smooth strokes. Work your way along the entire length, covering the surface completely.
- Allow the first coat of paint to dry completely. This may take several hours, depending on the type of paint used. Follow the manufacturer’s instructions for drying times.
- If desired, apply a second coat of paint to achieve a more opaque finish. Repeat steps 4-6.
- After the final coat is dry, inspect the chair rail for any spots that may need touching up. Use a clean, dry cloth to wipe away any excess paint or drips.
Steps to apply stain:
- Prepare the surface by ensuring it is clean, dry, and free of any dust or debris. If necessary, lightly sand the chair rail to create a smooth surface.
- Place a drop cloth or newspaper underneath the chair rail to protect the floor or surrounding areas from stain drips.
- Open the stain can and stir the stain thoroughly to ensure an even consistency.
- Dip a clean, lint-free cloth into the stain, ensuring you have a moderate amount on the cloth.
- Starting at one end of the chair rail, apply the stain evenly by rubbing the cloth along the wood grain. Work your way along the entire length, covering the surface completely.
- Allow the stain to penetrate the wood for a few minutes, and then use a clean cloth to wipe away any excess stain.
- Allow the first coat of stain to dry completely. This may take several hours, depending on the type of stain used. Follow the manufacturer’s instructions for drying times.
- If desired, apply a second coat of stain to achieve a deeper color. Repeat steps 4-6.
- After the final coat is dry, inspect the chair rail for any spots that may need touching up. Use a clean, dry cloth to wipe away any excess stain.
Note: It is important to read and follow the instructions provided by the paint or stain manufacturer for the best results. Additionally, make sure the area is well-ventilated during the painting or staining process.
FAQ
Can I install chair rail without a nail gun?
Yes, you can install chair rail without a nail gun. In fact, there are several alternative methods you can use, such as adhesive, screws, or even a staple gun.
What tools and materials do I need to install chair rail without a nail gun?
To install chair rail without a nail gun, you will need a measuring tape, a miter saw or coping saw, a level, a pencil, construction adhesive, a caulk gun, a hammer, finishing nails, a nail set, a putty knife, wood filler, sandpaper, and paint or stain to finish the chair rail.
How do I measure and cut the chair rail?
Start by measuring the length of the wall and marking the desired height for the chair rail. Use a level to ensure the line is straight. Next, measure and mark the length of the chair rail and use a miter saw or coping saw to make precise cuts at the corners. Remember to cut one end of each piece at a 45-degree angle for a mitered corner, or use a coping saw to create a clean joint.
What is the best way to attach the chair rail to the wall without a nail gun?
One of the best ways to attach the chair rail to the wall without a nail gun is to use construction adhesive. Apply a bead of adhesive along the back of the chair rail, then press it firmly against the wall. Use a level to ensure it is straight, and use a caulk gun to apply additional adhesive if needed. You can also use finishing nails and a hammer to secure the chair rail in place. Make sure to countersink the nails and fill the holes with wood filler.
How do I finish the chair rail after installing it?
After installing the chair rail, fill any nail holes or gaps with wood filler and let it dry. Sand the filled areas smooth, along with any rough edges or imperfections on the chair rail. Wipe off any dust with a damp cloth, then paint or stain the chair rail to your desired finish. Apply multiple coats if necessary, allowing each coat to dry before applying the next.
Are there any alternative methods for installing chair rail without a nail gun?
Yes, besides using adhesive and finishing nails, you can also use screws or a staple gun to install chair rail without a nail gun. If using screws, pre-drill pilot holes and then secure the chair rail using screws and a screwdriver. If using a staple gun, choose staples that are long enough to securely attach the chair rail to the wall.
Can I install chair rail without any tools?
Unfortunately, you will need some basic tools to install chair rail, such as a measuring tape, a miter saw or coping saw, a level, a pencil, a caulk gun, a hammer, and finishing nails. However, there are alternative methods that can be used without a nail gun, such as adhesive or screws, which require minimal tools.
Video


