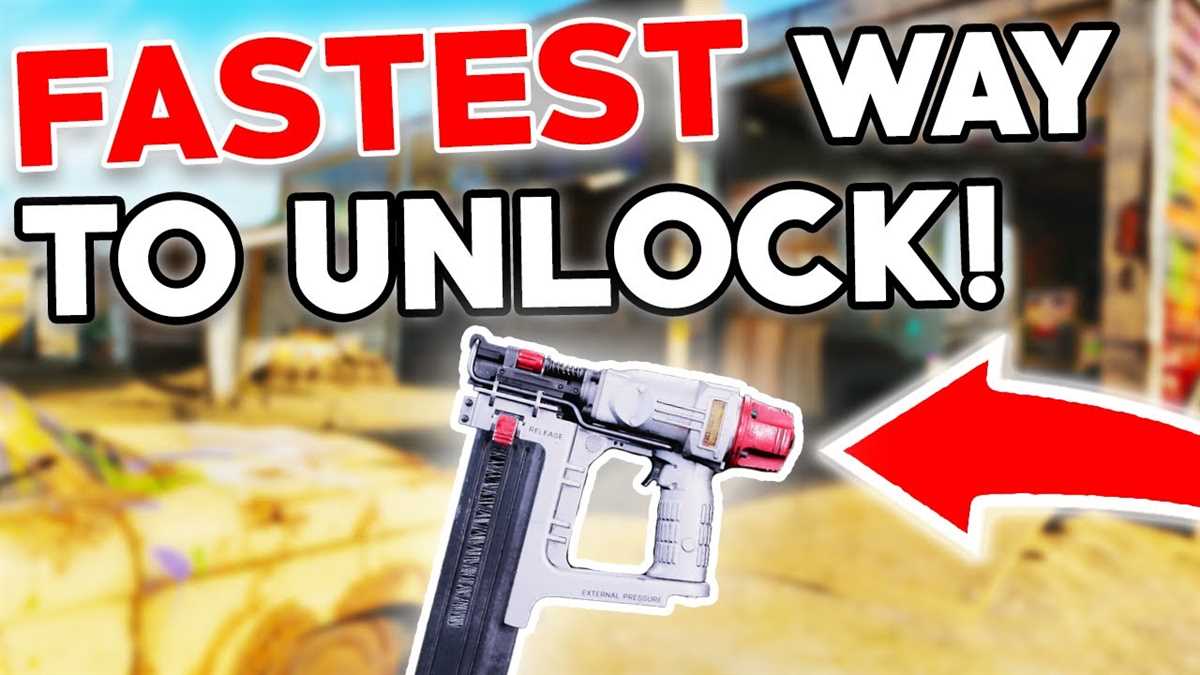
Simple Steps to Unlock Your Nail Gun | Nail Gun Unlocking Guide

Unlocking your nail gun may seem like a daunting task, but with a few simple steps, you can have it up and running in no time. Whether you’re a professional contractor or a DIY enthusiast, knowing how to unlock your nail gun is essential for getting your projects done efficiently and effectively.
Step 1: Familiarize yourself with the nail gun
Before attempting to unlock your nail gun, it’s important to understand its different parts and functions. Take a moment to read the user manual and identify the safety features, such as the trigger lock or depth adjustment. This will prevent accidents and help you use the nail gun properly.
Pro tip: If you’re unsure about any features or functions, reach out to the manufacturer or consult an expert.
Step 2: Check for any obstructions or jammed nails

If your nail gun is not firing or seems to be locked, the first thing to check for is any obstructions or jammed nails. Remove the magazine or the nail strip carefully and inspect for any debris or nails that may be blocking the mechanism. Use a pair of needle-nose pliers or a similar tool to safely remove the obstruction.
Pro tip: Always disconnect the nail gun from the power source before attempting any troubleshooting or maintenance.
Step 3: Unlock the safety features
Most nail guns come equipped with safety features, such as a trigger lock, to prevent accidental firing. To unlock the safety features, locate the lock mechanism, usually located near the trigger, and follow the manufacturer’s instructions to disengage it. This will allow you to operate the nail gun normally.
Pro tip: If you’re unsure about the unlock procedure, consult the user manual or contact the manufacturer for assistance.

By following these simple steps, you can quickly unlock your nail gun and continue with your project. Remember to always prioritize safety and consult the user manual for specific instructions regarding your nail gun model. Happy nailing!
Unlock Your Nail Gun: A Step-by-Step Guide
Gather the necessary tools and materials
Before you begin, make sure you have the following items:
- Nail gun
- Safety glasses
- Screwdriver
- Allen wrench
Inspect the nail gun
Before attempting to unlock your nail gun, it’s important to inspect it for any signs of damage or wear. Check the power source, trigger, and other components to ensure everything is in good working condition.
Disconnect the power source

For safety reasons, it’s crucial that you disconnect the power source from your nail gun before attempting to unlock it. This could involve removing the battery or unplugging the cord, depending on the type of nail gun you are using.
Identify the unlocking mechanism
Each nail gun model may have a different unlocking mechanism. Consult the user manual or do some research to determine how your specific nail gun can be unlocked.
Use a screwdriver or Allen wrench
Once you’ve identified the unlocking mechanism, use the appropriate tool, such as a screwdriver or Allen wrench, to unlock your nail gun. This may involve loosening screws, adjusting settings, or releasing a latch.
Test the nail gun
After unlocking your nail gun, it’s important to test it before using it. Load a few nails into the magazine or chamber, connect the power source, and attempt to fire the nail gun in a safe area.

Seek professional assistance if needed
If you encounter any difficulties or if your nail gun remains locked after following these steps, it’s recommended to seek professional assistance. They have the expertise and tools necessary to safely unlock the nail gun.
Maintain your nail gun
Regular maintenance is key to keeping your nail gun in good working condition. This includes cleaning, lubricating, and inspecting the nail gun on a regular basis. Refer to the user manual for specific maintenance instructions.
Conclusion
By following these simple steps, you can safely unlock your nail gun and get back to your projects. Remember to always prioritize safety and to consult the user manual or seek professional assistance if needed.
Step 1: Gather Necessary Tools
Before starting the unlocking process of your nail gun, it is essential to gather all the necessary tools. Having these tools within reach will ensure a smooth and effective unlocking process. Here are the tools you will need:

- A screwdriver set – This will be used to disassemble the nail gun if needed.
- Needle-nose pliers – These pliers will help in removing any stuck nails or debris from the nail gun.
- Hammer – It can be used to gently tap on the nail gun for troubleshooting purposes.
- Safety glasses – Wearing safety glasses will protect your eyes from any flying debris while disassembling or unlocking the nail gun.
- Owner’s manual – It is always helpful to have the owner’s manual handy for reference purposes.
Make sure you have all these tools organized and readily available before proceeding to the next step.
Step 2: Disconnect the Gun from Power Source
In order to safely unlock your nail gun, it is important to disconnect it from the power source. This will prevent any accidental firing and potential injuries.
Follow these steps to disconnect the gun from the power source:
- Locate the power cord or battery pack of your nail gun.
- If your nail gun is corded, unplug it from the power outlet.
- If your nail gun is battery-operated, remove the battery pack according to the manufacturer’s instructions.
By disconnecting the gun from the power source, you will ensure that it is completely safe to proceed with unlocking it.
Step 3: Remove Nails from Magazine
Once you have successfully unlocked your nail gun, the next step is to remove any nails that may be present in the magazine. This is an important step to ensure the safety and proper functioning of your nail gun.
Follow these simple steps to remove nails from the magazine:
- First, make sure that the nail gun is switched off and disconnected from any power source.
- Locate the magazine on your nail gun. The magazine is the part of the nail gun that holds the nails in place.
- Using your fingers or a small tool, carefully push the nails out of the magazine one by one. Be cautious not to damage the nails or the magazine while doing this.
- If you encounter any jammed nails or debris in the magazine, you may need to use a pair of needle-nose pliers or a flathead screwdriver to carefully remove them.
- Once all the nails have been removed from the magazine, visually inspect the magazine for any remaining nails or debris. Clean the magazine if necessary.
Caution: Always exercise caution when removing nails from the magazine to avoid any accidental injuries. Make sure to wear appropriate safety gloves and eyewear.
By following these simple steps, you can safely and effectively remove nails from the magazine of your nail gun. This will ensure that your nail gun is ready for the next use and will help prolong its lifespan.
Step 4: Check for Jammed Nails
One common issue that can occur with nail guns is jammed nails. If your nail gun is not firing properly or is making unusual sounds, there may be a jammed nail causing the problem. Follow these steps to check for and clear any jammed nails:
- Disconnect the nail gun from the power source and remove any remaining nails from the magazine.
- Inspect the nail gun for any visible jammed nails. Look for nails that are stuck or misaligned.
- If you see a jammed nail, carefully use a pair of pliers or a nail punch to remove it. Be sure to wear protective gloves to avoid injury.
- Once the jammed nail is removed, reassemble the nail gun and test it by firing a few nails into a scrap piece of wood.
- If the nail gun is still not firing properly, there may be another jammed nail or a different issue. Consider consulting the manufacturer’s manual or contacting customer support for further assistance.
Regularly checking for and clearing any jammed nails will help keep your nail gun in good working condition and prevent accidents or damage.
Step 5: Clear the Jam
If you encounter a jam in your nail gun, it’s important to clear it before continuing to use the tool. Here are the steps to clear a jam:
- Disconnect the nail gun from the power source to prevent accidental firing.
- Check the magazine to see if any nails are stuck or misaligned. Remove any obstructions or debris that may be causing the jam.
- Open the magazine and carefully remove the nails. Ensure that the magazine is completely empty before proceeding.
- Inspect the tip of the nail gun for any stuck nails. Use a pair of pliers or a small tool to gently remove the jammed nail.
- Once the jammed nail has been removed, close the magazine and reload it with the appropriate nails.
- Reconnect the nail gun to the power source and test it to ensure that it is working properly.
Remember to always follow the manufacturer’s instructions when clearing a jam in your specific nail gun model. It’s also important to wear protective gloves and safety goggles while performing this task to prevent any potential accidents.
Step 6: Test the Trigger
Once you have successfully unlocked your nail gun, it is important to test the trigger to ensure that it is functioning properly. Follow these steps:
- Make sure the nail gun is in a safe and clear area, away from any objects that could be damaged.
- Load a few nails into the nail gun’s magazine to prepare it for testing.
- Hold the nail gun with both hands, ensuring a firm grip.
- Position the nail gun against the surface you want to nail, making sure to aim away from any body parts or other people.
- Press the trigger slowly and steadily.
- Observe the nail gun’s response – it should fire a nail into the surface with a smooth and consistent motion.
- Repeat the process several times to ensure that the trigger is working properly and consistently.
If you notice any irregularities or issues with the trigger, such as jamming or misfiring, it is important to address them before using the nail gun for any projects. Refer to the manufacturer’s instructions or consult with a professional if you need assistance troubleshooting the trigger.
Step 7: Lubricate Moving Parts

The next step in unlocking your nail gun is to lubricate the moving parts. This will help ensure smooth operation and prevent unnecessary wear and tear on the tool.
Here are the steps to lubricate the moving parts of your nail gun:
- Disconnect the nail gun from its power source or remove the battery.
- Inspect the moving parts of the nail gun, such as the magazine, piston, and trigger mechanism. Look for any signs of dirt, debris, or rust.
- Clean the moving parts using a soft cloth or brush. Remove any dirt or debris that may have accumulated.
- Apply a small amount of lubricating oil to the moving parts. Use a lightweight oil specifically designed for power tools. Be careful not to overapply the oil, as this can cause dripping or excess lubrication.
- Operate the nail gun a few times to distribute the oil and ensure smooth movement of the parts.
Note: It’s important to follow the manufacturer’s instructions for lubricating your specific nail gun model. Some models may require different types of lubricants or additional steps.
By regularly lubricating the moving parts of your nail gun, you can prolong its lifespan and maintain its performance. This simple maintenance step can help prevent jams, misfires, and other issues that can occur with a poorly maintained tool.
Step 8: Reassemble the Nail Gun
Once you have successfully unlocked your nail gun, it’s time to reassemble all the parts. Follow these steps to put everything back together:
- Start by placing the safety mechanism back into its original position. Make sure it is securely in place before moving on to the next step.
- Take the magazine and align it with the nail chamber. Insert it carefully, making sure it is properly aligned and securely attached.
- Next, reattach the nosepiece to the main body of the nail gun. Line up the screw holes and use a screwdriver to secure them in place.
- Now, grab the battery pack or air hose, depending on the type of nail gun you have. Connect it to the designated port on the nail gun. Make sure it is firmly connected and there are no leaks.
- With the nail gun fully reassembled, test it out by firing a few nails into a scrap piece of wood or other suitable material. This will ensure that everything is working properly and securely.
Note: If you encounter any issues during the reassembly process, refer back to the manufacturer’s instructions or seek professional assistance.
Congratulations! You have successfully reassembled your nail gun after unlocking it. Now you are ready to get back to your project and continue nailing with ease.
FAQ
What is a nail gun?
A nail gun is a tool used in construction and woodworking to drive nails quickly and efficiently into various materials.
How does a nail gun work?
A nail gun works by using compressed air or an electric motor to generate force, which drives the nail into the material. The nail gun has a magazine that holds the nails and a trigger that activates the driving mechanism.
Why would I need to unlock my nail gun?
You may need to unlock your nail gun if it gets jammed or if you need to remove a nail that has become stuck. Unlocking the nail gun allows you to access the internal components and fix the issue.
What tools do I need to unlock a nail gun?
The tools you may need to unlock a nail gun include a screwdriver, pliers, and a nail punch or a small thin rod.
Are there any safety precautions I should take when unlocking a nail gun?
Yes, when unlocking a nail gun, you should always wear safety goggles and gloves to protect yourself from flying debris. Additionally, make sure the nail gun is disconnected from any power source or air supply to prevent accidental firing. Always follow the manufacturer’s instructions and guidelines.
Video


Meet Harrison Clayton, a distinguished author and home remodeling enthusiast whose expertise in the realm of renovation is second to none. With a passion for transforming houses into inviting homes, Harrison's writing at https://thehuts-eastbourne.co.uk/ brings a breath of fresh inspiration to the world of home improvement. Whether you're looking to revamp a small corner of your abode or embark on a complete home transformation, Harrison's articles provide the essential expertise and creative flair to turn your visions into reality. So, dive into the captivating world of home remodeling with Harrison Clayton and unlock the full potential of your living space with every word he writes.