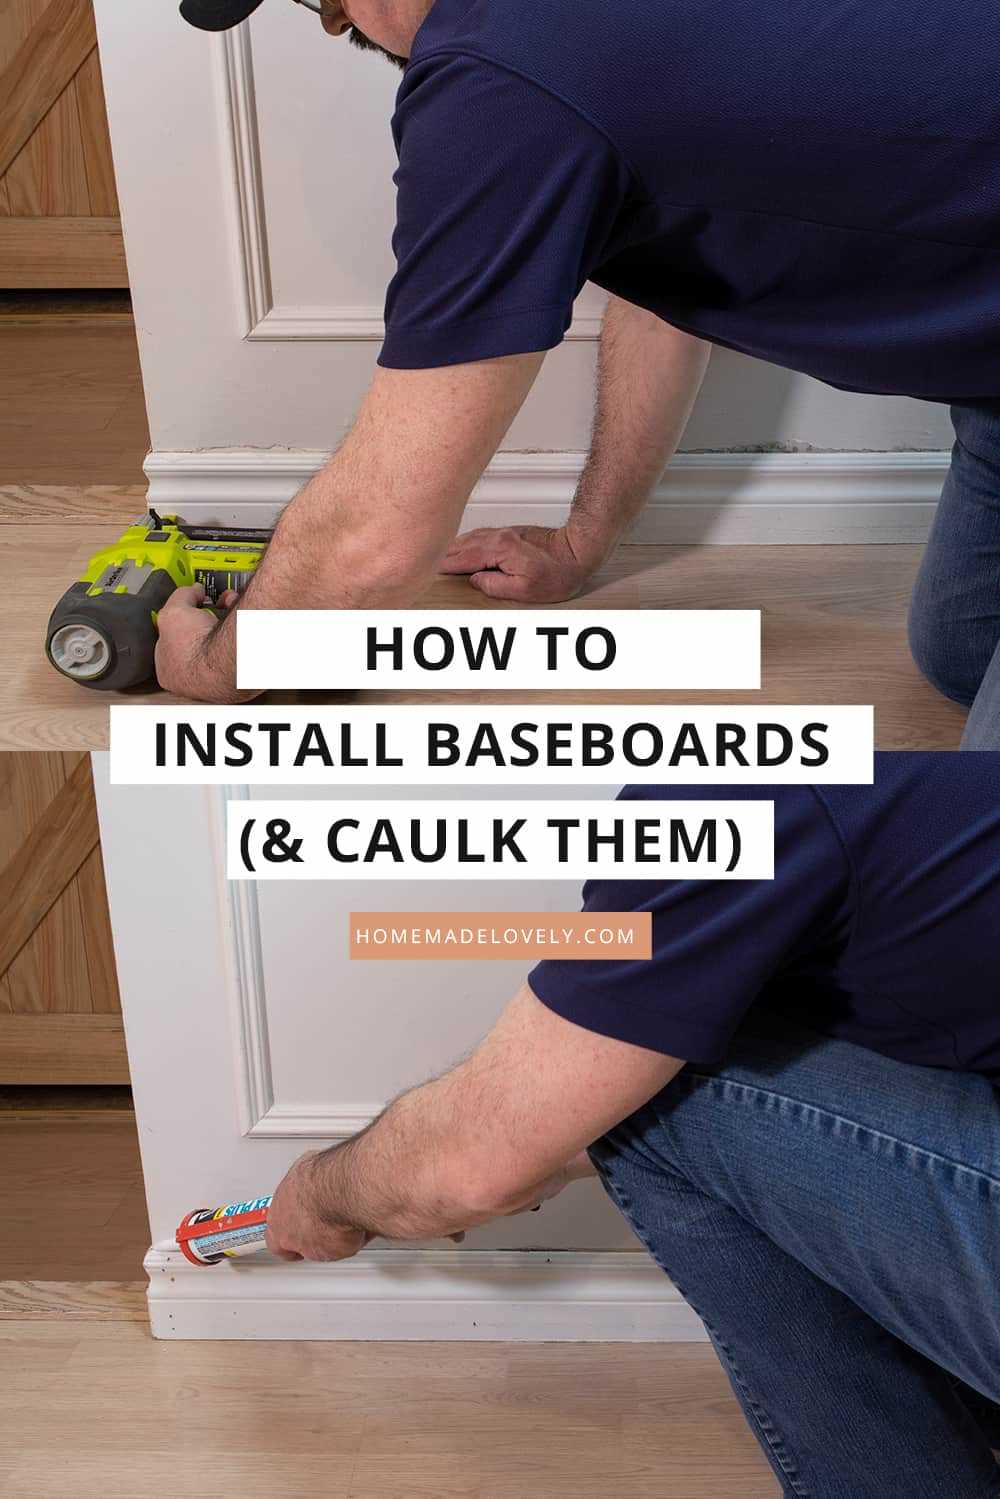
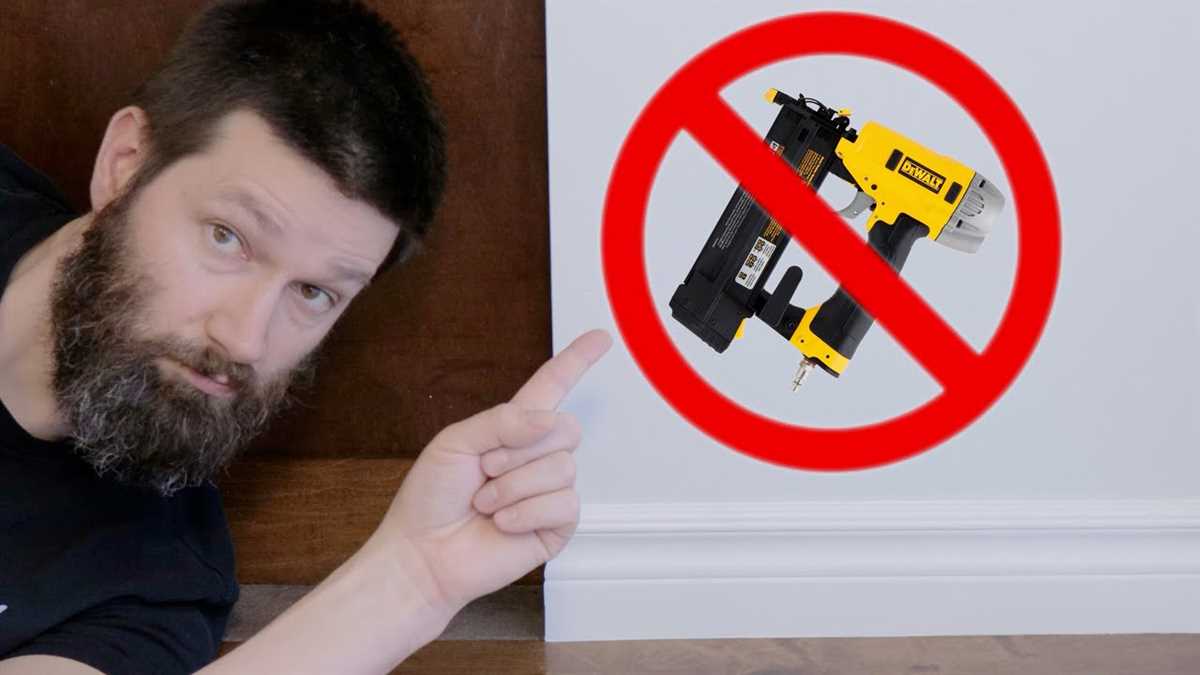
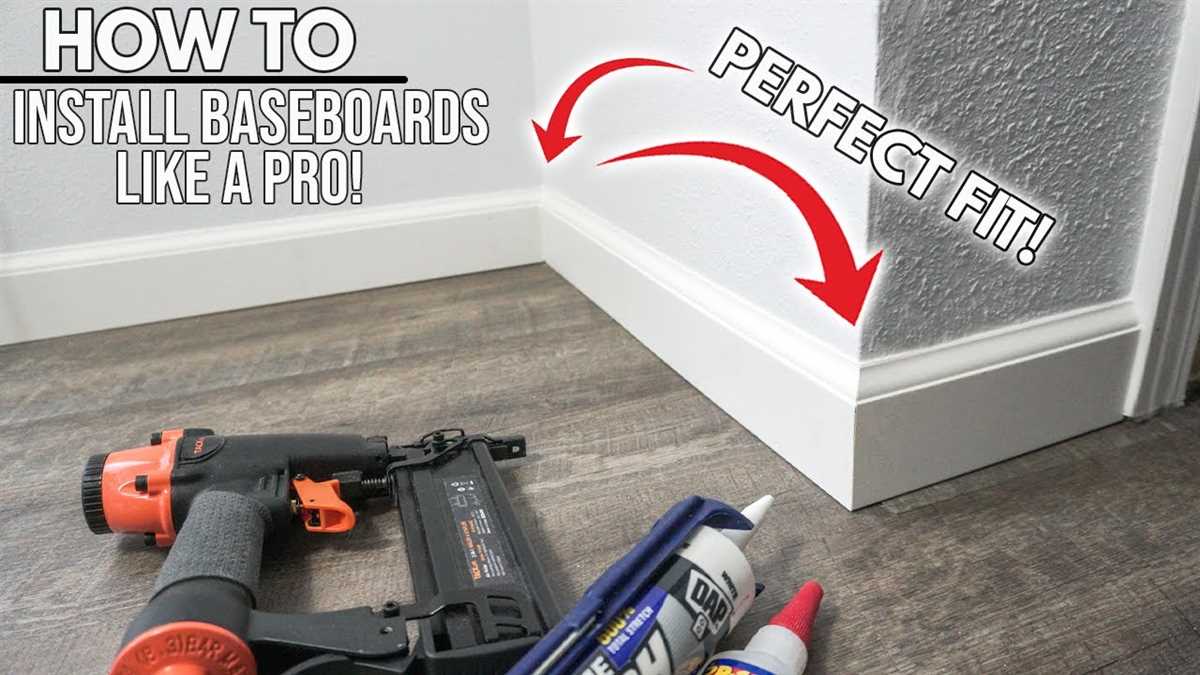
Simple Steps for Installing Baseboards Without a Nail Gun

Installing baseboards can be a daunting task, especially if you don’t have access to a nail gun. However, with some basic tools and a little bit of patience, you can achieve professional-looking results without the need for expensive equipment. In this article, we will outline a step-by-step guide on how to install baseboards without a nail gun.
Step 1: Gather the necessary tools
Before you begin, make sure you have all the tools you’ll need for the installation. These include a measuring tape, a miter saw or a coping saw, a hammer, a nail set, a putty knife, construction adhesive, and finishing nails. Having these tools handy will make the installation process much easier.
Step 2: Measure and cut the baseboards
Measure the length of each wall where the baseboards will be installed, and mark the measurements on the baseboard stock. Use a miter saw or a coping saw to cut the baseboards at 45-degree angles at the corners. Make sure to cut the baseboards slightly longer than the measurements to allow for any mistakes or adjustments during the installation process.

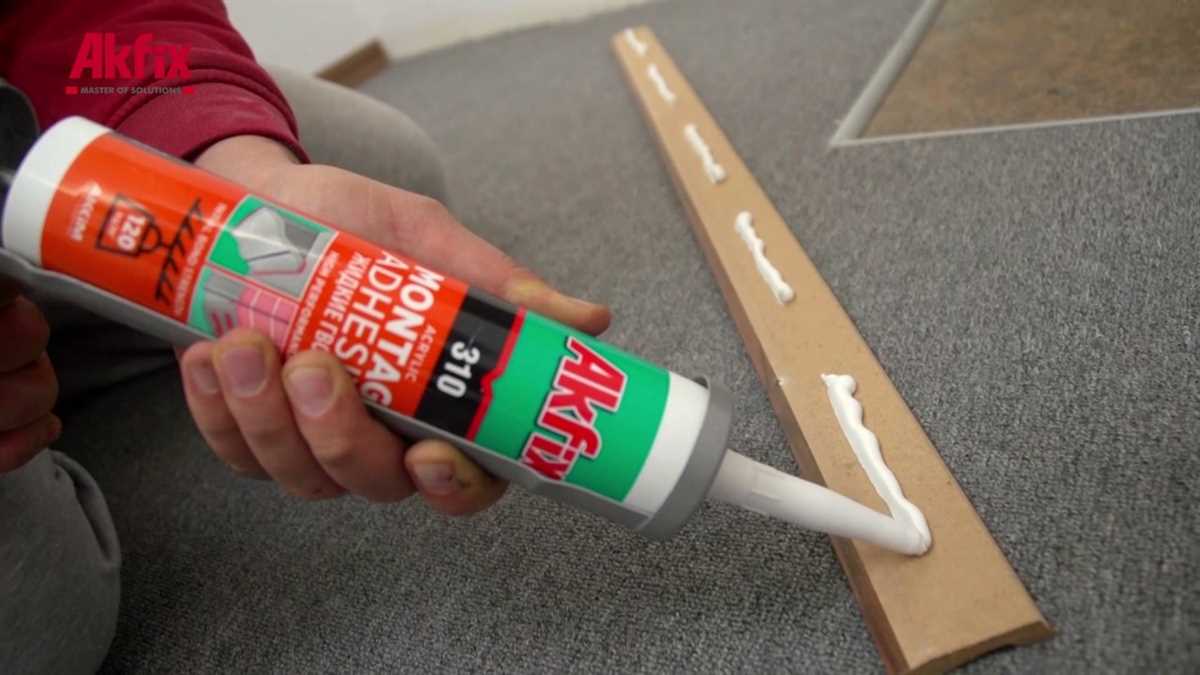
Step 3: Apply construction adhesive
Apply a generous amount of construction adhesive to the back of each baseboard, making sure to cover the entire surface. This will help ensure a strong and secure bond between the baseboards and the wall.
Step 4: Install the baseboards
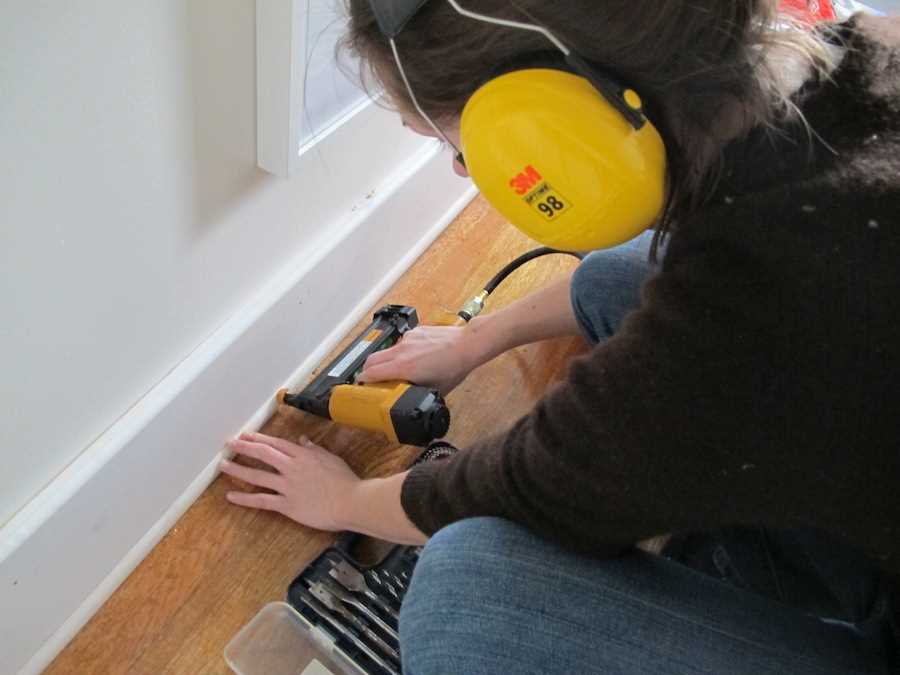
Press the baseboards firmly against the wall, making sure they are flush with both the floor and the wall. Use a hammer and a nail set to drive finishing nails through the baseboards and into the wall. Make sure to countersink the nails by tapping them slightly below the surface of the baseboard with the nail set. Repeat this process for each baseboard, making sure to check for levelness and alignment as you go.
Step 5: Fill in the nail holes

Once all the baseboards are installed, use a putty knife to fill in the nail holes with wood filler or caulk. Smooth out the filler or caulk with the putty knife, and let it dry completely. Once dry, sand any rough patches and touch up the filled holes with paint or stain to match the baseboard color.
Step 6: Enjoy your newly installed baseboards
After the putty or caulk has dried and any necessary touch-ups have been made, step back and admire your newly installed baseboards. They will not only add a finishing touch to your walls but also provide protection to the bottom edges of your walls from wear and tear.
Remember, installing baseboards without a nail gun may take a little more time and effort, but it is definitely achievable with the right tools and techniques. Just follow these simple steps, and you’ll have beautiful baseboards that will enhance the look of any room in your home.
Step-by-Step Guide to Installing Baseboards Without a Nail Gun
Step 1: Measure and Cut the Baseboards
Start by measuring the length of the wall where you will be installing the baseboards. Use a tape measure to get an accurate measurement, and then transfer that measurement to the baseboard. Use a miter saw to cut the baseboard to the correct length.

Step 2: Sand the Cut Edges
After cutting the baseboards, use sandpaper to smooth out the cut edges. This will ensure a clean and seamless look once the baseboards are installed.
Step 3: Apply Adhesive
Using a caulk gun, apply construction adhesive to the back of the baseboard. Apply the adhesive in a zig-zag pattern to ensure even coverage and a strong bond.
Step 4: Position the Baseboard
Hold the baseboard against the wall, lining up the top edge with the reference line you made earlier. Make sure the baseboard is level and plumb before proceeding.
Step 5: Secure the Baseboard
Using finishing nails, carefully drive them through the baseboard and into the wall. Place nails about every 16 inches along the length of the baseboard. Make sure the nails are countersunk so they can be covered with wood putty later.

Step 6: Fill Nail Holes
Once the baseboards are securely in place, use wood putty to fill in the nail holes. Smooth the putty with a putty knife and allow it to dry.
Step 7: Sand and Paint
After the wood putty has dried, sand it down until it is flush with the baseboard. Wipe away any dust and then paint the baseboards to match your desired finish.
Step 8: Clean Up

Finally, remove any excess adhesive or paint from the baseboards and clean up the work area. Enjoy your newly installed baseboards!
Gather the Necessary Tools

Before you can begin installing baseboards without a nail gun, you will need to gather a few necessary tools. These tools will help you achieve a professional-looking installation and make the process much easier.
Here are the tools you will need:
- A miter saw or a miter box and a hand saw
- A measuring tape or a ruler
- A pencil
- A coping saw
- A utility knife
- A caulk gun
- A hammer
- Wood glue
- Finishing nails
- A level
- Sandpaper or a sanding block
- A putty knife
- Painter’s tape
- Paint or stain (if desired)
Having all of these tools on hand before you start will ensure that you have everything you need to complete the installation without any interruptions. It’s also a good idea to wear safety glasses and gloves to protect yourself while working with these tools.
Measure and Mark the Wall
Before installing your baseboards, it is important to accurately measure and mark the wall to ensure proper placement. Here are the steps to follow:
- Start by measuring the length of each wall where the baseboards will be installed.
- Use a pencil to mark the desired height of the baseboards on the wall. The standard height is usually around 3-4 inches from the floor, but you can adjust this based on personal preference.
- Next, measure and mark the location of any obstructions such as doors, windows, or outlets that may affect the installation of the baseboards.
- If you are installing baseboards in multiple rooms, make sure to mark each wall with a letter or number to indicate the specific room or area.
- Once you have marked the walls, use a level or a straightedge to connect the marks and create a straight line along each wall. This will serve as a guide for the installation.
By measuring and marking the wall beforehand, you can ensure that your baseboards are installed accurately and evenly throughout the room.
Cut the Baseboards
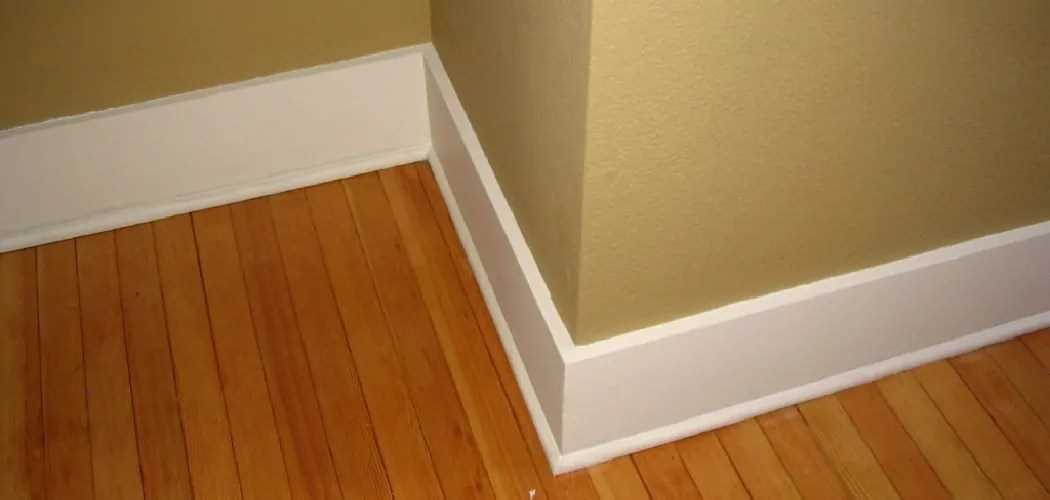
Before installing the baseboards, you will need to measure and cut them to the appropriate lengths. Follow these steps to cut the baseboards:
- Measure the length of the area where you will install the baseboards. Use a tape measure to accurately measure from one end of the wall to the other.
- Transfer the measurements to the baseboard. Use a pencil to mark the measurements directly on the baseboard. Double-check your measurements to ensure accuracy.
- Set up a miter saw or a chop saw with a fine-tooth blade appropriate for cutting wood.
- Place the baseboard on the saw. Make sure the marked measurement aligns with the cutting line on the saw.
- Secure the baseboard firmly against the saw’s fence or backstop to ensure a straight cut.
- Activate the saw and slowly lower the blade onto the baseboard. Push the baseboard through the saw in a steady motion.
- Repeat the cutting process for each baseboard piece needed.
Once you have cut all the baseboards to the appropriate lengths, you are ready to move on to the next step in the installation process.
Apply Adhesive
Before installing the baseboards, it is important to apply adhesive to ensure a strong bond between the baseboards and the wall. Using adhesive will also eliminate the need for nails or screws, making the installation process easier and faster.
Here are the simple steps to apply adhesive:
- Clean the wall: Start by cleaning the wall surface where the baseboards will be installed. Use a damp cloth to remove any dust, dirt, or debris. This will help the adhesive to bond better with the wall surface.
- Prepare the adhesive: Follow the instructions on the adhesive product to prepare it for use. Some adhesives may require mixing or a specific application method. Make sure to read the manufacturer’s instructions carefully.
- Apply the adhesive: Using a caulk gun or a putty knife, apply the adhesive along the back of the baseboard. Apply a continuous bead of adhesive along the entire length of the baseboard.
- Press the baseboard into place: After applying the adhesive, press the baseboard firmly against the wall. Make sure to align the baseboard with the marked guidelines or pencil marks that you made earlier.
- Secure the baseboard: To ensure a strong bond, you can use painter’s tape or clamps to temporarily hold the baseboard in place while the adhesive cures. This will prevent the baseboard from shifting or falling off before the adhesive sets.
- Repeat the process: Continue applying adhesive, pressing the baseboard into place, and securing it with tape or clamps until all the baseboards are installed.
It is important to follow the manufacturer’s instructions for the specific adhesive product you are using. Allow the adhesive to cure for the recommended amount of time before removing any tape or clamps and before painting or caulking the baseboards.
Position the Baseboards
Before starting the installation process, make sure the walls and the area where the baseboards will be installed are clean and free of any debris or dust.
Begin by measuring the length of each wall where the baseboards will be installed. Cut the baseboards to the correct size using a miter saw or a handsaw.
Next, place the baseboards along the walls, starting at one corner of the room. Use a level to ensure the baseboards are straight and even. Adjust the position of the baseboards if necessary.
As you position the baseboards, make sure to leave a small gap between the bottom of the baseboard and the floor. This gap allows for expansion and contraction of the wood and prevents the baseboards from warping or buckling over time.
If you are installing baseboards in a room with existing flooring, you may need to use a small piece of scrap wood as a spacer to maintain the proper gap between the baseboards and the flooring.
Continue positioning the baseboards along the walls until you have completed one wall. Move on to the next wall, making sure each baseboard is straight and aligned properly. Repeat this process for each wall in the room.
Before permanently attaching the baseboards to the walls, it’s a good idea to check the positioning one last time and make any necessary adjustments. Once you are satisfied with the placement, you can proceed to the next step of the installation process.
Secure with Screws
If you don’t have a nail gun, another option for installing baseboards is to secure them with screws. This method requires a bit more effort, but it can be just as effective as using nails.
Here is a step-by-step guide on how to secure baseboards with screws:
- Measure and cut the baseboards to the appropriate length for each wall.
- Hold the baseboard against the wall to determine where you need to screw it in.
- Use a pencil or marker to mark the screw hole locations on the baseboard.
- Pre-drill pilot holes at each marked location. Make sure the pilot holes are slightly smaller in diameter than the screws you plan to use.
- Place the baseboard back against the wall and align the pilot holes with the marked locations.
- Using a screwdriver or power drill with a screw bit, insert screws through the pilot holes and into the wall. Make sure to drive the screws in securely, but be careful not to overtighten and damage the baseboard.
- Continue this process for all the baseboards you need to install.
Tips:
- Consider using countersunk screws, which can be easily concealed with wood filler for a more finished look.
- Use screws that are long enough to securely attach the baseboard to the wall, but be careful not to use ones that are too long and will cause the baseboard to split.
- Work slowly and carefully to ensure that the baseboards are installed straight and flush against the wall.
- After securing the baseboards with screws, fill any holes or gaps with wood filler, sand the surface, and apply paint or stain for a professional finish.
Fill Nail Holes and Sand
Once you have installed the baseboards, you will need to fill in any nail holes and sand the surface to create a smooth finish. Here are the steps you can follow:
- Clean the surface: Before filling the nail holes, make sure to clean the baseboards using a damp cloth or sponge to remove any dust or debris.
- Choose the right filler: Select a wood filler that matches the color of your baseboards. You can find wood fillers in various shades and choose the one that closely matches the color of the baseboard.
- Apply the filler: Take a small amount of wood filler on your finger or a putty knife and press it into the nail holes. Make sure to overfill the holes slightly to account for any shrinkage that may occur as the filler dries.
- Smooth the surface: Use a putty knife to scrape off any excess filler and create a smooth surface. Wipe off any excess filler using a damp cloth or sponge.
- Let it dry: Allow the wood filler to dry completely according to the manufacturer’s instructions. This may take a few hours or overnight, depending on the product.
- Sand the surface: After the filler has dried, use sandpaper or a sanding block to smooth out the filled nail holes and the entire surface of the baseboards. Sand in a circular motion to achieve an even finish.
- Clean the surface again: Once you have finished sanding, clean the baseboards again to remove any dust or residue. You can use a cloth or vacuum cleaner for this purpose.
Following these steps will ensure that your baseboards have a professional-looking finish, free from any visible nail holes. With a little bit of time and effort, you can achieve a seamless look that will enhance the overall appearance of your room.
Paint or Stain the Baseboards
Before installing the baseboards, you should decide whether you want to paint or stain them. Both options have their advantages and can enhance the overall aesthetic of your space.
If you choose to paint the baseboards, make sure to select a high-quality paint that is compatible with the material of your baseboards. Consider the color scheme of the room and choose a paint color that will complement the other elements in the space. You may need to prime the baseboards before applying the paint to ensure proper adhesion and a smooth finish.
If you decide to stain the baseboards, you can highlight the natural beauty of the wood. Staining allows the grain of the wood to show through, giving the baseboards a more rustic and traditional look. Before applying the stain, make sure to sand the baseboards to remove any rough areas and create a smooth surface. Apply the stain evenly and allow it to dry completely before installing the baseboards.
Whichever option you choose, make sure to protect the surrounding surfaces from any paint or stain drips. Lay down drop cloths or use painter’s tape to cover adjacent walls and floors. This will make the installation process cleaner and easier.
Once you have painted or stained the baseboards, allow them to dry completely before installing. This will help prevent any smudges or damage to the finish during installation.
FAQ
What tools do I need to install baseboards without a nail gun?
To install baseboards without a nail gun, you will need a measuring tape, a miter saw, a coping saw, a hammer, finishing nails, a nail set, a putty knife, a mallet, a caulk gun, and wood glue.
Can I install baseboards without using nails?
Yes, you can install baseboards without using nails. Instead of nails, you can use wood glue and finishing nails. The wood glue will provide the main strength, while the finishing nails will hold the baseboards in place until the glue dries.
What is the purpose of using a coping saw while installing baseboards?
A coping saw is used to create cope joints, which help the baseboards fit seamlessly around inside corners. By cutting away the backside of the baseboard, the cope joint allows the two baseboards to overlap, resulting in a professional-looking finish.
What can I do if the baseboards are slightly longer than the wall?
If the baseboards are slightly longer than the wall, you can use a miter saw to trim them to the correct length. Simply measure the desired length, mark the baseboard, and carefully cut it using the miter saw. This will ensure a perfect fit and a clean finish.
How can I make sure the baseboards are securely attached?
To ensure the baseboards are securely attached, you can use a mallet to gently tap them into place. Additionally, you can use a nail set to countersink the finishing nails below the surface of the baseboard. After the baseboards are installed, you can fill in any nail holes with wood putty for a seamless look.
Video


Harrison Clayton
Meet Harrison Clayton, a distinguished author and home remodeling enthusiast whose expertise in the realm of renovation is second to none. With a passion for transforming houses into inviting homes, Harrison's writing at https://thehuts-eastbourne.co.uk/ brings a breath of fresh inspiration to the world of home improvement. Whether you're looking to revamp a small corner of your abode or embark on a complete home transformation, Harrison's articles provide the essential expertise and creative flair to turn your visions into reality. So, dive into the captivating world of home remodeling with Harrison Clayton and unlock the full potential of your living space with every word he writes.