Learn How to Install Shiplap Without a Nail Gun | Step-by-Step Guide

If you’ve always admired the look of shiplap walls but don’t have a nail gun, don’t worry – you can still achieve the same stunning result! In this step-by-step guide, we’ll show you how to install shiplap without a nail gun. Whether you’re looking to add some character to a room or want to create a cozy coastal vibe, shiplap is a popular choice for many homeowners. And with the right tools and techniques, you can easily achieve this look without the need for a nail gun.
Step 1: Prepare the Wall
Before installing shiplap, it’s important to prepare the wall properly. Start by removing any existing trim or baseboards. If there are any imperfections in the wall, such as holes or cracks, patch them up using spackle or joint compound. Sand the wall to create a smooth surface for the shiplap.
Step 2: Measure and Cut the Shiplap
Next, measure the height and width of the wall to determine the size of the shiplap boards you’ll need. Using a miter saw, cut the shiplap boards to the desired length. Make sure to wear safety goggles and follow the manufacturer’s instructions for operating the saw.

Step 3: Apply Adhesive
To secure the shiplap boards to the wall without a nail gun, you’ll need to use an adhesive. Apply a generous amount of construction adhesive to the back of each board, making sure to cover the entire surface. This will help ensure a strong bond between the shiplap and the wall.
Step 4: Install the Shiplap
Starting at the bottom, position the first shiplap board on the wall and press it firmly into place. Use a level to ensure it is straight. Repeat this process for the remaining boards, making sure to leave a small gap between each one for expansion. If necessary, use shims to keep the boards level.
Step 5: Finishing Touches

Once all the shiplap boards are installed, fill any gaps or seams with wood filler and sand them smooth. You can then paint or stain the shiplap to achieve the desired look. Add trim or baseboards back to complete the finished look.
With these simple steps, you can easily install shiplap without a nail gun and transform any room in your home. Get ready to enjoy the timeless beauty and charm of shiplap walls!
What is Shiplap?
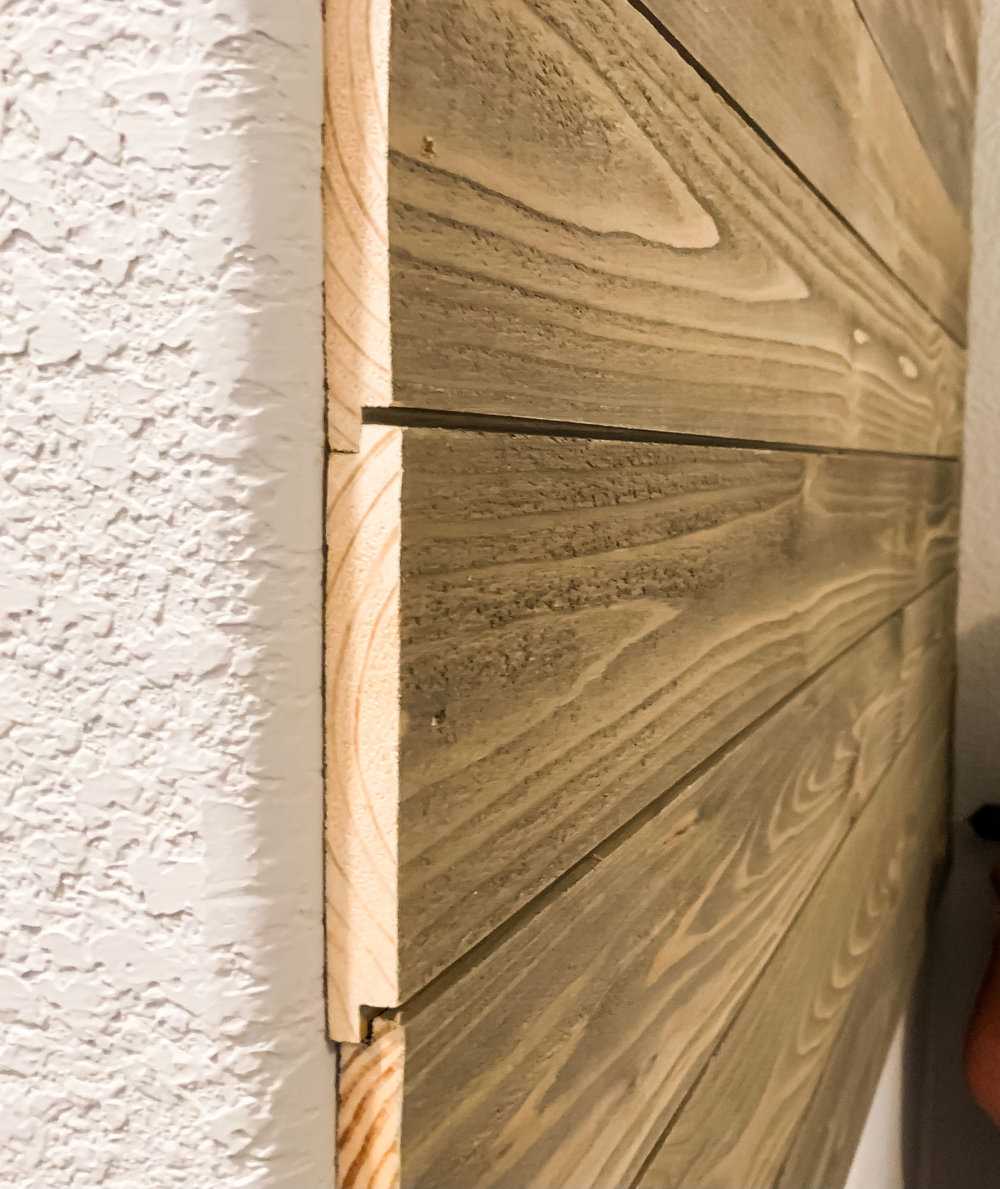
Shiplap is a type of wooden board commonly used as interior wall paneling. It is characterized by its distinctive design, with long, overlapping horizontal boards that fit together tightly.
The name “shiplap” is derived from its historical use in shipbuilding, where the boards were used to create a watertight seal. Today, shiplap is more commonly used in homes and other interior spaces for its rustic and charming appearance.
Shiplap is typically made from softwoods such as pine or cedar, although other types of wood can also be used. The boards are usually finished with a protective coating or left untreated for a more natural look.

One of the main features of shiplap is its ability to create visually appealing texture on walls. The overlapping boards create a series of distinctive horizontal lines that add depth to a room and can be used to create various design effects. Additionally, shiplap can be painted in different colors or left natural to suit a variety of interior styles.
Shiplap installation can be done in several ways, including using nails, adhesive, or a combination of both. While a nail gun is commonly used for convenience and speed, it is possible to install shiplap without one, making it accessible to DIY enthusiasts with minimal tools.
In the following sections, we will provide a step-by-step guide on how to install shiplap without a nail gun, highlighting the tools and materials needed, as well as the specific techniques involved.
Benefits of Installing Shiplap
- Enhances the Appearance: Shiplap can instantly transform the look of any space, adding a touch of rustic charm or modern elegance, depending on the style of shiplap used. It creates a clean and visually appealing backdrop for any room.
- Easy Installation: Unlike other wall coverings, shiplap is relatively easy to install, especially if you don’t have access to a nail gun. It can be done with basic tools and materials, making it a suitable DIY project for homeowners.
- Cost-Effective: Shiplap is an affordable option for adding character and texture to your walls. It is less expensive compared to other wall treatments such as wallpaper or stone veneer. With shiplap, you can achieve a high-end look at a fraction of the cost.
- Durable and Long-Lasting: Shiplap is made from high-quality wood, which makes it durable and resistant to wear and tear. It can withstand daily use and is less prone to damage compared to other wall materials. With proper care, shiplap can last for many years.
- Easy to Maintain: Shiplap is relatively low-maintenance. It can be easily cleaned with a damp cloth or vacuumed to remove dust and dirt. Unlike painted walls, shiplap does not require frequent touch-ups or repainting.
- Added Insulation: Shiplap provides an extra layer of insulation to your walls, helping to regulate temperature and reduce energy costs. The gaps between the boards allow for better air circulation, preventing moisture buildup and the growth of mold and mildew.
- Versatile Design Options: Shiplap comes in various styles, sizes, and finishes, allowing for endless design possibilities. You can paint it in any color to match your décor or leave it unfinished for a natural and rustic look. Shiplap can be used in any room, from bedrooms and living rooms to kitchens and bathrooms.
These are just a few of the benefits of installing shiplap. Whether you want to create a cozy farmhouse vibe or a sleek and modern aesthetic, shiplap is a versatile and cost-effective choice for enhancing the beauty of your home.

Tools and Materials Needed
- Ruler or measuring tape: To accurately measure the dimensions of the wall.
- Pencil: To mark the measurements on the shiplap boards.
- Miter saw or circular saw: To cut the shiplap boards to the desired length.
- Screwdriver or drill: To secure the shiplap boards to the wall.
- Level: To ensure that the shiplap boards are straight and level.
- Sanding block or sandpaper: To smooth out any rough edges on the shiplap boards.
- Wood filler: To fill in any gaps or holes in the shiplap boards.
- Paint or stain: To finish the shiplap boards and achieve the desired look.
- Paintbrush or roller: To apply the paint or stain onto the shiplap boards.
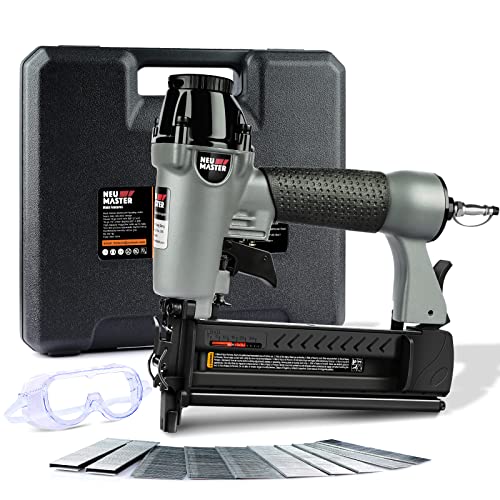
- Safety glasses: To protect your eyes while working.
- Dust mask: To protect your lungs from sawdust or other airborne particles.
- Drop cloth or tarp: To cover the floor and protect it from any potential damage.
Step 1: Measure and Prepare the Wall
Before installing shiplap, it’s important to measure and prepare the wall to ensure a smooth installation process. Follow these steps:
- Measure the Wall: Start by measuring the length and height of the wall where you plan to install the shiplap. This will help you determine the amount of shiplap you will need to purchase.
- Remove Existing Fixtures: Take down any existing fixtures or decorations on the wall, such as artwork or shelves. This will make it easier to work with the wall and avoid any potential damage to the shiplap during the installation process.
- Prepare the Surface: Inspect the wall for any imperfections or bumps. Use a putty knife or sandpaper to smooth out any rough patches or uneven areas. It’s important to have a clean and level surface before installing the shiplap.
- Protect the Surrounding Area: Cover the floor and nearby furniture with drop cloths or plastic sheets to protect them from dust or debris during the installation process.
- Prime and Paint (optional): If desired, prime and paint the wall before installing the shiplap. This step will allow you to easily paint the areas between the shiplap boards once they are installed.
By measuring and preparing the wall before installing the shiplap, you will ensure a professional-looking and durable installation. Now that the wall is ready, you can move on to the next step of the installation process.
Step 2: Cut and Fit the Shiplap Boards
Now that you have measured the wall and gathered the necessary materials, it’s time to cut and fit the shiplap boards. Follow these steps to ensure that each board fits properly and aligns with the others.
- Measure and mark the first board: Start by measuring the height of the wall and subtract the necessary gap at the top and bottom. Use a pencil to mark the measurement on the first shiplap board.
- Cut the first board: Use a miter saw or circular saw to carefully cut the first shiplap board according to the measurements you marked. Make sure to wear safety goggles and follow the manufacturer’s instructions for your specific saw.
- Test the first board: Place the cut shiplap board against the wall to check for a proper fit. Ensure that it aligns with any existing trim or corners and adjust the length if needed.
- Measure and mark subsequent boards: Use the first board as a template to measure and mark the remaining shiplap boards. Make sure to account for the necessary overlap between each board.
- Cut the remaining boards: Use the same saw and safety precautions to cut the remaining shiplap boards according to your measurements.
- Test and adjust each board: Place each cut shiplap board against the wall and check for a proper fit. Adjust the length or overlap if necessary to ensure a seamless look.
By following these steps, you will be able to accurately cut and fit each shiplap board for a professional-looking installation.
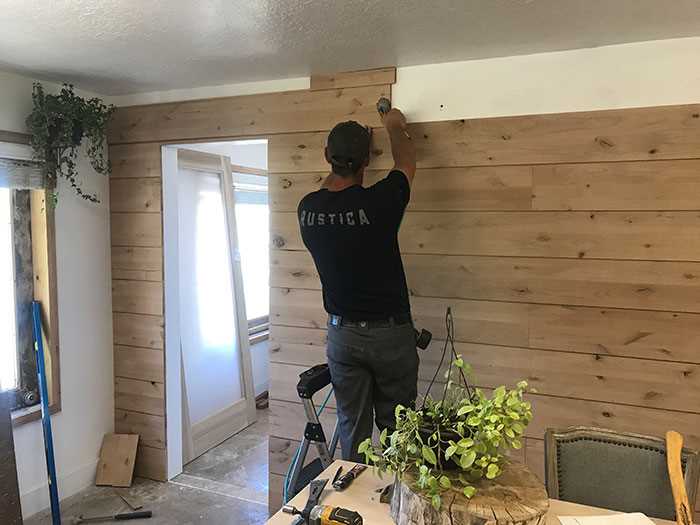
Step 3: Install the Shiplap Boards

Once you have prepared the wall and cut your shiplap boards to size, it’s time to start installing them on the wall. This step-by-step guide will walk you through the process of installing shiplap boards without a nail gun.
Tools Required:
- Hammer
- Finishing nails
- Level
- Tape measure
- Pencil
Instructions:
- Start by measuring and marking the desired height for your first row of shiplap boards. Use a level to ensure that the marks are straight.
- Apply a thin line of construction adhesive along the back of the first shiplap board.
- Press the board firmly against the wall, aligning it with the marked height. Make sure it is level and plumb.
- Secure the board in place by driving finishing nails through the board and into the wall studs. Place the nails about 1 inch from the top and bottom of the board, and every 16 inches along the center.
- Repeat the above steps to install the remaining shiplap boards, leaving a small gap (about 1/8 inch) between each board for expansion.
- Use a saw to cut the last board to fit, if necessary.
- Continue installing shiplap boards row by row, using the same method until the entire wall is covered.
- Check for any gaps or unevenness between the boards and make any necessary adjustments.
- Once all the boards are installed, fill the nail holes with wood filler and sand them smooth.
- If desired, you can finish the shiplap boards with paint or stain to achieve the desired look.
By following these steps, you can successfully install shiplap boards on your wall without using a nail gun. Remember to take your time and double-check your measurements to ensure a professional-looking result.
Step 4: Fill Nail Holes and Sand the Boards
Once the shiplap boards are securely attached to the wall, the next step is to fill in the nail holes and sand the boards to create a smooth and seamless finish.
Filling Nail Holes
- Start by inspecting the boards for any visible nail holes.
- Prepare a high-quality wood filler or putty that matches the color of the shiplap boards.
- Using a putty knife or a small spatula, apply the wood filler into each nail hole, ensuring it is filled completely.
- Smooth out the surface of the filled nail holes using the putty knife or spatula.
- Allow the wood filler to dry completely according to the manufacturer’s instructions before moving on to the next step.
Sanding the Boards
- Once the wood filler is dry, it’s time to sand the boards.
- Use a fine-grit sandpaper (around 220 to 320 grit) to sand the surface of the shiplap boards.
- Sand in the direction of the wood grain to avoid causing any damage or scratching to the boards.
- Focus on smoothing out any rough areas, leveling the wood filler, and creating a consistent texture across the entire surface.
- Remove any dust or debris created by sanding using a soft cloth or a vacuum cleaner.
By filling in the nail holes and sanding the boards, you ensure a professional and polished look for your shiplap installation. This step prepares the boards for the final steps of painting or staining, depending on your desired finish.
Step 5: Paint or Stain the Shiplap
Once your shiplap is installed and securely fastened, the next step is to paint or stain it to achieve the desired finish. This will help protect the wood and enhance its appearance.
Here are the steps to follow for painting or staining your shiplap:
- Clean the surface: Before you can apply any paint or stain, make sure to clean the shiplap surface thoroughly. Use a damp cloth to remove any dust, dirt, or grease.
- Apply primer (if necessary): If you are painting your shiplap, it’s recommended to apply a coat of primer first. This will help the paint adhere better and provide a more even finish. Follow the instructions on the primer can for application.
- Choose your paint or stain: Select the paint or stain color that suits your style and preferences. Consider the overall aesthetic of your space and choose a color that complements it.
- Prepare the paint or stain: If you are staining the shiplap, stir the stain thoroughly to ensure an even color. If you are using paint, make sure to mix it well and pour it into a paint tray for easy application.
- Apply the paint or stain: Use a brush or roller to apply the paint or stain to the shiplap. Start from one corner and work your way across the surface, making sure to cover each board evenly.
- Allow it to dry: Let the paint or stain dry completely according to the manufacturer’s instructions. This may take several hours or overnight, so be patient and avoid touching the surface during this time.
- Inspect and touch-up: Once the paint or stain is dry, inspect the shiplap for any missed spots or uneven areas. Touch up as necessary to ensure a seamless finish.
After completing these steps, you will have a beautifully painted or stained shiplap wall or ceiling. Remember to properly clean your painting tools and allow the shiplap to fully cure before placing any furniture or decorations against it.
FAQ
Is it possible to install shiplap without using a nail gun?
Yes, it is possible to install shiplap without using a nail gun. In fact, there are several alternative methods such as using adhesive, screws, or a hammer and nails.
What tools do I need to install shiplap without a nail gun?
You will need a few basic tools such as a miter saw, level, tape measure, stud finder, drill, screws or nails, adhesive (if not using nails), and a pry bar for removing any existing trim.
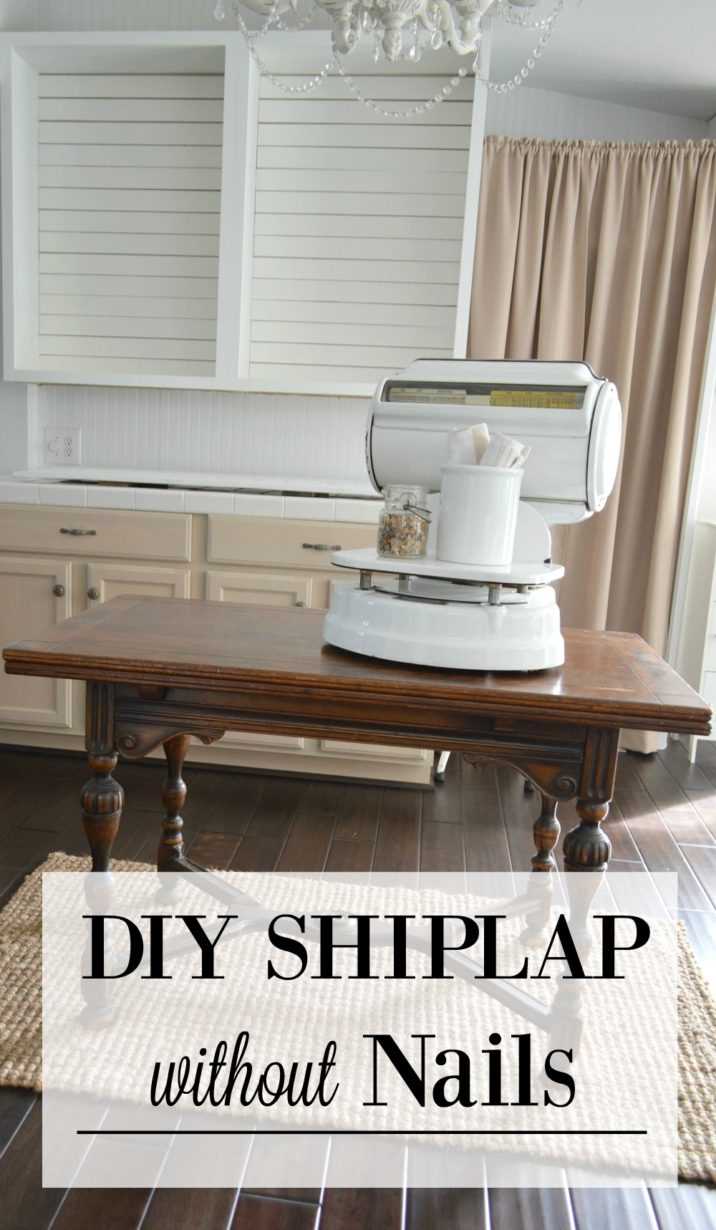
Can I use adhesive to install shiplap instead of nails?
Yes, you can use adhesive to install shiplap instead of nails. This method is especially useful when you want to achieve a seamless and nail-free look. Just make sure to use a strong adhesive specifically designed for wood bonding.
What is the advantage of using screws instead of nails to install shiplap?
Using screws instead of nails to install shiplap provides a few advantages. Screws offer better holding power and can be easily adjusted or removed if needed. They also create a stronger and more secure connection between the shiplap and the wall.
Do I need to find studs when installing shiplap without a nail gun?
Yes, it is recommended to find studs when installing shiplap without a nail gun. This will ensure that the shiplap is securely attached to the wall and prevent it from coming loose over time. You can use a stud finder to locate the studs before installing the shiplap.
Can I install shiplap over existing trim?
Yes, you can install shiplap over existing trim. However, it is recommended to remove the trim first for a cleaner and more seamless installation. Use a pry bar to gently remove the trim without causing damage to the wall.
Is installing shiplap without a nail gun a difficult task?
Installing shiplap without a nail gun can be a bit more labor-intensive compared to using a nail gun. However, with the right tools and step-by-step instructions, it is definitely achievable for most DIY enthusiasts. It may take some time and patience, but the end result can be well worth the effort.
Video


Meet Harrison Clayton, a distinguished author and home remodeling enthusiast whose expertise in the realm of renovation is second to none. With a passion for transforming houses into inviting homes, Harrison's writing at https://thehuts-eastbourne.co.uk/ brings a breath of fresh inspiration to the world of home improvement. Whether you're looking to revamp a small corner of your abode or embark on a complete home transformation, Harrison's articles provide the essential expertise and creative flair to turn your visions into reality. So, dive into the captivating world of home remodeling with Harrison Clayton and unlock the full potential of your living space with every word he writes.