How to Make a Nail Gun: A Step-by-Step Guide

If you’re a DIY enthusiast or just love working with your hands, you may have at some point found yourself in need of a nail gun. Whether it’s for a home renovation project or a simple woodworking task, a good quality nail gun is an essential tool to have in your arsenal. While there are many options available on the market, why not take things into your own hands and build your own nail gun? In this step-by-step guide, we’ll show you how to make a nail gun using easily accessible materials and simple techniques.
Before we start, it’s important to note that building your own nail gun requires some basic knowledge of tools and woodworking. Always exercise caution and follow safety guidelines when handling tools and working with sharp objects. If you’re not confident in your abilities, it’s best to seek assistance or consider purchasing a nail gun from a reputable manufacturer.
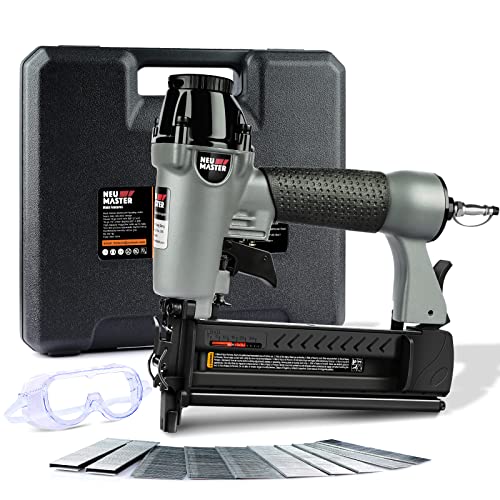
To build your own nail gun, you’ll need the following materials: a sturdy piece of wood for the body, a metal rod for the trigger mechanism, a rubber band or spring for tension, a hammer for striking the nail, and nails for ammunition. Additionally, you’ll need some basic tools such as a saw, drill, file, and sandpaper.
Once you have all your materials and tools ready, you can begin the construction process. Start by cutting and shaping the piece of wood into a long, rectangular shape, which will serve as the body of the nail gun. Use a saw and file to refine the edges and create a comfortable grip. Next, drill a hole in the middle of the body to attach the trigger mechanism.
Materials Needed for Making a Nail Gun
1. PVC Pipe
A PVC pipe will serve as the main body of the nail gun. Choose a length and thickness that is suitable for your needs.

2. Rubber Bands
Rubber bands will be used to create tension and propel the nails forward. Make sure to use strong and durable rubber bands for this purpose.
3. Clothespin
A clothespin will act as the trigger mechanism for the nail gun. It should be strong and able to withstand the pressure applied when firing.
4. Angled Brackets
Angled brackets will serve as the guide for the nails and help in directing them towards the desired target. Make sure to choose sturdy and durable brackets.
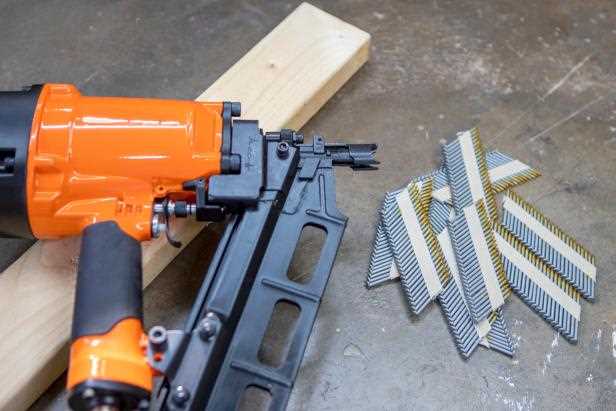
5. Nails
Of course, you will need nails to load into your homemade nail gun. Choose nails that are of the appropriate length and thickness for your project.

6. Adhesive
An adhesive such as super glue or epoxy will be needed to secure various components of the nail gun together. Make sure to use a strong adhesive that can withstand the force exerted by the nail gun.
7. Safety Glasses
It is essential to wear safety glasses while using a nail gun to protect your eyes from any flying debris.
8. Tools
You will need various tools such as a saw, drill, and screwdriver to cut, shape, and assemble the different components of the nail gun.
By gathering these materials, you will have the necessary components to start building your own nail gun.

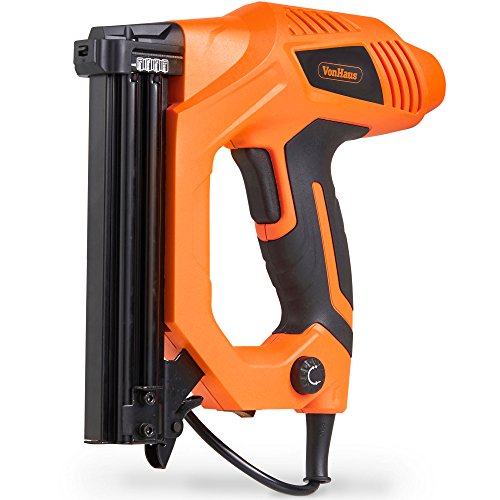
Step 1: Gather the Necessary Tools
Before you begin making your own nail gun, it’s essential to gather all the necessary tools and materials. Here is a list of items you will need:
- Nail gun body
- Barrel
- Trigger mechanism
- Compressed air source
- Nails
- Power supply
- Wire
- Insulation tape
- Electrical connectors
- Screws
- Screwdriver
- Drill
- Wrench
It’s important to make sure that all the tools and materials you gather are of good quality and in good working condition. This will ensure the construction of a safe and functional nail gun.
Step 2: Designing the Nail Gun Mechanism
Designing the nail gun mechanism is a crucial step in creating a functional and safe tool. The mechanism should allow for precise nail placement and provide sufficient force to drive the nail into the desired surface. Here are the key considerations when designing the nail gun mechanism:
1. Trigger Mechanism
The trigger mechanism is responsible for activating the nail gun and initiating the firing process. It should be designed to provide a comfortable grip and easy operation. Additionally, the trigger should have a safety feature to prevent accidental firing.
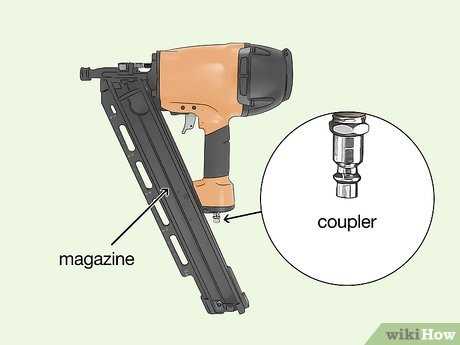
2. Magazine

The magazine is where the nails are loaded before being fired. It should be designed to hold a sufficient number of nails and allow for easy reloading. The magazine should also have a mechanism to feed the nails into the firing chamber smoothly and consistently.
3. Firing Chamber
The firing chamber is where the nail is held and propelled forward by the mechanism. It should be designed to securely hold the nail and align it with the directional force. The firing chamber should also have a mechanism to control the depth of nail penetration.
4. Power Source
The power source is what drives the mechanism to fire the nail. It can be a pneumatic system, a motor-driven mechanism, or even a spring-loaded system. The power source should be designed to provide consistent and reliable force to drive the nail into the surface.
5. Safety Features
Safety is paramount when designing a nail gun mechanism. The mechanism should include safety features such as a trigger lock, a mechanism to prevent firing when the nail gun is not in contact with a surface, and a mechanism to prevent firing multiple nails at once.

6. Ergonomics
The overall design of the nail gun mechanism should prioritize ergonomics, making it comfortable to use for extended periods. The grip should be designed to reduce fatigue and strain on the user’s hand, and the weight distribution should be balanced to minimize user fatigue.
By carefully considering these key factors, you can design an effective and efficient nail gun mechanism that meets the requirements of your project or application.
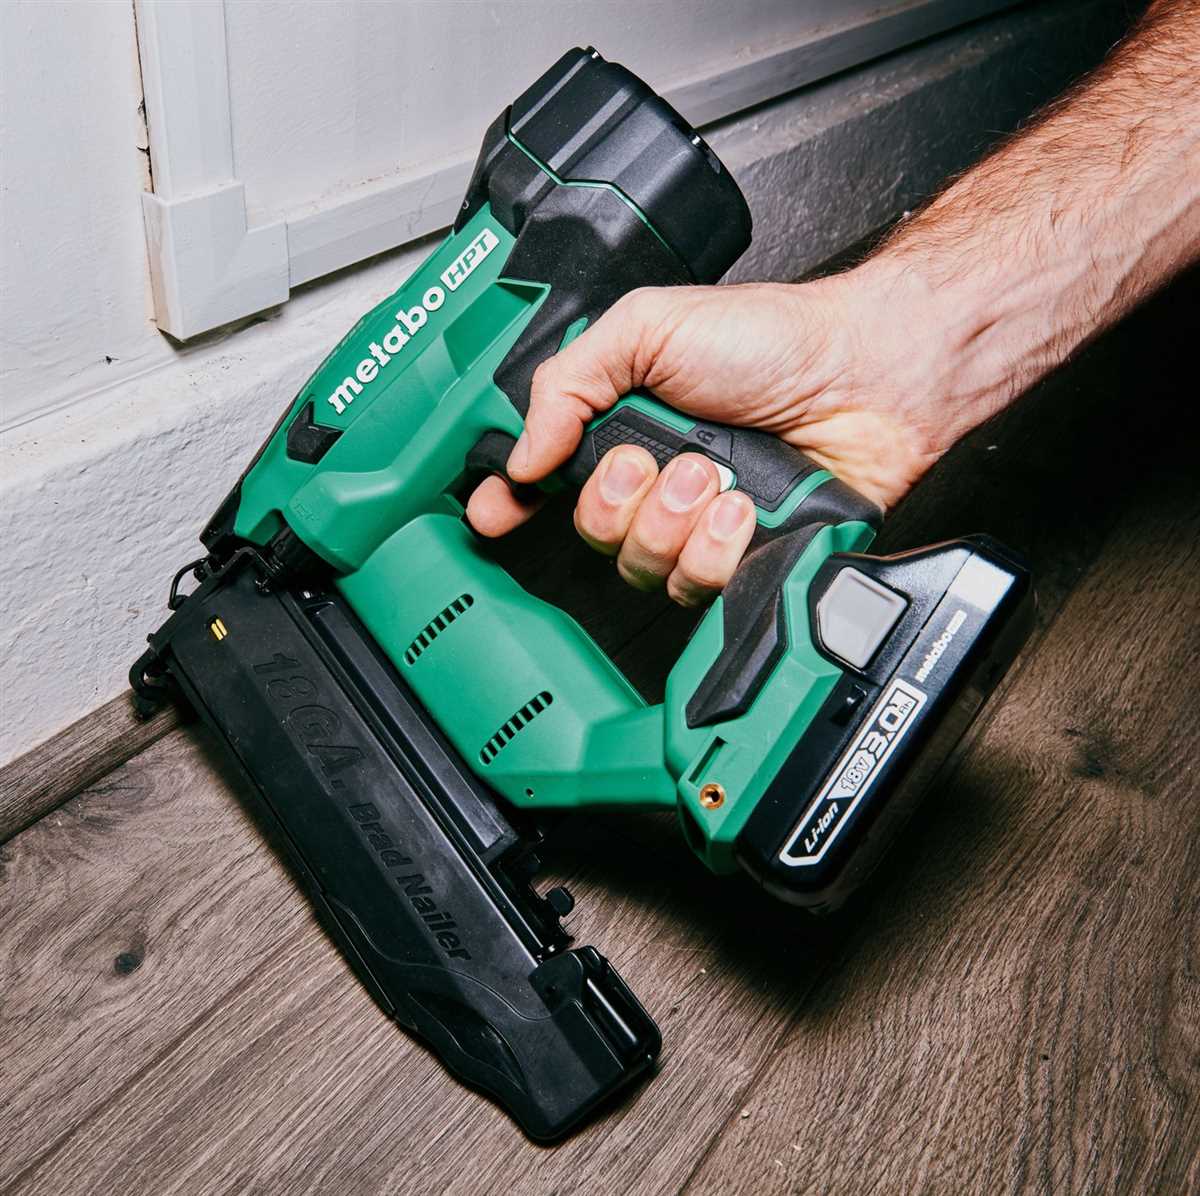
Step 3: Assembling the Nail Gun Body
Gather the Components
Before assembling the nail gun body, it’s important to ensure you have all the necessary components. Here’s a list of the items you will need:
- Nail gun frame
- Trigger mechanism
- Spring
- Nail feeder
- Fasteners
- Handle
- Grip
- Screws or bolts
- Screwdriver or wrench
Attach the Nail Feeder
Start by attaching the nail feeder to the nail gun frame. This is the component that will hold the nails and feed them into the firing mechanism. Use screws or bolts to secure the feeder onto the designated mounting points on the frame. Ensure that it is tightly fastened to prevent any misalignment during operation.
Install the Trigger Mechanism
Next, install the trigger mechanism onto the frame. This component is responsible for activating the firing mechanism when pulled. Attach the trigger mechanism onto the designated mounting points on the frame using screws or bolts. Make sure it is securely fastened, allowing smooth and controlled operation of the nail gun.
Attach the Spring
Now, attach the spring to the nail gun frame. The spring provides the necessary tension to ensure that the nails are properly fed into the firing mechanism. Position the spring in its designated location on the frame and secure it using screws or bolts. Check that it is properly tensioned and aligned with the nail feeder to guarantee proper performance.
Mount the Handle and Grip
Next, mount the handle onto the nail gun frame. The handle provides stability and control during operation. Align the handle with the designated mounting points on the frame and secure it using screws or bolts. Additionally, attach the grip onto the handle to provide a comfortable and ergonomic grip for the user. Ensure that both the handle and grip are tightly fastened to prevent any wobbling or instability during use.
Complete Assembly
Finally, double-check all the connections and make sure that all components are securely fastened. Tighten any loose screws or bolts if necessary. Test the nail gun’s functionality by inserting fasteners into the nail feeder and pulling the trigger. If everything is properly assembled, the nail gun should successfully fire the fasteners.
With the nail gun body fully assembled, you are now ready to move on to the final step of the process: attaching the power source and testing the nail gun’s performance.
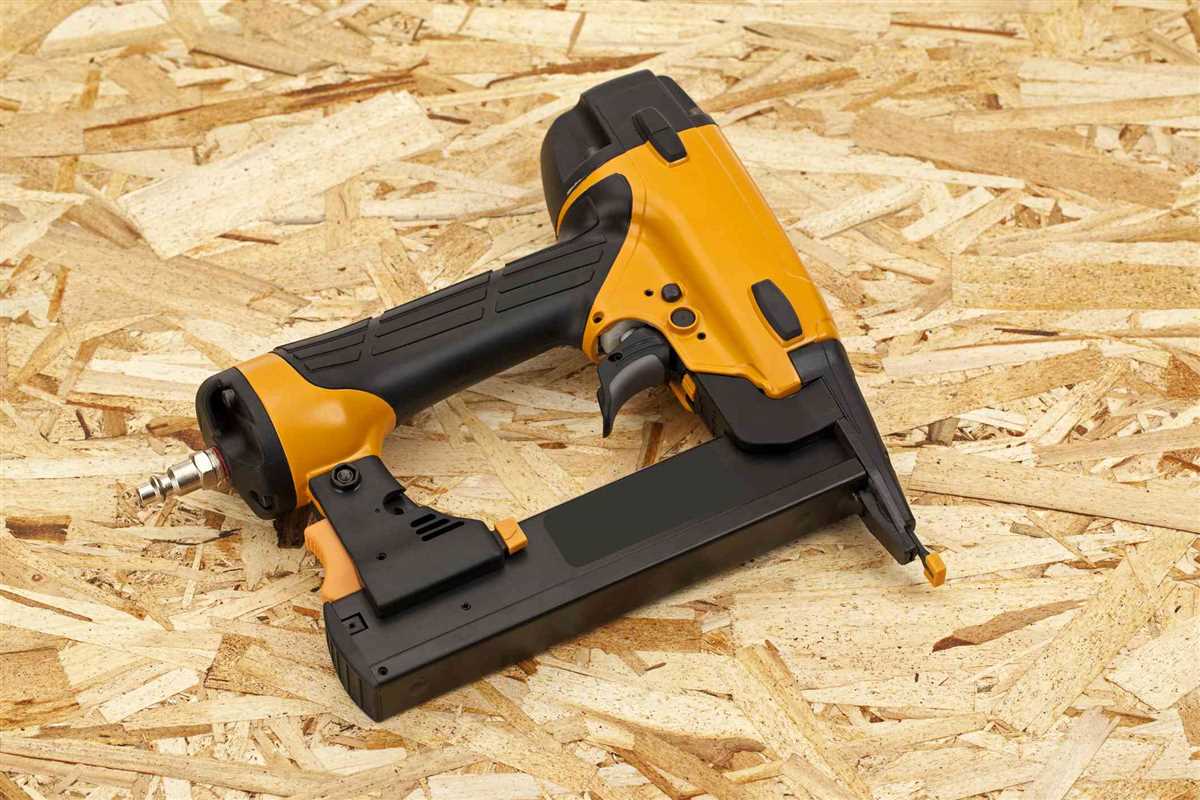
Step 4: Attaching the Trigger Mechanism
Once you have completed the construction of the main body of the nail gun, the next step is to attach the trigger mechanism. The trigger mechanism is what allows the user to control when and how the nails are fired.
To attach the trigger mechanism, follow these steps:
- Locate the trigger mechanism component. This is typically a metal or plastic piece with a small lever or button.
- Position the trigger mechanism component on the nail gun body in the designated area. This area is usually marked or indicated in the nail gun’s design.
- Secure the trigger mechanism component to the nail gun body using screws or bolts. Make sure to use the appropriate tools for this step.
- Once the trigger mechanism is securely attached, test its functionality. Press the lever or button to check if it moves smoothly and triggers the firing mechanism. Make any necessary adjustments or tighten the screws if needed.
It’s important to ensure that the trigger mechanism is securely attached to the nail gun body to prevent any accidental firing. Additionally, make sure that the trigger mechanism is aligned correctly with the firing mechanism to ensure proper functioning of the nail gun.
Now that the trigger mechanism is securely attached, your homemade nail gun is almost ready for use. The final step is to load nails into the nail gun’s magazine, which will be covered in the next step.
Step 5: Adding Safety Features
When building a nail gun, it is essential to prioritize safety. In this step, we will add several safety features to our homemade nail gun to minimize the risk of accidents and injuries.
1. Trigger Safety Mechanism
The first safety feature we will incorporate is a trigger safety mechanism. This mechanism will prevent accidental firing of the nail gun by requiring the user to press a specific button or switch before the trigger can be engaged. This additional step will reduce the likelihood of unintentional firing and help prevent accidents.
2. Contact Trip
Another important safety feature for a nail gun is a contact trip. A contact trip is a sensor located near the tip of the nail gun that detects when the tool is in contact with a surface. It ensures that nails are only fired when the nail gun is pressed firmly against the material being worked on. This prevents unintentional firing and reduces the risk of injuries caused by nails being propelled into the air.
3. Jam Clearing Mechanism
Jams can occur in nail guns, especially when using homemade models. To address this issue, it is crucial to incorporate a jam clearing mechanism. This mechanism will allow users to easily and safely remove any obstructions or jams that may occur during operation. It is important to follow the manufacturer’s instructions for clearing jams properly to avoid injury.
4. Protective Guards
Protective guards should be installed around the nail gun assembly to prevent accidental contact with moving parts. These guards can help minimize the risk of injuries to the user’s hands and fingers while operating the nail gun. They should be designed to allow access to essential components like the trigger and magazine while still providing sufficient protection.
5. Proper Handling and Storage Guidelines
Lastly, it is crucial to provide users with clear instructions on how to properly handle, operate, and store the nail gun safely. This should include guidance on wearing appropriate safety gear, maintaining a safe distance from others while using the tool, and storing the nail gun in a secure location when not in use. These guidelines will help ensure that the nail gun is used responsibly and minimize the risk of accidents or injuries.
By incorporating these safety features and following proper handling procedures, you can greatly reduce the potential risks associated with using a homemade nail gun. Always prioritize safety and take the necessary precautions when working with any power tool.
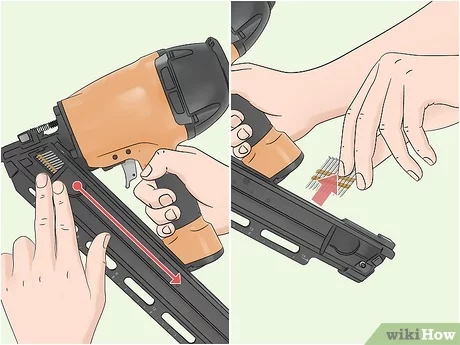
Step 6: Testing and Adjusting the Nail Gun
After assembling your homemade nail gun, it is crucial to thoroughly test and adjust it to ensure its proper functioning and safety. Follow these steps to test and adjust your nail gun:
- Double-check the assembly: Before testing the nail gun, make sure all the components are securely fastened and tightened. Ensure that the trigger mechanism is working correctly and that the piston is sliding smoothly.
- Load the nails: Insert a small amount of nails into the magazine of the nail gun. Make sure the nails are aligned properly and that they can easily slide into the barrel.
- Connect the air compressor: Attach the air compressor hose to the inlet of the nail gun. Ensure that the air pressure is set to a safe level according to the manufacturer’s recommendations.
- Test fire: Point the nail gun in a safe direction, preferably at a scrap piece of wood or a suitable target. Press the trigger to test fire the nail gun. Observe if the nail is driven into the material properly and if the piston cycles smoothly. Adjust the air pressure if the nail is not driven in completely or if the piston movement is uneven.
- Check for jams: After each test fire, inspect the nail gun for any jammed nails or debris. Clear any obstructions before continuing to test.
- Safety measures: During testing, always wear safety goggles, ear protection, and any other necessary protective gear. Never point the nail gun at anyone and keep your fingers away from the trigger when not in use.
Repeat the testing process several times to ensure consistent and reliable performance. Make any necessary adjustments or repairs to the nail gun before using it for any projects. Always prioritize safety while using a homemade nail gun or any power tool.
Step 7: Tips and Precautions for Using a Homemade Nail Gun
While using a homemade nail gun can be a convenient and cost-effective way to tackle your DIY projects, it’s important to follow proper safety measures to prevent accidents and injuries. Here are some tips and precautions to keep in mind when using a homemade nail gun:
Tips:
- Wear protective gear: Always wear safety goggles, gloves, and ear protection when operating a nail gun. This will help protect you from flying debris and reduce the risk of injuries.
- Inspect the nail gun: Before using the nail gun, carefully inspect it to ensure that all the parts are in good working condition. Check for any loose screws or damaged components that might affect its performance.
- Select the right nail size: Choose the appropriate nail size for your project. Using nails that are too long or too short can result in poor performance or damage to the materials you are working with.
- Practice on scrap materials: If you are new to using a nail gun, practice on scrap materials before starting your actual project. This will help you get acquainted with the tool and improve your accuracy.
- Secure your workpiece: Make sure your workpiece is securely clamped or held in place before using the nail gun. This will prevent the material from shifting or moving while you are driving the nails.
Precautions:
- Avoid pointing the nail gun at anyone: Never point the nail gun at yourself or others, even if it is not loaded or being used. Treat it as if it is always ready to fire to prevent accidental injuries.
- Keep your fingers away from the trigger: Avoid keeping your finger on the trigger when you are not using the nail gun. This will prevent accidental firing and reduce the risk of injuries.
- Use the safety features: Familiarize yourself with the safety features of your nail gun and always use them properly. This may include safety locks or switches that prevent accidental discharge.
- Store the nail gun safely: When you are done using the nail gun, store it in a secure place out of reach of children and pets. Keep it in a dry location, away from moisture or extreme temperatures that might damage the tool.
- Read the manufacturer’s instructions: If you are using a homemade nail gun kit, make sure to carefully read and follow the manufacturer’s instructions. This will ensure that you are using the tool correctly and safely.
By following these tips and precautions, you can safely and effectively use a homemade nail gun for your DIY projects. Always prioritize safety and take the necessary precautions to prevent accidents and injuries.
FAQ
What materials do I need to make a nail gun?
To make a nail gun, you will need the following materials: a small piece of metal, a spring, a rubber band, a wooden handle, and some nails.
Is it difficult to make a nail gun?
Making a nail gun can be a bit challenging, especially if you don’t have any experience with DIY projects. However, if you carefully follow the step-by-step guide and have the necessary materials, you should be able to make one successfully.
What is the purpose of a nail gun?
A nail gun is a tool used for driving nails into wood or other materials. It is commonly used in construction, carpentry, and woodworking projects. It helps to save time and effort compared to manually hammering nails.
How long does it take to make a nail gun?
The time it takes to make a nail gun depends on your skill level and experience with DIY projects. On average, it can take anywhere from 1 to 2 hours to complete the process.
Can I use a nail gun for other materials besides wood?
While nail guns are primarily used for wood, there are certain types of nail guns that can be used for other materials such as metal or even concrete. It’s important to choose the right type of nail gun for the specific material you are working with.
Are there any safety precautions I should take when using a homemade nail gun?
Yes, safety is always important when working with any kind of tool, especially something as potentially dangerous as a nail gun. When using a homemade nail gun, make sure to wear safety glasses to protect your eyes, use it in a well-ventilated area, and keep your fingers away from the firing mechanism.
Video


Meet Harrison Clayton, a distinguished author and home remodeling enthusiast whose expertise in the realm of renovation is second to none. With a passion for transforming houses into inviting homes, Harrison's writing at https://thehuts-eastbourne.co.uk/ brings a breath of fresh inspiration to the world of home improvement. Whether you're looking to revamp a small corner of your abode or embark on a complete home transformation, Harrison's articles provide the essential expertise and creative flair to turn your visions into reality. So, dive into the captivating world of home remodeling with Harrison Clayton and unlock the full potential of your living space with every word he writes.