How to Use a Wood Lathe Machine: A Step-by-Step Guide

If you’re interested in woodworking, then learning how to use a wood lathe machine can open up a whole new world of creativity and possibilities. A wood lathe machine is a versatile tool that allows you to shape and carve wood into various forms, such as bowls, vases, and spindles. In this step-by-step guide, we will walk you through the process of using a wood lathe machine, from setting it up to creating your first project.
Step 1: Familiarize yourself with the wood lathe machine
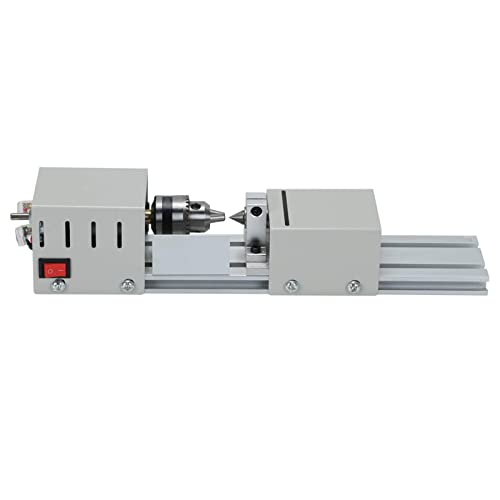
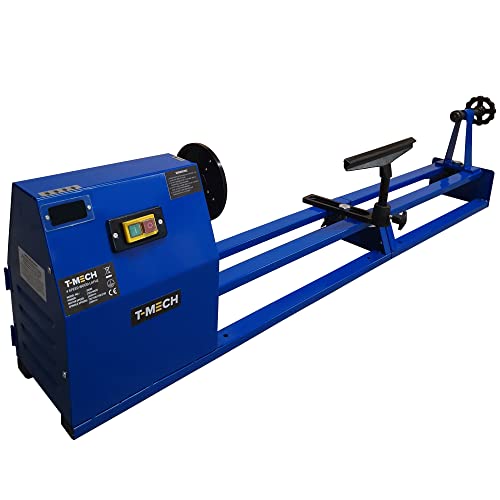
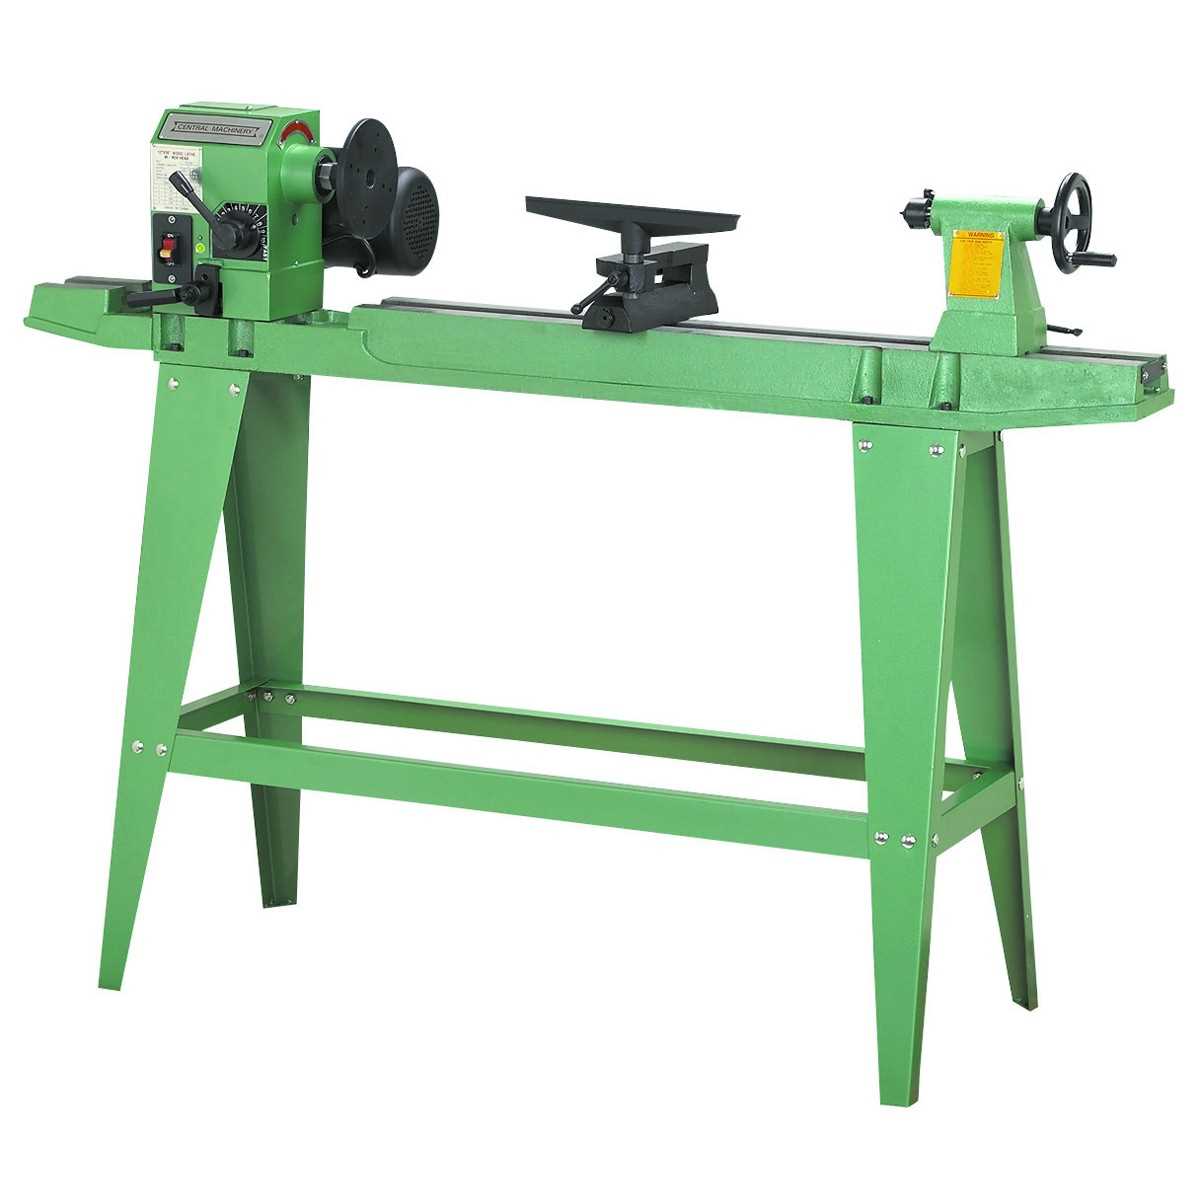
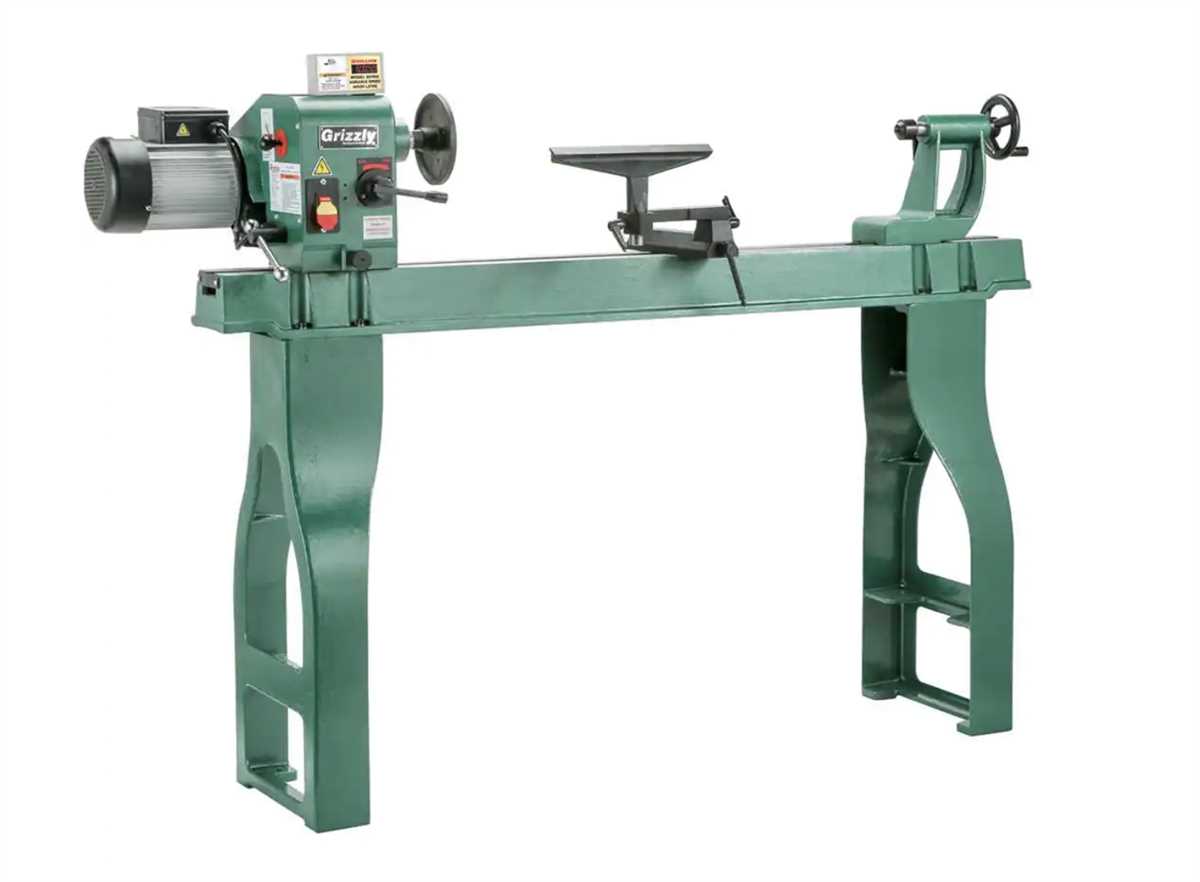
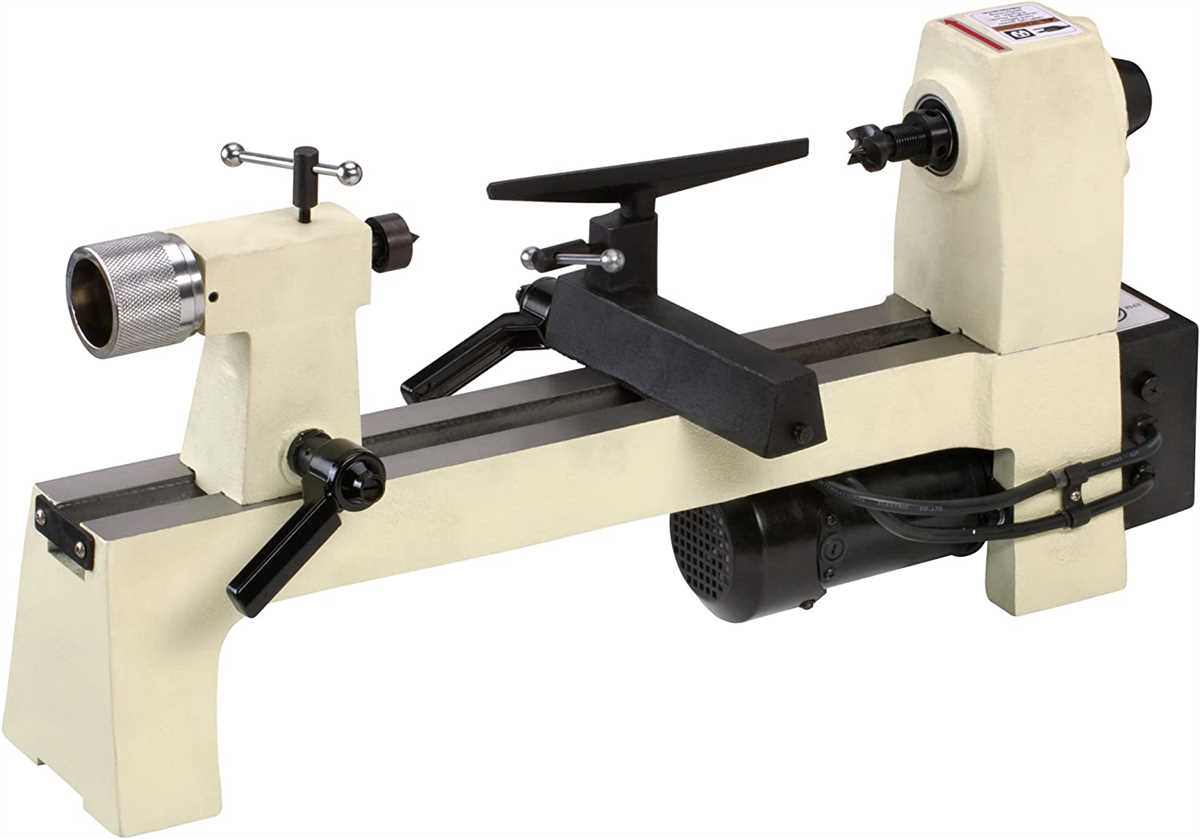
Before you start using a wood lathe machine, it’s important to get familiar with its various components and functions. These include the headstock, tailstock, tool rest, and speed control. The headstock is where you mount your piece of wood, while the tailstock provides support and stability. The tool rest is used to support your cutting tools, and the speed control allows you to adjust the rotation speed of the wood lathe machine.
Step 2: Set up the wood lathe machine
Once you’re familiar with the wood lathe machine, it’s time to set it up. Start by securing the machine to a sturdy workbench or stand. Make sure it’s level and stable. Next, install the headstock and tailstock centers by aligning them with the centers on your piece of wood. Tighten them securely to ensure a solid grip. Adjust the tool rest to the desired height and position it close to the piece of wood.

Step 3: Choose the right cutting tools
Having the right cutting tools is essential for achieving the desired result. The selection of cutting tools depends on the type of project you’re working on. Common cutting tools for a wood lathe machine include gouges, scrapers, and parting tools. Each tool has its own purpose and technique, so it’s important to understand how to use them correctly. Start with a basic set of tools and gradually expand your collection as you gain more experience.
Step 4: Start turning
With the wood lathe machine set up and the cutting tools ready, it’s time to start turning. Begin by turning on the machine and adjusting the speed to a comfortable level. Hold your cutting tool firmly but not too tight and position it against the revolving wood. Use steady and smooth movements to shape the wood according to your design. Keep an eye on your tool rest and adjust it as needed to ensure stability and safety.
By following these steps and practicing regularly, you’ll soon become proficient in using a wood lathe machine. Remember, patience and practice are key to mastering this skill. So, roll up your sleeves, unleash your creativity, and let the wood lathe machine bring your woodworking projects to life!

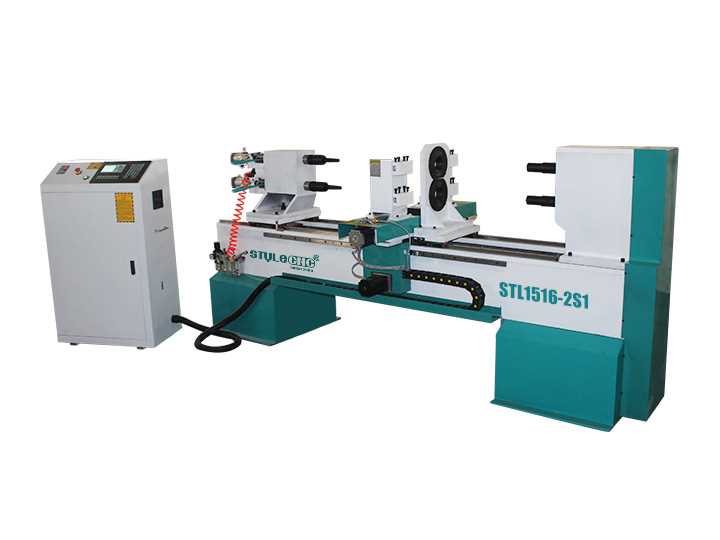
Step 1: Choosing the Right Wood Lathe Machine
Choosing the right wood lathe machine is crucial for your woodworking projects. Here are some factors to consider when selecting a wood lathe:
- Size: Consider the size of the wood pieces you will be working with. Choose a lathe with a swing size and bed length that can accommodate your desired projects.
- Power: Determine the power requirements based on the types of wood you will be turning. Hardwoods may require a more powerful motor.
- Speed: Look for a lathe with variable speed control. Different wood species and turning techniques require different speeds, so having the ability to adjust the speed will give you more flexibility in your projects.
- Quality: Consider the overall quality and durability of the lathe machine. Look for solid construction and heavy-duty materials that can withstand the demands of woodturning.
- Additional Features: Consider any additional features that may enhance your woodturning experience, such as a digital display for speed control, a spindle lock for easy tool changes, or a built-in light for better visibility.
Research different lathe models and read reviews to get a better understanding of their performance and reliability. It’s also a good idea to visit a woodworking supply store or attend woodworking trade shows to see the machines in person and speak with experts.
By carefully considering these factors, you can choose a wood lathe machine that meets your specific needs and will help you create beautiful woodturned projects with ease.
Step 2: Setting Up the Wood Lathe Machine
Before you can start using a wood lathe machine, it’s important to properly set it up. Follow these steps to ensure your machine is ready for use:

Gather the necessary tools and materials
- Wood lathe machine
- HSS (High-Speed Steel) lathe tools
- Faceplate or chuck
- Wood blanks
- Measuring tape
- Wood glue
- Sandpaper
- Safety equipment (goggles, dust mask, ear protection)
Positioning the wood lathe machine
Find a stable and level surface to place your wood lathe machine. Make sure the area is well-lit and provides enough space for you to work comfortably.
Securing the machine
Depending on the type of machine, you may need to secure it to the work surface using screws or clamps to prevent it from moving while in use.
Adjusting the tool rest
The tool rest is an important component of the wood lathe machine that supports the turning tools. Adjust it to the desired height and position it close to the wood blank, ensuring it doesn’t interfere with the rotating piece.
Installing the faceplate or chuck
Attach the faceplate or chuck to the headstock spindle, making sure it is securely tightened. The faceplate or chuck will hold the wood blank in place while you work.

Preparing the wood blank
- Inspect the wood blank for any defects, such as cracks or knots, that may affect the turning process.
- Measure and mark the center of the wood blank on both ends.
- If the blank is not already perfectly round, use a band saw or a roughing gouge to remove excess wood and create a rough cylindrical shape.
- Apply wood glue to the faceplate or chuck and attach the wood blank, aligning the center marks.
- Allow the glue to dry for the recommended time.
- Smooth the surface of the wood blank using sandpaper to remove any blemishes or rough areas.
Now that the wood lathe machine is set up, you’re ready to move on to the next step: selecting and using the appropriate lathe tools.
Step 3: Preparing the Wood for Turning
Before you can start turning the wood on the lathe, it is important to properly prepare the wood. This ensures that the wood is stable and ready for shaping.
Gather the Necessary Tools and Materials
- Wood blank: Choose a wood blank that is suitable for your project. Ensure that it is properly dried and free from defects or cracks.
- Measuring tools: You may need a ruler or calipers to measure the dimensions of the wood blank.
- Marking tools: Use a pencil or a marking gauge to mark the center of the wood blank.
- Clamps: It is helpful to have clamps to secure the wood blank to the lathe bed.
- Faceplate or chuck: Depending on the type of lathe you have, you will need either a faceplate or a chuck to attach the wood blank to the lathe.
- Lathe tools: Prepare the necessary lathe tools such as a roughing gouge, spindle gouge, parting tool, and skew chisel.
- Safety gear: Always wear safety goggles, a face shield, and a dust mask when operating the lathe.
Check the Wood Blank
Inspect the wood blank for any defects or cracks. Make sure there are no loose knots or other imperfections that could cause the wood to fly apart while turning. Additionally, check for any nails, screws, or other hidden metal objects that could damage your lathe tools.
Measure and Mark the Center
Use a ruler or calipers to find the center of the wood blank. Make a small mark with a pencil or use a marking gauge to create a reference point. This will help you align the wood blank properly on the lathe.

Secure the Wood Blank to the Lathe
Attach the faceplate or chuck to the lathe spindle. Place the wood blank onto the faceplate or chuck, aligning it with the center mark. Use clamps to secure the wood blank to the lathe bed, ensuring it is tightly held in place.
Ready Your Lathe Tools
Ensure that your lathe tools are sharp and properly shaped. Sharpen or replace any dull tools before starting. Arrange your tools within easy reach of the lathe, so you can quickly switch between them as needed during the turning process.
Put on Safety Gear
Prioritize safety by wearing safety goggles to protect your eyes from flying debris. A face shield is also recommended to shield your face from any potential accidents. Additionally, wear a dust mask to avoid inhaling fine wood particles.
Once you have completed these steps, you are now ready to begin turning the wood on the lathe. Proceed to the next step to learn the basics of wood turning.
Step 4: Mounting the Wood on the Lathe
Mounting wood on the lathe is a crucial step in using a wood lathe machine. Properly securing the wood ensures safety and stability while you work on it. Follow these steps to mount the wood on the lathe:
1. Prepare the Wood
Prior to mounting the wood on the lathe, you need to prepare it. Make sure the wood is square and free of any defects or loose bark. Remove any rough edges or knots that may interfere with the turning process.
2. Find the Center
Locate the center of the wood piece that you want to mount on the lathe. You can use a pencil or a center finder tool to mark the center point accurately. This will help you align the piece with the headstock and tailstock centers of the lathe.
3. Secure the Wood on the Lathe
Place the wood between the headstock and the tailstock of the lathe, aligning the marked center point with the lathe centers. Tighten the tailstock to secure the wood in place. The tailstock should provide enough pressure to hold the wood firmly but not too tight that it damages the wood.
4. Check for Stability
Once the wood is secured, give it a gentle push to check for stability. If the wood wobbles or feels loose, adjust the tailstock pressure accordingly until it feels steady and secure.
5. Adjust the Tool Rest
The tool rest should be positioned parallel to the lathe bed and at a suitable height, depending on the size of the wood and the type of turning you plan to do. Adjust the tool rest to a comfortable position that allows you to work on the wood without any interference.
6. Begin Turning
Once the wood is securely mounted and the tool rest has been adjusted, you are ready to begin turning. Start the lathe and use your turning tools to shape and create the desired design on the wood. Remember to work slowly and steadily, allowing the lathe to do most of the work.
Following these steps will help you properly mount the wood on the lathe, ensuring a safe and effective wood turning experience. Make sure to always prioritize safety while operating a wood lathe machine.
Step 5: Adjusting the Lathe Tools
Adjusting the lathe tools is an important step to ensure that you can shape and cut the wood properly. Here’s how you can do it:
- Choose the right tool for the job: Depending on the type of project you’re working on, you will need different lathe tools. Some common tools include gouges, skew chisels, and parting tools. Make sure that you have the correct tool for the task at hand.
- Mount the tool on the tool rest: The tool rest is a support that holds the lathe tools in place. It should be positioned at a height that allows you to comfortably work with the tool. Place the tool on the tool rest, ensuring that it is securely mounted.
- Adjust the tool rest angle: The tool rest can be adjusted to different angles, depending on the shape you want to achieve. For example, a higher angle is suitable for roughing cuts, while a lower angle is better for finishing cuts. Use the adjustment knobs on the lathe to change the angle of the tool rest.
- Position the tool correctly: The tool should be positioned so that the cutting edge is in line with the center of the workpiece. This will ensure that you have control over the shaping and cutting process. Take your time to position the tool accurately before you start turning on the lathe.
- Secure the tool rest: Once you have adjusted the tool rest and positioned the tool, make sure that everything is secure. The tool rest should not wobble or move during operation. Double-check the tightness of any knobs or screws that hold the tool rest in place.
By following these steps, you will be able to adjust the lathe tools correctly for your project. Remember to always wear safety equipment, such as safety glasses and a face shield, when using a wood lathe machine.
Step 6: Starting the Turning Process
Once you have set up your wood lathe machine and prepared your piece of wood, it’s time to start the turning process. Follow these steps to begin turning your wood:
- Position the tool rest: Before you start the lathe, position the tool rest close to the wood but not touching it. The tool rest should be at the same height as the center of the wood blank.
- Tighten the tailstock: Make sure the tailstock is securely tightened against the wood blank. This will provide additional support and stability for the turning process.
- Turn on the lathe: Switch on the lathe and adjust the speed according to your project requirements. Begin with a slower speed if you’re a beginner, and gradually increase it as you gain more experience.
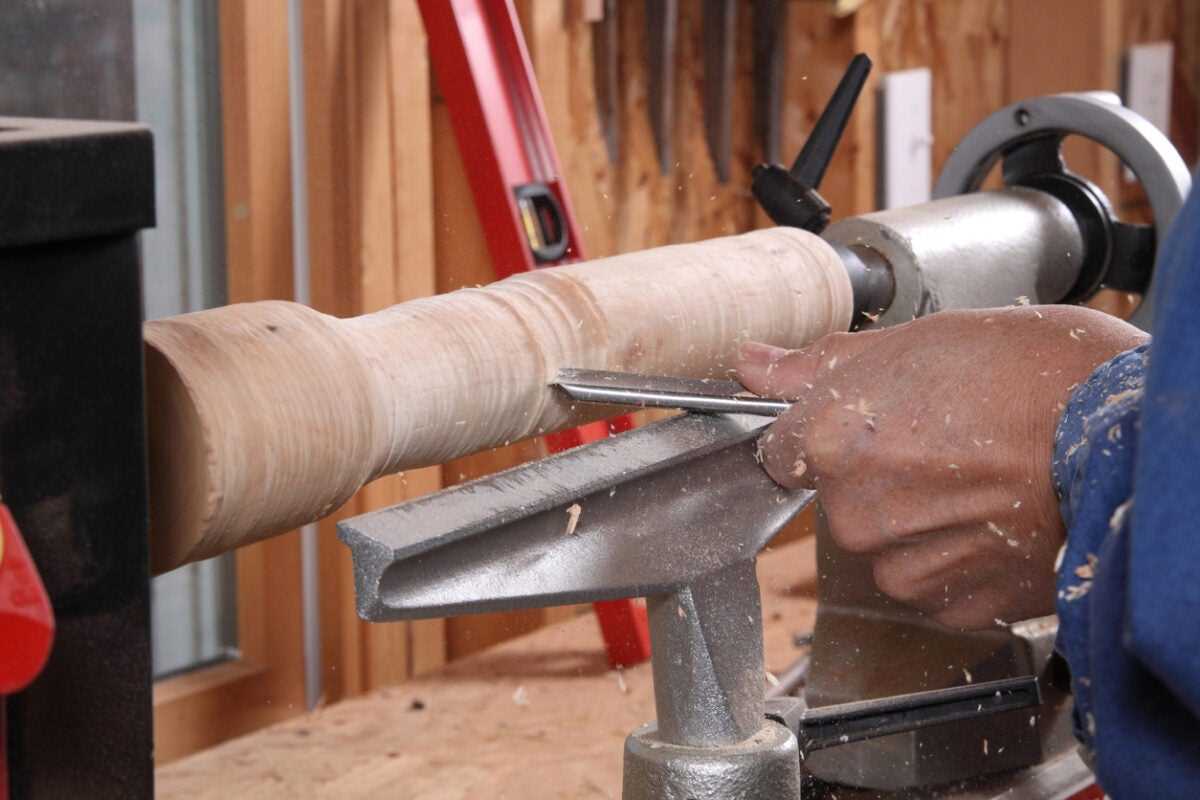
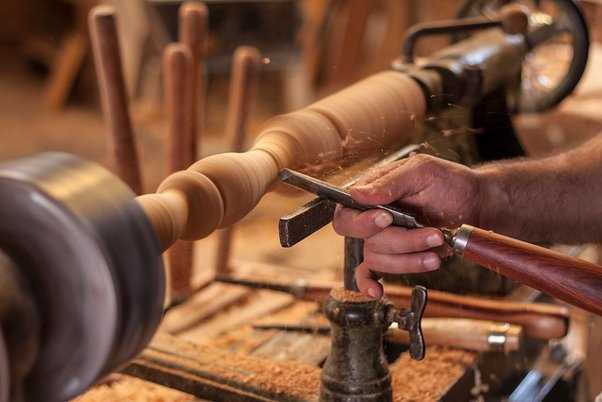
- Hold the tools correctly: Grip the turning tools firmly but comfortably, making sure you have a solid grip while maintaining control. Position your body and hands in a balanced and relaxed stance.
- Contact the wood: Slowly move the turning tool towards the wood, making contact with the edge or bevel of the tool. Take care not to push too hard or force the tool into the wood; let the sharpness of the tool do the work.
- Create the desired shape: Start shaping the wood by gently moving the tool along the wood’s surface. Use smooth and controlled movements to remove material gradually. Pay attention to the grain direction and adjust your cuts accordingly.
- Use different turning techniques: Experiment with various turning techniques, such as roughing, shaping, and detailing, to achieve the desired design. Each technique requires different tool positioning, angles, and cutting motions.
- Keep tools sharp: Regularly check the sharpness of your turning tools and sharpen or replace them as necessary. Dull tools can cause tear-out, rough cuts, and can be dangerous to use.
Remember to take breaks if needed and always work at a comfortable pace. Practice proper safety precautions and use protective equipment like face shields, goggles, and dust masks when operating the wood lathe machine.
Step 7: Shaping and Smoothing the Wood
Once you have turned the wood blank into a rough shape, it’s time to start shaping and smoothing the wood to achieve the desired final form. This step involves removing any remaining bumps, refining the curves, and achieving a smooth finish on the wood surface.
Tools and Equipment Needed
- Wood lathe
- Turning tools (gouges, chisels, etc.)
- Sandpaper
- Sanding sealer
- Finishing product (such as wax or varnish)
- Safety goggles
Shaping the Wood
Using turning tools such as gouges or chisels, carefully shape the wood by cutting away excess material and refining the curves. Take your time and work slowly to ensure precision in your cuts. Keep in mind the desired final shape and continuously check your progress to closely match the design you have in mind.
Smoothing the Wood
Once the wood is close to the desired shape, it’s time to start smoothing the surface. Start with a coarse grit sandpaper (around 80-120 grit) to remove any tool marks and rough areas. Apply light pressure and sand in the direction of the wood grain.
Gradually progress to finer grit sandpaper (around 180-220 grit) to achieve a smoother surface. Continue sanding, working your way up to even finer grits (400-600 grit) until you achieve the desired level of smoothness.
Finishing the Wood
After the wood is smooth, you can choose to apply a sanding sealer to the surface. This sealer helps to seal the wood and provides a smooth base for the final finish.
Once the sealer is dry, you can apply a finishing product of your choice, such as wax or varnish, to protect the wood and enhance its appearance. Follow the manufacturer’s instructions for the specific finishing product you are using.
Safety Precautions
When shaping and smoothing the wood on a lathe, it’s crucial to wear safety goggles to protect your eyes from flying wood chips and debris. Additionally, always pay close attention to the position of your hands in relation to the turning wood and keep them clear of any cutting tools.
Make sure to take breaks and rest your muscles to avoid fatigue, as using a lathe requires concentration and control. Stay focused on your work and remember to work slowly and deliberately for the best results.
Step 8: Finishing and Sanding the Project
Once your woodturning project is complete, it’s time to give it a finished and polished look. Here are some steps to follow:
1. Sanding the Project
Start by using sandpaper or sanding pads to smooth out the surface of your project. Start with a coarse grit sandpaper, around 80-100 grit, and gradually work your way up to a finer grit, such as 220 grit. This will help remove any rough spots, tool marks, or imperfections in the wood.
Make sure to sand in the direction of the wood grain and keep the sandpaper moving to avoid creating uneven surfaces. Use circular and back-and-forth motions to ensure an even sanding throughout the project.
2. Applying Finish
Once the sanding is complete, it’s time to apply a finish to protect the wood and enhance its appearance. There are various types of finishes you can choose from, such as varnish, lacquer, shellac, or wood oil. Each finish has its own application process, so be sure to follow the manufacturer’s instructions.
Use a brush or a rag to apply an even coat of finish to the entire project. Allow the finish to dry according to the manufacturer’s recommended drying time. Depending on the type of finish, you may need to apply multiple coats for a more durable and glossy finish.
3. Buffing and Polishing
After the finish has fully dried, you can further enhance the look of your project by buffing and polishing the surface. Use a soft cloth or buffing wheel attached to a lathe to apply a wax or polishing compound to the wood. This will help bring out the shine and smoothness of the finish.
Apply the wax or polish in a circular motion, making sure to cover the entire surface of the project. Continue buffing until you achieve the desired level of shine.
4. Final Inspection
Once the finishing and polishing is done, carefully inspect your woodturning project for any imperfections or areas that may require touch-ups. Use a fine-grit sandpaper to smooth out any rough spots or drips in the finish. Take your time to ensure that your project meets your expectations before considering it complete.
With these steps, you can achieve a beautiful and professional-looking finish on your woodturning projects. Remember to follow safety precautions when working with finishes and always work in a well-ventilated area.
FAQ
What is a wood lathe machine used for?
A wood lathe machine is used for shaping and creating decorative pieces out of wood. It allows you to turn the piece of wood while you shape it with various cutting tools.
How do I choose the right wood lathe machine?
When choosing a wood lathe machine, consider the size and weight of the machine, the maximum length and diameter of wood it can handle, the speed control options, and the overall quality and durability of the machine.
What safety precautions should I take when using a wood lathe machine?
When using a wood lathe machine, always wear safety goggles to protect your eyes from flying wood chips, use the proper technique and grip when holding the wood, and make sure to keep your hands away from the rotating piece of wood.
Can I use a wood lathe machine for metalworking?
No, a wood lathe machine is specifically designed for working with wood and should not be used for metalworking. Using a wood lathe machine for metalworking can be dangerous and may damage the machine.
Video


Harrison Clayton
Meet Harrison Clayton, a distinguished author and home remodeling enthusiast whose expertise in the realm of renovation is second to none. With a passion for transforming houses into inviting homes, Harrison's writing at https://thehuts-eastbourne.co.uk/ brings a breath of fresh inspiration to the world of home improvement. Whether you're looking to revamp a small corner of your abode or embark on a complete home transformation, Harrison's articles provide the essential expertise and creative flair to turn your visions into reality. So, dive into the captivating world of home remodeling with Harrison Clayton and unlock the full potential of your living space with every word he writes.