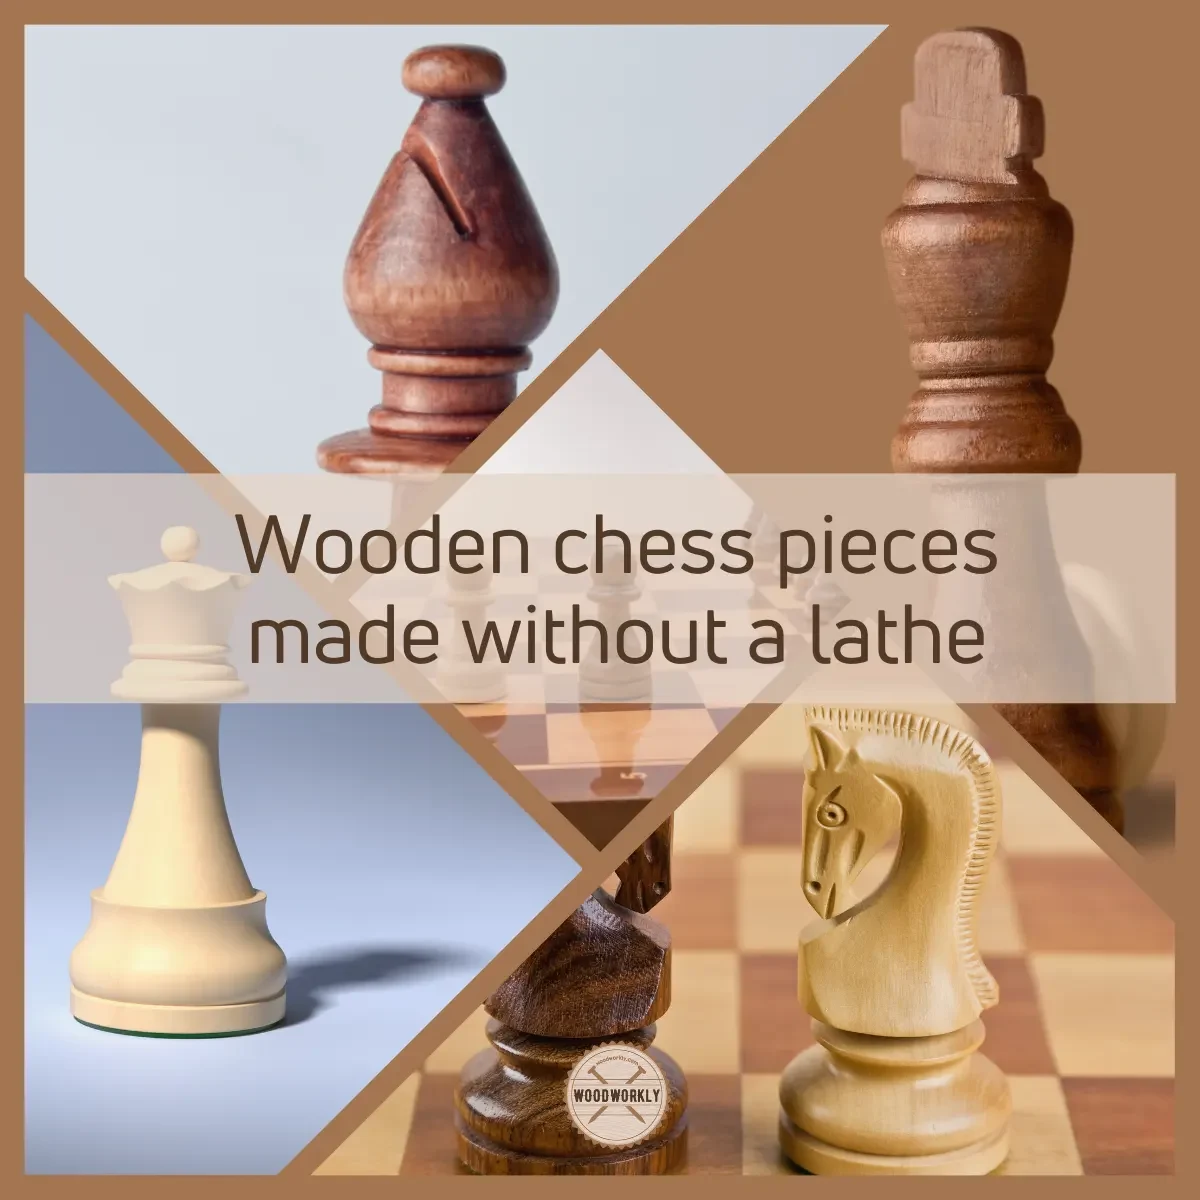
DIY Guide: Making Wooden Chess Pieces Without a Lathe

Chess is a game that has captivated people for centuries. The elegance of the pieces, with their intricate designs and smooth shapes, adds to the allure of the game. But what if you don’t have access to a lathe, a tool commonly used to create these pieces? Don’t worry, you can still make your own wooden chess pieces with just a few basic tools and some creativity.
In this DIY guide, we will walk you through the process of making wooden chess pieces without a lathe. You don’t need any fancy equipment or specialized knowledge – just a love for woodworking and a willingness to learn. We will cover everything from selecting the right wood to shaping and finishing your pieces.
One of the most important steps in making wooden chess pieces without a lathe is selecting the right type of wood. Hardwoods like maple, walnut, and cherry are ideal for this project as they are sturdy and easy to work with. You can find these woods at your local hardware store or even repurpose old furniture or flooring.
To shape your chess pieces, you will need a few basic tools. A coping saw or a fret saw is the main tool you will use to cut out the shapes of the pieces. You will also need some sandpaper in various grits to smooth out the edges and create a finished look. Additionally, a small file or a rasp can be useful for shaping intricate details.
Once you have cut out your pieces and shaped them to your liking, it’s time to finish them. You can use various finishing techniques, such as sanding and staining, to enhance the beauty of the wood and protect it from wear and tear. You can also add details like carvings or paint to make your chess pieces truly unique.

By following this DIY guide, you can create your own set of wooden chess pieces without a lathe. Whether you are a seasoned woodworker or a beginner, this project allows you to explore your creativity and add a personal touch to the game of chess. So why not give it a try and impress your friends with your handcrafted chess set?
Preparation and Tools Needed
Before you begin making wooden chess pieces without a lathe, it is important to gather the necessary tools and prepare your work area. Here is a list of tools you will need:
- A saw – preferably a handheld jigsaw or coping saw
- Wooden boards – choose a type of wood that is easy to work with, such as pine or basswood
- Wood glue – for joining the different pieces of the chess pieces together
- Clamps – to hold the pieces together while the glue dries
- Sandpaper – for smoothing the edges and surfaces of the chess pieces
- A drill – for drilling holes in the chess pieces, if desired
- Paint or stain – for finishing the chess pieces
- Paintbrushes – for applying the paint or stain
- Safety goggles – to protect your eyes from flying wood particles
- Dust mask – to protect your lungs from wood dust
Once you have gathered the necessary tools, make sure your work area is well-ventilated and free of clutter. It is also a good idea to have a workbench or table where you can secure the wooden boards while you work on them.
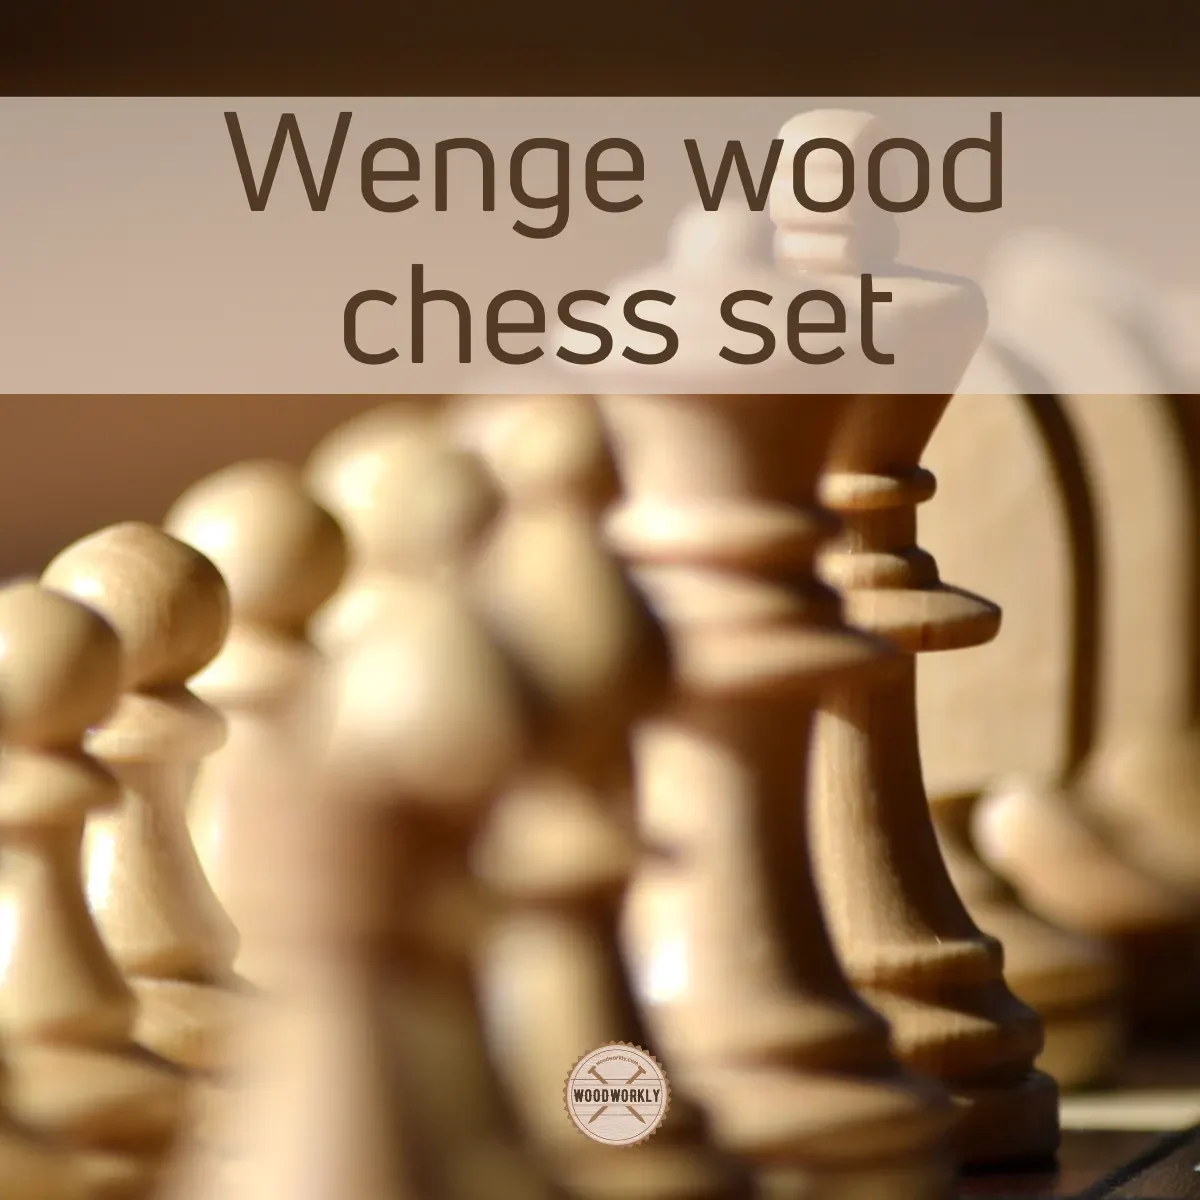
Choosing the Right Wood for Your Chess Pieces
When making wooden chess pieces without a lathe, the choice of wood is an important factor to consider. Different types of wood can provide different levels of durability, aesthetics, and carving ease. Here are some popular wood choices for chess pieces:
- Hardwoods: Hardwoods like maple, walnut, cherry, and oak are commonly used for chess pieces. They are strong, long-lasting, and can be carved easily, making them suitable for intricate designs.
- Softwoods: Softwoods like pine, cedar, and fir are cheaper than hardwoods but may not be as durable. They can still be used for chess pieces, especially if you prioritize cost over longevity.
- Exotic woods: Exotic woods such as ebony, rosewood, and padauk are prized for their unique colors and grain patterns. They can add a touch of elegance and sophistication to your chess set, although they may be more expensive and harder to work with.
When choosing the right wood for your chess pieces, consider factors such as your budget, the level of difficulty you are comfortable with when carving, and the aesthetic appeal you desire. It’s also important to ensure that the wood is properly dried and seasoned to prevent warping or cracking.

Wood Density and Weight
Aside from durability and aesthetics, the density and weight of the wood should also be taken into consideration. Opting for a wood with a higher density can provide a more solid and stable feel to the chess pieces, while a lighter wood may make the set easier to handle.
Keep in mind that the density and weight of the wood can affect the balance and feel of the individual chess pieces as well as the overall set. Experiment with different woods to find the right balance and feel that suits your preferences.
Environmental Considerations
Lastly, it’s important to consider the environmental impact of the wood you choose. Look for sustainably sourced wood options to ensure that the production of your chess pieces does not contribute to deforestation or harm to the environment. Various organizations certify sustainably sourced wood, such as the Forest Stewardship Council (FSC) or the Programme for the Endorsement of Forest Certification (PEFC).
By being mindful of the wood you select for your chess pieces, you can create a beautiful and unique set while also making an environmentally responsible choice.

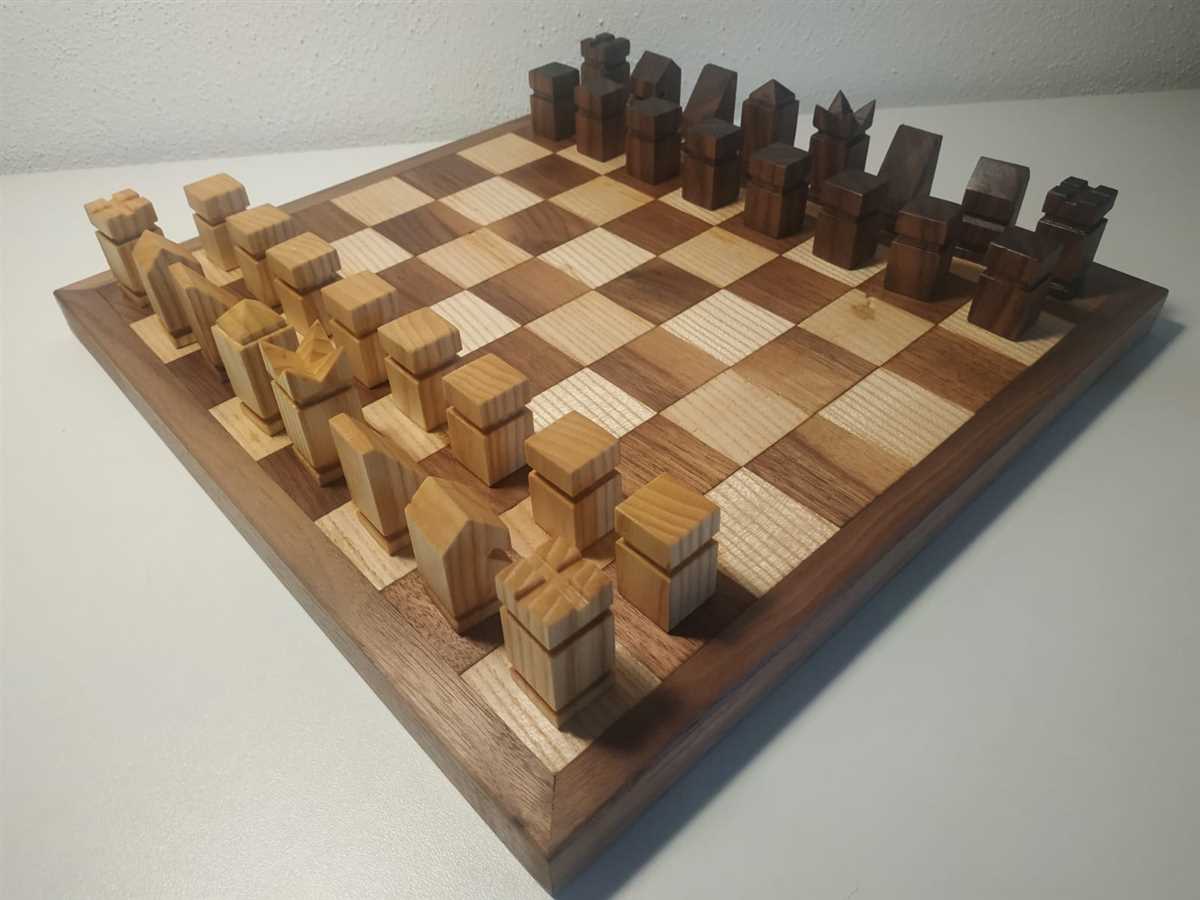
Designing and Planning Your Chess Pieces
Before you start making your wooden chess pieces, it’s important to have a clear plan and design in mind. Here are some steps to help you design and plan your chess pieces:
Step 1: Understand the Standard Chess Piece Designs
Start by familiarizing yourself with the standard designs of chess pieces. There are six different types of pieces: king, queen, rook, bishop, knight, and pawn. Each piece has its own unique shape and characteristics.
Step 2: Decide on the Material and Size
Choose the type of wood you want to use for your chess pieces. Popular options include maple, walnut, and oak. Consider the size of your chessboard and the relative size of the pieces. The king is typically the tallest piece, usually around 3.75 to 4.25 inches.
Step 3: Sketch Your Designs
Using a pencil and paper, sketch your designs for each chess piece. Start with simple shapes and take inspiration from the standard designs. Consider adding your own unique touches to make the pieces more personalized. Make sure to include dimensions for each piece in your sketches.
Step 4: Create a Prototype
Once you are satisfied with your designs, create a prototype of each piece using a soft material like clay or foam. This will allow you to assess the size, shape, and proportions of the pieces and make any necessary adjustments before moving on to the woodworking stage.

Step 5: Make a Cutting Plan
Now that you have finalized your designs, it’s time to create a cutting plan. This plan should include the dimensions and quantities of wood needed for each piece. Consider the grain direction of the wood and plan your cuts accordingly to maximize strength and stability.
Step 6: Consider Finishing Options
Think about how you want to finish your wooden chess pieces. You can choose to leave the natural wood color, apply a clear varnish, or even paint them. Research different finishing techniques and decide on the one that best suits your style and preferences.
Step 7: Gather Materials and Tools
With your design and cutting plan in hand, gather all the necessary materials and tools for the woodworking stage. This may include different types of wood, a saw, chisels, sandpaper, and a wood finish of your choice. Make sure you have everything you need before you start.
By following these steps, you can ensure that your wooden chess pieces turn out exactly as you envisioned. Take your time in the planning and design stages to create a set of chess pieces that you can be proud of.
Cutting and Shaping the Chess Pieces
Once you have the wooden blocks ready, it’s time to start cutting and shaping them into chess pieces. Here are the steps to follow:

1. Marking the Measurements
Begin by marking the measurements on each block of wood. Use a ruler or measuring tape to determine the height and width of each chess piece. Make sure to mark the center point of each piece as well.
2. Cutting the Blocks
Using a saw, carefully cut the wooden blocks along the marked measurements. Take your time to ensure clean and straight cuts. You may want to use clamps or a vice to hold the blocks steady while cutting to prevent any accidents.
3. Shaping the Pieces
Once the blocks are cut, it’s time to shape them into the desired chess pieces. This can be done using either hand tools or power tools, depending on your preference and skill level. Popular tools for shaping wooden chess pieces include chisels, files, sandpaper, and a carving knife.
4. Sanding and Smoothing
After shaping the pieces, carefully sand and smooth the surfaces using sandpaper. Start with a rough grit sandpaper and gradually move to a finer grit for a polished finish. Be thorough in removing any rough edges or splinters.
5. Finishing and Polishing
Once the pieces are shaped and sanded, you can choose to apply a finish or polish to enhance their appearance and protect the wood. Options for finishing include varnish, lacquer, or wood oil. Apply multiple coats as needed, allowing each coat to dry before applying the next one.
6. Final Touches
Inspect each chess piece for any imperfections or rough spots. Use sandpaper or a file to fix any small issues that may be present. Take your time to ensure that each piece is smooth and well-shaped.
Following these steps will help you cut and shape your wooden blocks into beautiful chess pieces without the need for a lathe. Remember to prioritize safety by wearing protective gear and taking caution with power tools. Enjoy the process and have fun unleashing your creativity!
Sanding and Smoothing the Chess Pieces
After carving the wooden chess pieces, it is important to sand and smooth them to achieve a polished finish. Sanding not only removes any rough edges or imperfections but also prepares the surface for staining or painting.
To sand the chess pieces, you will need different grits of sandpaper, ranging from coarse to fine. Start with a coarse grit, such as 80 or 120, to remove any large bumps or irregularities. Use a sanding block or wrap the sandpaper around a wooden dowel to make it easier to handle and apply even pressure.
Once the chess pieces are relatively smooth with the coarse grit, switch to a finer grit, around 220 or 320, to continue sanding. This will help to refine the shape and remove any remaining roughness. Keep sanding until the pieces feel consistently smooth to the touch.
During the sanding process, it is essential to sand in the direction of the wood grain to avoid creating scratches or gouges. Also, be careful not to sand too aggressively, as this can remove too much material and alter the shape of the chess pieces.
After using the finer grit, you can proceed to an even finer grit, such as 400 or 600, for a professional-looking finish. This step is optional but can make a significant difference in the final result. The higher the grit, the smoother and more polished the chess pieces will be.
Once you have finished sanding, be sure to clean off any dust or debris from the pieces. You can use a brush or cloth to wipe them down, or even rinse them with water and let them dry thoroughly.
In summary, sanding and smoothing the chess pieces is a crucial step in the DIY process. It helps create a polished and professional appearance while also preparing the surface for finishing touches such as staining or painting. Remember to use different grits of sandpaper, sand in the direction of the wood grain, and clean the pieces thoroughly after sanding.
Adding Finishing Touches and Details
Sanding the Chess Pieces
Before adding any finishing touches, it’s important to sand the chess pieces to create a smooth and even surface. Start by using a coarse-grit sandpaper, such as 80-grit or 120-grit, to remove any rough edges or imperfections. Move the sandpaper in a circular motion to ensure even sanding.
Once the rough spots have been smoothed out, switch to a finer-grit sandpaper, like 220-grit or 320-grit, to further refine the surface. Continue sanding in a circular motion until the wood feels smooth to the touch.
Applying a Finish
To protect the wood and enhance its natural beauty, it’s important to apply a finish to the chess pieces. There are several options for finishes, but a common choice is polyurethane. Polyurethane provides a durable and protective coating that is resistant to moisture and wear.
Before applying the polyurethane, make sure the chess pieces are clean and free of any dust. Use a clean cloth or brush to apply a thin, even layer of polyurethane to each piece. Let the polyurethane dry according to the manufacturer’s instructions, then lightly sand the pieces with a fine-grit sandpaper to smooth out any brushstrokes or imperfections.
Apply a second coat of polyurethane and repeat the drying and sanding process to achieve a smooth and glossy finish. Be sure to let the chess pieces dry completely before moving on to the next step.
Adding Details
To make your chess pieces look more professional and unique, you can add details using paint or wood stains. Consider adding details such as lines, patterns, or even symbols to differentiate between different pieces.
Paint can be applied with a brush or a fine-tip marker. Make sure the paint is dry before handling the chess pieces to avoid smudging or smearing. If using wood stains, apply them with a clean cloth or brush, following the manufacturer’s instructions.
Be creative and experiment with different designs to personalize your chess pieces. Once the details are added, let the pieces dry completely before using them in a game.
Now that you’ve added the finishing touches and details to your wooden chess pieces, they are ready to be used in a game. Enjoy the satisfaction of playing with a set of chess pieces that you created with your own hands!
Final Assembly and Polishing Your Chess Pieces
Gather Your Materials
Before you begin the final assembly and polishing of your wooden chess pieces, make sure you have the following materials:
- Sandpaper (grit sizes: 150, 220, 400, 600)
- Shellac or wood finish of your choice
- Lint-free cloth
- Applicator brush or cotton swabs
- Soft polishing cloth
- Small container for shellac
Step 1: Sanding
Start by sanding each chess piece to smooth out any rough edges or imperfections. Begin with the coarsest sandpaper (150 grit) and gradually work your way up to finer grits (220, 400, and 600).
Make sure to sand evenly and in the direction of the grain to achieve a polished finish. Remove any dust or debris between each sanding by wiping the chess pieces with a lint-free cloth.
Step 2: Applying Shellac or Wood Finish
Once you are satisfied with the smoothness of the chess pieces, it’s time to apply the shellac or wood finish. This will protect the wood and enhance its appearance.
Pour a small amount of shellac into a container and dip your applicator brush or cotton swab into it. Apply the shellac in thin, even coats, following the wood grain. Allow each coat to dry completely before applying the next one.
Repeat this process until you achieve the desired level of finish. Remember to follow the manufacturer’s instructions for drying times and application techniques for the specific product you are using.
Step 3: Polishing
Once the final coat of shellac or wood finish has dried, you can polish your chess pieces to give them a smooth and shiny appearance.
Using a soft polishing cloth, gently buff each chess piece in circular motions. This will remove any minor imperfections and bring out the natural beauty of the wood.
Take your time with this step and pay attention to detail. The more you polish, the better the final result will be.
Step 4: Final Assembly
Now that your chess pieces are sanded, finished, and polished, it’s time for the final assembly.
If your chess pieces have a hole on the bottom, insert a small amount of glue into the hole and carefully attach them to the wooden chessboard.
If your chess pieces do not have a hole, you can simply place them on the chessboard, making sure they are secure and stable.
Step 5: Admire Your Handiwork
Congratulations! You have successfully made wooden chess pieces without a lathe and completed the final assembly and polishing process.
Take a moment to admire your beautiful and unique chess set. It’s now ready to be used and enjoyed for countless games to come.
FAQ
What materials do I need to make wooden chess pieces without a lathe?
You will need a wooden block, a saw, sandpaper, a ruler, and some woodworking tools such as chisels and gouges.
Can I use any type of wood for making the chess pieces?
Yes, you can use any type of wood that is suitable for carving such as mahogany, maple, walnut, or oak.
Do I need any experience in woodworking to make the wooden chess pieces?
Some basic knowledge and skills in woodworking will be helpful, but even beginners can give it a try by following the step-by-step instructions provided in the article.
How long does it take to make the wooden chess pieces?
The time required to make the wooden chess pieces will depend on your skill level and the intricacy of the design. It can range from a few hours to a couple of days.
Are there any safety precautions that I need to follow when making the wooden chess pieces?
Yes, it is important to wear safety goggles and gloves to protect your eyes and hands while working with the tools. It is also recommended to work in a well-ventilated area to avoid inhaling sawdust.
Video

Meet Harrison Clayton, a distinguished author and home remodeling enthusiast whose expertise in the realm of renovation is second to none. With a passion for transforming houses into inviting homes, Harrison's writing at https://thehuts-eastbourne.co.uk/ brings a breath of fresh inspiration to the world of home improvement. Whether you're looking to revamp a small corner of your abode or embark on a complete home transformation, Harrison's articles provide the essential expertise and creative flair to turn your visions into reality. So, dive into the captivating world of home remodeling with Harrison Clayton and unlock the full potential of your living space with every word he writes.