How to add anti slip to socks with glue gun

Slippery socks can be a real hazard, especially on smooth surfaces like hardwood or tile floors. If you find yourself constantly slipping and sliding around your home, it may be time to consider adding anti-slip grips to your socks. And the best part? You can easily do it yourself with just a glue gun!
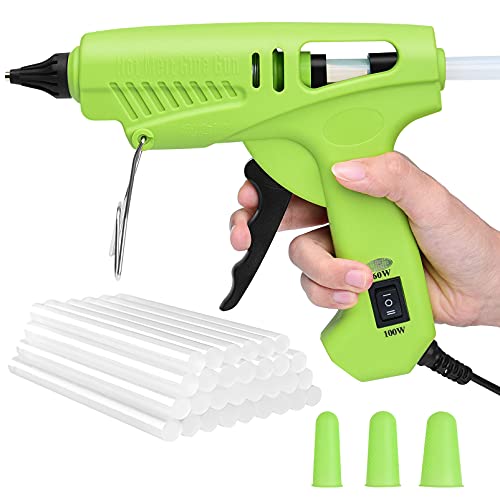
To get started, you’ll need a few supplies. First, make sure you have a clean pair of socks that you want to add the grips to. Then, gather a glue gun and some hot glue sticks. You might also want to use a template or stencil to create uniform and symmetrical designs on your socks, but this is optional.
Once you have your supplies ready, the process is fairly straightforward. Start by heating up your glue gun until the adhesive is hot and melted. Then, carefully squeeze the hot glue onto the bottom of your sock, creating small dots or lines in a pattern that will provide traction. Be sure to work quickly, as the glue dries fast!
After you’ve applied the hot glue, let it cool and harden for a few minutes before trying on your newly anti-slip socks. And voila! You now have a pair of socks with enhanced grip to help you navigate slippery surfaces with confidence.
It’s important to note that while this DIY solution can be effective, it may not be a permanent fix. Over time, the hot glue grip may wear off, especially with regular use and washing. If that happens, simply reapply the hot glue and you’ll be good to go! So go ahead, give your socks a grip upgrade and say goodbye to those accidental slips and falls!

How to Add Anti Slip to Socks with Glue Gun
If you’re tired of slipping or sliding on smooth floors in your favorite socks, adding an anti-slip grip can help improve traction and prevent accidents. While there are a few different methods to achieve this, using a glue gun can be a quick and effective solution. Here’s a step-by-step guide on how to add anti-slip to socks with a glue gun.
Materials Needed:
- Socks
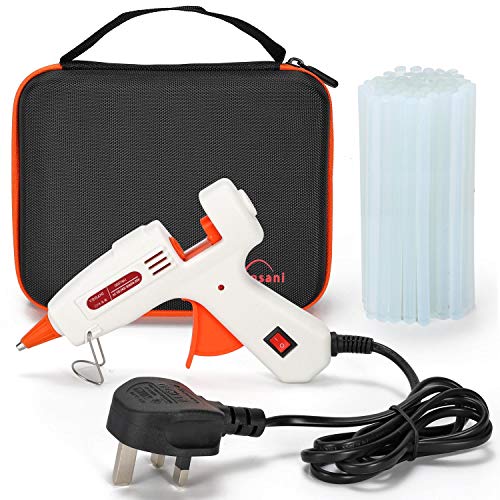
- Glue gun
- Glue sticks
- Cardboard or wax paper
- Scissors
Steps:
- Start by preparing your work surface. Place a piece of cardboard or wax paper on a flat surface to protect it from any glue drips.
- Plug in your glue gun and allow it to heat up. Make sure to read and follow the manufacturer’s instructions for your specific glue gun.
- Put on the socks you want to add the anti-slip grips to. This will help you determine the areas where the grips are needed the most.
- Take off one sock and place it on your protected work surface.
- Using the glue gun, create small dots or lines of glue on the areas of the sock that need additional grip. Focus on the ball of the foot, the heel, and any other areas that tend to slip.
- Allow the glue to cool and harden before testing the grip. This usually takes a few minutes.
- Repeat the previous steps for the other sock.
- Once both socks are dry, put them on again and test the anti-slip grips on a smooth floor. Walk around and see if you notice a difference in grip and stability.
Note: Keep in mind that while this method can provide additional traction, it may not be as durable as commercially available anti-slip socks. The glue dots or lines may wear off over time or with frequent use, so you may need to periodically reapply the glue to maintain the grip.
That’s it! By adding a few dots or lines of glue using a glue gun, you can give your socks an anti-slip grip and enjoy more stability on smooth surfaces.
Preparation and Supplies
Before you begin adding anti-slip to your socks, it’s important to gather all the necessary supplies and prepare your work area. Here’s what you’ll need:
| 1. | Socks: Choose a pair of socks that you want to add the anti-slip grips to. Make sure they are clean and dry. |
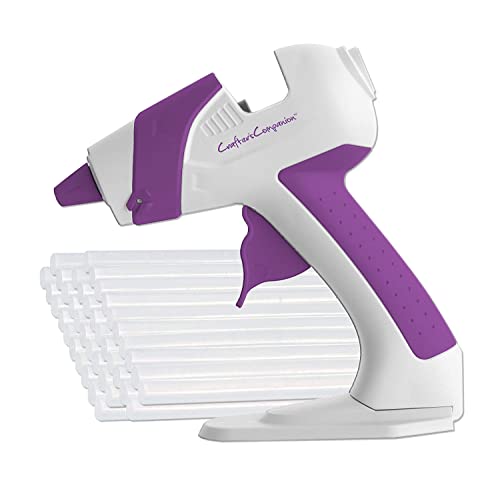
| 2. | Hot glue gun: You’ll need a hot glue gun to apply the anti-slip grips to the socks. Make sure it’s in working condition and has a full glue stick. |
| 3. | Glue sticks: Ensure you have enough glue sticks to complete the project. It’s always better to have extra glue sticks on hand, just in case. |
| 4. | Anti-slip material: There are various materials you can use to create the anti-slip grips on your socks. Some popular options include silicone, puffy fabric paint, or even adhesive grip pads. |
| 5. | Scissors: You may need to trim any excess material or threads from the socks or anti-slip grips. |
| 6. | Protective surface: To protect your work area from hot glue drips and spills, place a sheet of parchment paper or a silicone mat on your work surface. |
| 7. | Heat-resistant gloves: It’s always a good idea to wear heat-resistant gloves while using a glue gun to protect your hands from potential burns. |
Once you have all your supplies ready, you can move on to the next step of adding the anti-slip grips to your socks.

Applying the Anti Slip to Socks
Adding an anti-slip coating to your socks can help prevent slips and falls on smooth surfaces. This simple DIY solution can be done using a glue gun and some basic materials. Here’s how you can apply the anti-slip to your socks:
Materials you will need:
To complete this project, you will need the following materials:
- A pair of socks
- A glue gun
- Hot glue sticks
- Non-slip fabric paint or puffy fabric paint
- Marker or pen
- Piece of cardboard or paper
Steps:
- Start by placing a piece of cardboard or paper inside the sock. This will prevent the glue from seeping through to the other side of the sock.
- Using the marker or pen, draw small circles or dots on the bottom of the socks where you want the anti-slip to be. These will act as a guide for applying the glue.
- Heat up your glue gun and insert a glue stick.
- Once the glue gun is heated, carefully squeeze the hot glue onto the marked circles or dots on the sock. Make sure to apply enough glue to create a thick, non-slip coating.
- Repeat this process for all the marked areas on both socks.
- Allow the glue to dry completely. This usually takes a few hours, but follow the instructions on the glue package for the best results.
- Once the glue is dry, test the anti-slip coating by walking on a smooth surface. The glue should provide enough traction to prevent slipping.
- If you want added durability, you can apply a layer of non-slip fabric paint or puffy fabric paint over the dried glue. This will make the coating even more resistant to wear and tear.
- Allow the paint to dry completely before wearing the socks.
By following these steps, you can easily add an anti-slip coating to your socks using a glue gun and basic materials. This DIY solution can help improve safety and prevent slips on smooth surfaces.
Drying and Testing
Once you have applied the glue gun anti-slip dots to your socks, you will need to let them dry completely. It is important to give the dots enough time to set so that they adhere firmly to the fabric.
Place the socks in a well-ventilated area and allow them to air dry for at least 24 hours. Avoid touching or moving the socks during this time to prevent the dots from smudging or losing their shape.

After the drying time has elapsed, you can test the effectiveness of the anti-slip dots by wearing the socks on a slippery surface. It is recommended to test them on different surfaces such as hardwood floors, tiles, or laminate to ensure their efficiency on various types of flooring.
Walk around and pay attention to how the dots grip the surface. If you feel more stable and secure, it means that the anti-slip solution has worked. If you notice any areas where the dots are not providing enough grip, you can apply additional dots to those spots and repeat the drying process.
Remember to always check the condition of the anti-slip dots before wearing the socks to ensure they are still intact and adhering properly. If you notice any signs of wear or if the dots start to peel off, it is recommended to remove them and reapply a fresh layer of glue gun dots for optimal grip and safety.
FAQ
What is the purpose of adding anti-slip to socks?
Adding anti-slip to socks helps prevent slipping and falling on smooth surfaces, providing better traction and grip.
Is it difficult to add anti-slip to socks with a glue gun?
No, adding anti-slip to socks with a glue gun is a relatively simple and straightforward process. It just requires a few materials and some patience.

What materials are needed to add anti-slip to socks with a glue gun?
To add anti-slip to socks with a glue gun, you will need socks, a glue gun, hot glue sticks, and a non-slip fabric such as silicone or gripper fabric.
Can I use any type of socks for this method?
Yes, you can use any type of socks for adding anti-slip with a glue gun. However, it is recommended to use socks with a bit of texture or grip on the bottom for better adherence.
How long does it take for the glue to dry?
The drying time for the glue will depend on the type of glue used. Generally, hot glue dries fairly quickly, usually within a few minutes.


Harrison Clayton
Meet Harrison Clayton, a distinguished author and home remodeling enthusiast whose expertise in the realm of renovation is second to none. With a passion for transforming houses into inviting homes, Harrison's writing at https://thehuts-eastbourne.co.uk/ brings a breath of fresh inspiration to the world of home improvement. Whether you're looking to revamp a small corner of your abode or embark on a complete home transformation, Harrison's articles provide the essential expertise and creative flair to turn your visions into reality. So, dive into the captivating world of home remodeling with Harrison Clayton and unlock the full potential of your living space with every word he writes.