Tips for Drilling a Hole Next to Another

Drilling a hole next to another hole can be a tricky task, especially if you want to ensure the holes are perfectly aligned. However, with a few tips and techniques, you can easily accomplish this task without any hassle.
1. Take Measurements: Before drilling, it’s important to take precise measurements to determine the exact location and distance between the two holes. Use a measuring tape or ruler to mark the positions accurately.
2. Use a Center Punch: To provide a starting point for drilling, use a center punch to create a small indent at the desired location. This will prevent the drill bit from slipping or wandering off-course.
3. Choose the Right Drill Bit: Selecting the appropriate drill bit is crucial for drilling holes next to each other. Use a bit that matches the diameter of the hole you want to create and ensure it is sharp and in good condition to prevent any mishaps.
4. Drill Slowly and Steadily: When drilling the holes, it’s essential to maintain a slow and steady pace. This will allow you to have more control over the drilling process and reduce the risk of making any mistakes or damaging the material.

5. Utilize a Drill Guide: If you’re concerned about drilling holes precisely, consider using a drill guide. This tool will help you align the drill bit accurately and maintain consistent depth throughout the drilling process.
By following these tips and techniques, you can drill holes next to each other with ease and precision. Remember to stay patient and take your time to achieve the desired results.
Proper positioning
Proper positioning is crucial when drilling a hole next to another. It ensures that the holes are aligned correctly and prevents any damage or interference with the existing hole. Here are some tips for achieving the proper positioning:
1. Measure and mark
Before drilling, measure the distance between the existing hole and the desired location for the new hole. Use a ruler or a tape measure to get an accurate measurement. Mark the spot with a pencil or a marker.
2. Use a guide
A guide can help you maintain the proper positioning while drilling the new hole. You can use a template, a jig, or even a piece of scrap wood with pre-drilled holes. Place the guide over the marked spot and secure it in place.
3. Clamp the workpiece
If possible, clamp the workpiece securely to prevent any movement while drilling. This will help you maintain the proper positioning and avoid any accidental shifts that may lead to misaligned holes.
4. Start with a pilot hole
Starting with a pilot hole can be helpful, especially when drilling larger holes. It allows you to check the positioning and make any necessary adjustments before drilling the final hole.
5. Take your time
Drilling next to another hole requires precision and patience. Take your time to ensure that the drill bit is aligned with the marked spot and drill slowly and steadily to maintain the proper positioning.
6. Check alignment
After drilling the new hole, check the alignment with the existing hole. Use a straightedge or a level to ensure that the holes are parallel or aligned as required.
By following these tips and paying attention to proper positioning, you can achieve accurate and neatly aligned holes next to each other.

Choose the right drill bit
When drilling a hole next to another, it is important to choose the right drill bit. The type and size of the drill bit you use can greatly affect the outcome of your drilling project. Here are some factors to consider when choosing a drill bit:
Type of Material
Different materials require different drill bits. For example, if you are drilling into wood, a standard twist drill bit will usually suffice. However, if you are drilling into metal, you will need a special type of drill bit designed for metal such as a cobalt or titanium-coated drill bit. Make sure to match the drill bit to the material you are drilling into.
Size of the Hole
The size of the hole you need to drill will also affect the drill bit you choose. Drill bits come in a variety of sizes and it is important to select one that matches the desired hole size. You can also use a drill bit slightly larger than the hole size and then enlarge it using a reamer or file if necessary.
Length of the Drill Bit

The length of the drill bit is also an important consideration when drilling a hole next to another. If you are drilling into a tight or hard-to-reach space, a shorter drill bit may be more appropriate. Alternatively, if you need to drill a deep hole, a longer drill bit will be necessary. Consider the depth and accessibility of the hole when choosing the length of the drill bit.
Quality of the Drill Bit
The quality of the drill bit can significantly impact the drilling experience and the results. Investing in a high-quality drill bit can ensure a clean and precise hole. Cheaper drill bits may wear out quickly or break, leading to a frustrating drilling process. Consider the quality and durability of the drill bit when making your selection.
Drill Bit Coating
Some drill bits come with a special coating designed to increase their durability and performance. Common coatings include titanium nitride (TiN), black oxide, and cobalt. These coatings can reduce friction, increase the drill bit’s lifespan, and provide better heat resistance. Depending on the material you are drilling into and the desired outcome, a coated drill bit may be a better choice.
By considering these factors and choosing the right drill bit, you can ensure a successful drilling project when drilling a hole next to another.
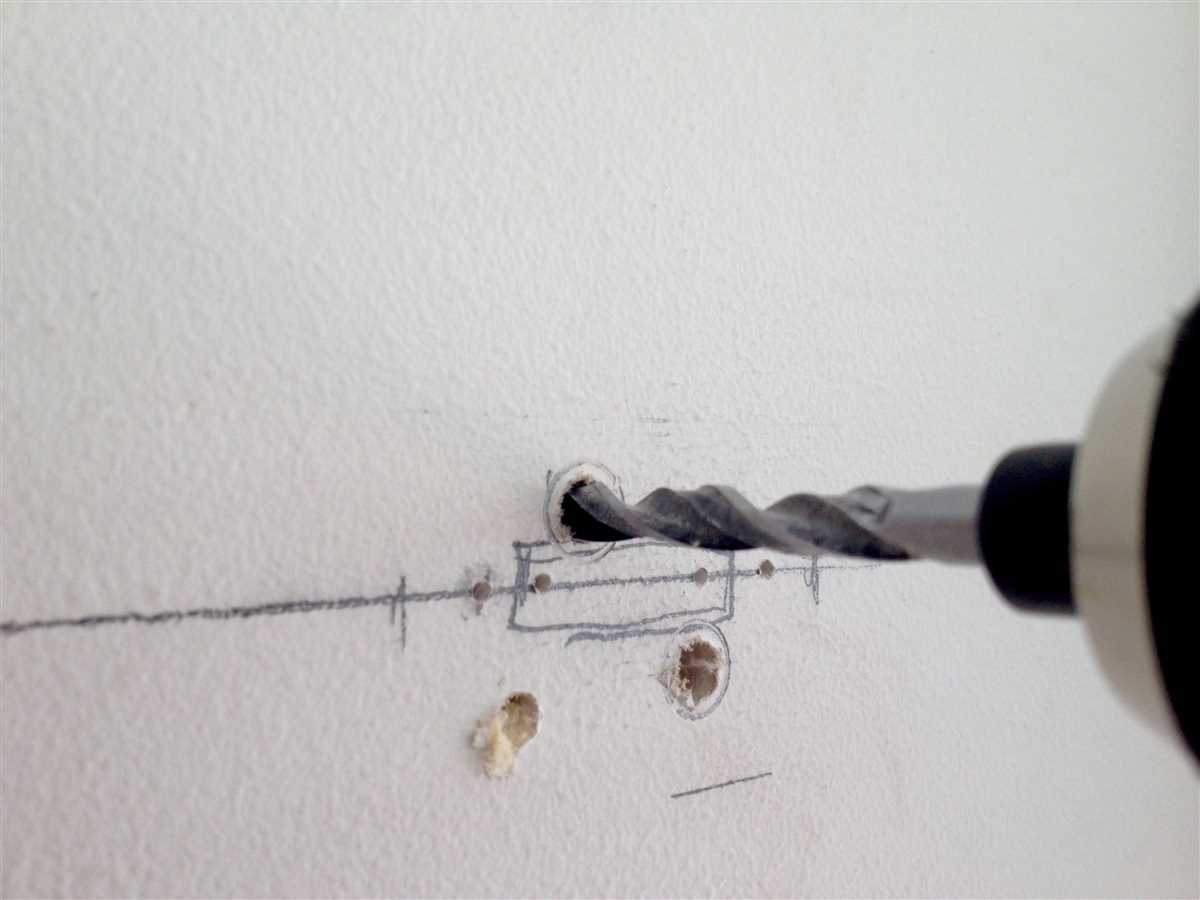
Mark the spot accurately
Before drilling a hole next to another, it is crucial to mark the spot accurately. This will ensure that the new hole is drilled in the desired location and at the correct distance from the existing hole.

To mark the spot accurately, follow these steps:
- Measure and mark: Use a measuring tape or ruler to determine the desired distance between the existing hole and the new hole. Mark this distance on the surface using a pencil or marker.
- Use a level: Place a level horizontally or vertically along the line you just marked. Adjust the placement until the bubble in the level is centered, indicating that the line is perfectly straight. This will ensure that the new hole is drilled in a straight line with the existing hole.
- Double-check: Take a step back and visually double-check the marked spot. Make sure it aligns with your intended placement and that it is at the correct distance from the existing hole. Adjust the mark if necessary.
By marking the spot accurately, you can significantly reduce the chances of drilling a hole in the wrong place or creating unnecessary damage. Taking the time to measure, use a level, and double-check will result in a more precise and successful drilling experience.
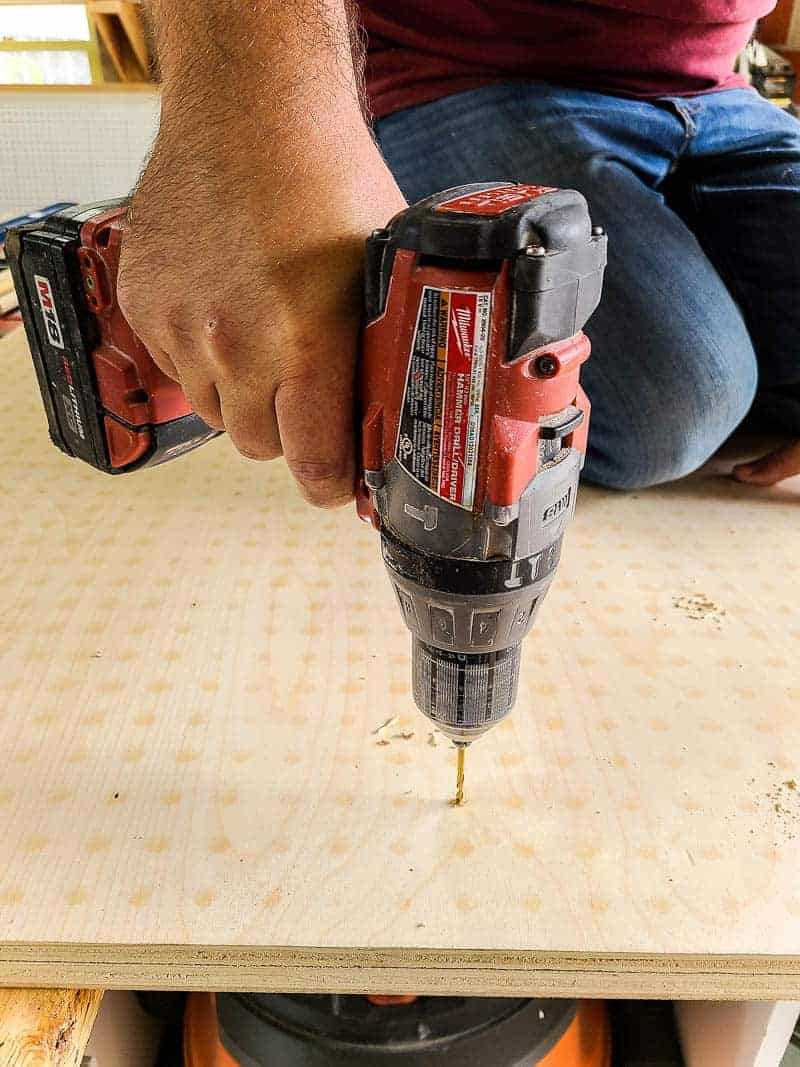
Start with a small pilot hole
When drilling a hole next to another, it is important to start with a small pilot hole. This will create a guide for the larger drill bit and help prevent it from wandering off course.
To create a pilot hole, choose a smaller drill bit that is slightly smaller than the desired size of the final hole. Place the tip of the drill bit on the spot where you want to drill the hole, making sure it is securely positioned.
Apply gentle pressure and start drilling slowly. It is important to maintain a steady hand and keep the drill bit aligned with the desired drilling location. Make sure to use a drill with variable speed control to have better control over the drilling process.

Once the pilot hole is drilled, remove the smaller drill bit and replace it with the larger drill bit that matches the desired size of the final hole. The pilot hole will serve as a guide, ensuring that the larger drill bit stays on track and drills straight.
By starting with a small pilot hole, you can minimize the risk of damaging the surrounding area or causing the drill bit to drift off course. This technique is especially useful when drilling holes close to each other, as it allows for precise positioning and avoids any accidental overlapping.
Take breaks to prevent overheating
When drilling a hole next to another, it’s important to take breaks to prevent overheating. Overheating can cause damage to the drill bit, the workpiece, or even lead to injury. Here are some tips to prevent overheating:
1. Use the correct drill bit
Using the correct drill bit for the material you are working on can help prevent overheating. Different materials require different types of drill bits. Make sure you are using the right one to ensure proper cutting and reduce the risk of overheating.
2. Apply cutting fluid
Applying cutting fluid to the drill bit can help reduce friction, heat, and wear. This lubricant can also improve the drilling process by removing chips and debris, allowing for smoother and more efficient drilling.

3. Reduce drill speed
Running the drill at a lower speed can decrease friction and heat generation. Higher drill speeds can lead to overheating. Adjust the speed setting on your drill to a slower speed when drilling next to another hole.
4. Take frequent breaks
Drilling generates heat as a result of friction. To prevent overheating, take frequent breaks during the drilling process. This will allow the drill bit and workpiece to cool down and reduce the risk of overheating.
5. Use a cooling agent
In addition to cutting fluid, you can also use a cooling agent such as water or coolant to help dissipate heat during drilling. Apply the cooling agent to the drilling area periodically to keep the temperature under control.
6. Keep an eye on the temperature
While drilling, pay attention to the temperature of the drill bit and workpiece. If you notice excessive heat or smoke, stop drilling immediately and allow the drill and workpiece to cool down before continuing.
By following these tips and taking breaks to prevent overheating, you can ensure a safer and more effective drilling process when working near existing holes.
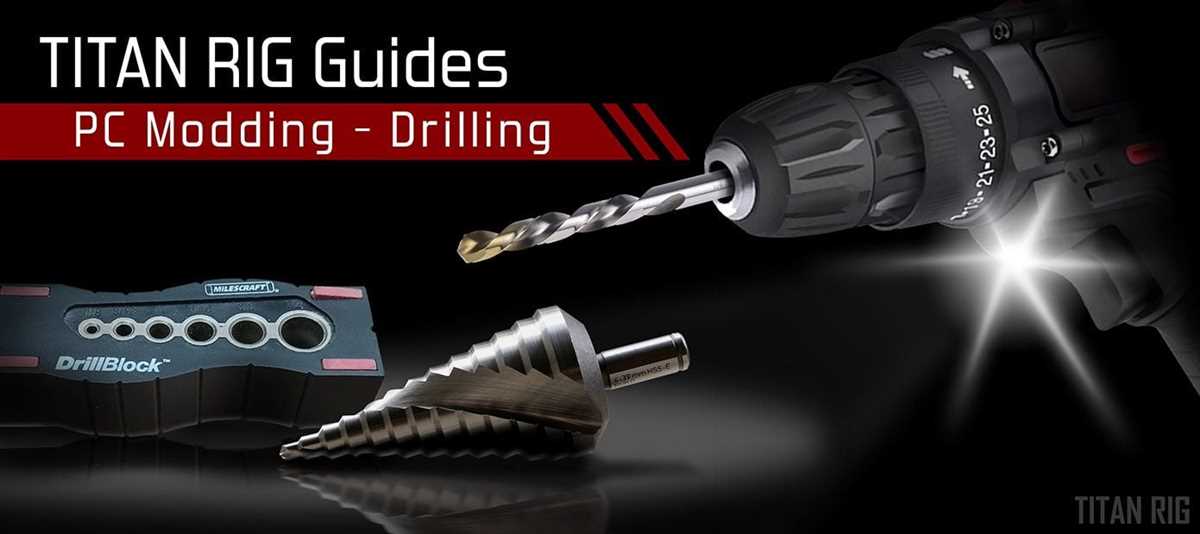
Use a drill guide
When drilling a hole next to another, it can be challenging to ensure precision and avoid any accidental damage. One useful accessory that can greatly assist in this task is a drill guide.
A drill guide is a device or attachment that helps guide the drill bit and ensures accurate positioning and alignment. It is particularly helpful when drilling holes close to an existing hole, as it provides a stable and consistent reference point.
Benefits of using a drill guide:
- Improved precision: By using a drill guide, you can drill holes exactly where you want them to be, ensuring precise alignment and spacing.
- Reduced risk of damage: Without a drill guide, it’s easy to accidentally veer off course and damage the surrounding material. A drill guide helps maintain control and prevents any unintended damage.
- Increased stability: The drill guide holds the drill bit firmly in place, minimizing any wobbling or movement. This stability allows for more accurate drilling.
- Consistent results: By using a drill guide, you can achieve consistent results across multiple holes, ensuring uniformity and symmetry.
How to use a drill guide:
Using a drill guide is relatively straightforward:
- Attach the drill guide to your drill, following the manufacturer’s instructions.
- Position the drill guide over the desired drilling location, aligning it with the existing hole or desired spacing.
- Tighten any adjustable components on the drill guide to ensure a secure and stable position.
- Insert the drill bit through the guide bushing or hole in the drill guide.
- Engage the drill and begin drilling, applying steady pressure and keeping the drill bit aligned with the guide.
- Once the hole is completed, release the pressure on the drill and remove it from the guide.
Remember to always follow proper safety precautions when using a drill and drill guide, such as wearing protective eyewear and securing your workpiece properly.
Overall, using a drill guide can greatly enhance your drilling accuracy and ensure that you can successfully drill a hole next to another without any issues or damage. It is a worthwhile investment for any project that requires precise hole placement.
Keep the drill steady
Drilling a hole next to another requires precision and accuracy to prevent any damage or mistakes. One of the key factors in achieving this is keeping the drill steady throughout the drilling process. Here are some tips to help you keep the drill steady:
- Use a drill press: If possible, use a drill press instead of a handheld drill. A drill press provides better stability and control, allowing for more accurate drilling.
- Secure the workpiece: Make sure the workpiece is securely clamped or fastened down before drilling. This will prevent any movement or shifting during the drilling process.
- Apply consistent pressure: Apply consistent pressure on the drill, keeping it parallel to the surface of the workpiece. Avoid applying too much force, as it may cause the drill bit to wander or damage the workpiece.
- Use a center punch or pilot hole: Prior to drilling the actual hole, use a center punch or create a small pilot hole. This will help guide the drill bit and prevent it from slipping off its intended path.
- Use a drill guide: If drilling freehand, consider using a drill guide to maintain a straight and steady drilling motion. A drill guide can be clamped onto the workpiece and acts as a guide for the drill bit.
- Take breaks: Drilling can be a tiring task, especially when drilling multiple holes in a row. Take breaks as needed to prevent fatigue, as it can lead to shaky hands and an unsteady drill.
- Practice and exercise patience: Like any skill, drilling takes practice. Take your time and exercise patience to develop a steady hand and improve your drilling technique.
By keeping the drill steady, you’ll be able to effectively drill a hole next to another without any issues or mistakes. Remember to practice good technique and take your time to ensure the best possible results.
Finish with a countersink bit
When drilling a hole next to another hole, it’s important to ensure that the finish is clean and professional. One way to achieve this is by using a countersink bit at the end of the drilling process. A countersink bit is a special type of drill bit that produces a conical hole at the top of the drilled hole.
To finish with a countersink bit, follow these steps:
- Choose an appropriate size countersink bit that matches the diameter of your hole.
- Place the countersink bit into your drill and tighten it securely.
- Hold the drill perpendicular to the surface, aligning the countersink bit with the top of the drilled hole.
- Gently apply pressure to the drill and start drilling, ensuring that the countersink bit remains aligned with the hole.
- Continue drilling until the desired conical shape is achieved.
By using a countersink bit, you will create a recessed area around the hole, allowing the screw or fastener to sit flush with the surface. This not only improves the appearance but also prevents any potential snags or obstructions.
Remember to practice proper safety precautions when using power tools and always wear protective gear, such as safety glasses and gloves.
FAQ:
How should I mark the drill locations accurately when drilling a hole next to another?
To mark the drill locations accurately, you can use a pencil, a marker, or a center punch. If using a pencil or a marker, make sure to draw small dots precisely on the spot you want to drill. If using a center punch, place it in the exact location and give it a light tap with a hammer to create a small indent.
What is a drill guide and how can it help when drilling a hole next to another?
A drill guide is a tool that helps you maintain the correct drilling position. It usually consists of a block or a sleeve with guide holes that you can position next to the existing hole. By inserting the drill bit into the guide hole, you ensure that the new hole will be drilled in the right place, parallel to the existing one.
Video:


Meet Harrison Clayton, a distinguished author and home remodeling enthusiast whose expertise in the realm of renovation is second to none. With a passion for transforming houses into inviting homes, Harrison's writing at https://thehuts-eastbourne.co.uk/ brings a breath of fresh inspiration to the world of home improvement. Whether you're looking to revamp a small corner of your abode or embark on a complete home transformation, Harrison's articles provide the essential expertise and creative flair to turn your visions into reality. So, dive into the captivating world of home remodeling with Harrison Clayton and unlock the full potential of your living space with every word he writes.


