Step-by-Step Guide on Installing Ring No Drill Mount

Mounting a Ring doorbell or security camera can be a daunting task, especially if you don’t have access to a power drill. Luckily, the Ring No Drill Mount offers a convenient and easy solution for homeowners who want to install their devices without any drilling or wiring. In this step-by-step guide, we will walk you through the installation process of the Ring No Drill Mount, so you can have peace of mind knowing that your Ring device is securely attached to your home.
Step 1: Gather the necessary tools and materials
Before you begin, make sure you have all the tools and materials you’ll need for the installation. The Ring No Drill Mount kit typically includes the mount itself, adhesive pads, a mounting bracket, screws, and an installation guide. You may also need a screwdriver, a level, and a cloth to clean the mounting surface.
Step 2: Clean the mounting surface
Prior to attaching the Ring No Drill Mount, it’s important to clean the mounting surface thoroughly. Use a cloth or a cleaning agent to remove any dirt, dust, or debris that may interfere with the adhesion of the adhesive pads. This will ensure a strong and secure mount for your Ring device.

Step 3: Attach the adhesive pads
Peel off the backing of the adhesive pads and carefully attach them to the back of the Ring No Drill Mount. Make sure the adhesive pads are placed evenly and securely on the mount. The adhesive pads should be facing towards the mounting surface.
Step 4: Position and secure the mounting bracket
Find the ideal location for your Ring device and position the mounting bracket accordingly. Use a level to ensure that the mounting bracket is straight and aligned. Once you’re satisfied with the positioning, use screws to secure the mounting bracket onto the mounting surface.
Step 5: Attach the Ring device

Now that the Ring No Drill Mount and the mounting bracket are securely in place, it’s time to attach your Ring device. Simply slide the device onto the mounting bracket until it clicks into place. Give it a gentle tug to ensure that it is firmly attached.
Step 6: Test and adjust if necessary
Once the Ring device is attached, test it to make sure everything is working properly. If needed, you can adjust the angle or position of the device by loosening the screws on the mounting bracket. Once you’re satisfied with the placement, tighten the screws to secure the device in place.
By following these simple steps, you can easily install your Ring doorbell or security camera using the Ring No Drill Mount without any hassle or additional tools. Enjoy the peace of mind knowing that your home is secure and protected with a professionally installed Ring device.
Preparation and Safety

- Before beginning the installation process, make sure you have all the necessary tools and materials.
- Ensure that you have read and understood the installation instructions provided by Ring.
- Take note of any safety precautions mentioned in the installation instructions.
- Double-check the compatibility of the Ring No Drill Mount with your specific Ring device.
- Prepare a clean and flat surface to work on.
- Gather the following tools and materials:
| Tools | Materials |
| – Screwdriver | – Ring No Drill Mount |
| – Measuring tape | – Mounting hardware (included with the mount) |
| – Pencil or marker | – User manual |
| – Level | – Safety goggles |
| – Appropriate safety gear (if necessary) |
Before starting the installation, make sure to take the following safety precautions:
- Wear safety goggles to protect your eyes from any potential debris or flying objects.
- If the installation involves working at heights or using a ladder, make sure the ladder is stable and secure.
- If necessary, use appropriate safety gear such as gloves or a safety harness.
- Follow any additional safety guidelines provided by Ring or local safety regulations.
By taking the necessary preparation and safety measures, you can ensure a smooth and secure installation of the Ring No Drill Mount for your Ring device.
Gathering the Required Tools
Before you begin the installation process, it’s important to gather all the necessary tools. Here is a list of tools you will need:
- Ring camera
- No drill mount
- Mounting bracket
- Screwdriver
- Level
- Tape measure
- Pencil or marker
- Power drill
- Drill bit
- Wall anchors
- Screws
Having all these tools ready before you start will make the installation process smoother and more efficient.

Locating the Ideal Installation Spot
Before beginning the installation process for your Ring No Drill Mount, it’s important to find the ideal spot for placement. Consider these factors to ensure optimal performance:
- Visibility: Choose a spot that provides a clear view of the targeted area. Avoid any obstructions or obstacles, such as large trees or buildings, that may obstruct the camera’s field of view.
- Height: Mount the Ring camera at a suitable height to capture the desired field of view. A recommended height is 9-10 feet off the ground.
- Proximity to Power Source: Ensure that the chosen installation spot is near a power outlet. This will allow for easy access to power the Ring camera.
- Wireless Connectivity: Check the signal strength at the intended installation spot. A strong and consistent Wi-Fi signal is crucial for the camera to function properly.
- Protection from Weather Elements: Consider the weather conditions in your area and choose a spot that offers some protection from rain, snow, and extreme temperatures.
By taking these factors into account, you can identify the ideal installation spot for your Ring No Drill Mount. This will ensure that your camera captures clear footage and provides effective surveillance for your property.
Marking the Spot and Cleaning the Surface
Before you begin installing the Ring No Drill Mount, it’s important to mark the spot where you want to place it and clean the surface to ensure proper adhesion.
Here are the steps to follow:

- Choose a location: Determine where you want to install the Ring No Drill Mount. It should be a flat and smooth surface.
- Mark the spot: Use a pencil or marker to mark the exact spot where you want to place the mount. Double-check to make sure it is level and centered.
- Clean the surface: Use a mild household cleaner or rubbing alcohol to clean the area where you marked the spot. This will remove any dirt, dust, or oil that may prevent the adhesive from sticking properly.
- Dry the surface: After cleaning, make sure the surface is completely dry before proceeding with the installation.
By marking the spot and cleaning the surface beforehand, you’ll ensure that the Ring No Drill Mount adheres securely and stays in place for a long time.
Applying the Mounting Adhesive
- Start by cleaning the surface where you will be applying the mounting adhesive. Use a clean cloth and a non-abrasive cleaner to remove any dirt, dust, or grease.
- Make sure the surface is completely dry before proceeding.
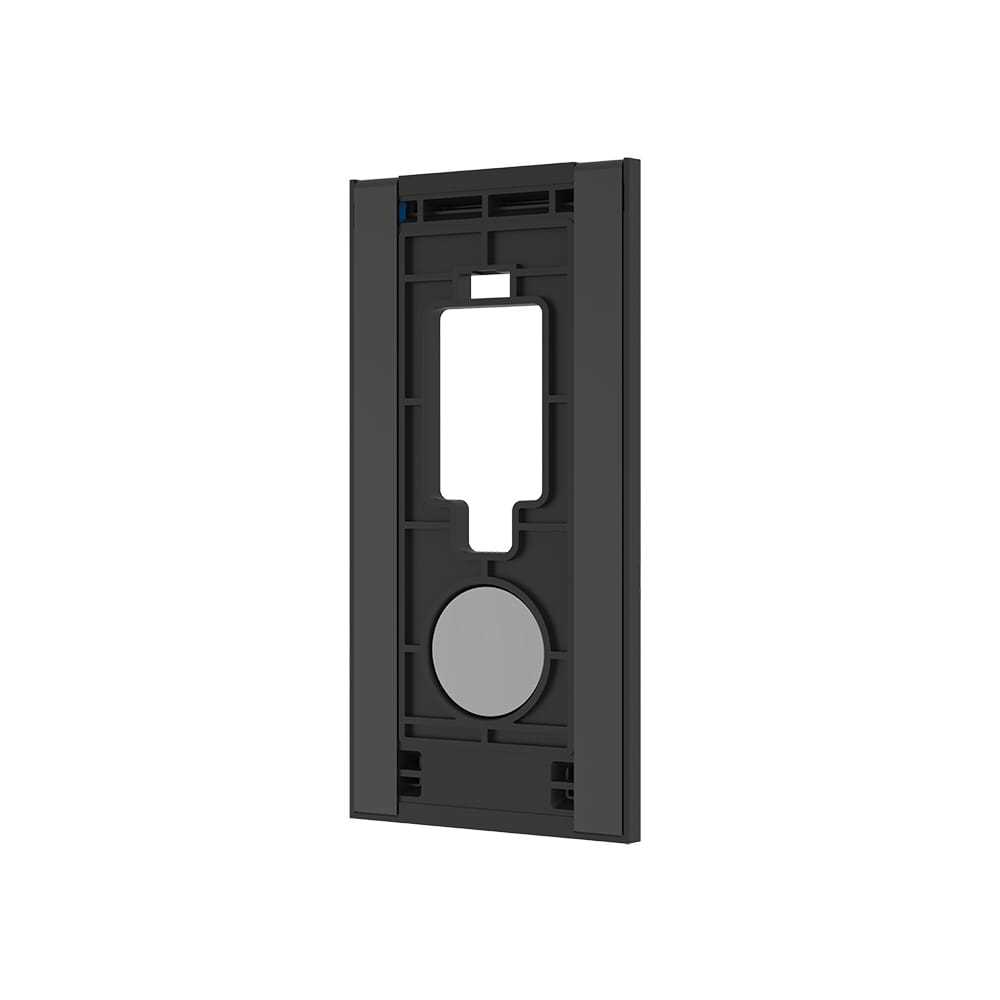
- Peel off the protective backing from one side of the mounting adhesive.
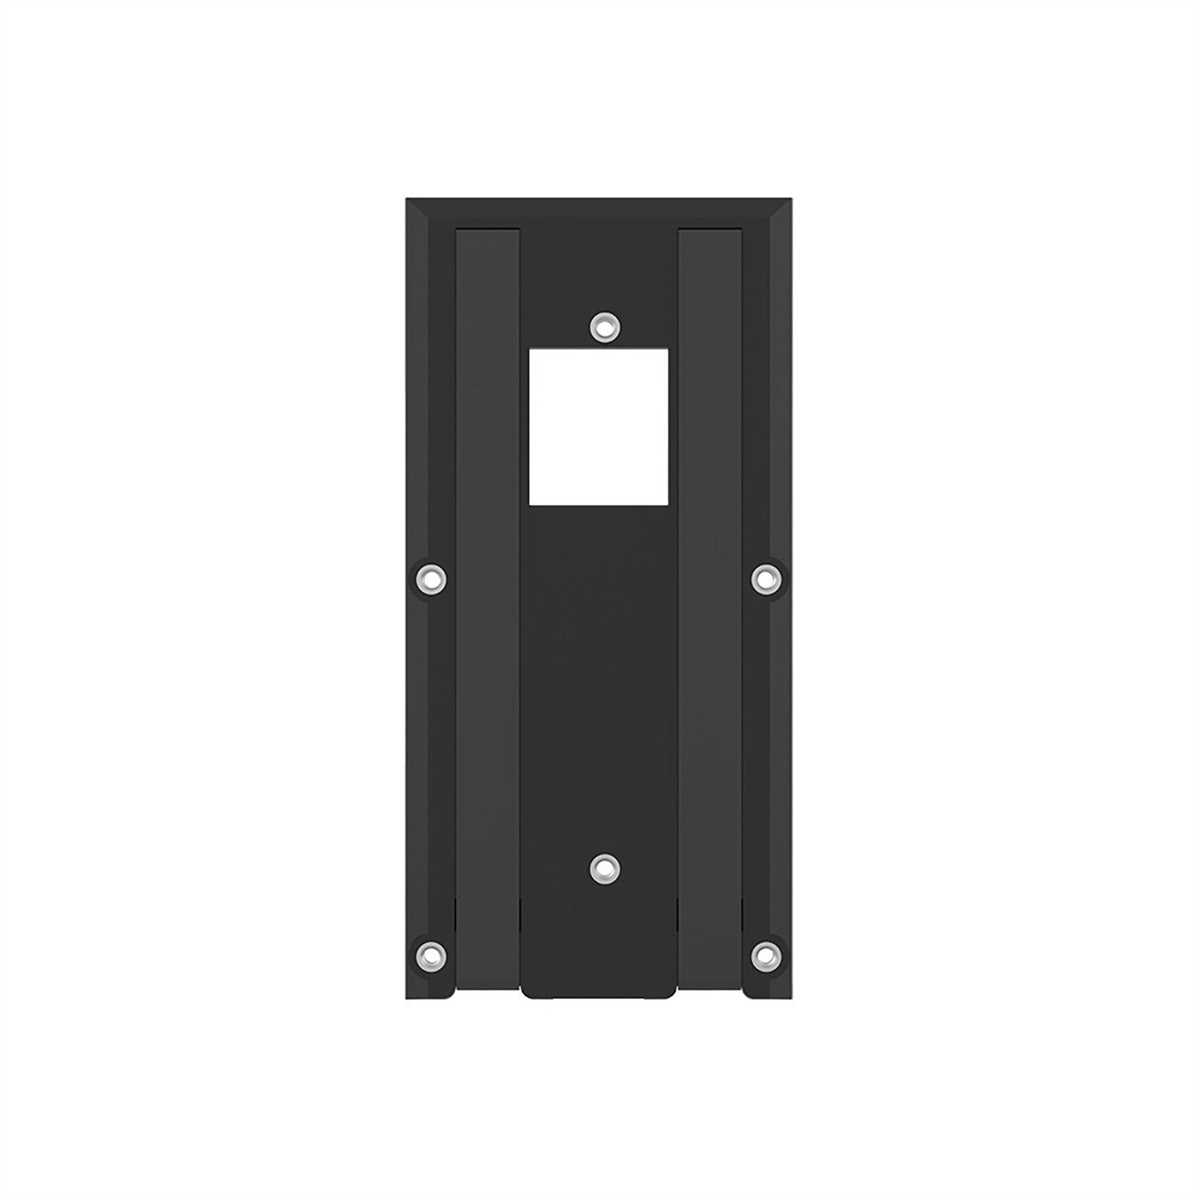
- Position the adhesive on the back of the Ring No Drill Mount, aligning it with the holes on the mount.
- Press firmly to ensure the adhesive sticks securely to the mount.
- Peel off the protective backing from the other side of the mounting adhesive.
- Align the Ring No Drill Mount with the desired location on the surface.
- Press firmly to attach the mount to the surface and hold it in place for a few seconds.
- Allow the adhesive to cure for the recommended amount of time according to the manufacturer’s instructions.
Note: It is important to follow the manufacturer’s instructions for the specific mounting adhesive you are using, as curing times may vary.
Caution: Make sure you are attaching the Ring No Drill Mount to a surface that is suitable for adhesive attachment and can support the weight of the mount and your device. Avoid mounting on delicate surfaces or surfaces that may be damaged by the adhesive.
Attaching the Ring Device to the Mount
Once you have successfully installed the Ring No Drill Mount on your desired surface, you can proceed to attach your Ring device to the mount. Follow these simple steps:
- Make sure the Ring device is turned off. Find the power button located on the device and press and hold it until the LED lights turn off.
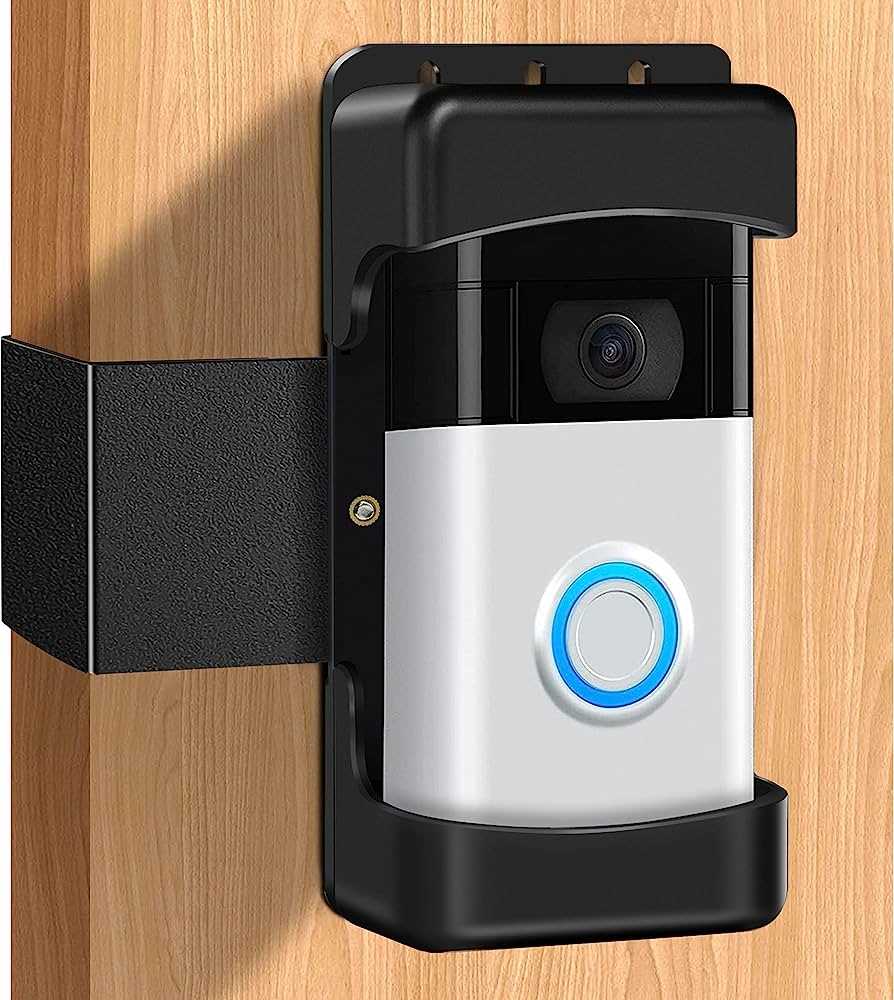
- Position the Ring device on the mount, aligning the slots on the back of the device with the hooks on the mount.
- Slide the device down into the mount until it clicks into place securely.
- If your Ring device has an adjustable angle feature, adjust it to the desired position before securing it in place.
- Once the device is securely attached, gently tug on it to ensure it is properly locked in place.
It is important to ensure that the device is securely attached to the mount to prevent any accidental falls or damage. Take your time to make sure it is properly locked in place before proceeding.
If you ever need to remove the device from the mount, simply reverse the steps above. Press the release button, located near the top of the mount, and slide the device upwards to detach it from the mount.
Allowing the Adhesive to Set
Once you have affixed the Ring No Drill Mount to your desired surface, it is important to allow the adhesive to set properly. This will ensure a secure and long-lasting installation.
Step 1:
Before allowing the adhesive to set, make sure that the mount is properly aligned and positioned. Check that it is level and centered according to your preferences. Adjust if necessary.
Step 2:
Once the mount is properly aligned, avoid touching or tampering with it for at least 24 hours. This will allow the adhesive to fully cure and bond to the surface. Avoid any activities that may put pressure on the mount during this time.
Step 3:
Keep the area clean and dry during the curing process. Avoid exposing the mount to excessive moisture, heat, or direct sunlight. These factors can interfere with the adhesive’s ability to set properly.
Step 4:
If desired, you can use tape or other support mechanisms to hold the mount in place during the curing process. This can provide additional security while the adhesive sets.
Step 5:
After the recommended curing time has passed, gently test the mount to ensure it is firmly attached to the surface. Apply slight pressure and check for any movement or looseness. If there are no issues, the adhesive has successfully set.
Step 6:
Once the adhesive has set properly, you can proceed with installing your Ring device onto the mount. Follow the manufacturer’s instructions for attaching and adjusting the device.
By allowing the adhesive to set for the recommended curing time, you can ensure a secure and reliable installation of your Ring No Drill Mount. Enjoy the convenience and functionality that this mount provides!
Testing the Stability and Finalizing the Installation
Step 1: Checking the Stability
Before finalizing the installation of the Ring No Drill Mount, it is crucial to test the stability of the mount to ensure that it can securely hold your device. Follow these steps to check the stability:
- Ensure that all the mount components are properly tightened.
- Mount your device onto the Ring No Drill Mount according to the manufacturer’s instructions.
- Gently shake the device to see if it wobbles or feels unstable. If it does, recheck the tightness of the mount components and adjust as necessary.
- Apply slight pressure to different parts of the mount and device to check for any excessive movement. If any part feels loose or unstable, recheck the installation and tighten the components if needed.
Step 2: Finalizing the Installation
Once you have tested the stability of the Ring No Drill Mount and ensured that it securely holds your device, you can proceed to finalize the installation. Follow these steps:
- Make sure the mount is aligned properly with your desired viewing angle.
- Double-check the tightness of all the mount components to ensure they are securely fastened.
- If applicable, connect any necessary cables or wires to your device.
- Clean the area where you have installed the mount to remove any dirt or debris.
- Give one final test to the stability of the mount by gently shaking the device and applying slight pressure to different parts.
Once you are satisfied with the stability and installation of the Ring No Drill Mount, you can proceed to use your device as desired.
FAQ:
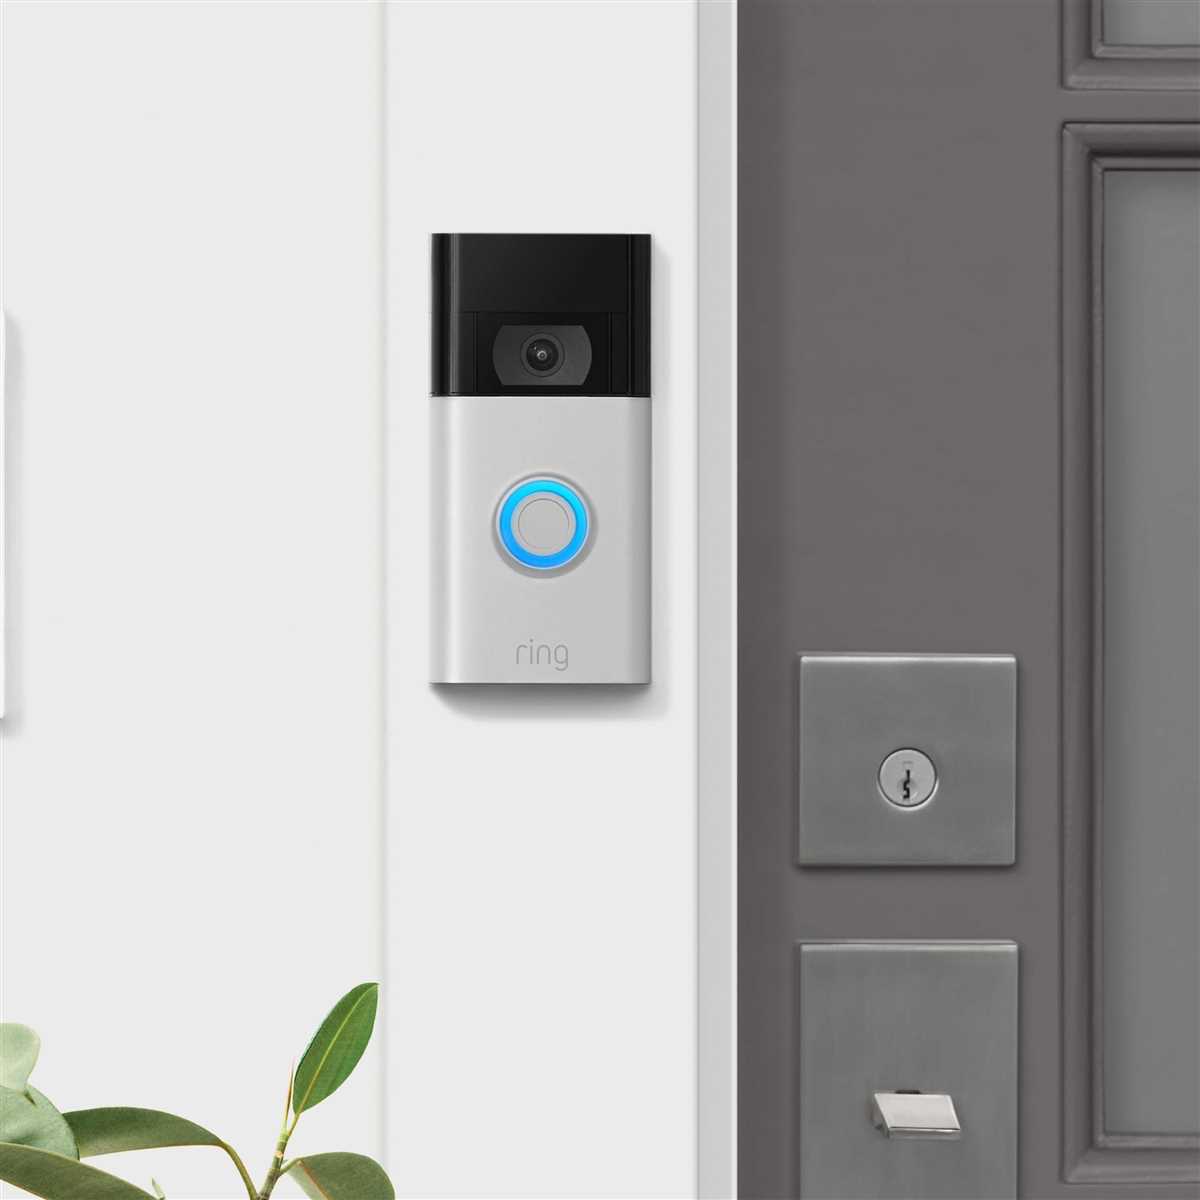
What is Ring No Drill Mount?
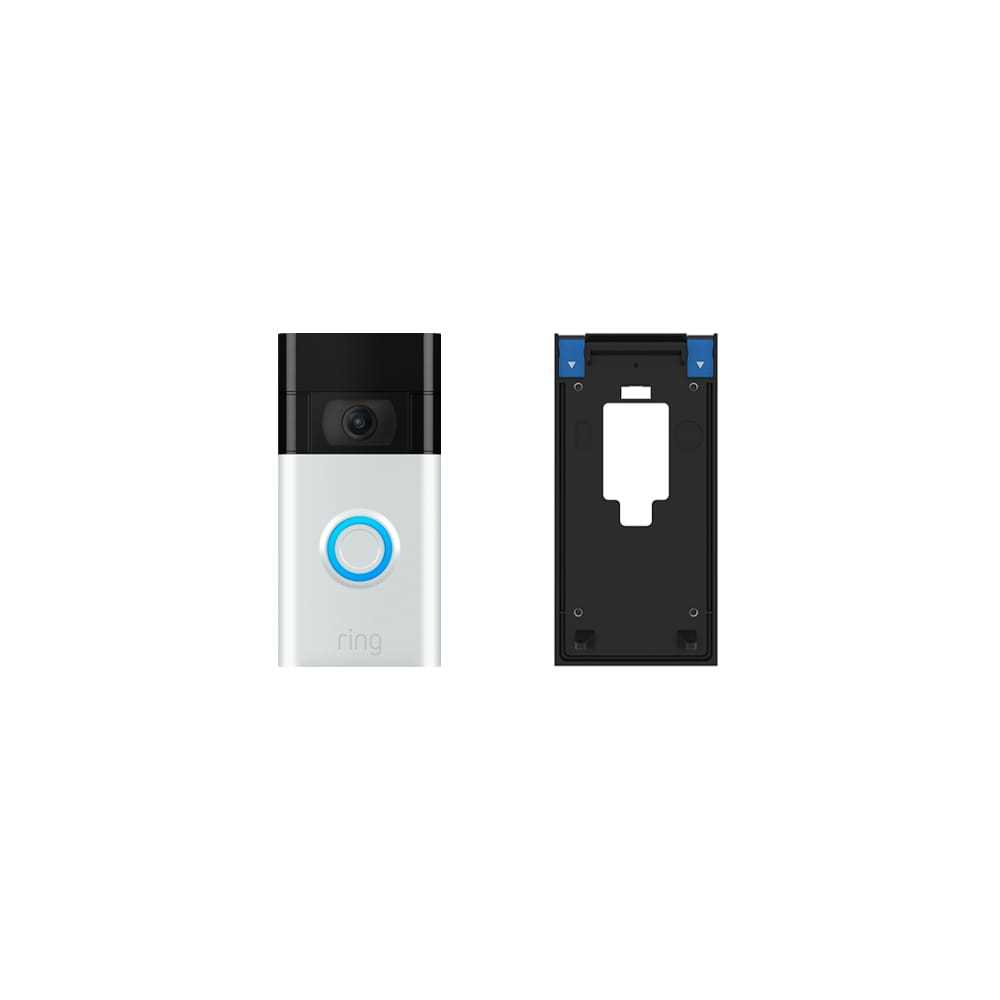
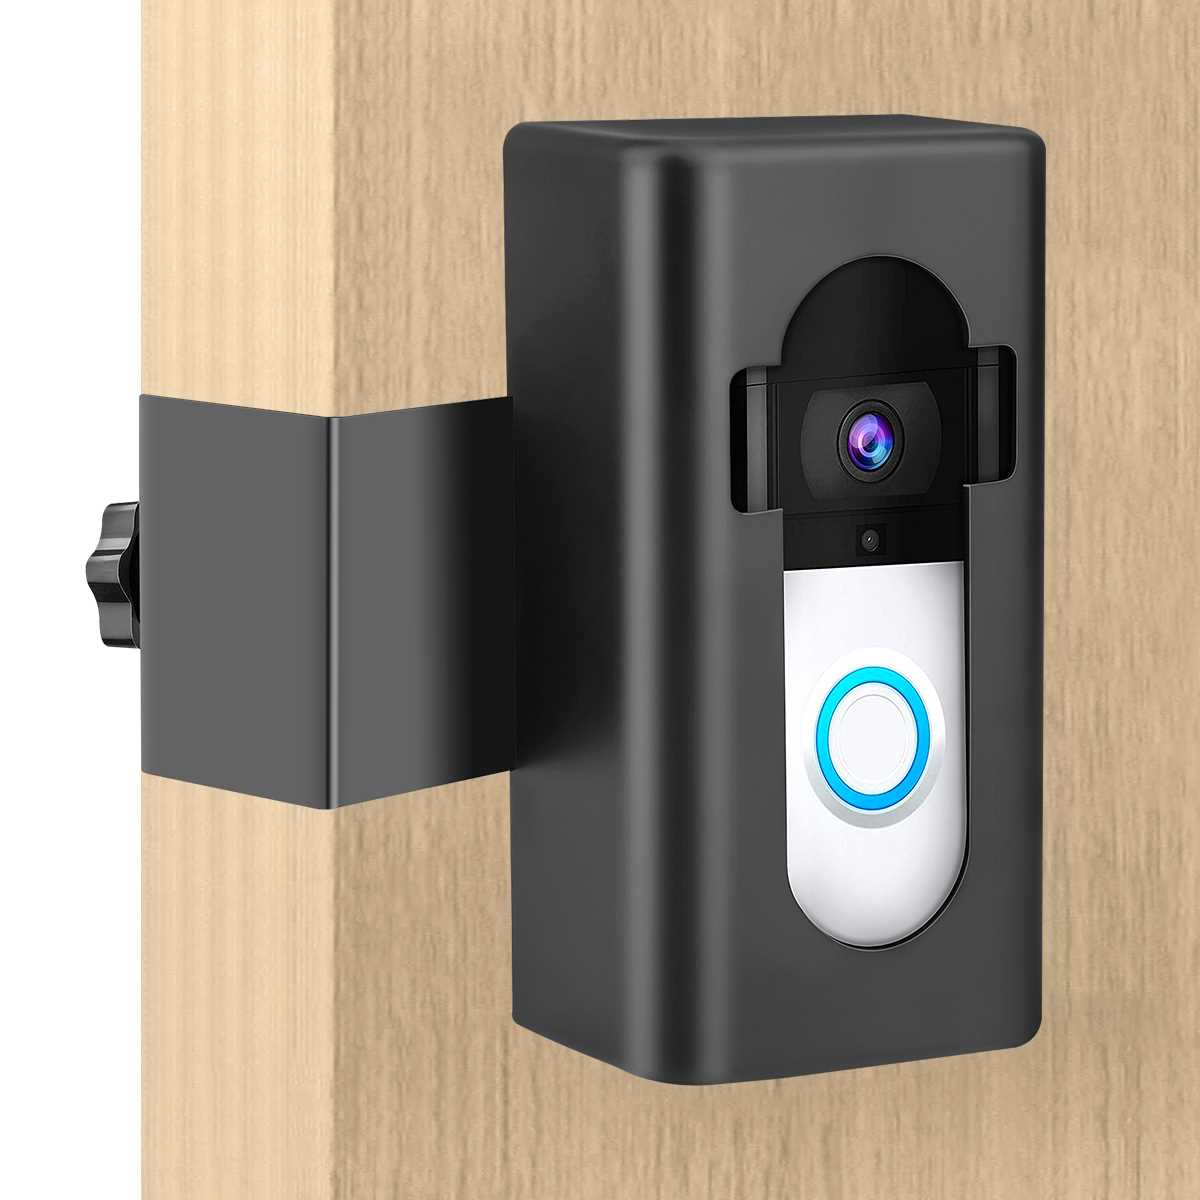
Ring No Drill Mount is a mounting accessory that allows you to install your Ring Video Doorbell without drilling any holes into your wall.
How does the Ring No Drill Mount work?
The Ring No Drill Mount utilizes an adhesive backing to securely attach to the wall, providing a stable base for your Ring Video Doorbell.
Is the Ring No Drill Mount easy to install?
Yes, the Ring No Drill Mount is designed for easy installation. Simply follow the step-by-step instructions provided in the accompanying manual or online guide.
What tools do I need to install the Ring No Drill Mount?
The Ring No Drill Mount does not require any special tools for installation. However, having a screwdriver, level, and tape measure may be helpful for achieving a secure and level installation.
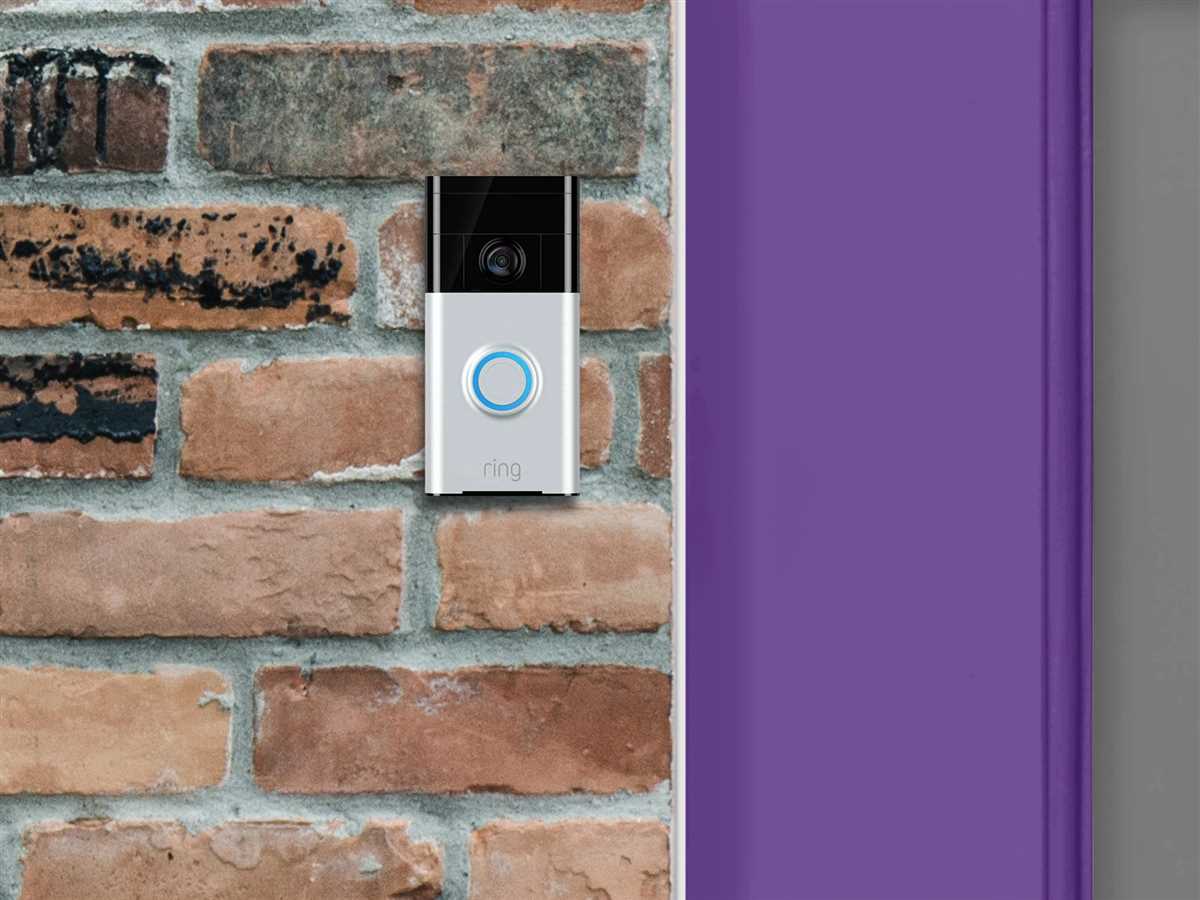
Can the Ring No Drill Mount be used on any surface?
The Ring No Drill Mount is designed to be used on a variety of surfaces, including wood, concrete, brick, and stucco. However, it is important to ensure that the surface is clean and dry before installation for optimal adhesion.
Video:


Meet Harrison Clayton, a distinguished author and home remodeling enthusiast whose expertise in the realm of renovation is second to none. With a passion for transforming houses into inviting homes, Harrison's writing at https://thehuts-eastbourne.co.uk/ brings a breath of fresh inspiration to the world of home improvement. Whether you're looking to revamp a small corner of your abode or embark on a complete home transformation, Harrison's articles provide the essential expertise and creative flair to turn your visions into reality. So, dive into the captivating world of home remodeling with Harrison Clayton and unlock the full potential of your living space with every word he writes.


