Step-by-step guide on how to use a diamond drill bit

When it comes to drilling through tough materials like glass, ceramic, or stone, a diamond drill bit is your best friend. With its ultra-hard diamond particles, it can easily cut through the hardest surfaces, leaving you with clean and precise holes. However, using a diamond drill bit requires some knowledge and careful handling to ensure the best results. In this step-by-step guide, we will walk you through the process of using a diamond drill bit effectively.
Step 1: Choose the right drill bit
Before you start drilling, it is important to select the right diamond drill bit for the job. Diamond drill bits come in different sizes and shapes, so make sure to choose one that matches the size and shape of the hole you want to create. It is also crucial to consider the type of material you are drilling into, as different materials may require different types of diamond drill bits.
Step 2: Prepare the surface
Once you have the right diamond drill bit, it’s time to prepare the surface you will be drilling into. If you are drilling into glass or ceramic, it is recommended to place a piece of masking tape over the area where you want to drill. This will help prevent the drill bit from slipping and provide a guide for drilling. If you are working with stone or other hard materials, you may need to use a template or mark the drilling spot with a pencil.

Step 3: Secure the material
Before you start drilling, it is important to secure the material you are working with. This can be done by placing it on a stable surface or using clamps to hold it in place. Make sure the material is firmly secured to prevent any movement or vibrations during drilling, which can lead to cracks or damage.
Step 4: Start drilling
Now it’s time to start drilling. Begin by applying steady and even pressure on the drill, while keeping it at a low to medium speed. Let the diamond drill bit do the work and avoid pushing too hard, as this can cause the bit to overheat or break. Use a continuous water supply to cool down the drill bit and lubricate the cutting surface. This can be achieved by either using a spray bottle to mist water onto the drilling area or by submerging the material in a water-filled container.
Step 5: Clean up and inspect the hole

Once you have drilled through the material, it’s time to clean up and inspect the hole. Remove any debris or leftover materials, and wipe away any excess water. Take a closer look at the hole to ensure that it is clean and the desired size and shape. If needed, you can use a file or sandpaper to smooth out any rough edges.
Remember to always wear protective eyewear and gloves when using a diamond drill bit, as small particles and debris may be generated during the drilling process. It is also important to work in a well-ventilated area and follow any additional safety precautions recommended by the manufacturer.
By following these step-by-step instructions, you can confidently use a diamond drill bit to create precise and clean holes in tough materials. Whether you are a DIY enthusiast or a professional, mastering the art of using a diamond drill bit will open up a world of possibilities for your projects.
Step-by-Step Guide
1. Gather the necessary materials
Before you begin, make sure you have all the necessary materials. You’ll need:
- A diamond drill bit
- A drill
- A water source (such as a bucket or spray bottle)
- A piece of glass or ceramic to drill into
- Safety goggles
- Masking tape
2. Choose the right drill bit size
Make sure to choose a diamond drill bit that is the appropriate size for the hole you want to drill. The size of the hole will depend on your specific project, so refer to any instructions or guidelines that may be available.
3. Prepare the surface
Before you start drilling, you’ll need to prepare the surface of the glass or ceramic. To do this, place a piece of masking tape over the area where you want to drill. This will help prevent the drill bit from slipping and will also protect the surface from any potential damage.

4. Add water
Drilling into glass or ceramic produces a lot of heat, so it’s important to keep the area cool. This is done by adding water to the surface as you drill. You can either fill a bucket with water and submerge the glass or ceramic, or you can use a spray bottle to periodically wet the area.
5. Start drilling
With everything prepared, it’s time to start drilling. Hold the drill perpendicular to the surface and apply gentle pressure. Begin by drilling a small pilot hole, then gradually increase the pressure and move the drill bit in a circular motion. Continue drilling until you have reached the desired depth.
6. Clean up
Once you have finished drilling, carefully remove the masking tape and clean up any debris or water that may be left behind. Dispose of any waste material properly and make sure to properly clean and store your equipment.
7. Safety precautions
It’s important to take the necessary safety precautions when working with diamond drill bits. Make sure to wear safety goggles to protect your eyes from any flying debris, and work in a well-ventilated area to avoid inhaling any dust. Always follow the manufacturer’s instructions and guidelines for both the drill and the diamond drill bit.
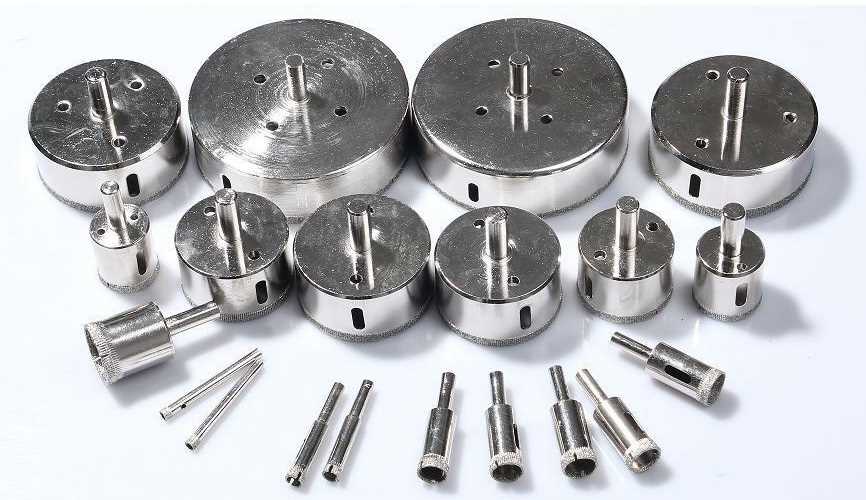
Choosing the Right Diamond Drill Bit
When it comes to drilling through hard materials like glass, porcelain, or ceramic tiles, a regular drill bit is not going to cut it. Instead, you’ll need a diamond drill bit, which is specifically designed to handle these tough materials. But with so many options available, how do you choose the right diamond drill bit for your project? Here are a few factors to consider:

1. Material Compatibility
Before purchasing a diamond drill bit, it’s important to consider the material you’ll be drilling through. Diamond drill bits are available in various sizes and shapes, each specifically designed for different materials. Some common materials to drill through include glass, porcelain, ceramic tiles, and natural stone. Make sure to choose a diamond drill bit that is compatible with the material you’re working with.
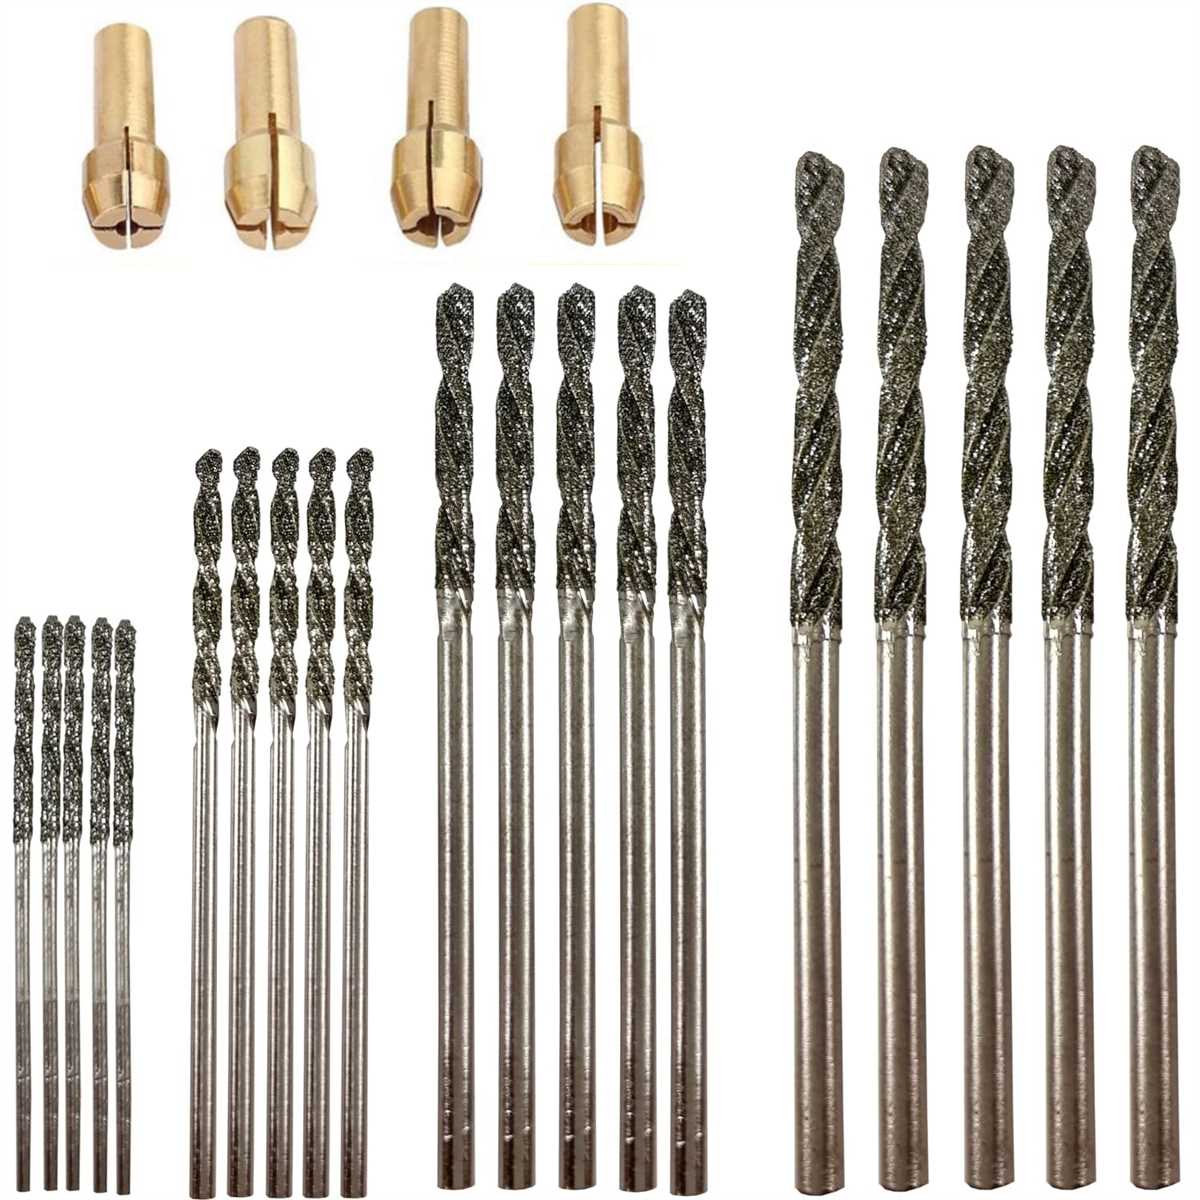
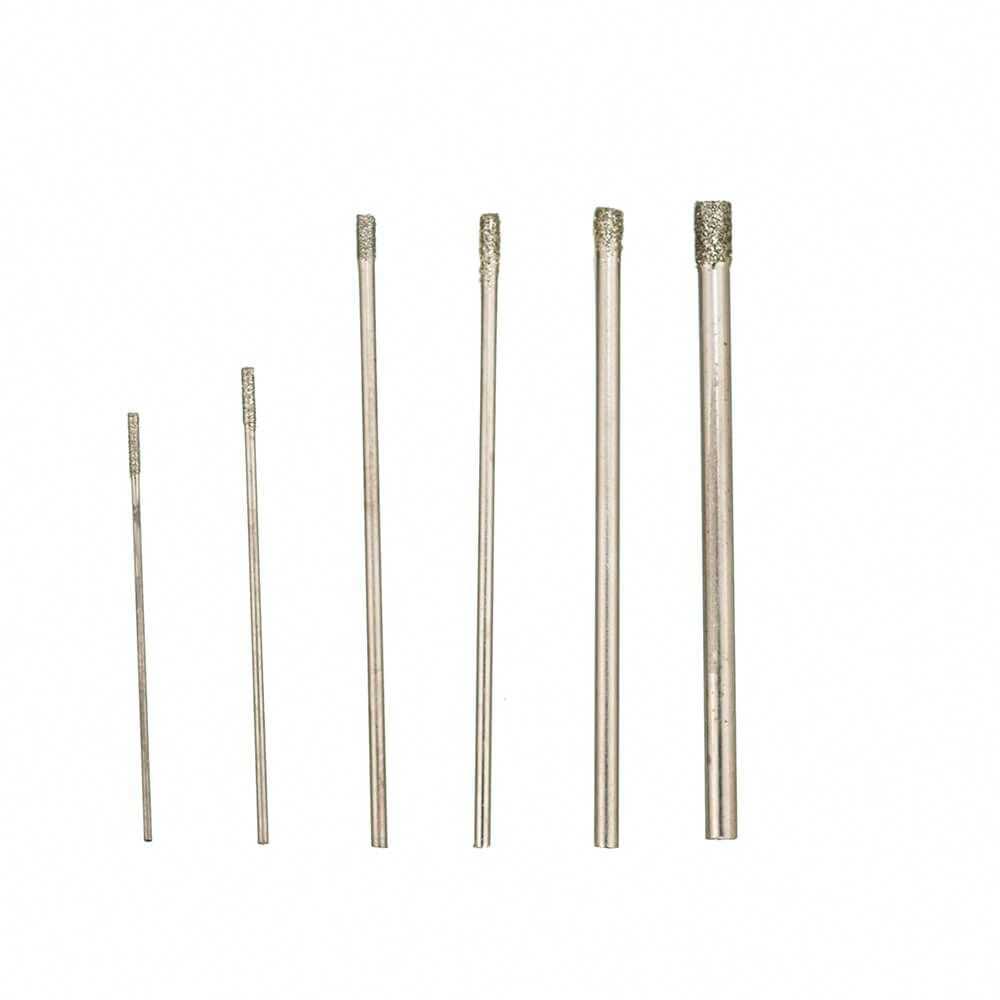
2. Size and Shape
Diamond drill bits come in different sizes and shapes to suit various drilling needs. The size and shape of the drill bit you choose will depend on the hole size and shape you need to achieve. If you’re drilling smaller holes, a smaller drill bit will be sufficient. For larger holes, you’ll need a bigger bit. Additionally, certain shapes, like core drill bits, are designed for drilling larger holes without the need for a pilot hole.
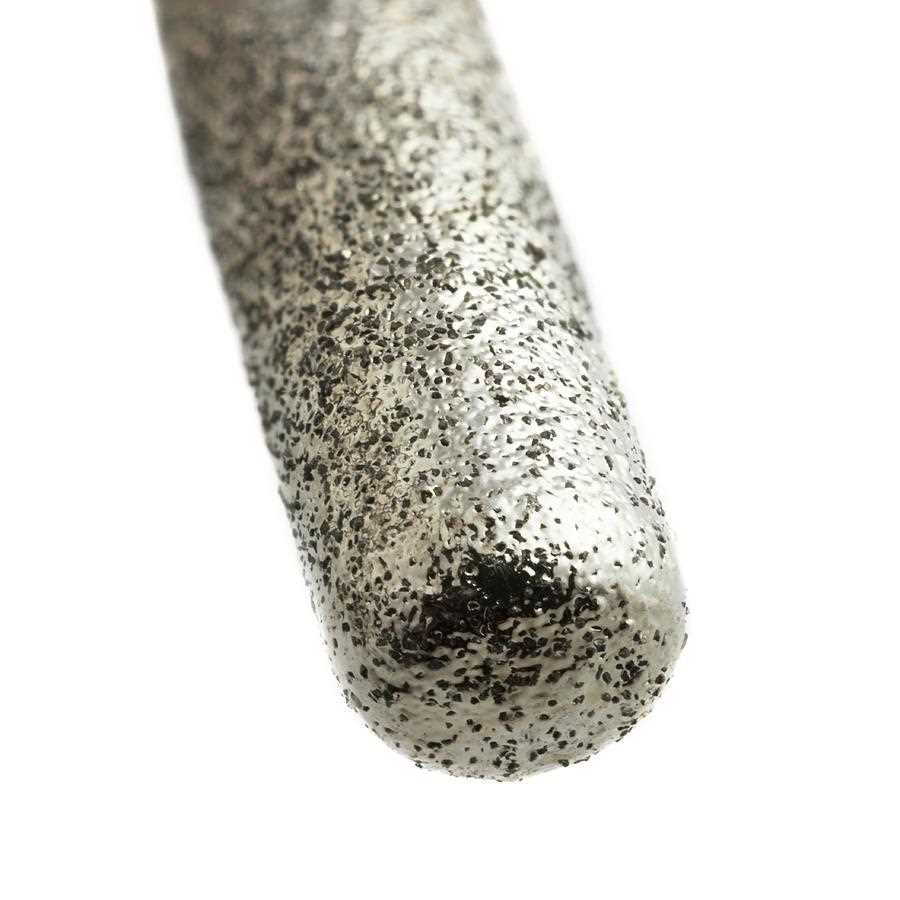
3. Quality and Durability
Not all diamond drill bits are created equal. It’s important to choose a drill bit that is made from high-quality materials and is designed to last. Look for diamond drill bits that are constructed from durable materials and have a strong bond between the diamond particles and the drill bit’s body. This will ensure that the drill bit remains sharp and effective for a longer period of time.
4. Water Cooling System
Drilling through hard materials can generate a significant amount of heat, which can cause damage to both the drill bit and the material being drilled. To prevent this, many diamond drill bits come with a water cooling system. This system allows water to flow through the drill bit while you’re drilling, keeping the temperature down and prolonging the life of the drill bit. Consider choosing a diamond drill bit with a built-in water cooling system for improved performance and longevity.
5. Price
Last but not least, consider the price of the diamond drill bit. While it’s tempting to go for the cheapest option, keep in mind that quality usually comes at a higher price. Investing in a higher-quality diamond drill bit might be more expensive upfront but can save you money in the long run by lasting longer and providing better results. Consider your budget and the importance of the project to determine how much you’re willing to spend on a diamond drill bit.

By considering these factors before purchasing a diamond drill bit, you can ensure that you choose the right tool for your needs and achieve the best results when drilling through hard materials.
Preparing the Work Surface
Before you begin using a diamond drill bit, it is important to properly prepare your work surface. This will ensure that you have a stable and secure area to work on, which will help prevent accidents and damage to your project.
Clean the Surface
Start by cleaning the surface where you will be drilling. This will remove any dirt, dust, or debris that could interfere with the drilling process. Use a damp cloth to wipe away any loose particles, and let the surface dry completely before moving on to the next step.
Secure the Material

Next, secure the material you will be drilling into. If you are working with a piece of wood or plastic, you can use clamps to hold it in place. For heavier materials like stone or metal, you may need to use a vise or another type of secure holding device. This will prevent the material from moving or shifting during the drilling process.
Mark the Drilling Area
Once your work surface is clean and the material is secured, mark the area where you will be drilling. This will help guide you as you begin drilling and ensure that you are creating the desired hole in the correct location. You can use a pencil or a marker to make the markings, but make sure it is something that can easily be removed later if needed.
Protective Measures
Lastly, it is important to take some protective measures before you start drilling. Wear safety glasses to protect your eyes from any flying debris, and consider wearing gloves to protect your hands. Additionally, if you are drilling into a material that produces harmful dust or fumes, such as concrete or ceramics, you should wear a mask to protect your lungs.
By properly preparing your work surface, you can ensure that you have a safe and successful drilling experience with your diamond drill bit.
Marking the Drill Area
Before you begin drilling, it’s important to mark the area where you want to make the hole. This will help ensure accuracy and prevent any accidental damage or mistakes.

Here are the steps to follow when marking the drill area:
- Clean the surface: Use a clean cloth or brush to remove any dirt, dust, or debris from the area where you plan to drill. This will help ensure a clean and smooth surface for marking.
- Measure and mark the location: Use a measuring tape or ruler to accurately measure and determine the exact location where you want to make the hole. Mark this spot with a pencil or marker.
- Double-check the measurements: Take a moment to double-check your measurements to ensure accuracy. It’s always better to be safe than sorry, so take your time with this step.
- Consider the drilling angle: Depending on the project, you may need to drill at a specific angle. Take this into consideration when marking the drill area, as it may affect the placement of your mark.
- Make additional marks if needed: If your project requires multiple holes, repeat steps 2-4 for each desired hole location. This will help ensure consistency and precision.
Once you have marked the drill area, you are ready to move on to the next step in the diamond drill bit usage process.
Securing the Material
Before you begin drilling, it’s important to secure the material you’ll be working with. This will help prevent any accidents or damage to the material itself.
1. Choose the right surface
Select a sturdy and stable surface to work on. It should be able to support the weight of the material and provide a solid base for drilling.
2. Use clamps or a vice
If the material is small enough, you can use clamps or a vice to hold it securely in place. This will allow you to have both hands free to operate the drill.
3. Mark the drilling point
Using a marker or a pencil, mark the exact spot where you want to drill. This will serve as a guide and ensure accurate drilling.
4. Secure larger materials
If you’re working with larger materials such as stone slabs or tiles, you can use sandbags or other heavy objects to secure them in place. This will prevent any movement or slippage during drilling.
5. Wear protective gloves
When securing the material, make sure to wear protective gloves to avoid any injuries. This is especially important when handling sharp or rough surfaces.
6. Clear the area
Remove any debris or clutter from the drilling area to ensure a clean and safe workspace. This will prevent any damage to the material or interference with the drilling process.
7. Consider using a drilling guide
If you’re new to using a diamond drill bit or need more precision, you can use a drilling guide. This tool helps maintain a steady drilling angle and improves accuracy.
By properly securing the material, you’ll have a stable work surface and minimize the risk of accidents or damage. This will contribute to a successful drilling experience with your diamond drill bit.
Using a Lubricant
When using a diamond drill bit, it is important to use a lubricant to ensure smooth and effective drilling. The lubricant helps to reduce friction and heat, which can cause the diamond drill bit to become dull or damaged.
Types of Lubricants
There are several types of lubricants that can be used when drilling with a diamond drill bit:
- Water: Water is the most common and easily accessible lubricant. It can be used for most materials, including glass, ceramic, and stone. Simply dip the drill bit and the surface being drilled in water to keep it lubricated.
- Cutting Oil: Cutting oil is a specialized lubricant that is often used for drilling metals. It provides better lubrication and cooling properties than water, making it ideal for drilling through harder materials like metal or porcelain.
- Engine Oil: Engine oil can also be used as a lubricant for diamond drill bits. It is commonly used for drilling through concrete or masonry surfaces.
Applying the Lubricant
Before starting the drilling process, make sure to apply the lubricant to the drill bit and the surface being drilled.
- For water-based lubricants:
- Fill a small container with water and immerse the drill bit in it.
- If drilling a vertical surface, use a sponge or a small brush to apply water on the drilling area.
- Keep the drilling area wet by regularly applying water during the drilling process.
- For oil-based lubricants:
- Apply a few drops of cutting oil or engine oil on the drill bit and the surface being drilled.
- Spread the oil evenly over the drilling area.
- Reapply oil as needed during the drilling process to maintain lubrication.
Tips for Using Lubricants
- Use caution: Be mindful of the lubricant you are using and follow the safety instructions provided by the manufacturer.
- Start slow: Begin drilling at a slow speed to allow the lubricant to distribute evenly and effectively.
- Monitor heat: Pay attention to the temperature of the drill bit and the surface being drilled. If it becomes too hot, stop drilling and apply more lubricant.
- Clean up: After drilling, clean the drill bit and the surface with water or a suitable cleaning agent to remove any residue or debris.
By using a lubricant properly, you can prolong the life of your diamond drill bit and achieve better results in your drilling projects.
Starting the Drilling Process
Before you begin drilling with a diamond drill bit, it is important to take certain preparations to ensure the best results. Follow these steps to properly start the drilling process:
- Choose a suitable diamond drill bit: Different materials require different diamond drill bits. Select a diamond drill bit that is appropriate for the material you are drilling into. For example, if you are drilling into glass, a diamond drill bit specifically designed for glass should be used.
- Prepare the drill: Attach the diamond drill bit securely to the drill chuck. Make sure it is tightened properly to avoid any accidents or slippage during drilling.
- Mark the drilling spot: Use a marker or a tape to mark the exact spot where you want to drill. This will help you maintain precision and accuracy during the drilling process.
- Secure the material: Depending on the material you are drilling into, it may be necessary to secure it in place using clamps or a vice grip. This will prevent the material from moving or slipping, allowing you to drill with more control.
- Put on safety gear: Before you begin drilling, make sure to put on safety goggles and gloves to protect your eyes and hands. Additionally, consider wearing a dust mask if you are drilling into a material that may produce fine particles.
Once you have completed these steps, you are ready to start drilling with your diamond drill bit. Following these preparatory steps will help ensure a successful and safe drilling process.
Maintaining Proper Pressure
When using a diamond drill bit, maintaining the proper pressure is crucial to ensure optimal drilling performance and prevent damage to the material being drilled. Here are some important steps to follow:
- Start with light pressure: Begin drilling with light pressure to create a small indentation in the surface. This will help guide the drill bit and prevent it from slipping.
- Gradually increase pressure: As you continue drilling, gradually increase the pressure on the drill. Apply firm but not excessive force to maintain a steady drilling motion. Remember, diamond drill bits are designed to work best under controlled pressure.
- Monitor the drilling speed: Pay attention to the speed at which the drill bit is penetrating the material. If it starts to slow down significantly, it may indicate that you are applying too much pressure. Ease off on the pressure to avoid overheating the bit or causing it to become stuck.
- Use a lubricant: Depending on the material being drilled, using a lubricant can help reduce friction and heat buildup. This can prolong the life of the diamond drill bit and keep it cutting smoothly. Make sure to choose a lubricant suitable for the material you are working with.
- Take breaks if needed: If you are drilling for an extended period or notice the drill bit is getting hot, it is important to take breaks to let both the bit and the material cool down. This will help prevent overheating and damage.
By following these steps and maintaining proper pressure, you can ensure efficient and effective use of a diamond drill bit. Remember to always wear appropriate safety gear and follow the manufacturer’s instructions for the specific drill bit you are using.
Finishing and Cleaning Up
Step 1: Smoothing the Edges
After drilling the desired holes with the diamond drill bit, it’s important to smooth the edges for a clean and professional finish. This step will prevent any sharp edges and make the surface safe to touch.
To smooth the edges, use a coarse grit sandpaper or a diamond hand pad. Gently sand the edges in a circular motion until they are smooth and even.
Note: Be careful not to apply too much pressure while sanding, as this can cause the glass or other material to crack or break.
Step 2: Cleaning the Surface
Before moving on to the next step, it’s essential to clean the surface of any debris or dust. This will ensure a strong bond when applying any adhesive or sealant.
Use a soft brush or a damp cloth to remove any loose particles from the drilled holes and surrounding area. Make sure the surface is completely dry before proceeding.
Step 3: Applying Adhesive or Sealant (if necessary)
If you are planning to use the drilled holes for mounting or attaching something, you may need to apply an adhesive or sealant.
Choose an appropriate adhesive or sealant that is compatible with the material you are working with. Follow the manufacturer’s instructions for application and curing time.
Step 4: Finishing Touches
Once the adhesive or sealant has fully cured, you can give the surface a final clean and polish. Use a non-abrasive glass cleaner and a soft cloth to remove any fingerprints or smudges.
If necessary, you can also use a glass or metal polish to enhance the shine of the finished surface.
Step 5: Safety Precautions
Remember to always wear protective eyewear and gloves when using diamond drill bits. The drilling process can generate fine dust particles and small shards that can cause injuries if proper safety measures are not followed.
Dispose of any waste material safely and keep the work area clean to prevent accidents or injuries.
Summary:
Finishing and cleaning up is an important part of the diamond drilling process. Smoothing the edges, cleaning the surface, applying adhesive or sealant, and giving the surface a final polish will ensure a professional and safe result. It’s crucial to follow safety precautions and properly dispose of any waste material.
FAQ:
What is a diamond drill bit?
A diamond drill bit is a type of drill bit that is used for drilling holes into hard materials such as glass, tile, porcelain, and stone. It is called a diamond drill bit because the cutting edges are made of tiny diamond particles.
How do I choose the right diamond drill bit?
When choosing a diamond drill bit, you need to consider the material you will be drilling into and the size of the hole you want to make. Diamond drill bits come in various sizes and shapes, and you should choose one that is suitable for the material and hole size you need.
Do I need any special equipment to use a diamond drill bit?
You will need a drill or rotary tool that is compatible with diamond drill bits. Additionally, you may need water or a lubricant to keep the bit and material cool during the drilling process. Safety goggles and gloves are also recommended to protect your eyes and hands.
Can I use a diamond drill bit on any type of material?
Diamond drill bits are ideal for drilling into hard materials such as glass, tile, porcelain, and stone. However, they may not be suitable for drilling into softer materials like wood or plastic. It is important to choose the right type of drill bit for the material you are working with.
How long does a diamond drill bit last?
The lifespan of a diamond drill bit can vary depending on factors such as the quality of the bit, the material being drilled, and the drilling technique used. Generally, diamond drill bits are designed to be durable and long-lasting, but they may wear down over time with use.
Video:


Meet Harrison Clayton, a distinguished author and home remodeling enthusiast whose expertise in the realm of renovation is second to none. With a passion for transforming houses into inviting homes, Harrison's writing at https://thehuts-eastbourne.co.uk/ brings a breath of fresh inspiration to the world of home improvement. Whether you're looking to revamp a small corner of your abode or embark on a complete home transformation, Harrison's articles provide the essential expertise and creative flair to turn your visions into reality. So, dive into the captivating world of home remodeling with Harrison Clayton and unlock the full potential of your living space with every word he writes.


