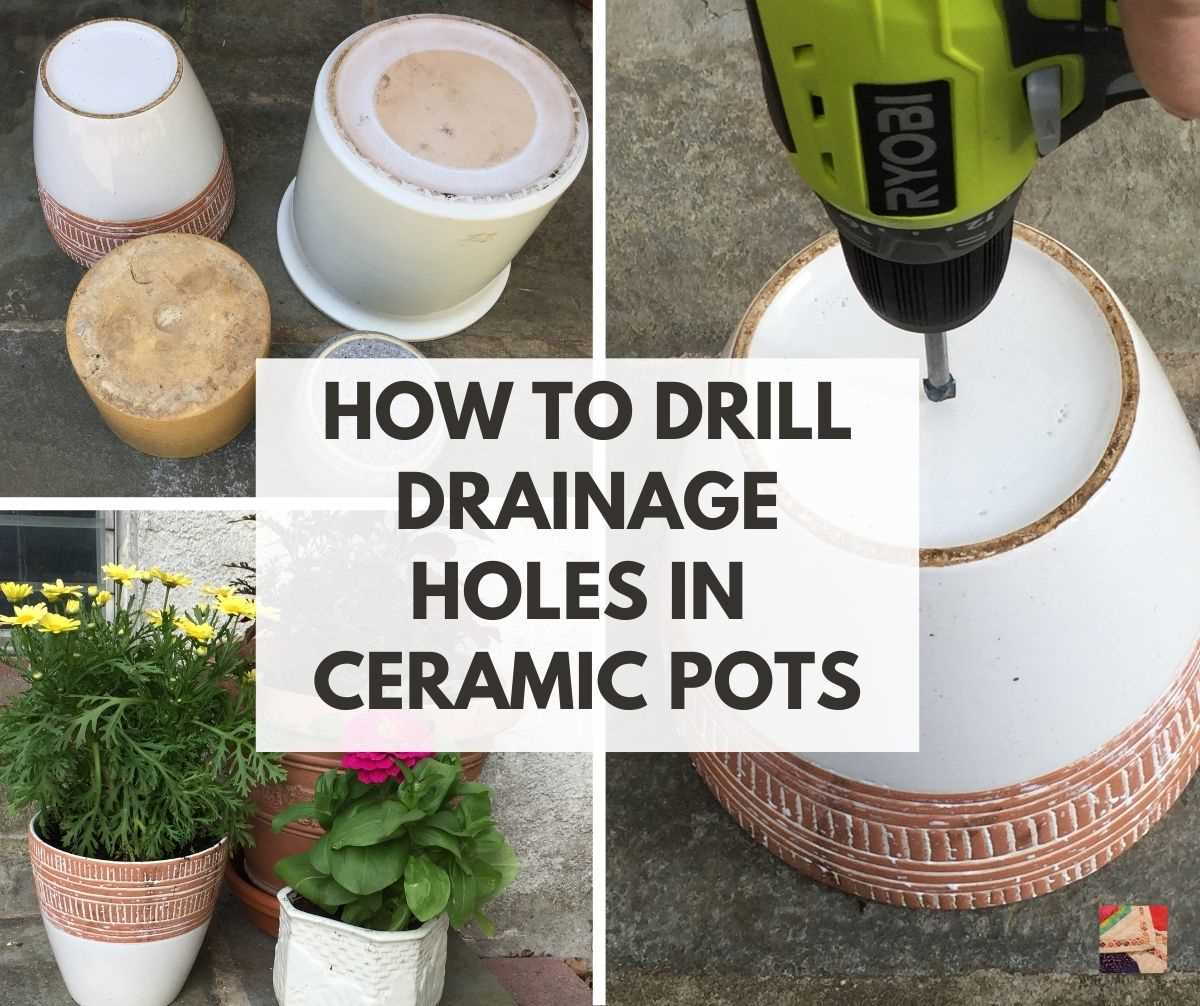
Step-by-Step Guide on How to Drill a Hole in a Clay Pot

Clay pots are a popular choice for gardeners due to their natural beauty and ability to retain moisture. However, many plants require proper drainage to thrive, and drilling a hole in a clay pot is necessary to achieve this. Drilling a hole in a clay pot may seem intimidating, but with the right tools and technique, it can be a simple and rewarding process.
Before you begin, gather your materials. You will need a drill with a masonry bit, tape measure or ruler, masking tape, and safety goggles. It is important to use a masonry bit specifically designed for drilling into clay pots, as regular drill bits may not be strong enough to penetrate the material.
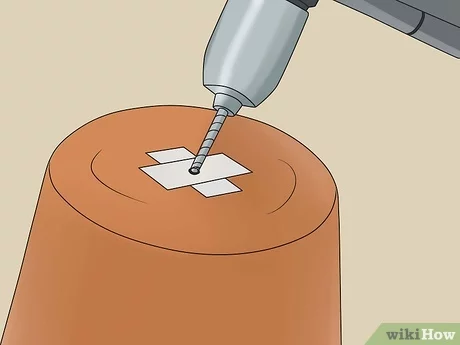
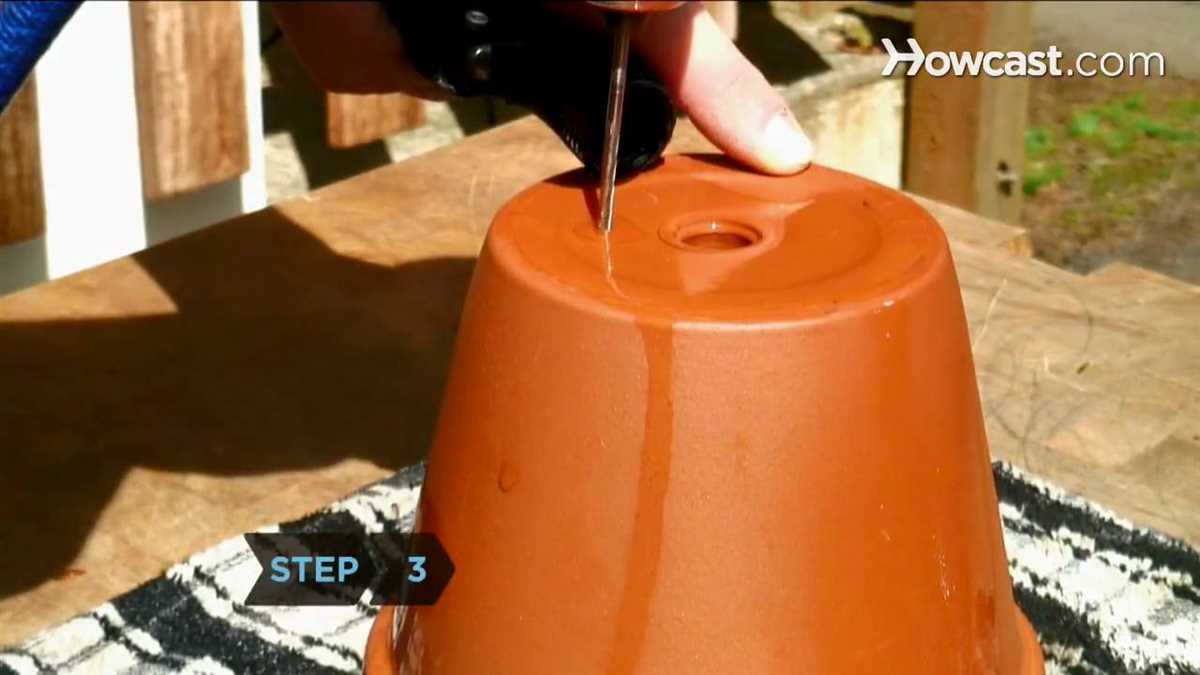
To start, measure and mark the spot where you want the hole to be drilled. For optimal drainage, it is recommended to have at least one hole at the bottom of the pot. Use a ruler or tape measure to ensure precise placement. Place a piece of masking tape over the mark to prevent the drill from slipping when you start drilling.
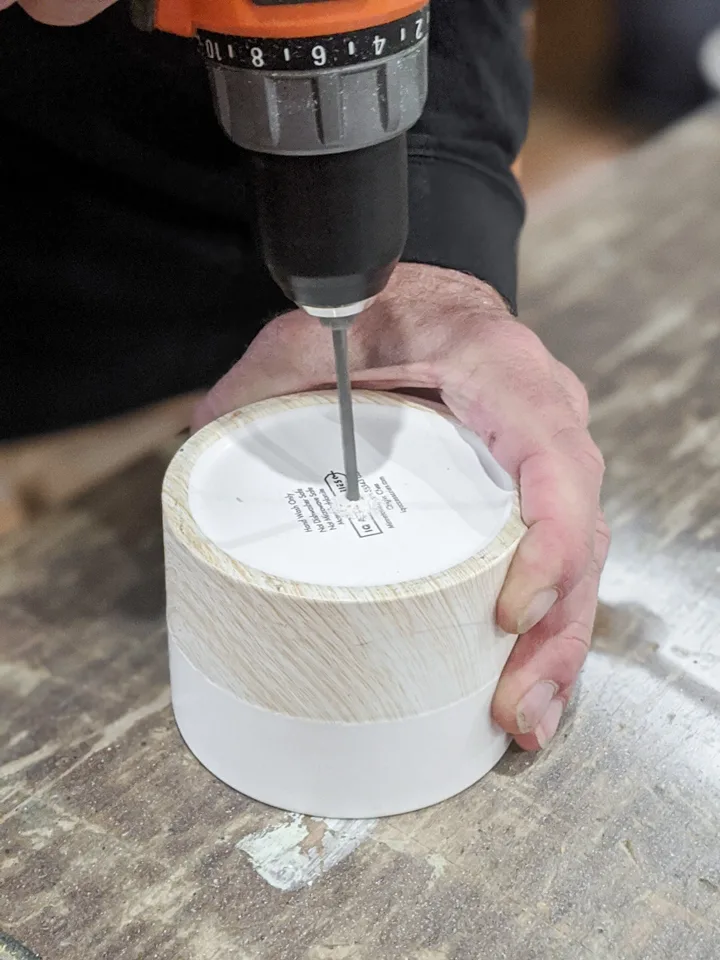
Put on your safety goggles to protect your eyes from any flying debris. Hold the clay pot securely with one hand, and position the tip of the masonry bit on the marked spot. Start the drill at a low speed and gradually increase the speed as you apply gentle, steady pressure. Allow the drill bit to do the work and avoid pushing too hard, as this could cause the pot to crack. Continue drilling until the hole is complete.
Once the hole is drilled, remove the masking tape and clean any debris from the pot. Rinse the pot to remove any dust or particles, then allow it to dry completely before use. Now you can enjoy the benefits of proper drainage in your clay pot, ensuring healthier plants and a more successful gardening experience.

Step-by-Step Guide to Drill a Hole in a Clay Pot
Materials Needed:
- A clay pot
- A drill
- Drill bits suitable for ceramic or pottery
- A pencil or marker
- Safety glasses
- Water
- A spray bottle or sponge
Steps:
- Choose a suitable location: Pick a well-ventilated area or work outdoors to prevent inhalation of dust or fumes generated during drilling.
- Prepare the pot: Clean the clay pot to remove any dirt or debris from the surface. Make sure it is dry before proceeding.
- Mark the drilling point: Use a pencil or marker to mark the exact spot where you want the hole to be drilled on the clay pot.
- Secure the clay pot: Place the pot on a non-slip surface or use clamps to hold it in place. This will prevent the pot from moving around during drilling.
- Put on safety glasses: Protect your eyes by wearing safety glasses to shield them from any flying debris or particles.
- Prepare the drill bit: Select a drill bit suitable for drilling into ceramic or pottery. Ensure that it is the correct size for the desired hole diameter.
- Add water: Fill a spray bottle or sponge with water. This will help to keep the drill bit and the clay pot cool during the drilling process.
- Start drilling: Position the drill bit on the marked spot and apply gentle pressure to start drilling. Begin drilling at a slow speed to avoid cracking or damaging the clay pot.
- Apply water as needed: Spray water onto the drilling area or use a damp sponge to keep it moist. This will prevent the clay from drying out and cracking.
- Drill gradually: Continue drilling at a slow and steady pace, gradually increasing the speed as you go. Take breaks if needed to allow the drill bit and the pot to cool down.
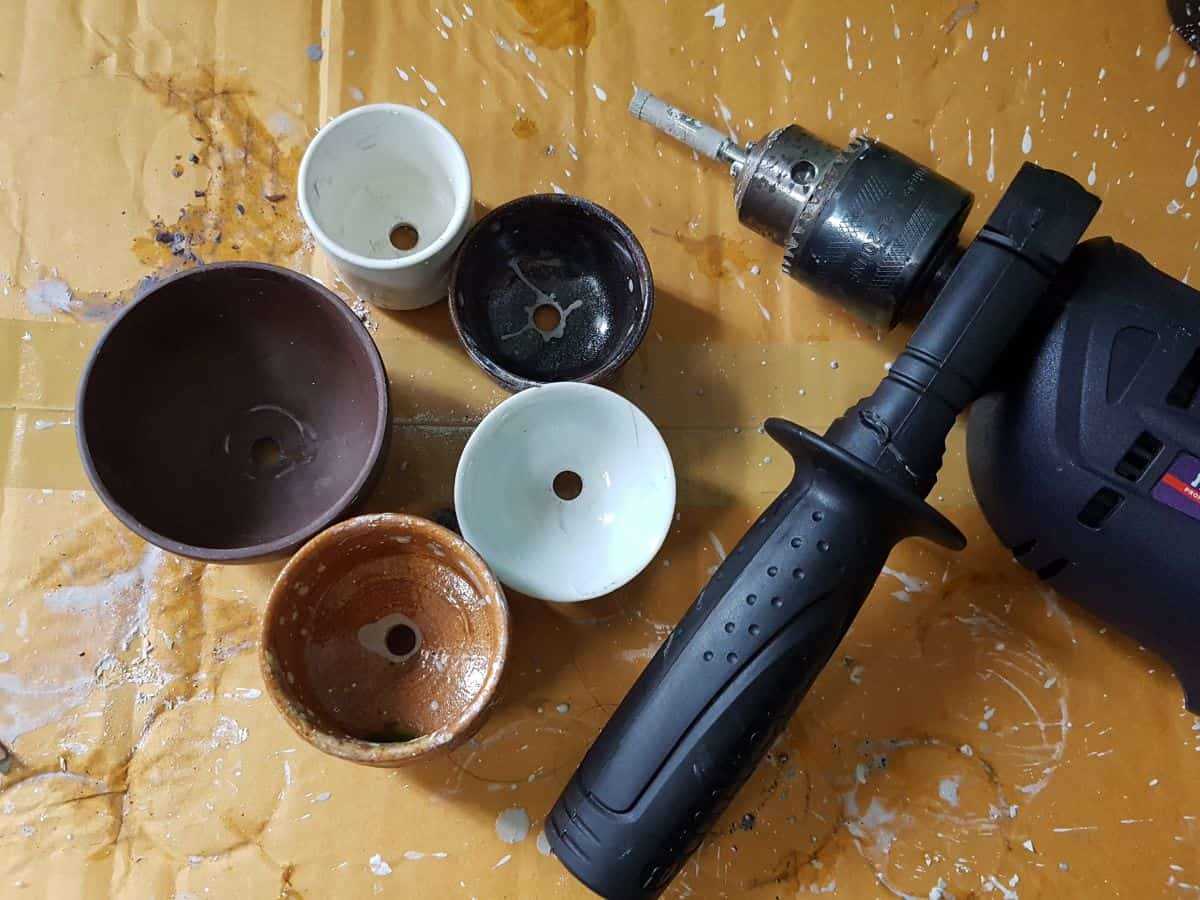
- Complete the hole: Drill through the clay pot until the desired depth is reached. Remove the drill bit periodically to clear any buildup of clay dust.
- Clean the pot: After drilling, clean the pot to remove any remaining clay dust or debris. Rinse it with water and let it dry completely.
Note: Always follow the manufacturer’s instructions and guidelines when using power tools. Be cautious and take necessary precautions to ensure your safety during the drilling process.
Gather Necessary Tools and Materials
Before you start drilling a hole in a clay pot, it’s important to gather all the necessary tools and materials. Having everything you need on hand will make the process smoother and more efficient.
Tools needed:

- Electric drill
- Drill bits (preferably diamond-tipped or carbide-tipped)
- Masking tape
- Safety goggles
- Gloves
- Clamp or vise
- Water source (such as a sink or bucket)
Materials needed:
- Clay pot
- Marker or pencil
- Water (for lubrication)
It’s important to use the right drill bits for drilling through clay pots. Diamond-tipped or carbide-tipped drill bits are recommended as they are more durable and can easily penetrate the clay.
Using masking tape to mark the spot where you want to drill the hole will help prevent the drill bit from slipping and ensure accuracy. Safety goggles and gloves are also essential for protecting your eyes and hands during the drilling process.
A clamp or vise can be used to secure the clay pot in place, providing stability and making it easier to drill. Additionally, having a water source nearby will allow you to keep the drill bit lubricated with water, reducing heat and preventing damage to both the drill bit and the clay pot.
Preparing the Clay Pot
Before you can drill a hole in a clay pot, you need to prepare it properly. Here are the steps to follow:

- Clean the pot: Start by cleaning the clay pot with soap and water. Remove any dirt, dust, or residue on the surface. Dry the pot thoroughly before moving on to the next step.
- Mark the spot: Decide where you want to drill the hole on the pot. Use a pencil or marker to make a small dot or mark on the desired location. This will help you keep the drill bit in the right place and prevent slipping.
- Secure the pot: Place the clay pot on a stable surface, such as a workbench or table. Make sure it is positioned securely and won’t move or wobble while you are drilling.
- Protect your work area: Drilling a hole in a clay pot can create a lot of dust and debris. To protect your work area, place a cloth or a plastic sheet underneath the pot to catch any mess.
- Wear safety gear: It’s important to protect yourself while drilling. Wear safety goggles to shield your eyes from any flying debris, and consider wearing gloves to protect your hands from sharp edges.
Marking the Hole Placement
Before you start drilling, it’s important to determine the exact placement of the hole on your clay pot. Here are some steps to follow:
- Choose the location: Decide where you want the hole to be on your clay pot. This will depend on the specific project or purpose you have in mind. Make sure the location is suitable and won’t compromise the pot’s stability or structural integrity.
- Measure and mark the spot: Use a measuring tape to measure the distance from the rim or bottom of the pot to where you want the hole. Once you have the measurement, mark the spot with a pencil or marker.
- Consider multiple holes: Depending on your project, you may need more than one hole. Take this into account when marking the hole placement. Make sure to space the holes evenly if needed.
- Use a template: If you need multiple holes in a specific pattern or design, create a template out of paper or cardboard. Trace the template onto the clay pot and mark the hole placements accordingly.
- Ensure the markings are visible: Before proceeding, double-check that the markings are clear and visible. This will help you accurately drill the holes in the next steps.
Once you have finished marking the hole placement, you’re ready to move on to the next step: drilling the holes in the clay pot.
Securing the Pot
Before you start drilling a hole in the clay pot, it’s important to secure the pot to prevent it from moving or sliding while you work. This will ensure that you have better control and accuracy while drilling.
Materials You’ll Need:

- Clay pot
- Workbench or sturdy surface
- G-Clamp or C-Clamp
- Protective padding or scrap wood
Instructions:

- Place the clay pot on a sturdy workbench or a surface that won’t be damaged by drilling.
- Position the pot in a way that makes it easy for you to access the area you want to drill.
- If your pot has a bottom drainage hole, cover it with protective padding or a scrap piece of wood to prevent any damage.
- Choose a location on the pot where you want to drill the hole.
- Position the G-Clamp or C-Clamp securely on the pot, ensuring that it’s tightly fastened.
- Place protective padding or scrap wood between the clamp and the pot’s surface to prevent any damage or scratches.
- Check if the pot is secured by gently trying to move it. It should be stable and immovable.
Securing the pot is essential to maintain stability during the drilling process. Make sure to follow these instructions carefully to prevent any accidents or damage to the clay pot.
Drilling Pilot Hole
A pilot hole is a small hole that is drilled into the clay pot before drilling the final hole. This hole serves as a guide for the drill bit and helps prevent cracks or chips from forming in the pot.
Materials needed:
- Clay pot
- Drill
- Pilot drill bit
- Masking tape
- Marker
- Safety goggles
Steps to drill a pilot hole:

- Clean the clay pot: Remove any dirt or debris from the clay pot and make sure it is dry.
- Mark the location: Use a marker to make a small mark on the surface of the pot where you want to drill the hole.
- Secure the pot: Place the clay pot on a stable surface and secure it with masking tape if necessary to prevent it from moving while drilling.
- Put on safety goggles: Protect your eyes by wearing safety goggles.
- Select the pilot drill bit: Choose a pilot drill bit that is appropriate for the size of the final hole you want to drill.
- Insert the pilot drill bit: Insert the pilot drill bit into the drill chuck and tighten it securely.
- Start drilling: Position the tip of the pilot drill bit on the marked spot and start drilling slowly and carefully.
- Apply steady pressure: Apply steady pressure while drilling, making sure not to push too hard to avoid cracking the pot.
- Remove the pilot drill bit: Once the pilot hole is drilled, remove the pilot drill bit from the chuck.
Tips:
- Choose a drill bit with a smaller diameter than the final hole size to ensure accuracy.
- Drill at a slow speed to avoid generating excessive heat.
- If the pot starts to crack, stop drilling immediately and try drilling at a different spot or use a smaller drill bit.
- Always wear safety goggles to protect your eyes from any flying debris.
- Be patient and take your time while drilling to avoid damaging the pot.
Drilling the Final Hole
Once you have marked the spot where you want to drill the final hole on your clay pot, you are ready to proceed with drilling. The final hole will allow water to drain out of the pot, preventing overwatering and root rot for your plants.
Before you begin, make sure you have taken all necessary safety precautions. Wear safety goggles to protect your eyes from debris, and consider wearing gloves to protect your hands.
Here is a step-by-step guide on how to drill the final hole in a clay pot:
- Attach the proper drill bit to your drill. For drilling into clay, a masonry drill bit is recommended. Make sure the drill bit is the appropriate size for the hole you want to create.
- Secure the clay pot in place. You can place it on a stable surface or use clamps to hold it steady. Make sure the area you are drilling into is supported to prevent cracking or breaking.
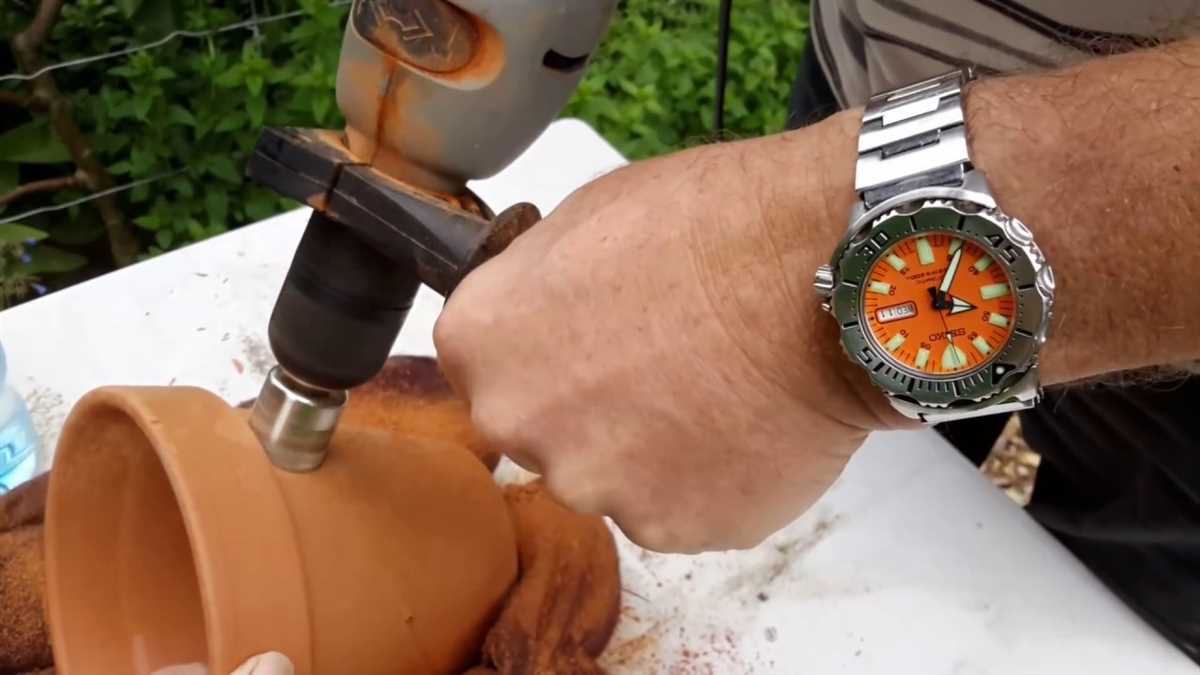
- Start drilling. Apply gentle pressure to the drill and let it do the work. It’s important not to force the drill or apply too much pressure, as this can damage the pot.
- Keep the drill bit cool. Drilling into clay can generate a lot of heat, so it’s important to keep the drill bit cool to prevent it from becoming too hot and potentially breaking. You can do this by periodically dipping the drill bit into water or using a spray bottle to mist it.
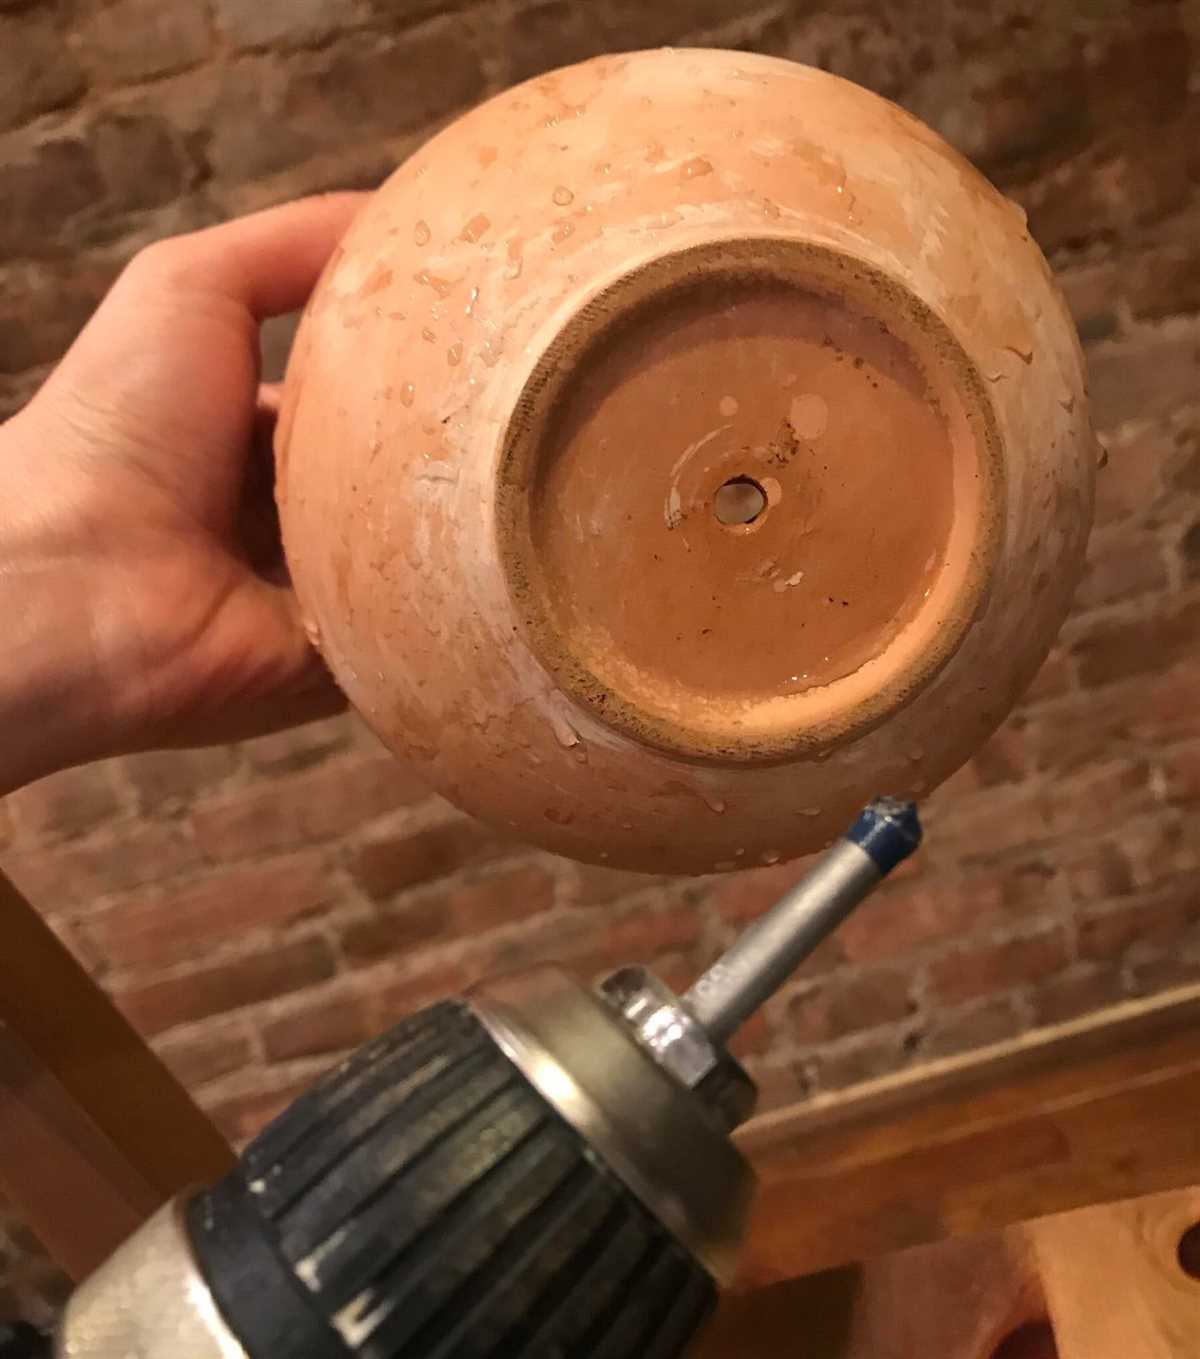
- Continue drilling until you have created a clean, precise hole. Take your time and be patient, as drilling through clay can take some time.
- Once the hole is drilled, inspect it to ensure it meets your desired specifications. If necessary, you can use a sandpaper or file to smooth any rough edges around the hole.
Once you have successfully drilled the final hole in your clay pot, you can now use it for planting. Remember to place a saucer or tray underneath the pot to catch any excess water that drains out.

With the final hole drilled, your clay pot is ready to be used for your favorite plants. Enjoy watching them thrive in their new home!
Removing any Sharp Edges
Once you have successfully drilled a hole in your clay pot, it is important to remove any sharp edges to ensure safe handling and prevent any potential injuries. Here are the steps to remove sharp edges from your newly drilled hole:
- Inspect the edges of the hole for any rough or jagged areas. Use a pair of sandpaper, a sanding sponge, or a diamond file to smooth out the edges.
- Gently sand the rough edges of the hole in a circular motion until they are smooth and no longer pose a risk of cutting or scratching your hands.
- Be careful not to sand too aggressively or apply too much pressure, as this may cause the clay pot to crack or break. Take your time and sand gradually until you achieve the desired smoothness.
- If you prefer a polished finish, you can use a polishing compound or a fine-grit sandpaper to further smooth out the edges of the hole. Again, be cautious and take your time to avoid damaging the pot.
- After sanding, wipe away any dust or debris from the surface of the clay pot using a clean cloth or paper towel. This will help you see if there are any remaining rough areas that need further sanding.
- Repeat the sanding process as necessary until the edges of the hole are completely smooth and safe to touch.
By following these steps, you can ensure that your clay pot is safe to handle and ready to be used for your desired purpose. Remember to always prioritize your safety when working with sharp tools and materials.
Cleaning and Sealing the Hole

Once you have drilled a hole in your clay pot, it’s important to clean and seal the hole to ensure that it’s ready for use. Follow these steps to properly clean and seal the hole:
- Clean the hole: Use a damp cloth or sponge to wipe away any excess clay dust or debris from both the inside and outside of the pot.
- Remove any burrs: Gently sand the edges of the hole with fine-grit sandpaper to smooth out any rough edges or burrs.
- Apply sealant: Choose a waterproof sealant, such as silicone adhesive or epoxy, that is compatible with clay. Apply a thin layer of sealant around the edges of the hole on both the inside and outside of the pot.
- Smooth the sealant: Use a small brush or your finger to smooth out the sealant and ensure that it forms a tight seal around the hole.
- Let the sealant dry: Allow the sealant to dry completely according to the manufacturer’s instructions. This usually takes a few hours to overnight.
By cleaning and sealing the hole in your clay pot, you can prevent any water or soil from leaking out and ensure that your pot is ready for planting or other decorative use. Remember to follow all safety guidelines and wear protective eyewear and gloves when drilling and handling clay pots.
FAQ:
What tools do I need to drill a hole in a clay pot?
To drill a hole in a clay pot, you will need a few tools: a drill with a masonry bit, a masonry marker, a spray bottle filled with water, and a rag or towel to clean up any debris.
Do I need to prepare the clay pot before drilling a hole?
Yes, it is important to prepare the clay pot before drilling a hole. First, moisten the area where you plan to drill with water using a spray bottle. This will help to prevent cracking and make the drilling process easier.
What type of drill bit should I use for drilling a hole in a clay pot?
For drilling a hole in a clay pot, it is best to use a masonry bit. This type of drill bit is specially designed for drilling into hard materials like clay pots. It has a carbide tip that can withstand the pressure and heat generated during the drilling process.
What should I do if the clay pot starts cracking while drilling?
If the clay pot starts cracking while drilling, stop immediately. This could be a sign that the pot is too dry or that you are applying too much pressure. You can try moistening the area again with water and drill at a slower speed. If the cracking continues, it may be best to choose a different pot or find an alternative way to create a drainage hole.
Can I use a regular drill for drilling a hole in a clay pot?
You can use a regular drill for drilling a hole in a clay pot, but it is recommended to use a drill with a masonry bit. Regular drill bits may not be able to withstand the pressure and heat that can be generated while drilling into a hard material like clay. Using a masonry bit will ensure a smoother and more efficient drilling process.
What safety precautions should I take while drilling a hole in a clay pot?
While drilling a hole in a clay pot, it is important to take some safety precautions. First, wear safety goggles to protect your eyes from any flying debris. Additionally, it is advisable to wear gloves to protect your hands from any potential injuries. Lastly, make sure to work in a well-ventilated area to avoid inhaling any dust or fumes.
Video:


Meet Harrison Clayton, a distinguished author and home remodeling enthusiast whose expertise in the realm of renovation is second to none. With a passion for transforming houses into inviting homes, Harrison's writing at https://thehuts-eastbourne.co.uk/ brings a breath of fresh inspiration to the world of home improvement. Whether you're looking to revamp a small corner of your abode or embark on a complete home transformation, Harrison's articles provide the essential expertise and creative flair to turn your visions into reality. So, dive into the captivating world of home remodeling with Harrison Clayton and unlock the full potential of your living space with every word he writes.


