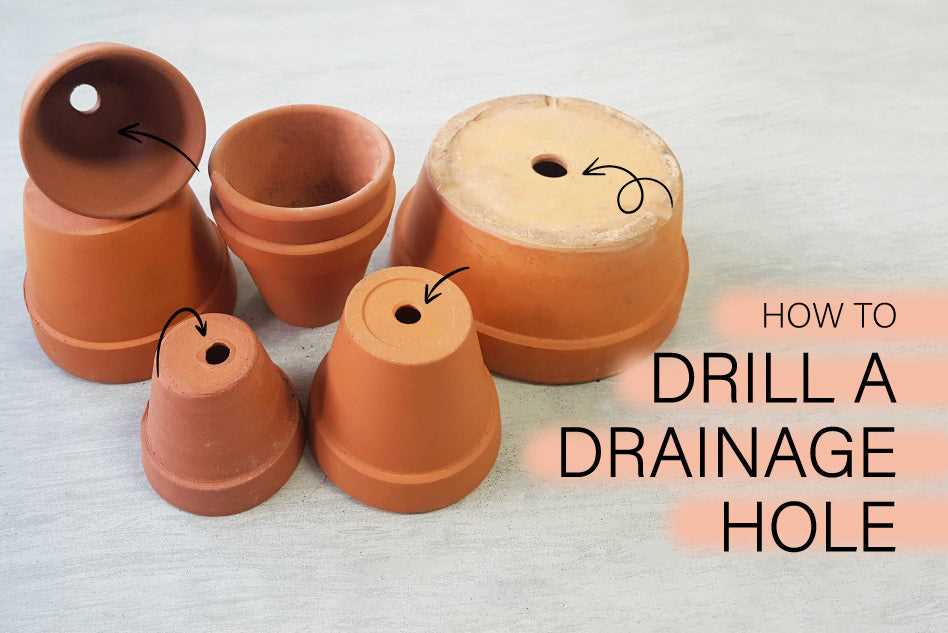
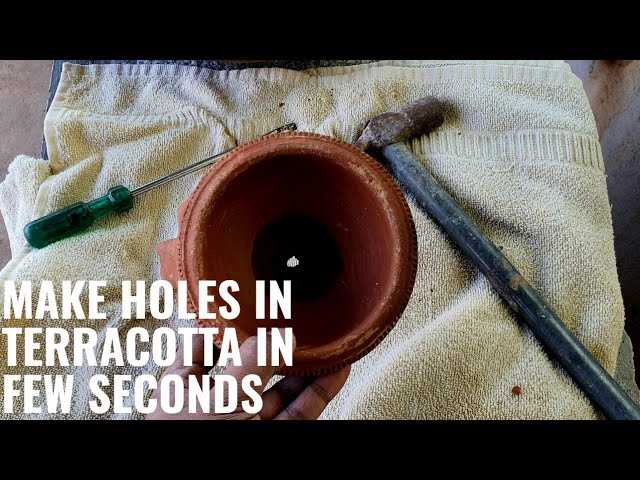
Step-by-step guide on drilling holes in terracotta pots

Terracotta pots are a popular choice for gardening enthusiasts due to their natural and rustic look. Drilling holes in terracotta pots is essential for proper drainage, which is crucial for the health of your plants. While it may seem like a daunting task, drilling holes in terracotta pots can be easily done with the right tools and techniques. This step-by-step guide will walk you through the process, ensuring that you can successfully drill holes in your terracotta pots without damaging them.
Step 1: Gather the necessary tools and materials
Before you begin, make sure you have all the tools and materials you will need. This includes a terracotta pot, a marker or pencil, a drill with a masonry bit, a small piece of wood, safety goggles, and gloves. The masonry bit is crucial, as it is specifically designed for drilling into hard materials like terracotta.
Step 2: Mark the location for the holes
Using a marker or pencil, mark the locations where you want to drill the holes on the bottom of the terracotta pot. It is important to space the holes evenly to ensure proper drainage. If you are unsure where to place the holes, you can refer to the instructions provided with your plants or consult a gardening expert.

Step 3: Prepare the pot for drilling
Place a small piece of wood inside the pot, directly below the marked location. This will provide support and prevent the pot from cracking or collapsing while you are drilling.
Step 4: Drill the holes
Put on your safety goggles and gloves to protect yourself. Hold the drill perpendicular to the pot’s surface and slowly start drilling at each marked location. Apply a gentle, steady pressure and let the drill do the work. Avoid applying excessive force, as this can cause the terracotta to crack.
Step 5: Clean up and test the drainage

Once you have drilled all the holes, remove the wood from inside the pot and clean up any debris. To test the drainage, fill the pot with water and check if it freely drains out from the holes. If the water pools or does not drain properly, you may need to drill additional holes or adjust their size.
Remember, drilling holes in terracotta pots requires patience and precision. Take your time, follow the steps carefully, and soon you will have properly drained pots that will promote healthy plant growth.
Things to Know Before Drilling Holes in Terracotta Pots
Before you start drilling holes in your terracotta pots, there are a few important things you should know:
- Ensure you have the right tools: Drilling holes in terracotta pots requires specific tools. Make sure you have a drill with a masonry bit, as well as safety goggles and gloves for protection.
- Choose the right drill bit size: The size of the drill bit you use will determine the size of the hole. It’s important to choose a bit that’s appropriate for your plants’ needs. Generally, a 1/4 inch (6 mm) drill bit should be sufficient for most plants.
- Drill with caution: Drilling into terracotta can be challenging, as the material is prone to cracking. To minimize the risk of cracking, it’s important to drill slowly and steadily, applying gentle pressure. Gradually increase the speed as you progress, and avoid excessive force.
- Consider the placement of the holes: Think about where you want to place the holes in your terracotta pot. It’s generally recommended to drill holes near the bottom of the pot to facilitate drainage. However, you may also want to consider drilling holes in the sides of the pot for improved aeration.
- Protect the surfaces: When drilling holes in a terracotta pot, it’s a good idea to place a piece of scrap wood or a cutting board underneath the pot. This will help protect the surface you’re drilling on, as well as provide support for the pot.
- Consider using a mask: Drilling into terracotta can create fine dust particles, which may be harmful to inhale. It’s a good idea to wear a mask or work in a well-ventilated area to minimize your exposure to the dust.
By keeping these things in mind, you can successfully drill holes in your terracotta pots without damaging them. Remember to take your time and exercise caution to ensure a clean and precise outcome.
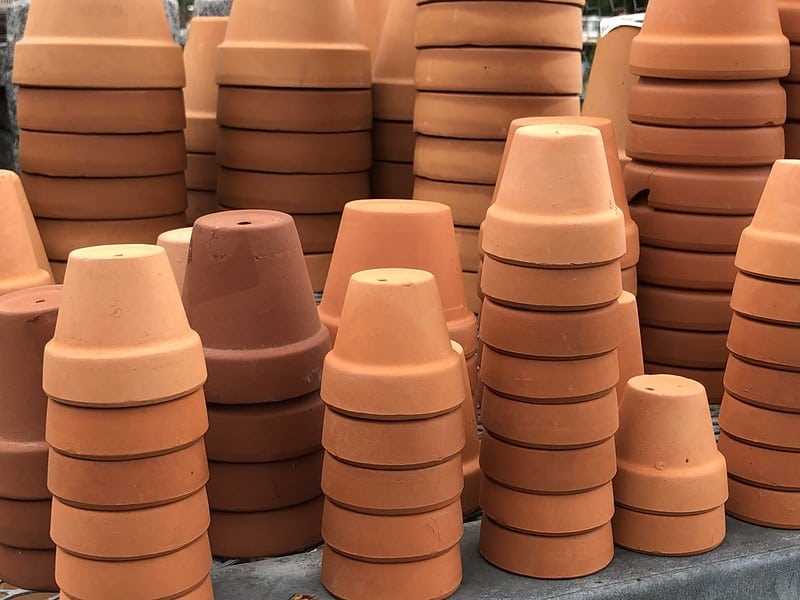
Selecting the Right Terracotta Pot for Drilling
When it comes to drilling holes in terracotta pots, it’s important to start with the right pot. Choosing the wrong pot can lead to cracks or breakage, making it difficult or impossible to drill holes. Follow these tips to select the perfect terracotta pot for drilling:
1. Material Quality
Look for a terracotta pot that is high-quality and durable. Avoid pots that have thin or brittle walls, as they are more likely to crack or break during the drilling process. Opt for a pot made from thick and sturdy terracotta materials.

2. Pot Size and Shape
Consider the size and shape of the pot before drilling. Smaller pots with narrower openings may be more difficult to drill, especially if you need to create multiple holes. Choose a pot that is large enough to accommodate the plants you plan to grow and has wide enough openings for easy drilling.
3. Drainage Holes
Look for terracotta pots that already have drainage holes. These pots are designed to allow excess water to escape, preventing waterlogging and root rot. While drilling additional holes is still recommended, pots with drainage holes already in place provide a good starting point.
4. Smooth Surface
Inspect the surface of the pot for any cracks, chips, or rough textures. Smooth surfaces are easier to drill without damaging the pot, while rough surfaces may make drilling more challenging. Choose a pot with a smooth and even surface for best results.
5. Consider the Plant’s Needs
Finally, consider the specific needs of the plant you intend to grow in the terracotta pot. Certain plants require more drainage or aeration than others. If you plan to grow plants that are sensitive to overwatering, it may be beneficial to choose a pot that facilitates better drainage.
By following these tips and selecting the right terracotta pot, you’ll have a solid foundation for drilling holes and creating a healthier growing environment for your plants.

Gathering the Necessary Tools and Materials
In order to successfully drill holes in terracotta pots, you will need to gather the following tools and materials:
- A terracotta pot
- A power drill
- A drill bit suitable for drilling into ceramic
- Masking tape
- A pencil or marker
- Protective gloves
- Safety goggles
- A dust mask
- A water source
- A steady work surface
Make sure you have all of these materials before you begin the drilling process.
Preparing the Terracotta Pot for Drilling
Before you begin drilling holes in your terracotta pot, you’ll need to properly prepare it to ensure successful drilling and prevent any damage to the pot.
1. Gather the necessary materials
Make sure you have the following materials on hand:
- A terracotta pot
- A marker or pen
- A ruler or measuring tape
- Protective eyewear
- Drill with a masonry bit suitable for terracotta
- Water
- A spray bottle or sponge
2. Measure and mark the drilling spots
Decide where you want to drill the holes in your terracotta pot. Ensure that the spots are evenly spaced and symmetrical if you plan to drill multiple holes.

Using a ruler or measuring tape, measure and mark the desired drilling spots on the outside of the pot. You can use a marker or pen that will easily wash off later.
3. Protect your eyes
Before you start drilling, it’s important to protect your eyes. Wear protective eyewear, such as safety glasses or goggles, to prevent any debris or shards from getting into your eyes.
4. Wet the drilling area
Terracotta is a porous material, so it is recommended to wet the drilling area before you start drilling. This helps to prevent the pot from cracking or breaking as you drill.
You can either spray water onto the drilling spots using a spray bottle or wet a sponge and rub it on the areas you marked for drilling.
5. Position the pot securely

Place the terracotta pot on a stable and secure surface, such as a workbench or table. If needed, use clamps or other supporting devices to keep the pot in place during drilling, ensuring it doesn’t slip or move.
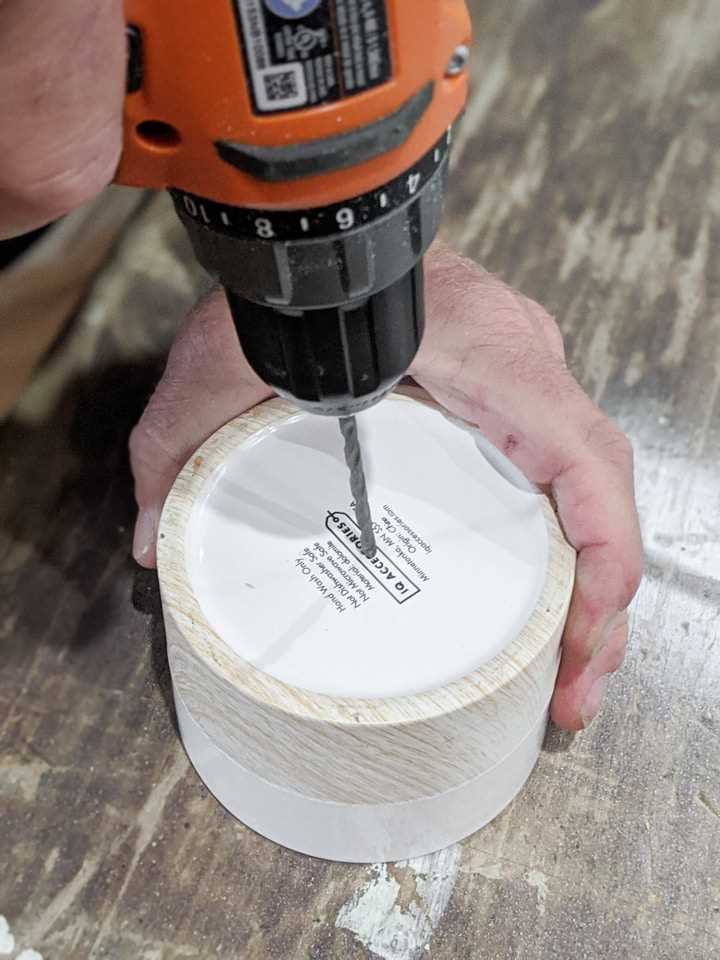
6. Start drilling
- Insert the masonry bit into your drill. Make sure it is securely attached.
- Slowly start the drill and position the tip of the bit on one of the marked spots. Apply gentle pressure to begin drilling.
- Continue drilling at a slow and steady pace, keeping the drill perpendicular to the surface of the pot. Do not apply excessive force or drill too quickly, as this can cause the pot to crack or break.
- Once the hole is drilled, move on to the next marked spot and repeat the process until all desired holes are drilled.
Remember to take breaks if needed to avoid overheating the drill and to periodically wet the drilling area to prevent excessive heat buildup.
Following these steps will help you prepare your terracotta pot for drilling holes, ensuring a successful and safe drilling experience.
Marking the Drill Points on the Terracotta Pot
Before you can start drilling holes in your terracotta pot, it’s important to mark the drill points accurately. This will ensure that the holes are placed where you want them and in the correct position.

Here’s a step-by-step guide on marking the drill points:
- Choose the area on the pot where you want to drill the holes. Consider the specific needs of the plants that will be potted in the pot, such as drainage requirements.
- If you have multiple holes to drill, measure and mark the locations for each hole using a measuring tape or ruler. Make sure to evenly space the holes if necessary.
- Using a marker or pencil, make a small dot or cross at each drill point. This will serve as a guide for the drill bit.
- If you want to ensure that the drill bit doesn’t slip when drilling, you can use a small hammer and nail to create a shallow indentation at each drill point.
- Double-check the marked drill points to ensure they are in the desired locations and evenly spaced.
Once you have accurately marked the drill points on the terracotta pot, you can proceed to the next step of drilling the holes. It’s important to take your time and be precise during this step to avoid any mistakes or damage to the pot.
Choosing the Correct Drill Bit for Terracotta
Overview
When it comes to drilling holes in terracotta pots, choosing the correct drill bit is essential for achieving clean and precise results. Terracotta is a brittle material, so using the wrong drill bit can lead to cracks and breaks in the pot. In this section, we will explore the different types of drill bits available and provide recommendations for selecting the best one for your terracotta pots.
Types of Drill Bits
There are several types of drill bits that can be used for drilling holes in terracotta. Here are a few common options:
- Masonry Drill Bits: These drill bits are designed for drilling into hard materials like concrete and stone. They can also be used for drilling holes in terracotta pots. However, masonry drill bits can be quite aggressive and may cause the pot to crack or break if not used with caution.
- Glass and Tile Drill Bits: These drill bits are specifically designed for drilling into glass, tile, and other fragile materials. They have a spear-shaped tip that helps to prevent the pot from cracking or chipping during drilling. Glass and tile drill bits are a safer option for drilling holes in terracotta pots.
- Diamond Drill Bits: Diamond drill bits are the best option for drilling holes in terracotta pots. These drill bits are made with diamond-impregnated tips that can cut through hard materials like terracotta with ease. Diamond drill bits produce clean and precise holes without causing any damage to the pot.
Choosing the Right Size
In addition to selecting the correct type of drill bit, it is important to choose the right size for your holes. The size of the hole will depend on the plant or drainage needs of your terracotta pot. Typically, a 1/4″ or 3/8″ drill bit is suitable for most pot drainage holes. If you are drilling larger holes for planting, you may need a larger drill bit.
Recommended Drill Bit Set
If you are unsure of which drill bit to choose, a multi-purpose drill bit set is a great option. These sets usually include a variety of sizes and types of drill bits, allowing you to experiment and find the perfect one for your terracotta pots. Look for a set that includes glass and tile drill bits as well as diamond drill bits for the best results.
| Type | Sizes |
|---|---|
| Glass and Tile Drill Bits | 1/8″, 1/4″, 3/8″ |
| Diamond Drill Bits | 1/4″, 3/8″, 1/2″ |
By choosing the correct drill bit for your terracotta pots, you can ensure clean and precise holes without causing any damage to the pot. Always remember to wear safety goggles and take necessary precautions when drilling to avoid injury.
Drilling Holes in Terracotta Pots
Terracotta pots are a popular choice for planting various types of plants. However, many terracotta pots do not come with pre-drilled drainage holes. Without proper drainage, excess water can accumulate in the pot, causing root rot and other plant health issues. In this step-by-step guide, we will show you how to drill holes in terracotta pots to ensure adequate drainage for your plants.
Materials Needed
- Terracotta pot
- Drill
- Drill bit suitable for drilling into ceramic or terracotta
- Masking tape or duct tape
- Water source
- Safety goggles
Step 1: Safety First
Before you begin drilling, it is important to prioritize safety. Put on a pair of safety goggles to protect your eyes from any debris that may fly off while drilling.
Step 2: Marking the Hole Locations
Use masking tape or duct tape to mark the locations where you want to drill the holes. This will help prevent the drill bit from slipping and provide a guide for your drilling.
Step 3: Prepping the Drill Bit
Choose a drill bit suitable for drilling into ceramic or terracotta. It is recommended to use a diamond-tipped or carbide-tipped drill bit for this task. Before you start drilling, wet the drill bit with water. This will cool down the bit and prevent it from overheating during the drilling process.
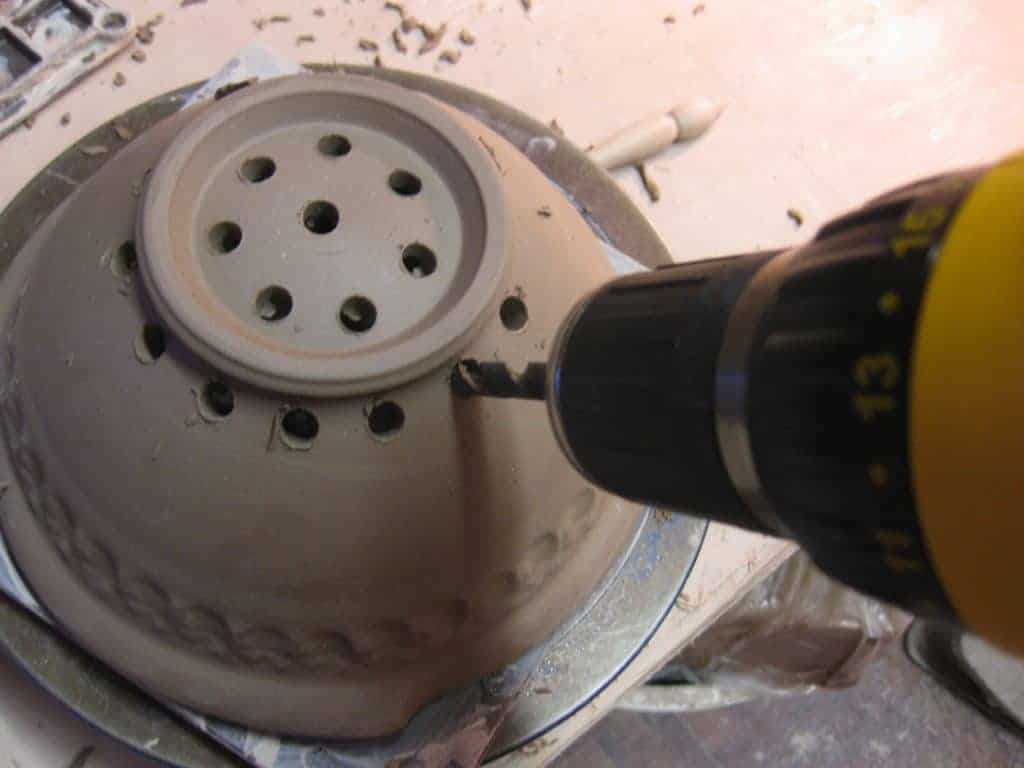
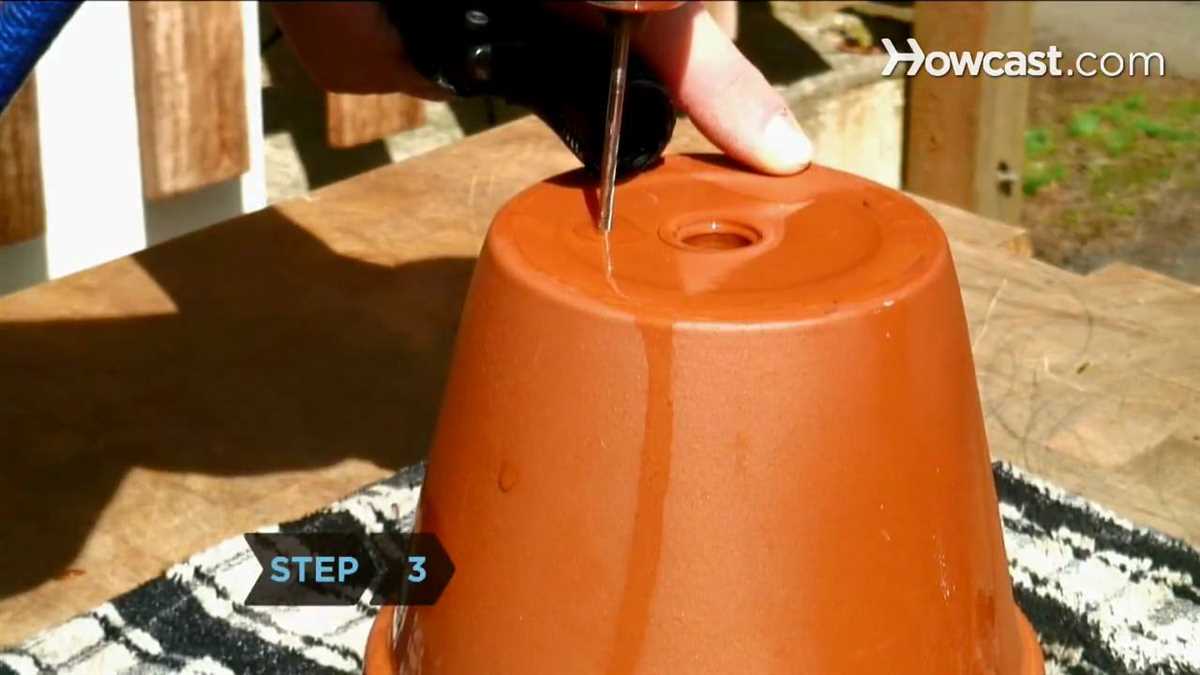
Step 4: Start Drilling
Place the wet drill bit on the marked location and hold the drill steady. Start drilling at a slow speed and gradually increase the speed as the bit penetrates the terracotta. Apply gentle and steady pressure while drilling to avoid cracking the pot. If you feel any resistance or hear cracking sounds, stop immediately.
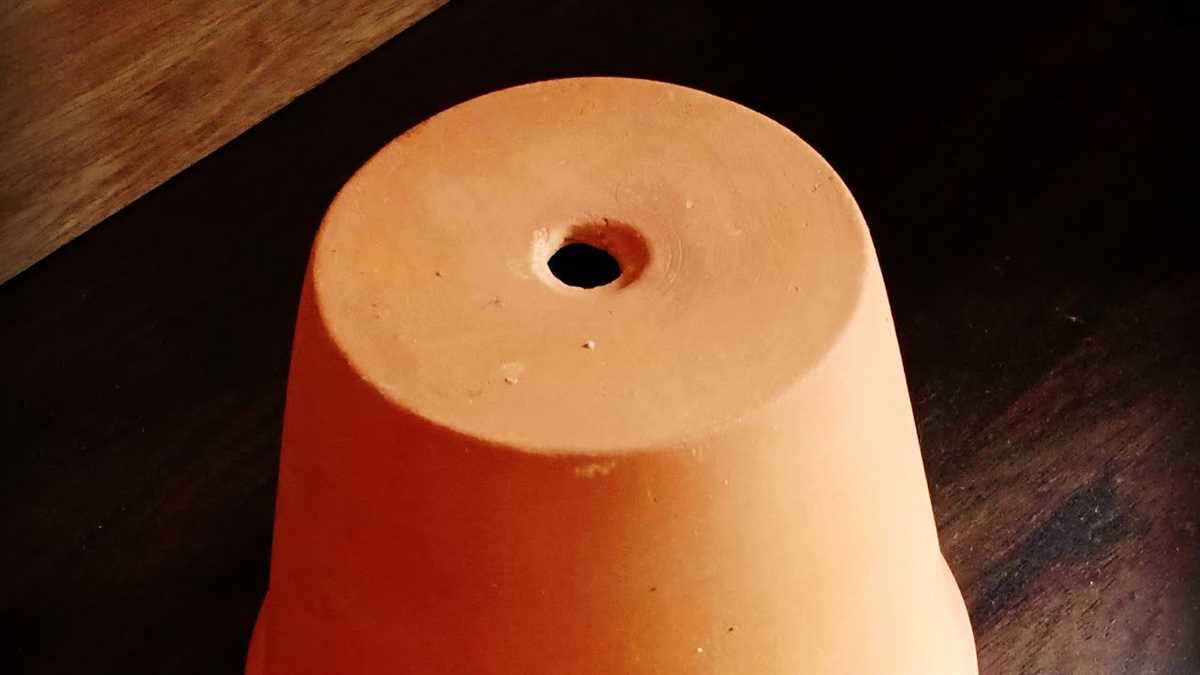
Step 5: Clean and Test
Once you have drilled all the desired holes, clean off any debris from the pot. Rinse the pot thoroughly with water to remove any loose particles. Finally, test the drainage by pouring water into the pot. If the water drains easily, your terracotta pot is now ready for planting!
Tips and Warnings
- Start with a small pilot hole before drilling larger holes to reduce the risk of cracking.
- Do not apply excessive force while drilling, as this can cause the pot to break.
- Regularly check the drill bit for any signs of wear or damage during the drilling process.
- Drilling holes in terracotta pots can create fine dust, so it is advisable to wear a mask for respiratory protection.
By following these steps and taking necessary precautions, you can successfully drill holes in your terracotta pots, ensuring optimum drainage for your plants and promoting healthy growth.
Preventing Cracks and Breakages While Drilling
Drilling holes in terracotta pots can be a delicate process, as the clay material is prone to cracks and breakages. Follow these steps to minimize the risk of damaging your pots:
1. Choose the right drill bit
Using the correct drill bit is crucial for preventing cracks. Opt for a masonry bit that is designed specifically for drilling into ceramics and clay, such as a carbide or diamond-tipped bit.
2. Mark the drilling spot
Before drilling, mark the spot where you want the hole to be with a pencil or marker. This will help you stay on track and prevent unnecessary pressure or shifting during the drilling process.
3. Start with a small pilot hole
Begin by drilling a small pilot hole at the marked spot. Start with a low speed and apply gentle pressure to create a shallow hole. This will help guide the larger drill bit and reduce the risk of cracking.
4. Use water as a lubricant
While drilling, keep the drill bit and the surface of the pot moist by periodically spraying or applying water. This will act as a lubricant and prevent excessive friction, reducing the chances of cracks or breakages.
5. Drill slowly and steadily
Avoid drilling at high speeds or with excessive force, as this can cause the pot to crack. Instead, maintain a slow and steady drilling pace, allowing the bit to gradually penetrate the clay material.
6. Support the pot
To minimize the risk of breakages, place the pot on a stable surface or rest it on a sponge or towel while drilling. This will provide support and help absorb any vibrations or impacts during the drilling process.
7. Clean the drill bit regularly
Clay debris can accumulate on the drill bit, affecting its performance and increasing the risk of cracks. Clean the drill bit periodically with a damp cloth or sponge to remove any clay residue during the drilling process.
8. Take breaks
Drilling too rapidly without breaks can generate heat and increase the chances of cracking. Take occasional breaks during the drilling process to allow the pot and drill bit to cool down and reduce the risk of damage.
9. Practice on a scrap piece
If you’re new to drilling terracotta pots, consider practicing on a spare or scrap piece of clay first to familiarize yourself with the drilling process and gain confidence before working on your valuable pots.
By following these steps, you can minimize the risk of cracks and breakages while drilling holes in terracotta pots, ensuring that your pots remain intact and functional.
Finishing Touches and Maintenance After Drilling Holes
Sealing and Waterproofing
After drilling holes in your terracotta pots, it is important to seal and waterproof them to prevent water from seeping through the holes and damaging your surfaces. One way to do this is by using a clear sealer or waterproofing spray specifically designed for terracotta pots. Follow the manufacturer’s instructions on the product for the best results.
Tip: Make sure to seal both the inside and outside of the pot to create a protective barrier against moisture.
Preventing Insect Infestation
Once you have drilled holes in your terracotta pots, it is crucial to take steps to prevent insect infestations. Small insects such as ants, spiders, and other pests can easily enter through these openings and cause damage to your plants. To prevent this, consider placing a mesh screen or a layer of fine gravel over the drainage holes. This will allow water to drain freely while acting as a barrier against pests.
Cleaning and Maintenance
To ensure the longevity of your drilled terracotta pots, regular cleaning and maintenance are essential. Remove any excess soil or debris from the pots and gently rinse them with water. Avoid using harsh chemicals or abrasive cleaners, as they can damage the terracotta material. Instead, use a mild soap solution or a mixture of water and vinegar for cleaning.
Tip: Avoid leaving your terracotta pots outdoors during freezing temperatures, as the water trapped inside the holes could expand and cause the pot to crack.
Disinfecting
In order to prevent the spread of diseases and fungi, it is important to disinfect your terracotta pots after each use. Soak the pots in a solution of one part bleach to nine parts water for about 10-15 minutes. Rinse the pots thoroughly with clean water before using them again.
Storing
If you don’t plan on using your drilled terracotta pots immediately, it is important to store them properly to prevent damage. Make sure the pots are completely dry before stacking or storing them. Store them in a cool, dry place away from direct sunlight to prevent fading or cracking.
Tip: Consider wrapping your terracotta pots in bubble wrap or storing them in a padded container to provide extra protection.
By following these finishing touches and maintenance steps, you can ensure that your terracotta pots remain in good condition and ready for use whenever you need them.
FAQ:
What tools and materials do I need to drill holes in terracotta pots?
To drill holes in terracotta pots, you will need a power drill with a masonry drill bit, masking tape, a marker or pencil, a ruler or measuring tape, a spray bottle with water, safety goggles, and a dust mask.
Can I use a regular drill bit to drill holes in terracotta pots?
No, you should use a masonry drill bit specifically designed for drilling into ceramic and stone materials. Regular drill bits may not be able to penetrate the terracotta pot or could become damaged in the process.
How do I mark the spot for drilling holes in the terracotta pot?
First, determine where you want the holes to be by considering the drainage needs of the plants. Then, use a ruler or measuring tape to measure the distance from the bottom of the pot to the desired hole placement. Mark this spot with a marker or pencil. Repeat the process for each hole.
Why is it important to use water when drilling into terracotta pots?
Using water while drilling into terracotta pots helps to keep the surface and drill bit cool, preventing them from overheating and potentially cracking or damaging the pot. It also helps to reduce dust and debris.
What safety precautions should I take when drilling into terracotta pots?
When drilling into terracotta pots, it is important to wear safety goggles to protect your eyes from flying debris. Additionally, wearing a dust mask can help prevent inhalation of dust particles. Always exercise caution and work in a well-ventilated area.
Can I drill holes in terracotta pots without a power drill?
While a power drill is the most efficient tool for drilling holes in terracotta pots, it is possible to drill small holes using a hammer and a nail. Simply mark the spot for your hole, place the nail on the mark, and gently tap it with the hammer until it creates a hole. This method may not be suitable for larger or multiple holes.
Video:


Harrison Clayton
Meet Harrison Clayton, a distinguished author and home remodeling enthusiast whose expertise in the realm of renovation is second to none. With a passion for transforming houses into inviting homes, Harrison's writing at https://thehuts-eastbourne.co.uk/ brings a breath of fresh inspiration to the world of home improvement. Whether you're looking to revamp a small corner of your abode or embark on a complete home transformation, Harrison's articles provide the essential expertise and creative flair to turn your visions into reality. So, dive into the captivating world of home remodeling with Harrison Clayton and unlock the full potential of your living space with every word he writes.


