Step-by-Step Guide: Installing a Drill Battery in a Power Wheels

Are you tired of your child’s Power Wheels running out of battery too quickly? Have you considered upgrading the battery to a more powerful option? One cost-effective solution is to install a drill battery in your Power Wheels. In this step-by-step guide, we will walk you through the process of installing a drill battery in your child’s Power Wheels, providing them with longer playtime and increased speed.
Step 1: Gather the Materials
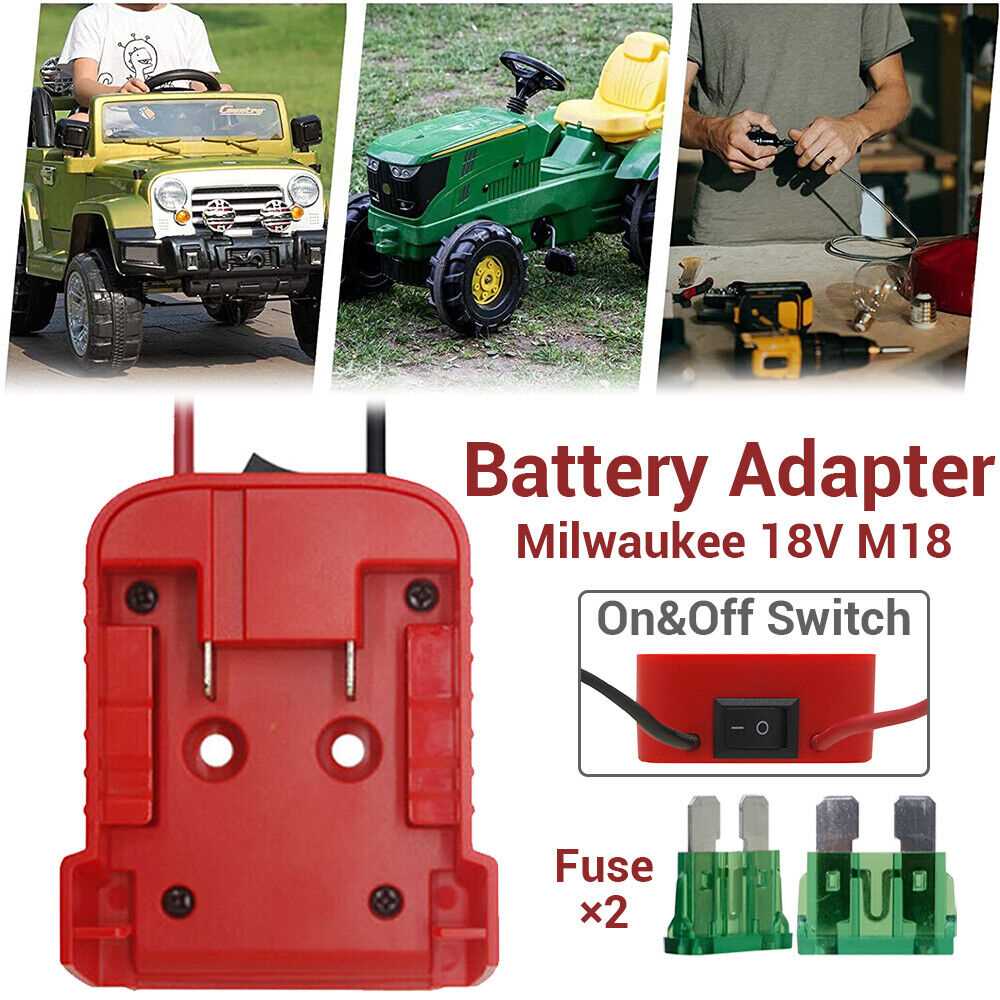
Before you begin, make sure you have all the necessary materials. You will need a compatible drill battery, a voltage regulator, a soldering iron, electrical tape, and a screwdriver. It’s important to choose a drill battery with the appropriate voltage and amp-hour rating for your Power Wheels model.
Step 2: Prepare the Power Wheels
Start by disconnecting the original battery from the Power Wheels. This may involve removing a panel or unscrewing a compartment. Make sure the Power Wheels is turned off and unplugged before you begin. Once the original battery is disconnected, remove it from the Power Wheels and set it aside.

Step 3: Install the Voltage Regulator
The voltage regulator is necessary to ensure the drill battery’s voltage output is compatible with the Power Wheels. Carefully follow the manufacturer’s instructions to install the voltage regulator. This may involve soldering wires or using connectors. Make sure the voltage regulator is securely attached and properly insulated.
Step 4: Connect the Drill Battery
Next, connect the drill battery to the voltage regulator. Again, follow the manufacturer’s instructions to ensure proper installation. Double-check all connections to make sure they are secure and tight. Use electrical tape or heat shrink tubing to insulate exposed wires if necessary.
Step 5: Test and Reassemble

After connecting the drill battery, double-check all the connections, and turn on the Power Wheels. Test the modified Power Wheels to ensure it functions properly. If everything is working as expected, reassemble any panels or compartments that were removed in the earlier steps.
By following this step-by-step guide, you can easily install a drill battery in your child’s Power Wheels, giving them longer playtime and increased speed. Always prioritize safety and double-check all connections before allowing your child to use the modified Power Wheels.
Gather the Required Tools
Before you begin installing a drill battery in a Power Wheels, you will need to gather the following tools:
- Power Wheels vehicle
- Replacement drill battery
- Phillips-head screwdriver
- Wire cutters/strippers
- Electrical tape
- Heat shrink tubing
- Heat gun or lighter
- Soldering iron and solder
- Hot glue gun (optional)
Having these tools available will make the installation process easier and more efficient.

Remove the Old Battery
Before you can install a new battery in your Power Wheels, you’ll need to remove the old one. Follow these steps to safely remove the old battery:
- Make sure the Power Wheels is turned off and unplugged from any power source.
- Locate the battery compartment on your Power Wheels. It is typically located under the seat or in the back of the vehicle.
- Remove any screws or fasteners that are holding the battery compartment closed. Use a screwdriver or wrench as necessary.
- Once the battery compartment is open, carefully disconnect any wires or connectors that are attached to the old battery. Take note of how they are connected so you can easily reconnect them later.
- With the wires disconnected, gently lift the old battery out of the compartment. Be careful not to tip it over or spill any acid.
- Set the old battery aside in a safe place or recycle it according to local regulations.
Now that the old battery is removed, you can proceed with installing the new battery in your Power Wheels.
Prepare the Drill Battery
Before you can install the drill battery in your Power Wheels, you need to prepare the battery for installation. Follow these steps:
- Ensure that the drill battery is charged and ready to use. If the battery is not fully charged, plug it into a charger and let it charge until it is at maximum capacity.
- Inspect the battery for any signs of damage or wear. Check for cracks, leaks, or any other issues that could affect the performance or safety of the battery. If you notice any damage, it is recommended to replace the battery before installation.
- Remove any stickers or labels that may be on the battery. These can interfere with the installation process and should be removed before proceeding.
- Check the voltage and compatibility of the drill battery with your Power Wheels. The voltage of the battery should match the requirements of the Power Wheels. If the voltage is not compatible, the battery may not provide enough power or could damage the Power Wheels.
- Make sure you have any necessary tools on hand, such as a screwdriver or wrench, to remove and install the battery. These tools will be needed during the installation process.
Once you have prepared the drill battery, you are ready to proceed with the installation process. Continue reading the guide for step-by-step instructions on how to install the battery in your Power Wheels.

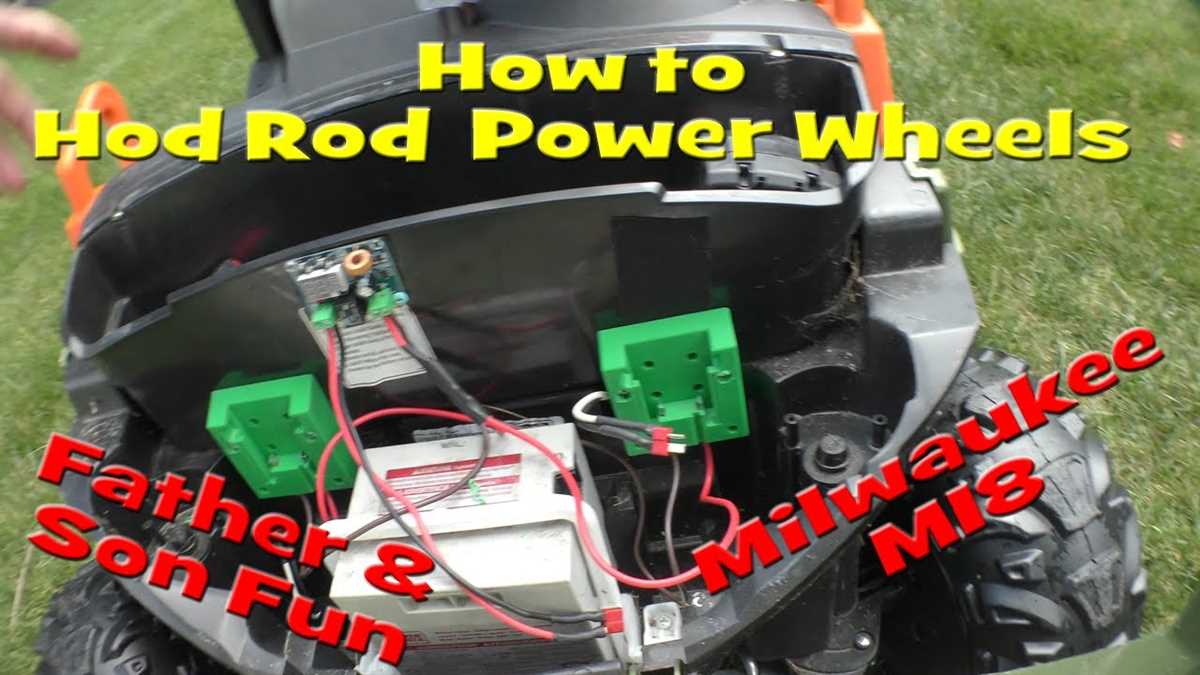
Connect the Battery Terminals
Connecting the battery terminals is an important step in the installation process. Follow these steps to properly connect the drill battery to your Power Wheels:
- Locate the positive and negative terminals on the drill battery. The positive terminal is typically marked with a “+” symbol, while the negative terminal is marked with a “-” symbol.
- Identify the corresponding positive and negative terminals on the Power Wheels. These terminals may also be marked with “+” and “-” symbols.
- Take the red wire that is attached to the positive terminal of the drill battery and connect it to the positive terminal of the Power Wheels. Use a wrench or pliers to securely tighten the connection.
- Next, take the black wire that is attached to the negative terminal of the drill battery and connect it to the negative terminal of the Power Wheels. Again, use a wrench or pliers to ensure a tight connection.
- Double-check the connections to make sure they are secure and tight. Loose connections can cause issues with the power supply.
Once you have successfully connected the battery terminals, the drill battery should be properly installed and ready to use in your Power Wheels. Make sure to test the power supply before allowing children to use the vehicle.
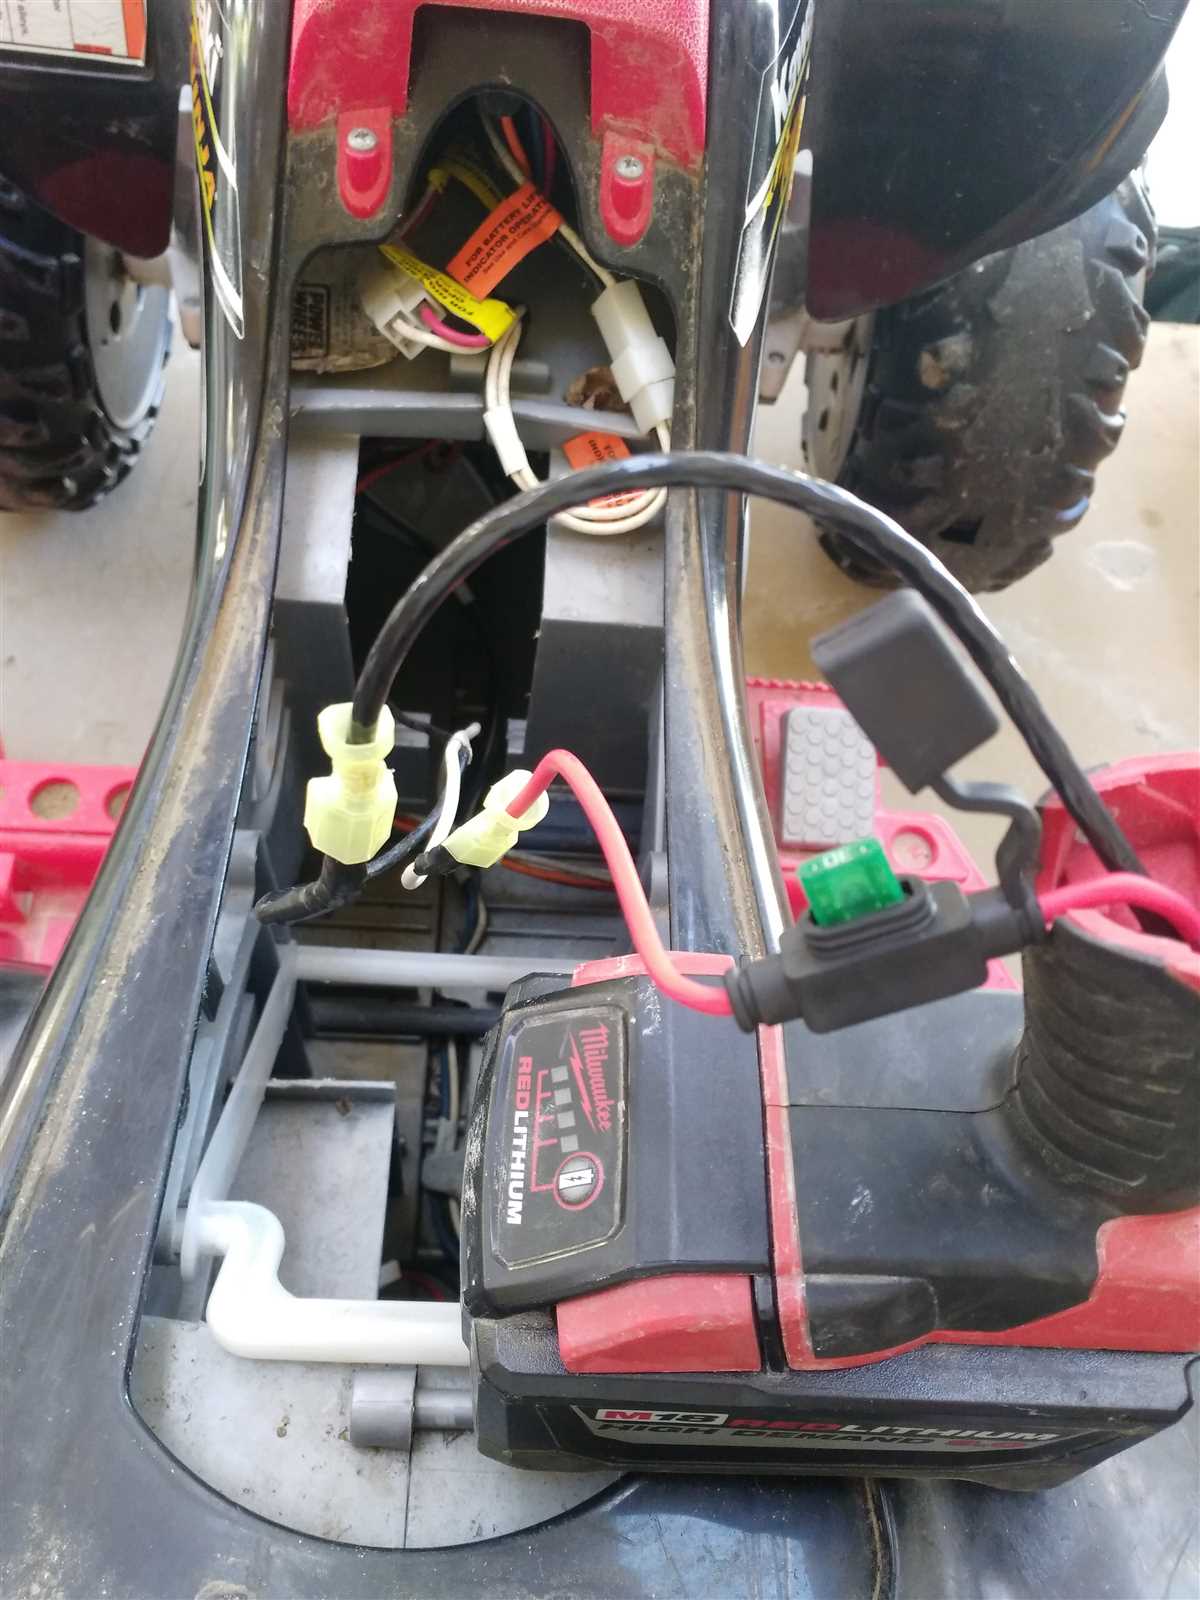
Secure the Battery in the Power Wheels
Once you have the new drill battery ready, it’s time to secure it in the power wheels. Follow these steps to ensure a secure fit:
- Locate the battery compartment in the power wheels. It is usually located under the seat or in the back of the vehicle.
- Remove the old battery, if there is one, from the compartment. You may need to unscrew or unclip it to release it.
- Place the new drill battery in the empty compartment. Ensure that the terminals of the battery align with the corresponding slots in the power wheels.
- Secure the battery in place using the provided straps or brackets. If there are no straps or brackets included, you can use zip ties or Velcro straps to hold the battery firmly in place.
- Make sure the battery is securely fastened and will not move around during use. This will prevent any damage to the battery or the power wheels.
- Double-check all connections and make sure everything is properly secured before using the power wheels.
Once the battery is securely installed, you can proceed to connect the wires and test the new battery. Refer to the manufacturer’s instructions for more information on connecting the wires for your specific power wheels model.

Test the Battery Connection
Before fully securing the battery in place, it’s important to test the battery connection to ensure that it is properly installed and functioning correctly.
Step 1: Turn on the power switch located on the Power Wheels vehicle to activate the electrical system.
Step 2: Check for any signs of power and functionality. Listen for any sounds coming from the electrical system, such as the motor running or lights turning on.
Step 3: Engage the accelerator pedal to see if the Power Wheels vehicle moves forward or backwards. Ensure that the speed and steering controls are responsive.

Step 4: If the Power Wheels vehicle does not respond or there are any issues with the battery connection, turn off the power switch and check the battery connections again. Make sure the battery is securely connected and properly aligned with the connectors.
Step 5: Repeat the testing process after making any adjustments to the battery connection. If the issues persist, contact the manufacturer or refer to the user manual for further troubleshooting instructions.
By testing the battery connection, you can ensure that the Power Wheels vehicle is ready for use and that the battery is properly installed, allowing for a safe and enjoyable riding experience for your child.
Enjoy Your Upgraded Power Wheels
Congratulations! You have successfully installed a drill battery in your Power Wheels and upgraded its performance. Now, your Power Wheels will be faster and more powerful than ever before.
Here are a few tips to help you enjoy your newly upgraded ride:

1. Test the Power Wheels

Before letting your child ride the Power Wheels, make sure to test it yourself. Check if the battery is securely installed and all the connections are tight. Turn on the Power Wheels and observe its performance. Ensure that the wheels are turning properly and that the battery provides enough power.
2. Supervise Your Child
Always supervise your child while they are using the upgraded Power Wheels. Even though the drill battery increases the speed and power, it is important to ensure that they ride in a safe and controlled manner. Provide guidance and instruction to prevent any accidents or injuries.
3. Choose Appropriate Riding Areas
Make sure to choose appropriate riding areas for your child’s upgraded Power Wheels. Avoid busy streets, steep hills, or rough terrain that could potentially cause accidents or damage to the vehicle. Ideal riding locations include driveways, sidewalks, and parks with smooth surfaces.
4. Maintain the Power Wheels
Regularly check and maintain the Power Wheels to ensure optimal performance. Clean the wheels, inspect the battery connections, and tighten any loose parts. Additionally, charge the battery properly and avoid overcharging to extend its lifespan.
5. Have Fun!
Now that your child’s Power Wheels is upgraded and ready to roll, it’s time to have fun! Enjoy watching your child zoom around the neighborhood with their faster and more powerful ride. Take pictures, create memories, and cherish the joy of their upgraded Power Wheels adventure.
Remember to prioritize safety and responsible use while enjoying the upgraded Power Wheels.
FAQ:
What tools do I need to install a drill battery in a Power Wheels?
You will need a power drill, a screwdriver, and a wrench to install a drill battery in a Power Wheels.
Is it difficult to install a drill battery in a Power Wheels?
No, it is not difficult to install a drill battery in a Power Wheels. It is a relatively simple process that can be done with basic tools and a little bit of time.
Why would I want to install a drill battery in a Power Wheels?
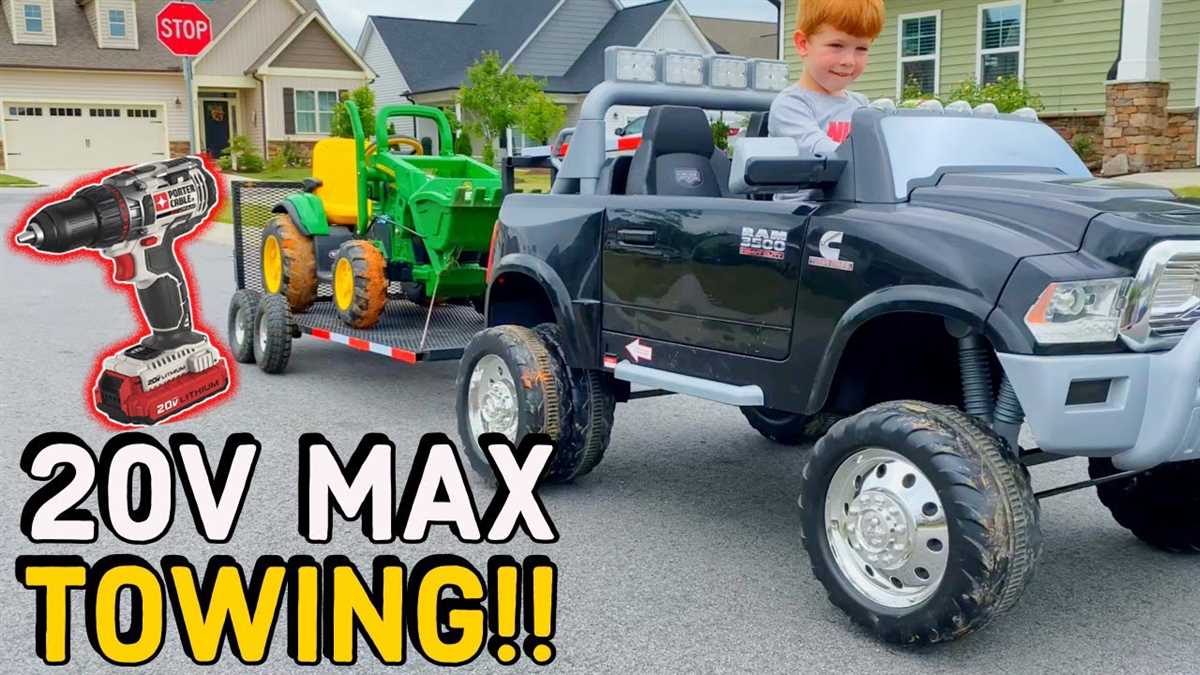
Installing a drill battery in a Power Wheels can increase its speed and power. It is a popular modification among Power Wheels enthusiasts who want to give their vehicles an extra boost.
Can I install a drill battery in any Power Wheels model?
No, not all Power Wheels models are compatible with drill batteries. You will need to check the specifications of your specific model to determine if it is compatible.
Video:


Meet Harrison Clayton, a distinguished author and home remodeling enthusiast whose expertise in the realm of renovation is second to none. With a passion for transforming houses into inviting homes, Harrison's writing at https://thehuts-eastbourne.co.uk/ brings a breath of fresh inspiration to the world of home improvement. Whether you're looking to revamp a small corner of your abode or embark on a complete home transformation, Harrison's articles provide the essential expertise and creative flair to turn your visions into reality. So, dive into the captivating world of home remodeling with Harrison Clayton and unlock the full potential of your living space with every word he writes.


