Step-by-Step Guide: How to Put a Drill Bit in a Black and Decker Drill

Drilling is a versatile and essential skill for any DIY enthusiast or professional. Whether you’re working on a home improvement project or tackling a construction job, knowing how to properly insert a drill bit into your Black and Decker drill is crucial. This step-by-step guide will walk you through the process and ensure that you can confidently and safely use your drill for any task.
Before you begin, it’s important to gather all the necessary tools and materials. You will need your Black and Decker drill, the appropriate drill bit for your project, and a pair of safety goggles. Safety is always a top priority when working with power tools, so make sure to wear your goggles throughout the entire process.
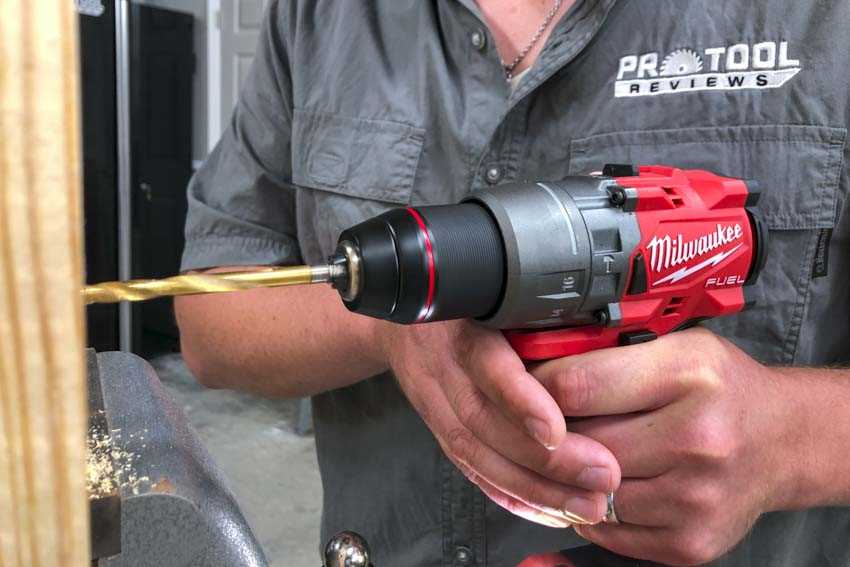
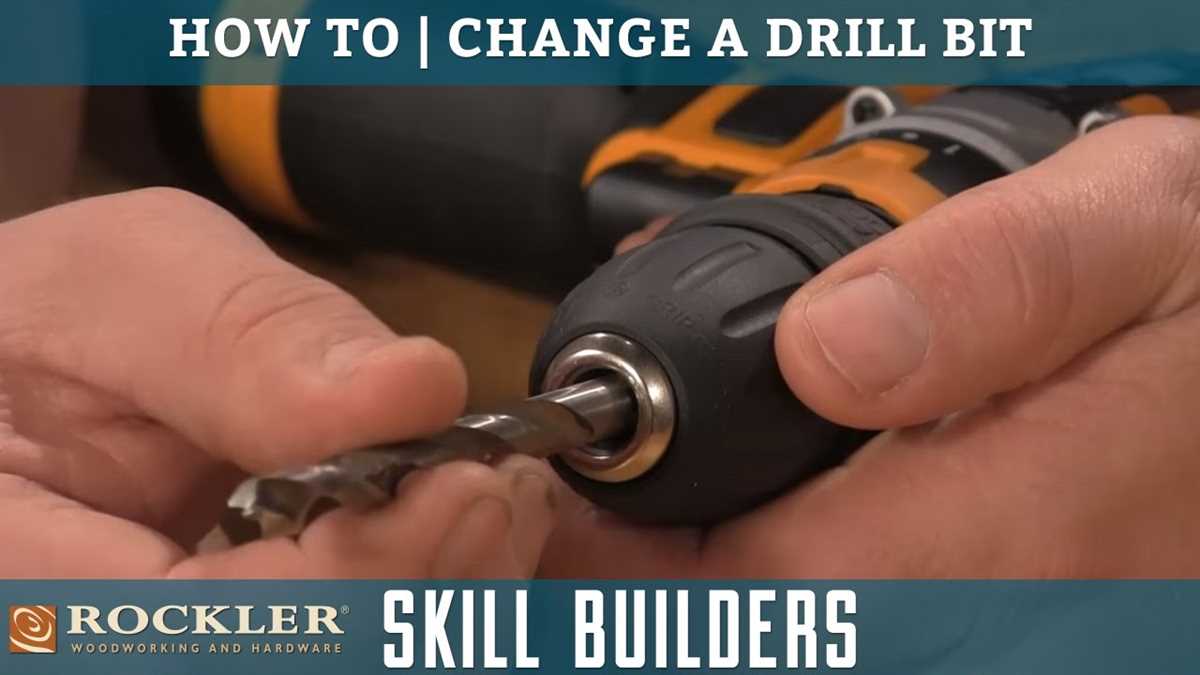
The first step is to locate the chuck on your Black and Decker drill. The chuck is the part of the drill that holds the drill bit in place. It is typically located at the front of the drill and has three jaws that can be tightened or loosened to secure the drill bit. To access the chuck, hold the drill with one hand and twist the chuck counterclockwise with your other hand.
Once the chuck is open, insert the drill bit into the jaws. Make sure the drill bit is aligned with the center of the chuck and fully inserted. Then, hold the drill bit in place and tighten the chuck by turning it clockwise. Use a firm grip to ensure that the drill bit is securely held in place. You can check the tightness by giving the drill bit a slight tug to make sure it doesn’t come loose.
Now that the drill bit is properly inserted, you’re ready to use your Black and Decker drill for your project. Remember to always follow safety precautions and use the appropriate drill bits for each task. With this step-by-step guide, you can confidently tackle any drilling job with your Black and Decker drill!

Gather the Necessary Tools
Before you begin the process of putting a drill bit in a Black and Decker drill, it is important to gather all the necessary tools. Having everything you need on hand will make the process much smoother and efficient. Here is a list of tools you will need:
- Black and Decker drill
- New drill bit
- Chuck key
Be sure to have all of these tools readily available before starting the process. This will save you time and frustration later on.
Turn Off the Drill
Before attempting to change the drill bit, it is important to ensure that the drill is turned off. This is to prevent any accidental injuries from occurring while handling the drill bit.
- Locate the power switch or trigger on the drill.
- Move the power switch to the “off” position or release the trigger to turn off the drill.
- Double-check that the drill is completely turned off before proceeding with the next steps.
Remember, safety should always be the top priority when working with power tools. Turning off the drill before changing the drill bit is a crucial step to avoid any accidents or injuries.

Remove the Old Bit
To begin, make sure the drill is turned off and unplugged from any power source. Safety should always be a priority when working with power tools.
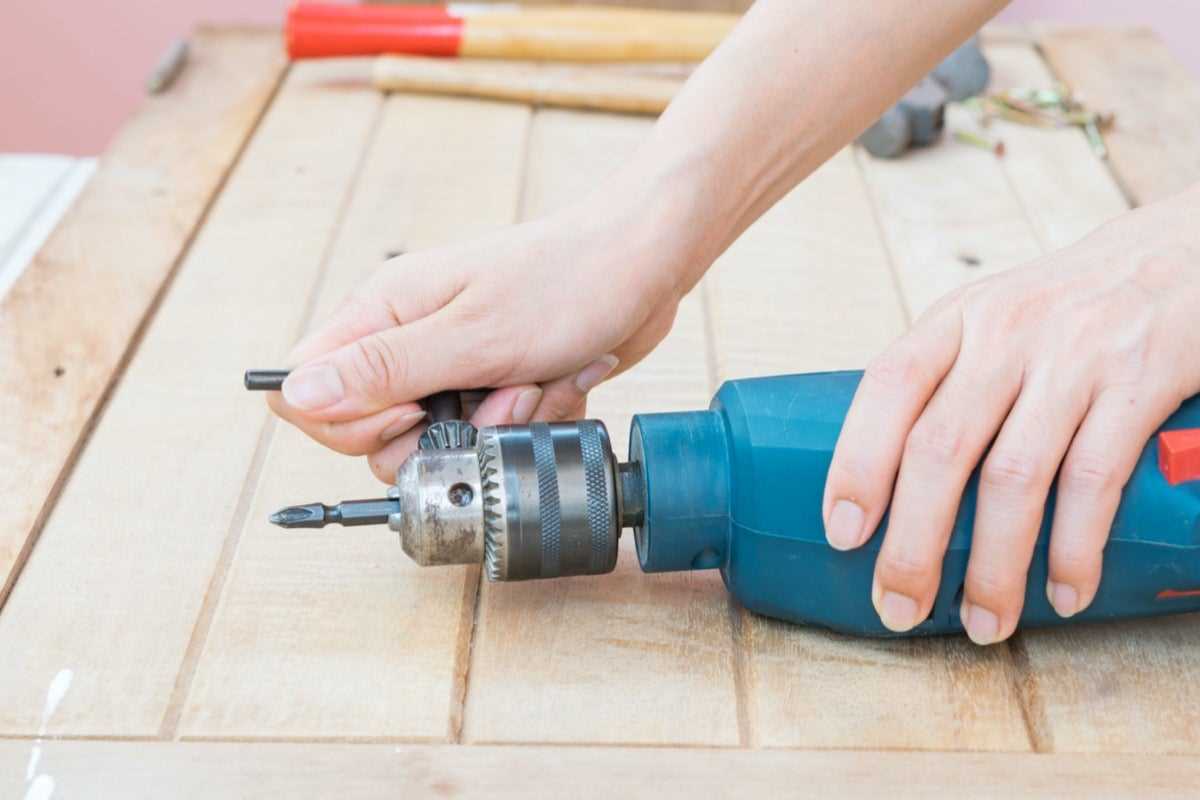
Locate the chuck of the drill, which is the part that holds the bit in place. The chuck is typically at the front end of the drill and can be adjusted to hold different sizes of bits.
There are two types of chucks: keyless chucks and keyed chucks. If your Black and Decker drill has a keyless chuck, you can skip to the next step. If it has a keyed chuck, find the chuck key that came with the drill.
Insert the chuck key into the small holes on the sides of the chuck. Use the key to loosen the chuck by turning it counterclockwise.

- If your drill has a keyless chuck, hold the chuck with one hand and twist the body of the drill counterclockwise with the other hand. This will open the jaws of the chuck and release the old bit.
- If your drill has a keyed chuck, continue to hold onto the chuck key and twist the body of the drill counterclockwise. This will open the jaws of the chuck and release the old bit.
Once the jaws of the chuck are open, remove the old bit by pulling it straight out of the chuck. Be careful not to damage the jaws or the chuck while removing the bit.
Inspect the chuck and ensure there are no obstructions or debris that could interfere with inserting a new bit. Clean the chuck if necessary.
Now that the old bit is removed and the chuck is ready, you are ready to proceed to the next step of inserting a new drill bit into your Black and Decker drill.
Choose the Right Drill Bit
Choosing the right drill bit for your Black and Decker drill is essential for achieving the desired results in your drilling task. There are many different types of drill bits available, each designed for specific materials and applications. Here are some factors to consider when choosing the right drill bit:

- Material: Consider the material you will be drilling into, such as wood, metal, concrete, or tile. Different materials require different types of drill bits to ensure effective drilling without damaging the material.
- Size: The size of the hole you need to drill will determine the size of the drill bit you should use. Drill bits come in various diameters, so choose a size that matches your requirements.
- Type: There are several types of drill bits, including twist bits, spade bits, masonry bits, and hole saws. Each type is designed for specific applications, so choose the one that is most suitable for your drilling task.
Consult the manufacturer’s guidelines or drill bit packaging for specific recommendations on which drill bits are suitable for your Black and Decker drill model. Additionally, keep in mind that different drill bits may require different chuck sizes, so ensure that the drill bit you choose is compatible with your drill.
By choosing the right drill bit, you can ensure a clean and efficient drilling experience with your Black and Decker drill, allowing you to achieve professional-quality results in your projects.
Insert the New Bit
Once you have removed the old bit from your Black and Decker drill, you can insert the new bit. Follow these steps:
- Choose the appropriate drill bit for your project. Make sure it matches the size and type of hole you need to drill.
- Hold the drill with one hand and locate the chuck with the other hand. The chuck is the part of the drill that holds the bit.
- Rotate the chuck counterclockwise to loosen it. Keep turning until the jaws of the chuck are wide open.
- Insert the shank of the new drill bit into the chuck. Make sure it is fully inserted and seated securely.
- Tighten the chuck by rotating it clockwise. Use your hand to tighten it as much as you can.
- To ensure a secure grip, use a chuck key or a chuck keyless system to further tighten the chuck. If your drill has a chuck key, insert it into the holes on the chuck and turn it clockwise. If your drill has a chuck keyless system, simply hold the chuck with one hand and trigger the drill to tighten it.
Double-check that the bit is securely held in place before using the drill. Give it a gentle tug to make sure it doesn’t come loose. If it does, repeat the tightening process.
Now that the new bit is successfully inserted, you are ready to use your Black and Decker drill for your project!

Secure the Bit
Once you have successfully inserted the desired drill bit into your Black and Decker drill, the next step is to securely fasten it in place. This is an important step to ensure the bit does not come loose or wobble while in use.
- Make sure the drill is turned off and unplugged before proceeding. Safety should always be your top priority.
- Locate the chuck on the front end of the drill. The chuck is the part that holds the drill bit in place.
- Hold the drill bit with one hand to keep it from rotating.
- With your free hand, firmly grasp the chuck and twist it counterclockwise to loosen it.
- Continue twisting the chuck until it is open wide enough to accommodate the drill bit.
- Insert the drill bit fully into the chuck until it cannot go any further. Ensure that the bit is straight and aligned with the drill.
- Tighten the chuck by gripping it firmly and twisting it clockwise. Rotate it until it is securely tightened around the drill bit.
It is essential to ensure that the chuck is tightened properly. You can use your hand to tighten it as much as possible, but if it still feels loose, you can use a chuck key for better tightening. Some Black and Decker drills come with a chuck key, which is a small, L-shaped tool that fits into the holes on the chuck to provide leverage for tightening.
Check for Proper Alignment
Before inserting the drill bit into the Black and Decker drill, it is important to make sure it is properly aligned to ensure effective drilling. Follow these steps to check for proper alignment:
- Inspect the chuck on the front of the drill. The chuck is the part of the drill that holds the drill bit in place. Ensure that it is clean and free of any debris or damage.
- Look at the drill bit to ensure it is straight and not bent or warped. A bent or warped drill bit can cause drilling problems and may need to be replaced.
- Hold the drill bit in one hand and gently twist it to check that it spins freely. If the bit does not spin smoothly, it may need to be adjusted or replaced.
- Insert the drill bit into the chuck, making sure it is fully inserted and seated securely.
- Tighten the chuck by turning it clockwise. Use a chuck key if necessary to ensure a tight grip on the drill bit.
By checking for proper alignment before drilling, you can prevent issues such as wobbling or slipping of the drill bit, which can lead to inaccurate holes or potential damage to the material being drilled.
Test the Drill
Once you have successfully attached the drill bit, it is important to test the drill to ensure that it is functioning properly. Here are the steps to test the drill:
- Make sure the drill is in the off position before testing.
- Insert a fully charged battery into the drill or connect it to a power source.
- Adjust the torque setting on the drill to the desired level.
- Hold the drill firmly with both hands.
- Press the power trigger to turn on the drill.
- Slowly squeeze the power trigger to increase the drill speed. Release the trigger to stop.
- While testing, observe the drill’s performance. Ensure that it is spinning smoothly and the chuck is not wobbling.
- If the drill’s performance seems off, double-check that the drill bit is securely attached and repeat the process of inserting the drill bit if necessary.
It is important to test the drill before starting any project to avoid accidents and ensure that the drill is in proper working condition.
FAQ:
What is a drill bit?
A drill bit is a cutting tool that attaches to a drill to create holes in various materials.
How do I put a drill bit in a Black and Decker drill?
To put a drill bit in a Black and Decker drill, you will first need to locate the chuck, which is the part that holds the drill bit. Once you find the chuck, you can open it by turning it counterclockwise. Then, insert the drill bit into the chuck and tighten it by turning the chuck clockwise. Make sure the drill bit is secure before using the drill.
Are drill bits universal or do they vary in size?
Drill bits do vary in size. They come in different diameters to accommodate various drilling tasks. It’s important to use the appropriate drill bit size for the hole you want to drill.
Can I use any brand of drill bit with a Black and Decker drill?
Yes, you can use drill bits from different brands with a Black and Decker drill. As long as the drill bit is compatible with the chuck size of the drill, you should be able to use it without any issues.
What should I do if the drill bit keeps falling out of the chuck?
If the drill bit keeps falling out of the chuck, it could be due to a loose chuck. Make sure to tighten the chuck securely around the drill bit, ensuring that it is properly secured. If the problem persists, you may need to consult the user manual or contact the manufacturer for further assistance.
Video:


Meet Harrison Clayton, a distinguished author and home remodeling enthusiast whose expertise in the realm of renovation is second to none. With a passion for transforming houses into inviting homes, Harrison's writing at https://thehuts-eastbourne.co.uk/ brings a breath of fresh inspiration to the world of home improvement. Whether you're looking to revamp a small corner of your abode or embark on a complete home transformation, Harrison's articles provide the essential expertise and creative flair to turn your visions into reality. So, dive into the captivating world of home remodeling with Harrison Clayton and unlock the full potential of your living space with every word he writes.


