Step-by-Step Guide: How to Make a Hole in Wood with a Drill

Drilling a hole in wood can be a simple task, but it requires the right tools and technique to ensure a clean and precise result. Whether you’re a beginner or an experienced DIY enthusiast, this step-by-step guide will walk you through the process of making a hole in wood using a drill.
First, it’s important to gather the necessary tools and materials. You’ll need a drill with the appropriate drill bit for the size of hole you want to make. Ensure that the drill bit is sharp and in good condition to prevent any splintering or damage to the wood. Additionally, have a piece of scrap wood or a workbench to use as a drilling surface.
Next, mark the spot where you want the hole to be. Use a tape measure or ruler to measure the desired distance from the edge of the wood and make a small pencil mark. This will serve as a guide for drilling and help you achieve the desired precision. If you’re drilling multiple holes, consider using a template or guide to ensure consistent spacing.
Before you start drilling, it’s important to secure the wood in place. Use clamps or a vice to hold the wood firmly on the drilling surface. This will prevent any movement or slipping during the drilling process, which could result in an uneven or messy hole. Secure the wood in a way that allows easy access to the marked spot while still providing stability.
Now it’s time to set up the drill. Insert the appropriate drill bit into the drill chuck and tighten it securely. Check to make sure the drill is set to the correct speed and setting for the type of wood you’re drilling into. Many drills have adjustable speed and torque settings, so be sure to consult the drill’s manual for guidance.

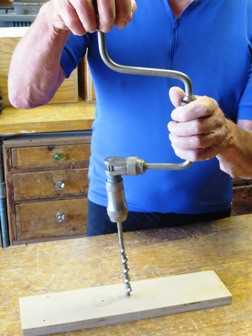
With everything in place, position the drill bit over the marked spot on the wood. Hold the drill firmly with both hands and align the drill bit perpendicular to the wood surface. Start the drill at a slow speed and apply gentle, steady pressure to begin drilling. As the drill bit enters the wood, gradually increase the speed and pressure while maintaining control and stability.
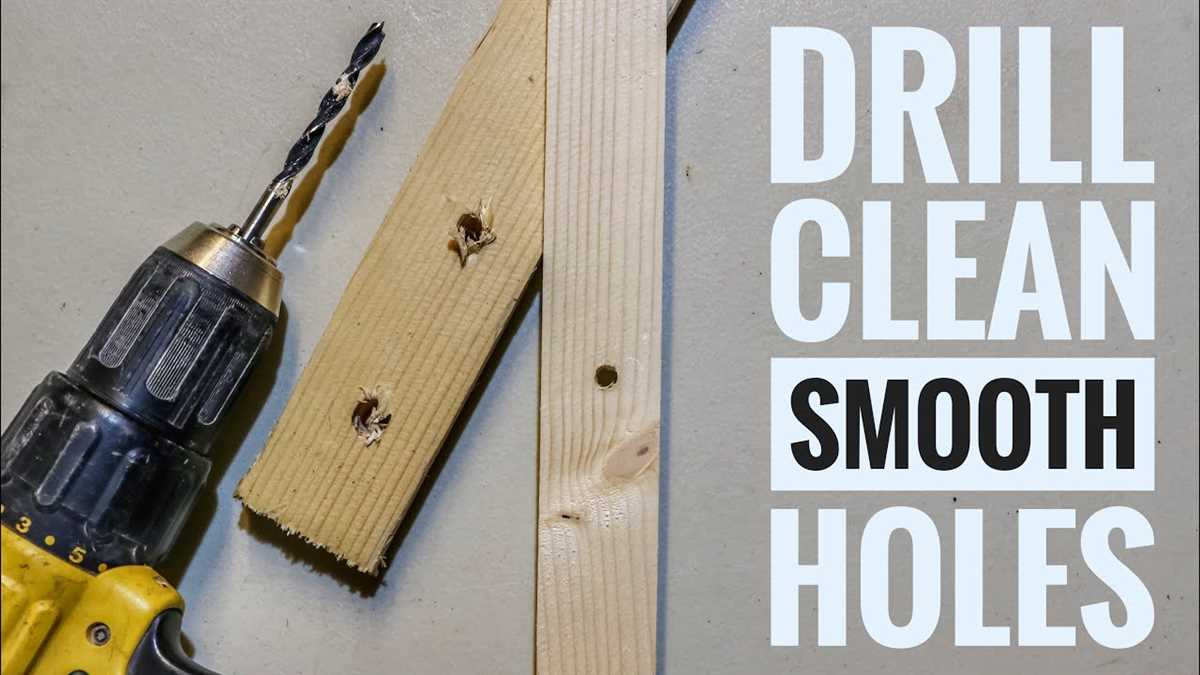
Continue drilling until the desired depth is reached. Keep in mind that drilling too quickly or with excessive force can cause the wood to splinter or break. If you’re drilling a deep hole, periodically withdraw the drill bit to clear any wood chips or debris. This will help prevent overheating and ensure a clean and smooth hole.
Once you’ve drilled the hole, carefully remove the drill bit from the wood. Inspect the hole to ensure it’s clean and free of any debris. If necessary, use a sandpaper or file to smooth out any rough edges or splinters. Congratulations, you’ve successfully made a hole in wood using a drill!
Remember to always wear protective eyewear and follow safety precautions when using power tools. If you’re unsure about drilling into a certain type of wood or need additional guidance, consult a professional or seek advice from experienced woodworkers.
By following these step-by-step instructions, you’ll be able to make precise holes in wood with a drill. This skill is essential for a wide range of woodworking projects and will enhance your DIY capabilities. So grab your drill and get ready to tackle your next woodworking project with confidence!
Gather the necessary tools and materials
Before you start making a hole in wood with a drill, you will need to gather the necessary tools and materials. Having everything ready beforehand will make the process smoother and more efficient. Here is a list of items you will need:

Tools:
- Drill – Ensure you have a drill that is suitable for drilling into wood. Consider the size and power of the drill based on the size of the hole you need.
- Drill bits – These are attachments for the drill that come in various sizes and types. Choose the appropriate drill bit for the size and type of hole you want to make.
- Clamps – Clamps will help secure the wood in place while you are drilling.
- Safety gear – Wear safety glasses to protect your eyes from flying wood chips and debris. If necessary, use ear protection and a dust mask.
- Measuring tools – A tape measure or ruler will help you accurately measure the location and dimensions of the hole.
- Optional: Center punch – A center punch can be used to create a small indentation on the wood, which will help guide the drill bit and prevent it from slipping.
Materials:
- Wood – Choose the type and thickness of wood that fits your project requirements.
- Stabilizing surface – Place a scrap piece of wood or a workbench underneath the wood you are drilling into to provide stability and prevent damage to the surface beneath.
Gathering all these tools and materials before you start will ensure you have everything you need at hand, saving you time and preventing interruptions during the drilling process.
Measure and mark the drilling spot
Before you begin drilling, it’s important to accurately measure and mark the spot where you want to make the hole. This will ensure that your hole is in the right place and at the correct depth.

Here’s how you can measure and mark the drilling spot:
- Using a tape measure or ruler, measure and determine the exact spot where you want the hole to be. Consider the size of the hole you need and the dimensions of the wood piece.
- Once you’ve determined the spot, use a pencil or a marker to mark it. Make sure the mark is clearly visible and won’t be removed easily.
- If you’re drilling multiple holes, use a level or a square to ensure the marks are aligned and the holes will be evenly spaced.
- Double-check your measurements and marks before proceeding to the next step. Accuracy is crucial to avoid any mistakes or uneven holes.
By measuring and marking the drilling spot accurately, you’ll be able to achieve precise results and avoid any unnecessary mistakes or damage to the wood. Remember to take your time and be careful during this step to ensure a successful drilling process.
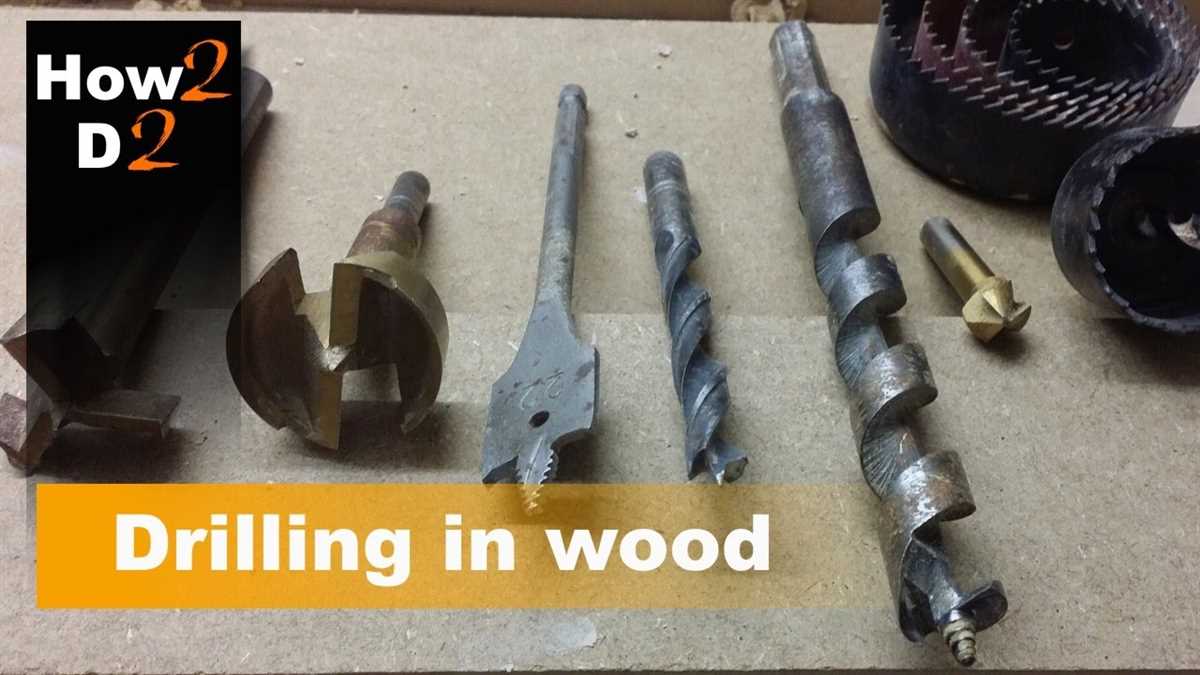
Choose the right drill bit
Choosing the right drill bit is essential for effectively making a hole in wood. The drill bit you select will depend on the size and type of hole you need to make. Here are some considerations when choosing a drill bit:
- Size: Determine the desired size of the hole and choose a drill bit that matches. Drill bits are available in various sizes, indicated by their diameter in inches or millimeters.
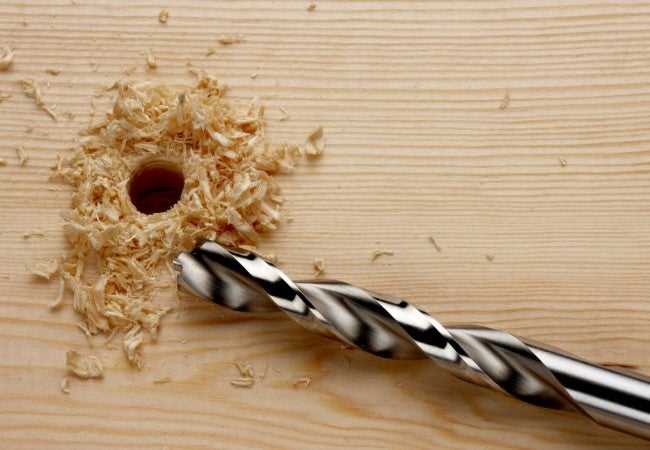
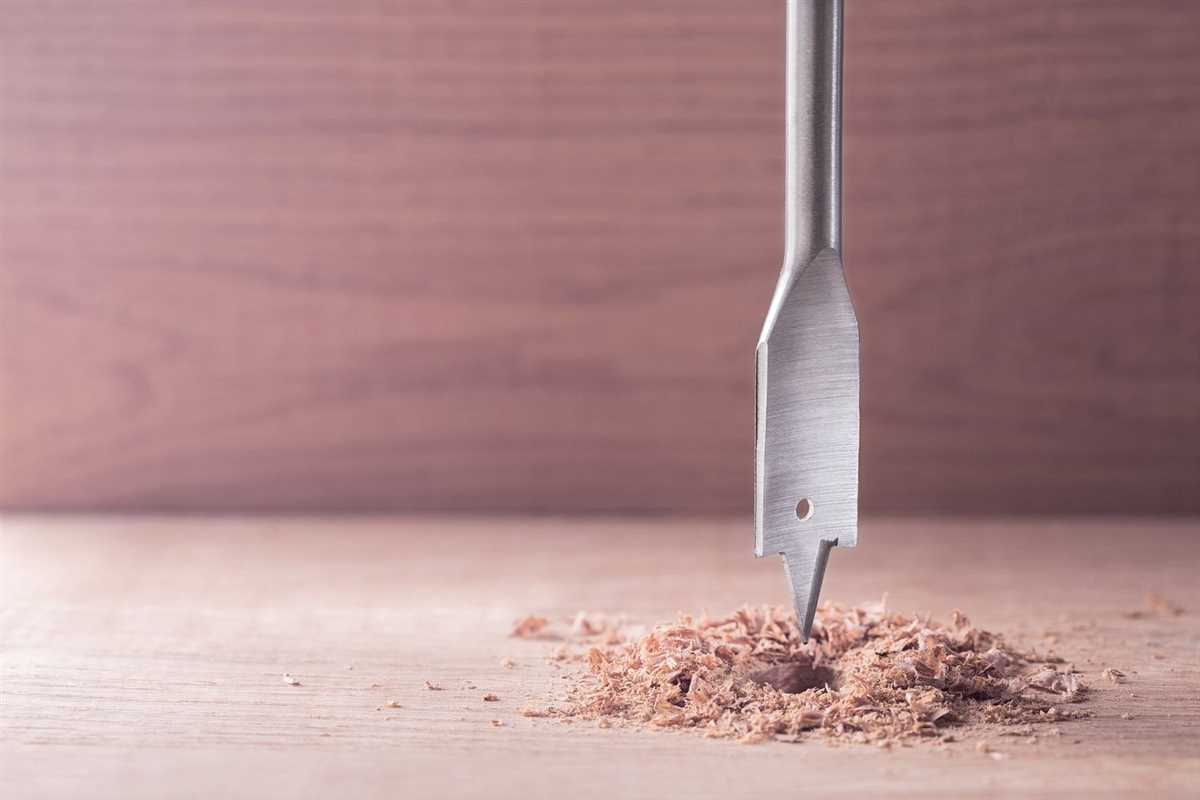
- Type of wood: Different types of wood require different drill bits. For softwoods like pine or cedar, a general-purpose twist drill bit will work fine. For hardwoods like oak or maple, consider using a brad-point bit or a spade bit.
- Depth: Consider the depth of the hole you need to drill. Standard twist drill bits can drill holes up to a certain depth, while specialized bits like Forstner bits or hole saws can drill deeper holes.
- Material: If the wood you are working with has any metal components, such as nails or screws, consider using a drill bit specifically designed for drilling through metal.
It is important to remember that using the wrong drill bit can result in a poor-quality hole or damage to the wood. Take your time to select the appropriate drill bit for the job at hand to ensure a clean and precise hole.

Set up the drilling area
Before drilling a hole in wood, it’s important to properly set up your drilling area to ensure safety and efficiency. Follow these steps to prepare your workspace:
Clean and organize your work area
- Remove any clutter or debris from your workbench or the floor to create a clear and organized space.
- Gather all the necessary tools and materials you will need for the drilling process.
- Arrange your tools and materials in an easily accessible manner to avoid any accidents or delays during the drilling.
Select the right drill bit and drill
- Choose a drill bit that is suitable for the size of the hole you want to make and the type of wood you are working with.
- Ensure that the drill bit is securely tightened in the chuck of your drill.
- Inspect the drill for any damage or wear and tear that might affect its performance. If necessary, replace damaged parts or the entire drill itself.
Wear appropriate safety gear
- Always wear safety goggles to protect your eyes from flying wood particles or debris.
- Consider wearing ear protection if the noise level produced by the drill is too loud.
- Use a dust mask to prevent inhaling wood dust or particles.
Prepare the wood surface
- Ensure that the wood surface is clean and free from any dirt or dust.
- If necessary, mark the spot where you want to drill the hole using a pencil or a marking tool.
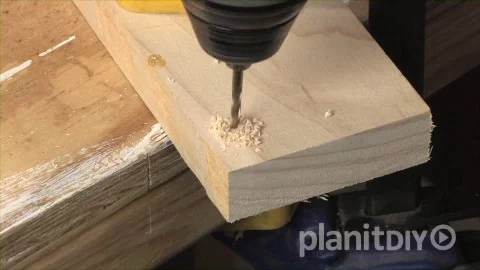
- If you are drilling through a thin piece of wood, place a scrap piece of wood underneath it to prevent the wood from splintering or tearing.
Secure the wood
- If you are drilling a hole in a large piece of wood, secure it firmly with clamps or a vice to prevent it from moving during the drilling process.
- Ensure that the wood is stable and won’t shift or wobble while you are drilling.
By setting up your drilling area properly, you can minimize the risk of accidents and ensure a smooth drilling process. Take the time to prepare your workspace before drilling to achieve the best results.
Secure the wood

Before drilling a hole in wood, it’s important to secure the wood in place to prevent it from moving and causing damage or injury. Here are a few options for securely holding the wood:
1. Clamps:
One of the most effective ways to secure the wood is by using clamps. Choose clamps that are appropriate for the size and thickness of the wood. Place the clamps at the edges or corners of the wood, tightening them enough to hold the wood securely in place but not so tight that it causes damage.
2. Vise:
If you have access to a vise, it can be a convenient tool for securing the wood. Place the wood between the jaws of the vise and tighten it by turning the handle. Make sure to position the wood in a way that allows easy access for drilling.
3. Workbench:
If you don’t have clamps or a vise, you can use a workbench to secure the wood. Place the wood on the workbench and use your body weight to hold it in place while drilling. It’s important to ensure that the wood is stable and won’t move during the drilling process.
4. Non-slip mat:

If you’re working with a smaller piece of wood or don’t have access to clamps or a vise, placing a non-slip mat underneath the wood can provide some traction and prevent it from moving around. Make sure the mat is clean and free from any debris that could interfere with the drilling process.
Remember, safety should always be a priority when working with tools and wood. Double-check that the wood is securely held in place before starting to drill.
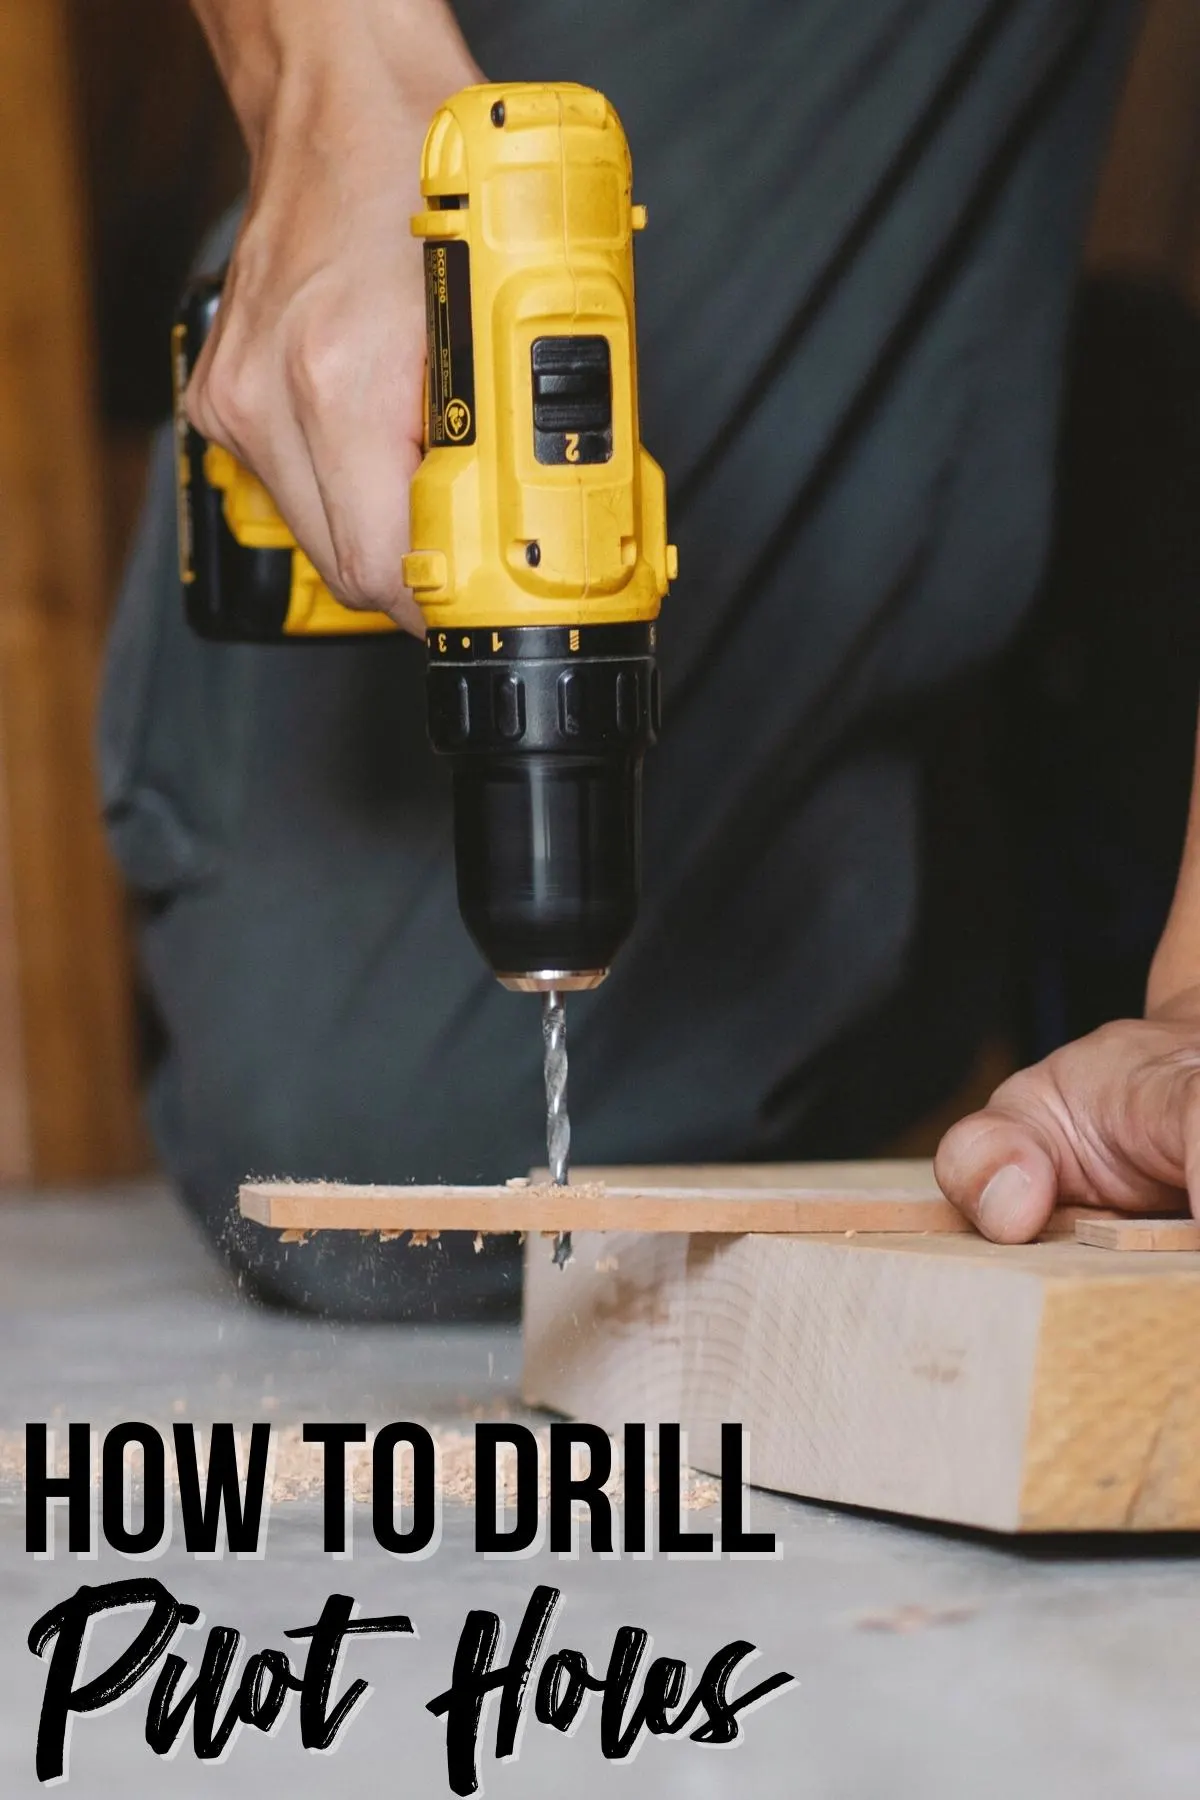
Start drilling
Once you have your wood piece secured and your drill bit selected, it’s time to start drilling. Follow these steps to safely and accurately make a hole in the wood:
- Put on safety goggles: Before starting any drilling, make sure to put on safety goggles to protect your eyes from any flying debris.
- Position the drill: Hold the drill with both hands, keeping a firm grip on the handle. Align the drill bit with the marked spot on the wood where you want to make the hole.
- Start drilling: Press the trigger of the drill slowly and steadily to start the drilling process. Apply gentle pressure to the drill, allowing the bit to do the work. Let the drill bit penetrate the wood at a 90-degree angle.
- Control the speed: Depending on the type of wood and the size of the drill bit, you may need to adjust the drill speed. For harder woods, a slower speed may be necessary to prevent splitting or burning of the wood. For softer woods, a higher speed may be appropriate.
- Keep the drill straight: Throughout the drilling process, it’s important to keep the drill bit as straight as possible. This will help ensure a clean and precise hole.
- Monitor the depth: As you drill, periodically stop and check the depth of the hole. You can do this by measuring the length of the drill bit or using a depth stop on the drill itself. This will prevent drilling too deep or not deep enough.
- Clear away sawdust: As you drill, sawdust may accumulate around the hole. Use a brush or puff of air to clear away the sawdust and improve visibility.
- Take breaks if needed: If the drill bit gets too hot or the wood becomes difficult to drill, take short breaks to allow the drill bit and wood to cool down. This will prevent overheating or damaging the drill bit.
Continue drilling until you have reached the desired depth or have completed the hole. Once you have finished drilling, release the trigger and remove the drill bit from the wood.
Control the drilling depth
Controlling the drilling depth is essential to ensure accurate and precise holes in your woodwork. Here are a few methods to control the depth:
- Using depth stop: Most drills come with a depth stop feature that allows you to set the desired drilling depth. This helps prevent drilling too deep or not deep enough. The depth stop is usually a metal rod or collar that can be adjusted and locked into position.
- Measuring and marking: Another method is to measure and mark the desired drilling depth on the drill bit itself using a tape measure or ruler. This gives you a visual guide to ensure you do not drill too far.
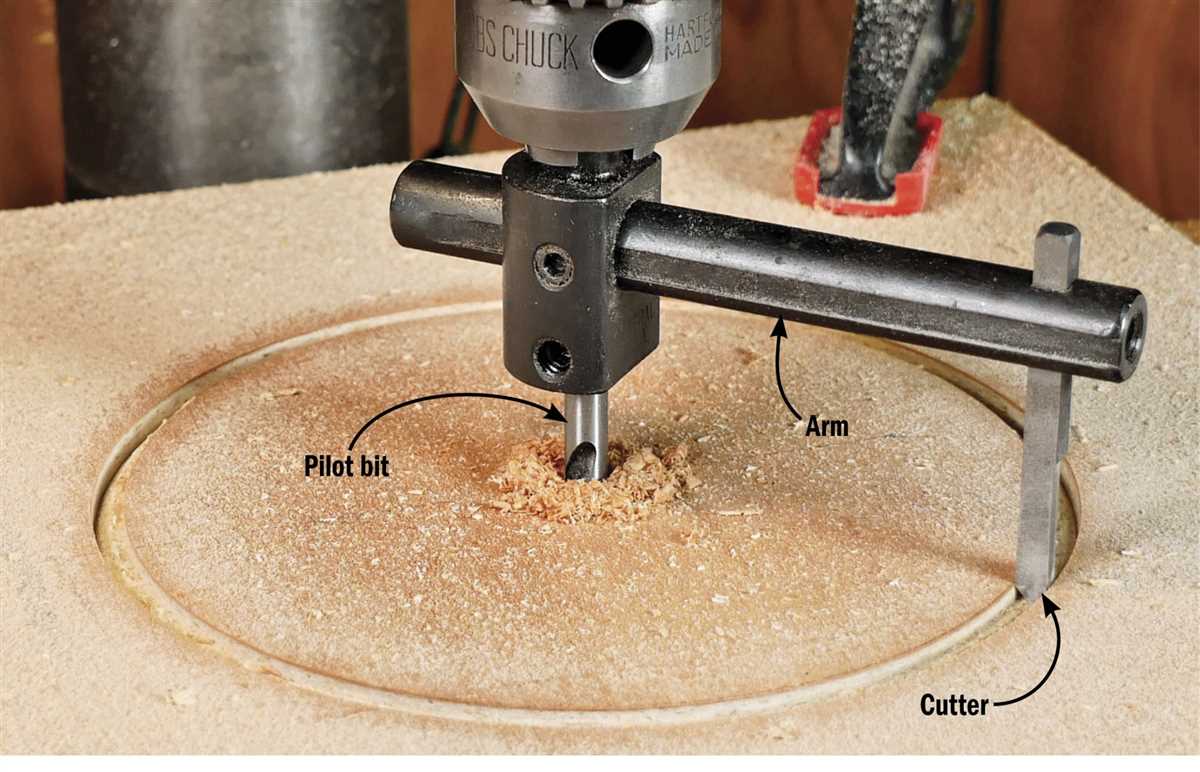
- Using a drill press: If you have a drill press, it can be easier to control the drilling depth. The drill press usually has a depth stop mechanism that allows you to set and adjust the drilling depth accurately.
Important tip: It is advisable to start with a shallower drilling depth and gradually increase it if needed. This prevents you from drilling too deep at once and gives you more control over the process.
Caution: Drilling too deep can weaken the wood or cause damage to the surrounding area. Always double-check your drilling depth before starting the drilling process.
Finish and clean up
After you have successfully made the hole in the wood using your drill, it’s important to finish and clean up the area to ensure a professional and polished look.
1. Sand the edges: Use sandpaper or a sanding block to smooth out any rough edges around the hole. This will prevent splintering and make the hole look neat and clean.
2. Remove any debris: Use a brush or vacuum cleaner to remove any wood chips or sawdust that may have accumulated during the drilling process. This will help prevent scratches or damage to the wood and ensure a clean finish.
3. Fill in gaps (if needed): If the hole you drilled is larger than necessary or has any gaps, you can use wood putty or filler to fill in the gaps and create a seamless appearance. Follow the manufacturer’s instructions for best results.
4. Sand and smooth the filled areas: After the wood putty has dried, use sandpaper or a sanding block to smooth out the filled areas. This will ensure a flush finish and make the repair less visible.
5. Apply a finish (optional): If desired, you can apply a finish to the wood to enhance its appearance and protect it from moisture and wear. Options include paint, stain, or varnish. Follow the manufacturer’s instructions for application and drying times.
6. Clean up: Dispose of any waste materials and clean your work area. Store your tools properly and safely.
By following these steps, you can achieve a professional-looking hole in wood with a clean and finished appearance.
FAQ:
What tools do I need to make a hole in wood with a drill?
To make a hole in wood with a drill, you will need a drill machine, drill bits of the appropriate size, a clamp or vise to secure the wood, and safety goggles. These tools will help you drill a hole accurately and safely.
Is it necessary to mark the spot before drilling a hole in wood?
Yes, it is crucial to mark the spot where you want to drill the hole. You can use a pencil or a center punch to make a small dent to guide the drill bit. This will ensure precision and prevent the drill bit from slipping off the desired location.
What safety precautions should I take while drilling a hole in wood?
When drilling a hole in wood, it is essential to wear safety goggles to protect your eyes from wood chips and debris. You should also secure the wood in place using a clamp or vise to prevent it from moving while drilling. Additionally, make sure to keep your hands and fingers away from the drill bit to avoid any injuries.
Video:

How to make her horny

Harrison Clayton
Meet Harrison Clayton, a distinguished author and home remodeling enthusiast whose expertise in the realm of renovation is second to none. With a passion for transforming houses into inviting homes, Harrison's writing at https://thehuts-eastbourne.co.uk/ brings a breath of fresh inspiration to the world of home improvement. Whether you're looking to revamp a small corner of your abode or embark on a complete home transformation, Harrison's articles provide the essential expertise and creative flair to turn your visions into reality. So, dive into the captivating world of home remodeling with Harrison Clayton and unlock the full potential of your living space with every word he writes.


