Step-by-Step Guide: How to Drill through Tile Floor Safely and Efficiently

Drilling through a tile floor can be a daunting task, especially if you have never done it before. However, with the right tools and technique, you can safely and efficiently drill through tile without damaging the floor or the tile itself. In this step-by-step guide, we will walk you through the process of drilling through tile, from preparing the area to choosing the right drill bit and drilling technique.
Step 1: Prepare the area
Before you start drilling, it is important to prepare the area properly. Clear the floor of any furniture or obstacles. If possible, cover the surrounding tile with a protective masking tape to prevent any accidental damage. This will also help to keep the drill bit from slipping.
Step 2: Mark the drilling location
Use a marker or a pencil to mark the exact spot where you want to drill. This will help you to stay on track and ensure that you drill in the right place. Use a measuring tape or a level to ensure that your mark is straight and aligned with your desired hole.

Step 3: Choose the right drill bit
Choosing the right drill bit is crucial for drilling through tile. For most ceramic or porcelain tiles, a carbide-tipped masonry bit is recommended. Make sure the bit is the right size for your desired hole. It is always a good idea to start with a smaller bit and gradually increase the size if needed.
Step 4: Use the right drilling technique
When drilling through tile, it is important to use the right technique to prevent cracking or chipping. Start by applying light pressure and gradually increase as you drill. Use a slow drilling speed to minimize the risk of damage. It is also helpful to use a drill with adjustable speed settings.
Step 5: Drill slowly and steadily

Drilling through tile requires patience and a steady hand. Take your time and drill slowly to avoid any sudden movements that may cause damage. Keep the drill bit perpendicular to the tile surface and apply even pressure. Regularly stop and check your progress to ensure that you are on track.
Remember, safety always comes first. Wear protective goggles, gloves, and a mask to protect yourself from any flying debris. If you are unsure about drilling through tile, it is always a good idea to consult a professional.
By following these steps and using the right tools and technique, you can safely and efficiently drill through tile floor. Always take your time and proceed with caution to ensure the best results and to avoid any damage.
Gather the Necessary Tools
Before you start drilling through a tile floor, it’s important to gather all the necessary tools to ensure a safe and efficient process. Here are the tools you’ll need:
- Drill: Choose a drill that is suitable for drilling through tiles. A cordless drill is often preferred for its portability and ease of use.
- Masonry bit: Use a masonry bit specially designed for drilling through tiles. The bit should be carbide-tipped for durability.
- Masking tape: This will help prevent the drill bit from slipping on the tile surface and protect the surrounding area from scratches or damage.
- Marker or pencil: Use a marker or pencil to mark the spot where you want to drill on the tile surface.
- Protective eyewear: Safety should always be a priority when drilling, so make sure to wear protective eyewear to shield your eyes from any debris or tile fragments that may be released during the drilling process.
- Dust mask or respirator: To avoid inhaling any dust or particles that may be generated while drilling, it’s recommended to wear a dust mask or respirator.
- Work gloves: If you prefer to have extra protection for your hands, wearing work gloves can be beneficial.
- Dust extractor or vacuum cleaner: Having a dust extractor or a vacuum cleaner nearby will help keep your work area clean and minimize the amount of dust produced.
Make sure you have all these tools gathered and readily available before you begin drilling through the tile floor. This will help streamline the process and ensure that you have everything you need at hand.

Mark the Drill Hole
Before you start drilling, it’s important to mark the exact spot where you want to make the hole. This will help ensure accuracy and prevent any unnecessary damage to the tile. Follow these steps to mark the drill hole:
- Clean the surface of the tile to remove any dirt or debris that might interfere with the marking process.
- Measure the exact location where you want to drill the hole. Use a tape measure or a ruler to get precise measurements.
- Using a pencil or a marker, make a small dot or cross on the spot you measured. This will serve as a guide for the drill bit.
- If you’re drilling multiple holes, mark each spot accordingly, making sure to space them evenly or as required.
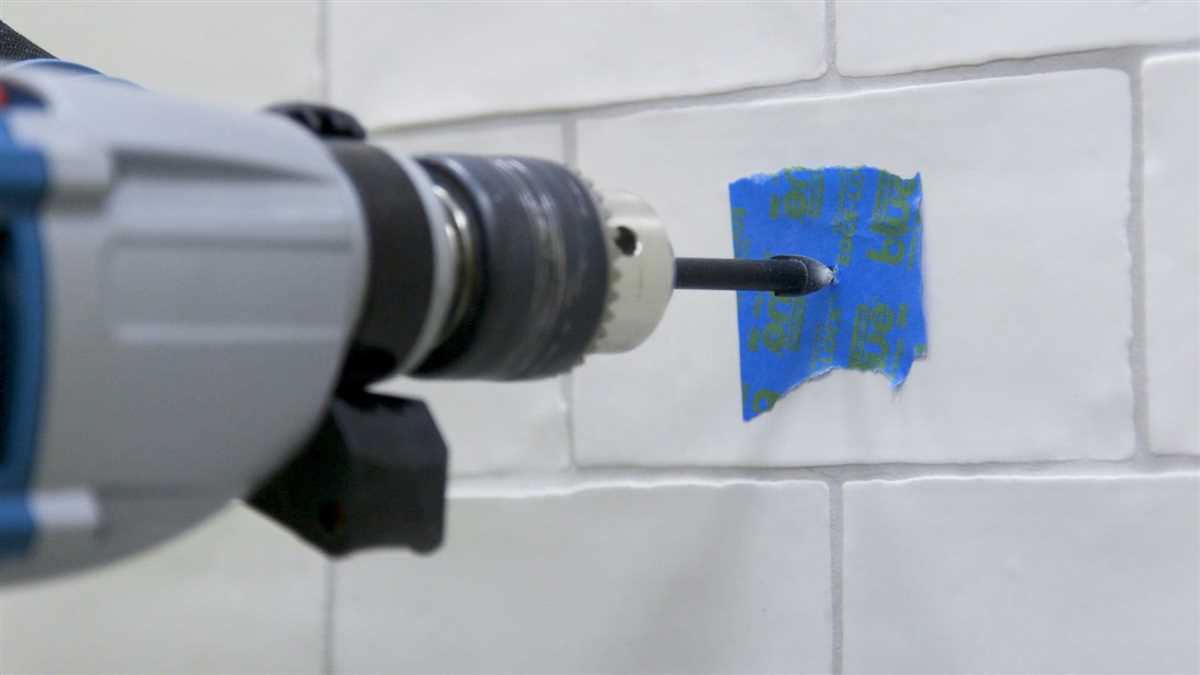
Pro tip: To prevent the drill bit from slipping on the tile’s smooth surface, you can place a small piece of masking tape over the mark. This will provide some extra grip and help keep the drill bit in place.
Prepare the Drill Bit
Before you start drilling through the tile floor, it’s important to prepare the drill bit.

Here are the steps you should follow to prepare the drill bit:
- Choose the right drill bit for the job. For drilling through tile, you’ll need a carbide-tipped masonry bit or a diamond-tipped drill bit. These types of drill bits are designed to drill through hard materials like tile.
- Check the size of the drill bit. Make sure the size of the drill bit matches the size of the hole you want to drill. Measure the diameter of the hole you need and select a drill bit that matches that size. This will ensure that you get a clean and precise hole.
- Inspect the drill bit for any damage. Check for any dullness or chips on the drill bit. If the drill bit is damaged, it may not perform effectively and could potentially break while drilling. If you notice any damage, replace the drill bit with a new one.
- If using a carbide-tipped masonry bit, consider sharpening the tip. Over time, the tip of the carbide bit can become dull, making it less effective at drilling. To sharpen the tip, use a grinding wheel or a file to remove any dullness and restore the sharpness.
- Attach the drill bit to your drill. Depending on the type of drill you have, you may need to use a chuck key or a keyless chuck to attach the drill bit securely. Make sure the drill bit is tightened properly to prevent it from slipping or falling out while drilling.
By properly preparing the drill bit, you’ll be ready to safely and efficiently drill through the tile floor.
Put on Safety Equipment
Before you start drilling through the tile floor, it is important to ensure you are wearing the necessary safety equipment to protect yourself from potential hazards:
- Safety Glasses: Protect your eyes from any debris or tile fragments that may fly during the drilling process. Make sure the safety glasses fit snugly and cover your eyes completely.
- Dust Mask: Prevent inhaling any dust or particles that may be generated while drilling. Choose a dust mask that provides adequate filtration and fits tightly over your nose and mouth.
- Gloves: Use gloves to protect your hands from sharp tile edges and to provide a better grip on the drill and other tools. Choose gloves that are suitable for the task and fit comfortably.
- Hearing Protection: Drilling through tile can be noisy, especially if you’re using a power drill. Wear earplugs or earmuffs to protect your ears from the loud noise.
It is crucial to wear these safety equipment to minimize the risk of injuries and ensure a safe drilling experience. Remember, safety should always be your top priority when working with power tools and materials like tile.

“`html
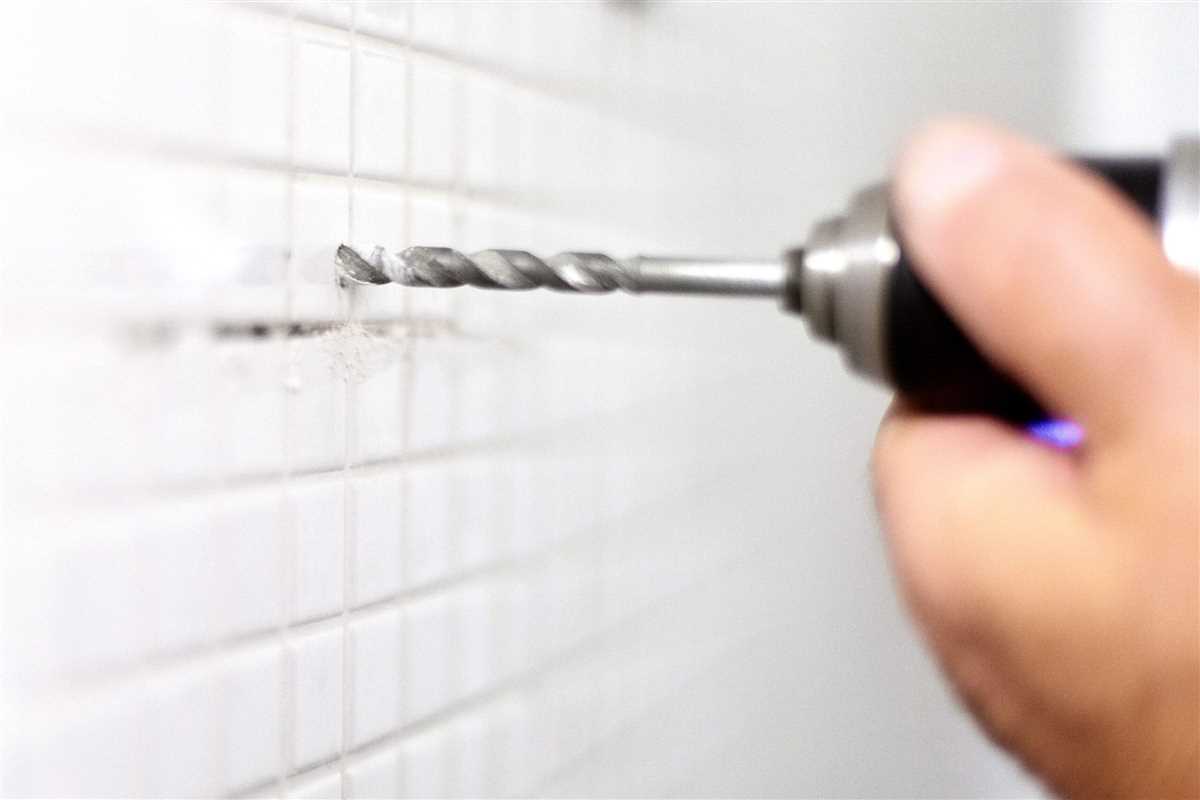
Drill the Pilot Hole
Before drilling through the tile, it is crucial to start with a pilot hole. A pilot hole is a small hole that serves as a guide for the larger drill bit. By drilling a pilot hole, you reduce the risk of the tile cracking or chipping.
To drill the pilot hole, follow these steps:
- Choose the right drill bit: Use a carbide-tipped drill bit specifically designed for drilling through tile. A carbide-tipped bit is durable and can handle the hard surface of the tile without breaking.
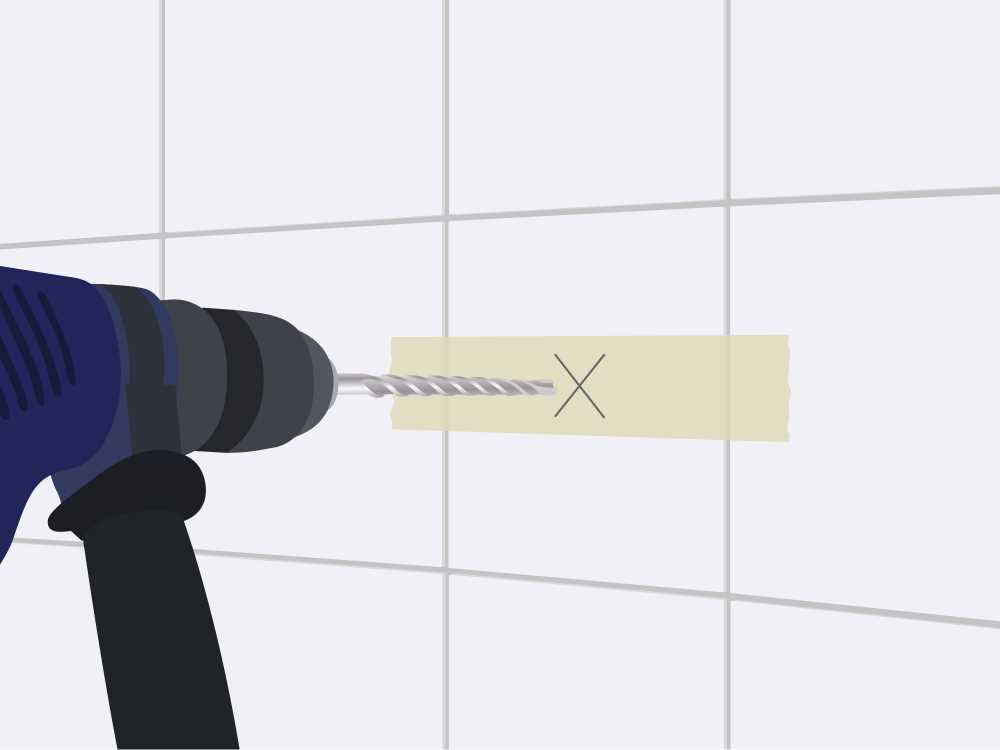
- Mark the drilling location: Use a pencil or a marker to mark the exact spot where you want to drill the hole. Double-check the placement to ensure accuracy.
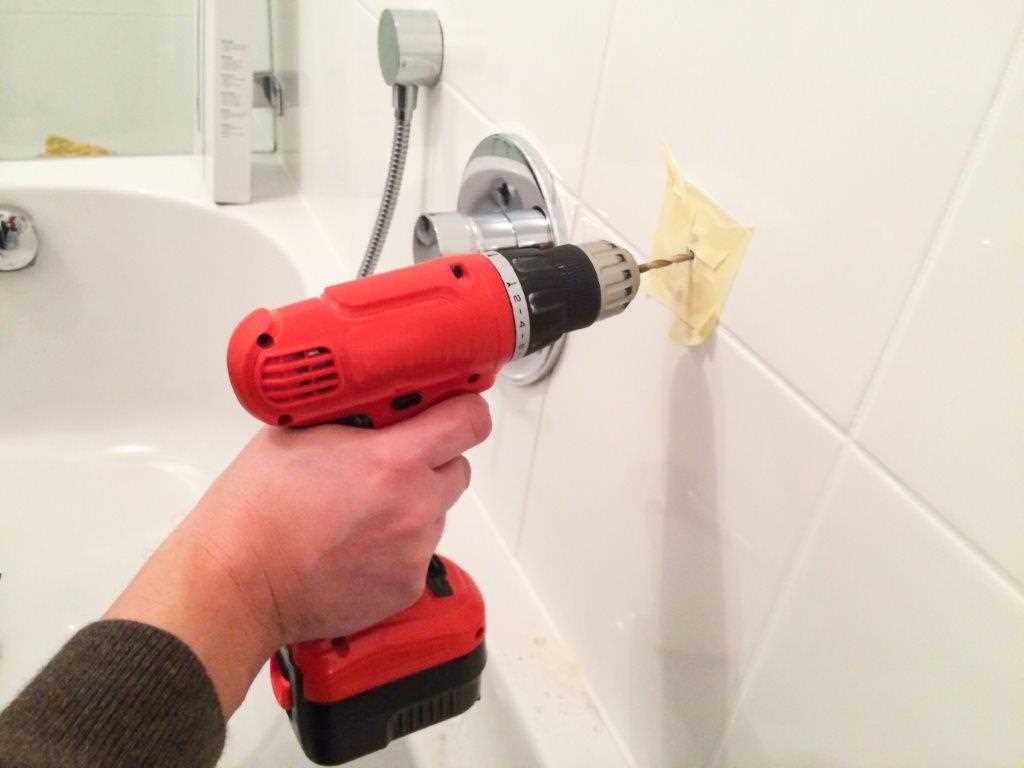
- Secure the tile: Place a piece of masking tape over the marked spot. This helps prevent the drill bit from slipping and provides an extra layer of protection for the tile surface.
- Start drilling: Set your drill to a low speed and apply gentle pressure. Align the drill bit with the marked spot and slowly drill into the tile. Keep the drill straight and steady.
- Use a lubricant: Apply water or a coolant to the drill bit as you drill. This helps to cool down the bit and reduce friction, preventing it from overheating and potentially damaging the tile.
- Drill through the tile: Continue to drill until you reach the desired depth for the pilot hole. Be patient and take your time to avoid rushing and causing damage to the tile.
- Clean up: Remove the masking tape and clean up any debris or dust left behind from the drilling process. This will ensure a clean and smooth surface for the next step.
By drilling a pilot hole, you ensure a safe and efficient drilling process. It helps to maintain the integrity of the tile and reduces the risk of cracking or damaging the surface. Once the pilot hole is successfully drilled, you are ready to move on to the next step in the process.

“`
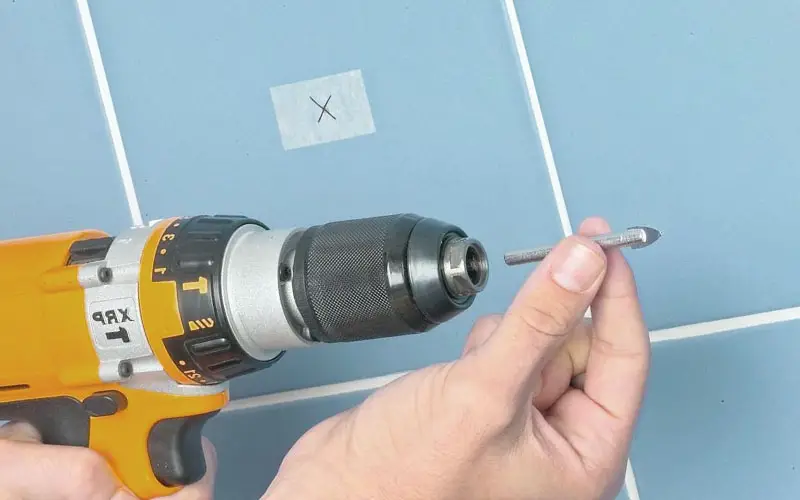
Switch to the Proper Drill Bit
Once you have marked the spot to drill, it’s time to switch to the proper drill bit. Using the wrong drill bit can result in damage to the tile or ineffective drilling. Here are the steps to follow:
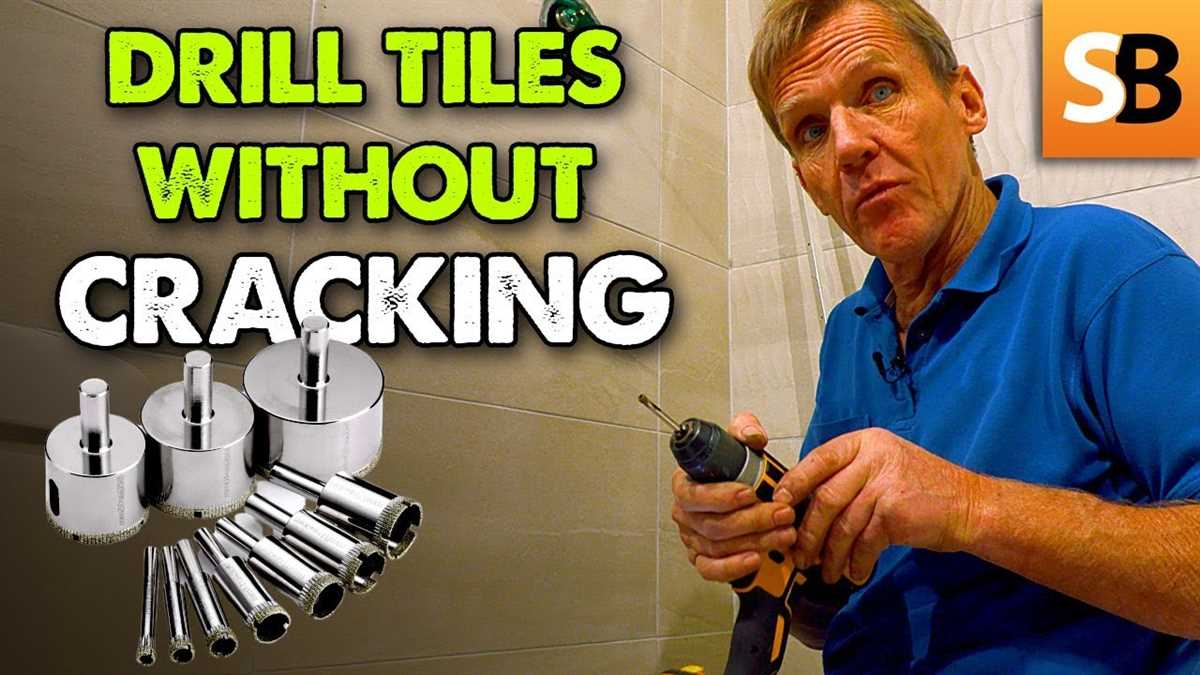
- Choose the right drill bit: For drilling through tile, you’ll need a carbide-tipped masonry bit or a diamond-tipped drill bit. These bits are specifically designed to handle the hardness of tile and will provide the best results.
- Size the drill bit: The size of the drill bit will depend on the diameter of the hole you need to make. Measure the width of the hole and select a drill bit that matches the size.
- Attach the drill bit: Insert the selected drill bit into the drill chuck and tighten it securely. Ensure that it is straight and not wobbly, as this can cause the bit to slip or break while drilling.
It is important to note that when drilling through porcelain or glass tiles, a diamond-tipped drill bit is essential for preventing cracking or chipping.
Pro tip: To prevent the drill bit from slipping on the smooth surface of the tile, you can create an indentation or starter hole with a nail and hammer. This will provide a small groove for the drill bit to grip onto.

Drill through the Tile
Drilling through tile can be a delicate process, as you want to avoid cracking or damaging the tile. Follow these steps for a safe and efficient drilling experience:
- Prepare the area: Clear the surrounding area of any obstructions and cover nearby surfaces with a drop cloth or plastic sheet to catch any debris.
- Mark the spot: Use a marker or a piece of masking tape to mark the exact spot where you want to drill the hole.
- Choose the right drill bit: Select a carbide-tipped masonry drill bit that is specifically designed for drilling through tile. The size of the drill bit will depend on the size of the hole you need.
- Secure the tile: If the tile is not firmly attached to the floor, use a small amount of masking tape or adhesive putty to hold it steady.
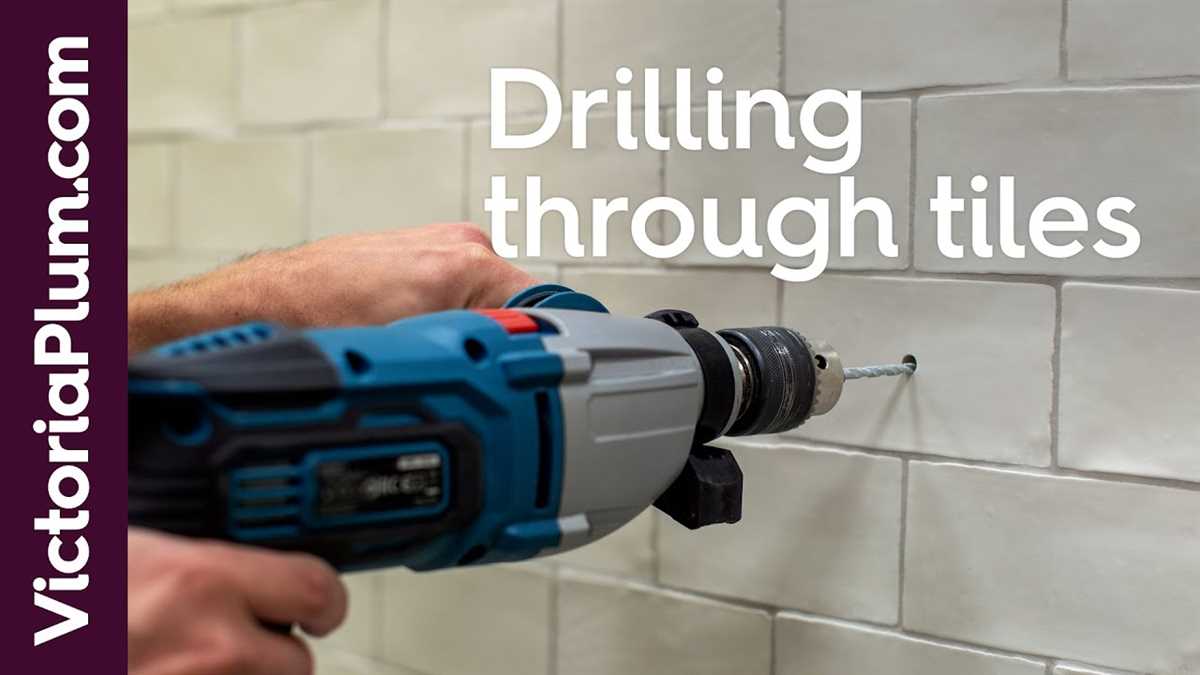
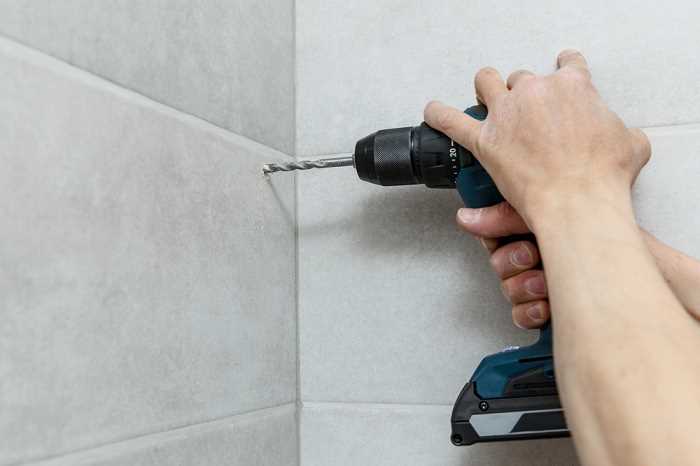
- Start drilling: Place the drill bit at a 90-degree angle to the tile and apply gentle pressure. Start drilling at a low speed to prevent skidding or slipping.
- Use a lubricant: To prevent overheating and reduce friction, apply a small amount of water or drilling fluid to the tile as you drill. This will help to keep the drill bit cool and extend its lifespan.
- Drill slowly and steadily: Maintain a steady pace and avoid applying too much pressure. Let the drill bit do the work, and be patient to avoid causing any damage to the tile.
- Clear the debris: As you drill, periodically stop and clear away any debris from the hole using a vacuum cleaner or a small brush. This will ensure that the hole remains clean and free of obstructions.
- Check the depth: Keep drilling until you reach the desired depth. To check the depth, use a piece of tape on the drill bit as a guide or measure the depth with a ruler.
- Clean up: Once you have drilled the hole, remove any remaining debris and clean the area thoroughly. Dispose of any materials safely and return the surrounding area to its original condition.
By following these steps, you can safely and efficiently drill through tile without causing any damage. Remember to take your time, use the right tools, and exercise caution to achieve the best results.
Clean up and Inspect the Hole
Once you have finished drilling through the tile, it is important to clean up any debris that may have accumulated. This will help ensure that the hole is free from any loose particles that could affect the stability or appearance of the tile.
Here are the steps to clean up and inspect the hole:
- Use a vacuum cleaner or a brush to remove any dust or debris from the hole. Make sure to reach all the corners and crevices.
- Inspect the hole to ensure it is clean and clear of any remaining debris. Use a flashlight if necessary to check for any hidden particles.
- Wipe the tile surface surrounding the hole with a damp cloth to remove any dust or residue.
- Check the surrounding tiles for any signs of damage or cracking. If any issues are found, it is important to address them before proceeding with further steps.
By following these steps, you can ensure that the hole is clean and in good condition, ready for any further installation or repair work that may be required.
FAQ:
What equipment do I need to drill through a tile floor?
To drill through a tile floor, you will need the following equipment: a power drill, a masonry drill bit, a scraper or chisel, masking tape, a marker or pencil, a level, and a sponge or rag.
What type of drill bit should I use for drilling through tile?
You should use a masonry drill bit specifically designed for drilling through hard materials like tile. These drill bits have a carbide or diamond tip that can easily penetrate tile without causing damage.
Should I use a hammer drill or a regular drill for drilling through tile?
It is recommended to use a regular drill for drilling through tile, as a hammer drill may cause the tile to crack or break. A regular drill with a masonry drill bit will be sufficient for drilling through tile.
Do I need to mark the spot before drilling through the tile?
Yes, it is important to mark the spot where you want to drill before starting. You can use a marker or pencil to make a small dot on the tile. This will serve as a guide and help ensure that you drill in the correct location.
How do I prevent the tile from cracking or breaking while drilling?
To prevent the tile from cracking or breaking, you can use masking tape or duct tape. Simply place a piece of tape over the area where you want to drill and mark the spot on the tape. This will help to protect the tile and provide some support while drilling.
Can I drill directly into the grout instead of drilling through the tile?
Drilling directly into the grout can be an alternative if you are concerned about damaging the tile. However, keep in mind that the grout may be less stable than the tile and may not provide as secure of a hold for whatever you are installing.
How do I clean up the dust and debris after drilling through the tile?
After drilling through the tile, you can use a sponge or rag to wipe away any dust and debris. Make sure to clean the area thoroughly to ensure that no small pieces of tile or dust remain.
Video:


Meet Harrison Clayton, a distinguished author and home remodeling enthusiast whose expertise in the realm of renovation is second to none. With a passion for transforming houses into inviting homes, Harrison's writing at https://thehuts-eastbourne.co.uk/ brings a breath of fresh inspiration to the world of home improvement. Whether you're looking to revamp a small corner of your abode or embark on a complete home transformation, Harrison's articles provide the essential expertise and creative flair to turn your visions into reality. So, dive into the captivating world of home remodeling with Harrison Clayton and unlock the full potential of your living space with every word he writes.


