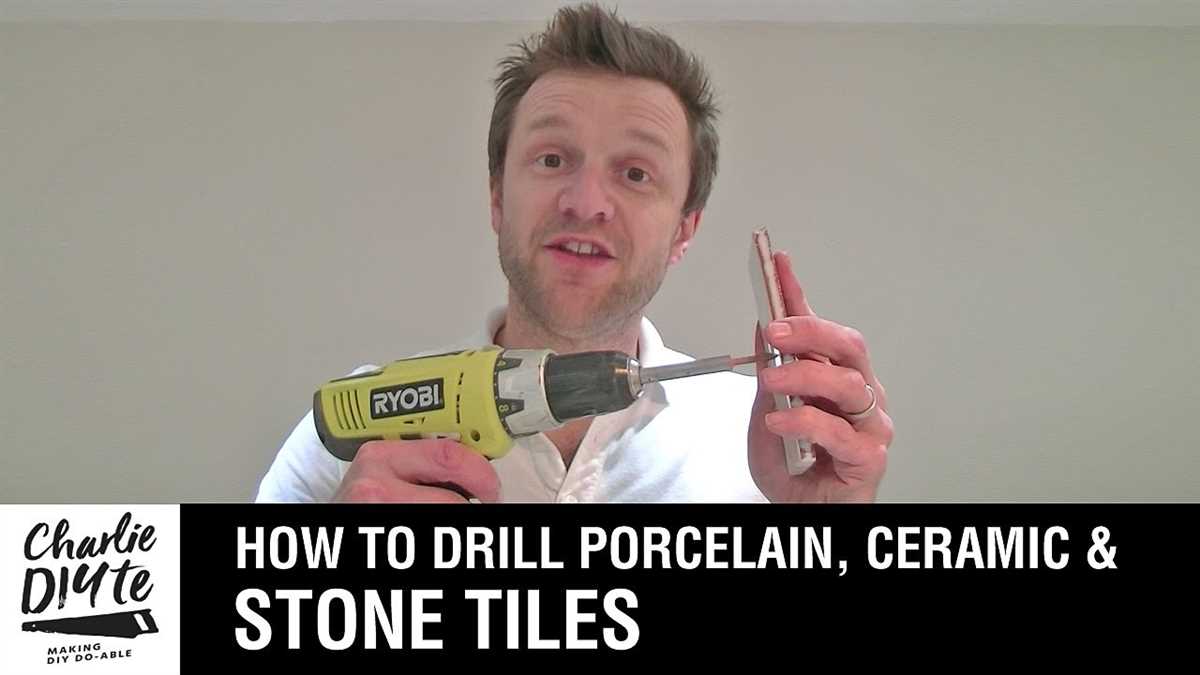
Step-by-Step Guide: How to Drill Porcelain Tiles

Drilling porcelain tiles can be a daunting task for many DIY enthusiasts. The hardness and brittleness of these tiles make them prone to cracking or chipping during the drilling process. However, with the right tools and techniques, you can successfully drill holes in porcelain tiles without any damage.
Step 1: Choose the Right Drill Bit
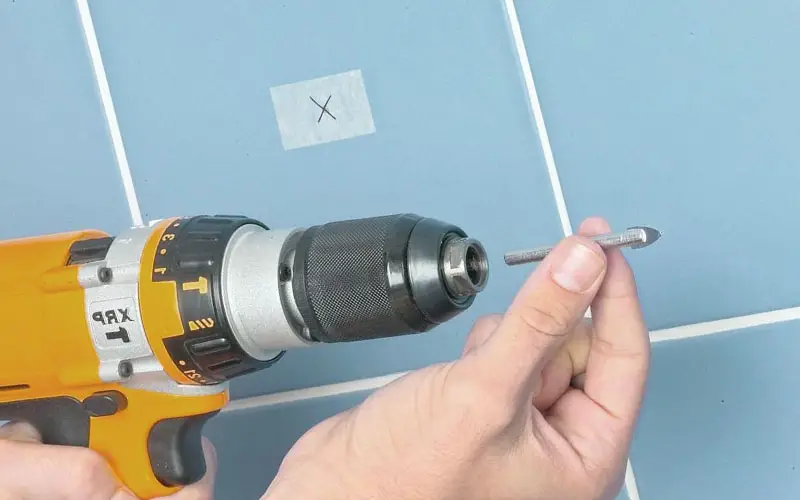
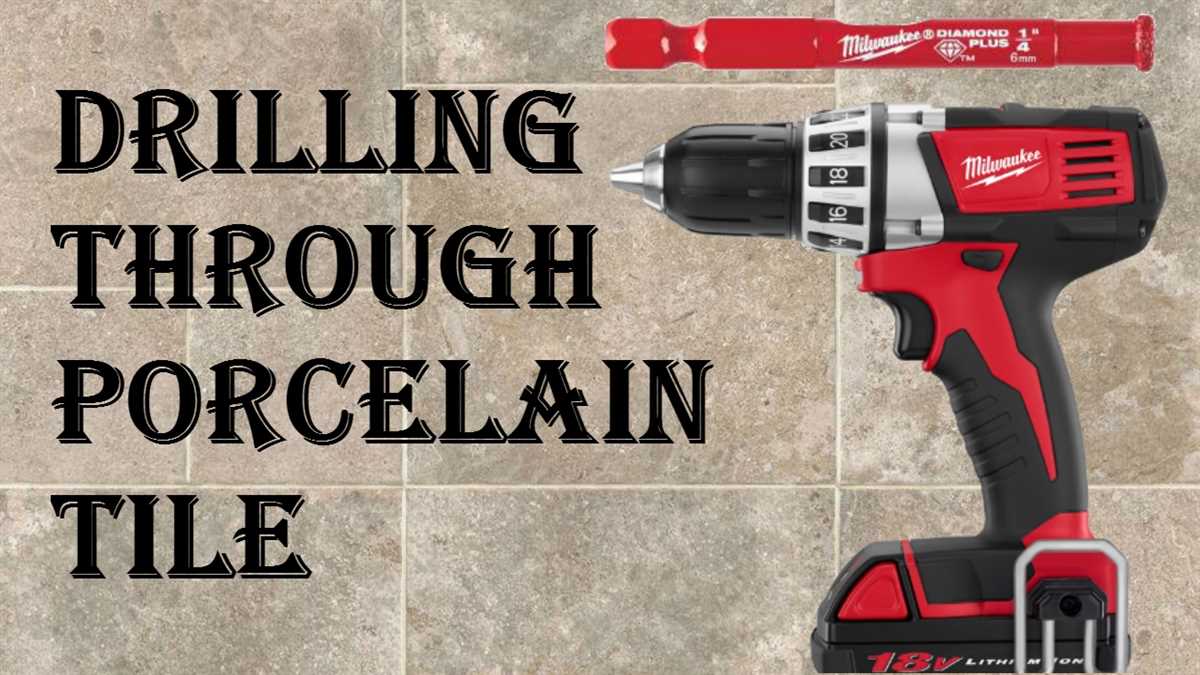
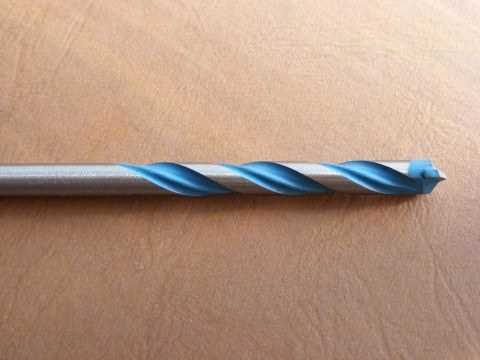
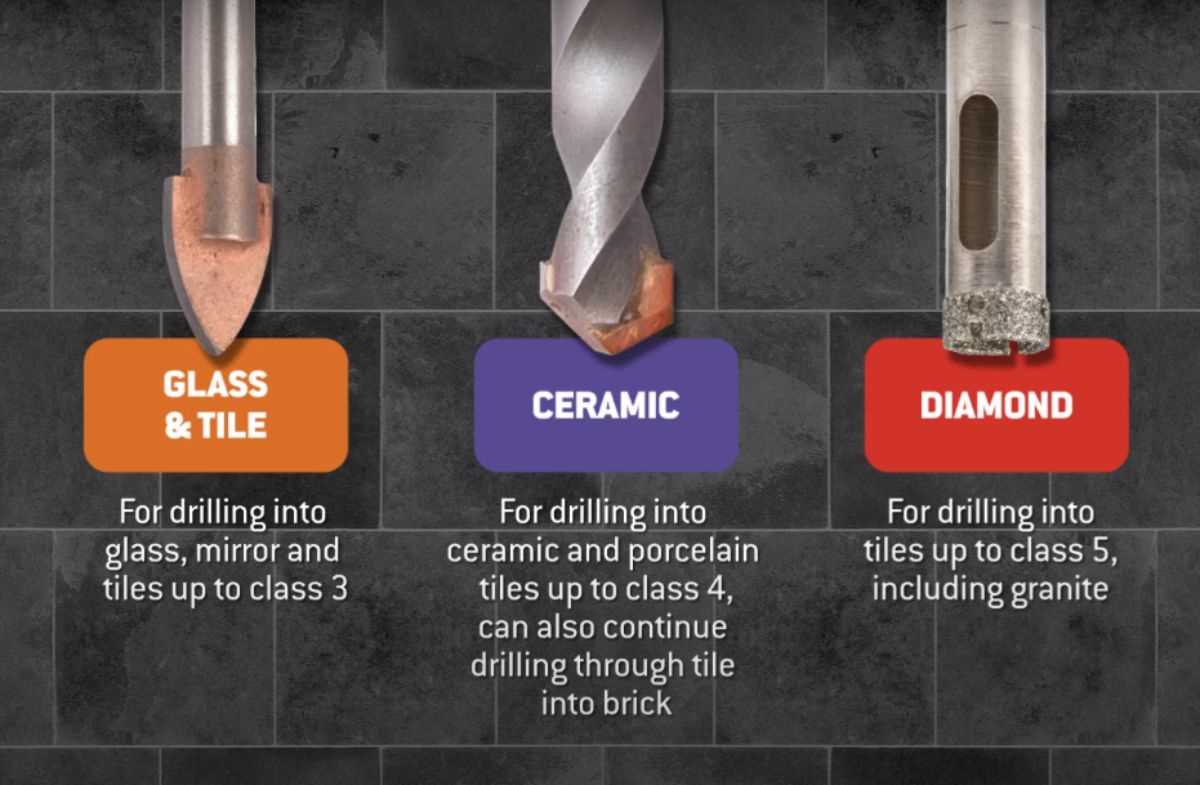
The type of drill bit you use is crucial when drilling porcelain tiles. A diamond drill bit specifically designed for drilling through hard materials like porcelain is the best choice. These drill bits have a diamond coating that allows them to cut through the tough surface of the tile without causing any damage.
Step 2: Mark the Tile
Before you start drilling, it’s important to mark the exact location where you want to drill the hole. Use a pencil or a marker to make a small dot on the tile. You can also use masking tape to mark the spot, which will help prevent the drill from slipping.

Step 3: Lubricate the Tile
To reduce friction and heat buildup while drilling, it’s important to lubricate the surface of the tile. Apply water or a lubricating oil on the tile, focusing on the area where you will be drilling the hole. This will help keep the temperature low and prevent the tile from cracking or overheating.
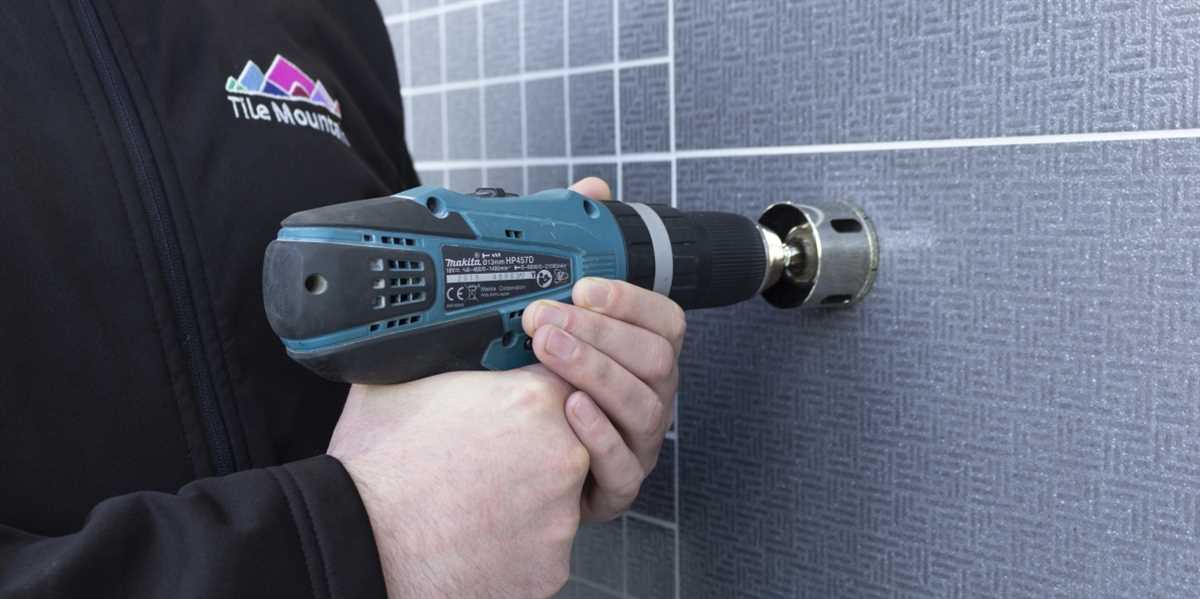
Step 4: Start Drilling
Place the drill bit on the marked spot and apply steady pressure. Start drilling at a slow speed to prevent the drill bit from slipping or skidding on the tile. As you drill, continue to apply water or lubricating oil to keep the drill bit cool and prevent any damage to the tile.
Step 5: Work Slowly

Drilling porcelain tiles requires patience and a steady hand. Take your time and work slowly, allowing the drill bit to cut through the tile at its own pace. Applying too much pressure or drilling too quickly can lead to cracks or chips in the tile. Remember to periodically clean the drill bit to remove any debris that may accumulate.
Step 6: Finish and Clean
Once you’ve drilled the hole, carefully remove the drill bit from the tile. Clean up any remaining debris or dust from the hole using a vacuum or a damp cloth. You can also use a tile polish or sealant to finish and protect the edges of the hole.
By following these steps and using the right tools, you can successfully drill through porcelain tiles without causing any damage. Remember to always wear safety goggles and take necessary precautions to protect yourself during the drilling process.
Preparation for Drilling Porcelain Tiles
Gather the Materials

Before you start drilling porcelain tiles, it is important to gather all the necessary materials. Here is a list of items you will need:
- Electric drill with variable speed
- Diamond drill bit specifically designed for drilling porcelain tiles
- Masking tape or painter’s tape
- Water spray bottle
- Goggles or safety glasses
- Dust mask
- Marker or pencil
- Protective gloves
Choose the Right Drill Bit
When drilling porcelain tiles, it is crucial to use a diamond drill bit specifically designed for this task. Diamond drill bits have a special coating that allows them to cut through the hard surface of the porcelain tile without damaging it. Standard drill bits are not suitable for drilling porcelain tiles and may cause them to crack or break.
Mark the Drill Hole
Before you start drilling, mark the spot where you want to make the hole. Use a marker or pencil to create a small dot on the surface of the porcelain tile. This will serve as a guide for the drill bit and ensure that you drill in the correct spot.
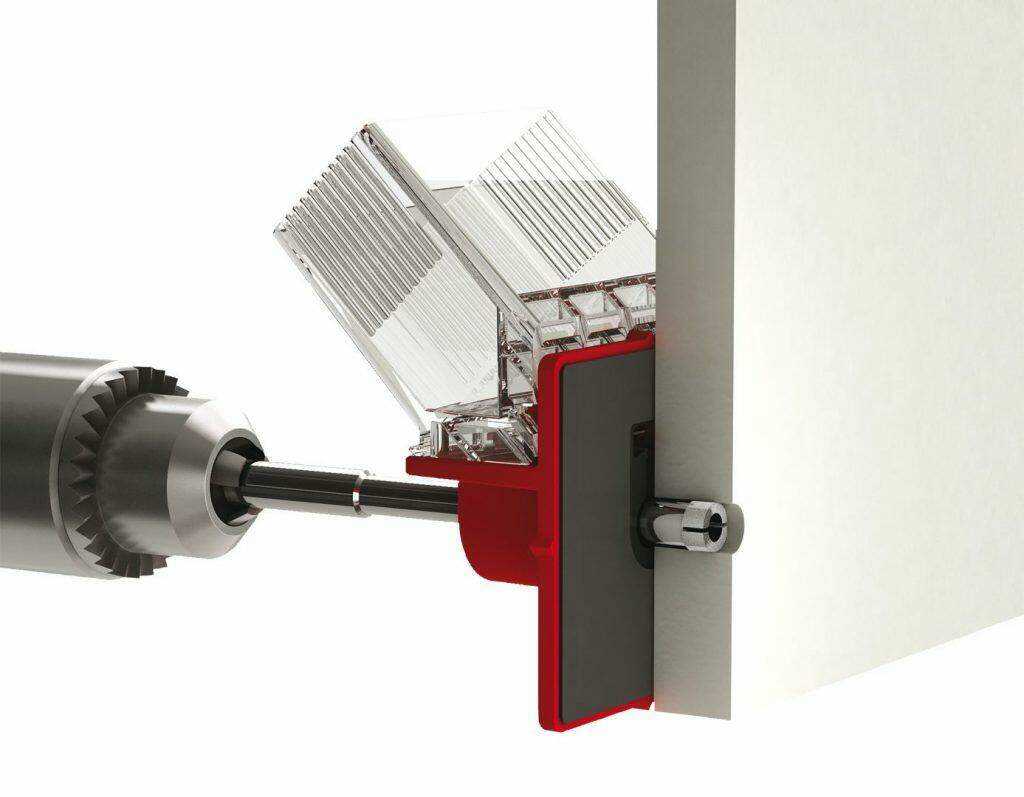
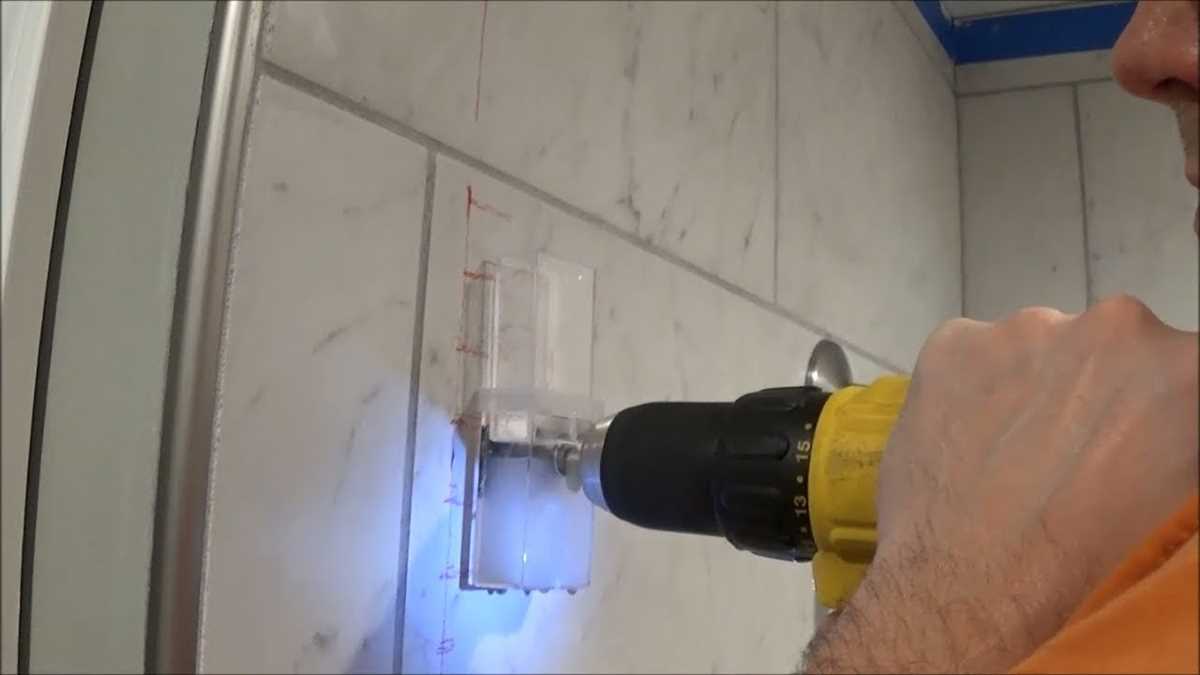
Secure the Tile
To prevent the tile from cracking or moving while you drill, it is important to secure it in place. You can do this by applying masking tape or painter’s tape over the area where you will be drilling. The tape will provide a protective barrier and help to stabilize the tile.
Prepare the Drill Bit
Before you start drilling, it is essential to prepare the diamond drill bit. Fill a water spray bottle with water and keep it nearby. This will be used to cool down the drill bit and prevent it from overheating. You should also wear goggles or safety glasses to protect your eyes from any debris that may be generated during the drilling process.

Protect Yourself
Drilling porcelain tiles can create dust and small particles that may be harmful if inhaled. Therefore, it is important to wear a dust mask and protective gloves. The dust mask will filter out any airborne particles, while the gloves will protect your hands from any sharp edges or hot drill bits.
Gathering the Tools and Materials
What You Will Need:
- Porcelain tiles
- Masking tape
- Permanent marker
- Masonry drill bit
- Diamond drill bit
- Water spray bottle
- Drill
- Hammer
- Stickyback plastic
- Protective eyewear
- Gloves
- Dust mask
- Coolant/water
Step-by-Step Guide
Drilling porcelain tiles requires certain tools and materials to ensure the job is done correctly and safely. Before you begin, gather the following items:
- Porcelain tiles: You will need the tiles you plan to drill holes into. Make sure they are clean and free of any dirt or debris.
- Masking tape: Use masking tape to mark the spot where you will be drilling. This will help prevent the drill bit from slipping and provide a guide for your drill.
- Permanent marker: Use a permanent marker to mark the exact spot where you will be drilling. This will ensure accuracy and precision during the drilling process.
- Masonry drill bit: Select a masonry drill bit that is suitable for drilling into porcelain tiles. The size of the drill bit should be appropriate for the size of the hole you wish to create.
- Diamond drill bit: A diamond drill bit is essential for drilling into porcelain tiles. It is designed to provide a clean and precise hole without causing any damage to the tile.
- Water spray bottle: Fill a spray bottle with water or a coolant specifically designed for drilling into porcelain tiles. This will help to keep the drill bit cool and prevent it from overheating.
- Drill: Use a drill with a variable speed setting to ensure you have control over the drilling process. This will allow you to adjust the speed to match the hardness of the tile.
- Hammer: A hammer may be required to gently tap the drill bit into the tile if it is not making progress. Be careful not to use excessive force as this could crack or chip the tile.
- Stickyback plastic: Apply stickyback plastic to the surface of the tile where you will be drilling. This will help to prevent the drill bit from slipping and provide extra stability.
- Protective eyewear: Always wear protective eyewear to protect your eyes from any flying debris or tile fragments during the drilling process.
- Gloves: Wear gloves to protect your hands from any sharp edges or potential injuries.
- Dust mask: To prevent inhaling any airborne dust particles, it is recommended to wear a dust mask while drilling porcelain tiles.
- Coolant/water: Keep a container of water or coolant nearby to dip the drill bit in during the drilling process. This will help to keep it cool and prevent overheating.
Marking the Drilling Points
Before you start drilling into the porcelain tiles, it’s essential to mark the drilling points accurately. This step will ensure that the holes are positioned exactly where you need them to be.

To mark the drilling points, follow these steps:
- Clean the surface of the tiles using a mild detergent and a soft cloth. This will remove any dirt or debris that may affect the accuracy of your markings.
- Measure and mark the exact location where you want to drill the holes on the porcelain tiles. Use a pencil or a marker to make small dots on the surface. For larger holes, you can use a hole saw to mark the center of the hole.
- Use a leveling tool or a straightedge to ensure that the marks are in line and level with each other. This step is especially important if you are drilling multiple holes for a fixture or installation.
- If you are drilling holes for mounting brackets or fixtures, make sure to measure the distance between the holes accurately. Use a tape measure or ruler to mark the correct distance on the tiles.
Remember, accuracy is crucial when marking the drilling points on porcelain tiles. Take your time and double-check your measurements before proceeding to the drilling stage.
Using the Right Drill Bit
When drilling porcelain tiles, it is important to use the right drill bit. Porcelain is a hard and durable material, so a regular drill bit may not be effective in creating a hole. A diamond-tipped drill bit is the best option for drilling porcelain tiles.
Diamond-tipped drill bits are specifically designed to handle the hardness of porcelain tiles. The diamond coating on the tip of the drill bit allows for effective drilling without causing damage to the tile. These drill bits are available in various sizes to suit your specific needs.
It is important to choose a drill bit size that matches the size of the hole you want to make. Measure the diameter of the hole you need to create and select a diamond-tipped drill bit that matches that size. Using the right size drill bit will ensure that you achieve the desired result.
When purchasing a diamond-tipped drill bit, check the packaging to ensure that it is suitable for drilling porcelain tiles. Look for drill bits that are specifically labeled for use with porcelain or other hard materials.
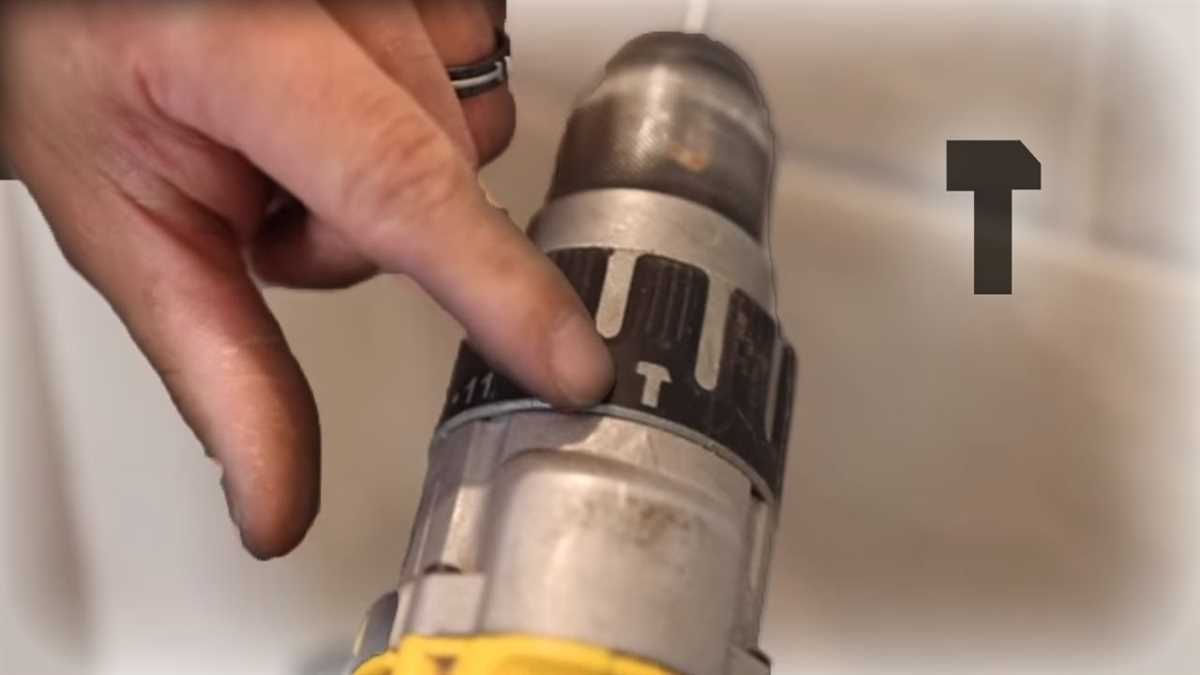
Using the right drill bit also requires using the right drill. Make sure you have a drill that is capable of working with diamond-tipped drill bits. Some drills have a hammer function that can be useful when drilling into porcelain tiles.
Remember to always follow the manufacturer’s instructions when using any drill bit, including diamond-tipped ones. This will help ensure your safety and the successful completion of your drilling project.
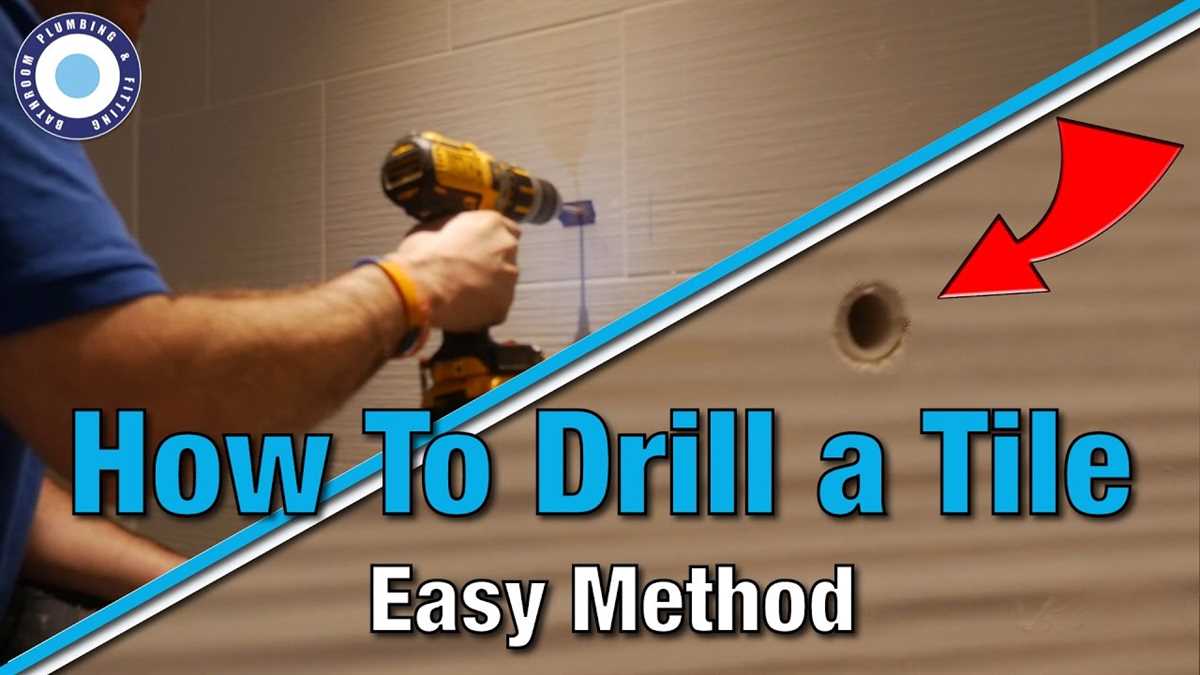
Drilling into Porcelain Tiles
Drilling into porcelain tiles can be a challenging task, as they are hard and brittle. However, with the right tools and technique, you can successfully drill into porcelain tiles without causing any damage.
Steps for Drilling into Porcelain Tiles:
- Choose the Right Drill Bit: Porcelain tiles require a diamond-tipped or carbide-tipped drill bit. These drill bits are specifically designed to cut through hard materials like porcelain.
- Mark the Spot: Use a pencil or a marker to mark the exact spot where you want to drill the hole. This will help ensure accuracy and prevent the drill bit from slipping.
- Secure the Tile: Place a piece of scrap wood or a rubber mat underneath the tile to provide stability and prevent cracking. Use clamps or tape to secure the tile in place.
- Apply Lubrication: Pour water or a lubricant, such as cutting oil, onto the marked spot. This will help keep the drill bit cool and prevent it from overheating.
- Create a Guide Hole: Start by using a smaller drill bit to create a guide hole. This will help prevent the drill bit from slipping and allow for easier drilling.
- Drill Slowly: Begin drilling at a slow speed and apply gentle pressure on the drill. Excessive force or high speed can cause the porcelain tile to crack or chip.
- Keep the Drill Bit Cool: If the drill bit starts to get too hot, pause drilling and apply more lubrication. This will prevent the drill bit from dulling or breaking.
- Remove the Debris: Periodically stop drilling to remove the debris from the hole. This will help prevent the drill bit from getting clogged and ensure a clean and accurate hole.
- Finish the Hole: Once the guide hole is drilled, switch to the desired drill bit size and carefully continue drilling until the hole is complete.
- Clean and Inspect: After drilling, clean the area and inspect the hole for any imperfections. If necessary, use sandpaper or a file to smooth the edges of the hole.
By following these steps and using the right tools, you can successfully drill into porcelain tiles and complete your project with precision and minimal damage.
Preventing Cracks and Breaks
1. Choose the Right Drill Bit
One of the most important steps in preventing cracks and breaks when drilling porcelain tiles is choosing the right drill bit. Porcelain tiles are very hard and brittle, so using a regular drill bit designed for wood or metal will most likely result in cracking or breaking the tile. Instead, opt for a diamond-tipped drill bit specifically designed for drilling into porcelain. These drill bits have a harder cutting edge that can effectively penetrate the hard surface of porcelain without causing damage.
2. Use a Low Speed
When drilling into porcelain tiles, it’s essential to use a low drilling speed to prevent cracks and breaks. The high-speed setting on a drill can generate excessive heat, which can weaken the tile and lead to cracking. Set your drill to a low-speed setting and apply gentle pressure when drilling. This will help to minimize heat buildup and reduce the risk of damaging the tile.
3. Apply Water as a Lubricant
Using water as a lubricant can help to prevent cracks and breaks when drilling porcelain tiles. The water helps to cool down the drill bit and the tile, reducing heat and friction. It also helps to flush away any debris or dust that may accumulate during the drilling process. Keep a spray bottle filled with water handy and spray a small amount onto the drilling area as you work. This will keep the area cool and prevent damage to the tile.
4. Start with a Pilot Hole
To prevent cracks and breaks, it’s a good idea to start by creating a small pilot hole before drilling the final hole. This pilot hole will help to guide the drill bit and ensure that it stays in place and doesn’t slip off the tile’s surface. Use a smaller diamond-tipped drill bit to create the pilot hole, then switch to the larger size bit to drill the final hole. This technique can help to minimize the risk of cracking or breaking the tile.
5. Apply Gentle and Even Pressure
When drilling into porcelain tiles, it’s important to apply gentle and even pressure. Applying too much force can cause the tile to crack or break, while too little pressure can cause the drill bit to slip off the surface. Hold the drill firmly but avoid pushing down too hard. Let the drill bit do the work, and apply steady, even pressure as you drill. This will help to maintain control and prevent damage to the tile.
6. Take Breaks and Allow the Tile to Cool
Drilling into porcelain tiles can generate heat, which can increase the risk of cracking or breaking the tile. To prevent this, it’s important to take breaks during the drilling process and allow the tile to cool down. Remove the drill bit from the hole and give the tile a chance to cool before continuing. This will help to reduce heat buildup and minimize the potential for damage.
By following these steps and taking the necessary precautions, you can effectively drill porcelain tiles without the risk of cracks and breaks. Remember to always work slowly and carefully, and if possible, practice on a scrap piece of tile before drilling into your finished tiles to ensure you have the technique mastered.
Cleaning and Finishing the Job
After drilling the holes in the porcelain tiles, it is important to clean up any debris and finish the job properly. Here are the steps to follow:
1. Remove the Dust
- Use a soft brush or a vacuum cleaner with a brush attachment to remove any dust or debris from the drilled holes.
- Be gentle while removing the dust to avoid scratching the surface of the tiles.
2. Wipe the Tiles
- Take a damp cloth or sponge and wipe the surface of the tiles to remove any remaining dust or residue.
- Make sure to dry the tiles thoroughly to prevent water spots or stains.
3. Apply a Waterproof Sealer (Optional)
If you want to provide additional protection to the drilled holes, you can apply a waterproof sealer. Here’s how:
- Choose a high-quality waterproof sealer that is suitable for porcelain tiles.
- Follow the manufacturer’s instructions on how to apply the sealer.
- Apply the sealer to the drilled holes using a small brush or applicator.
- Allow the sealer to dry completely before using the tiles or applying any other finishing touches.
4. Replace any Accessories or Fixtures
- If you had to remove any accessories or fixtures before drilling the tiles, now is the time to re-install them.
- Make sure to use the appropriate tools and follow the manufacturer’s instructions for installation.
5. Clean Up the Area
- Collect and dispose of any leftover debris or materials.
- Clean the surrounding area to remove any dust or dirt that may have accumulated during the drilling process.
- Use a mop or a broom to clean the floor and a damp cloth to wipe any surfaces.
6. Inspect the Results
Take a moment to inspect the drilled holes and overall finish of the job. Make sure the holes are clean, free from any debris, and properly sealed (if applicable). If you notice any issues, address them accordingly before considering the job complete.
7. Enjoy Your New Porcelain Tiles
Now that you have successfully drilled the porcelain tiles and finished the job, you can enjoy the beauty and functionality of your newly installed accessories or fixtures. Take pride in your accomplishment and admire the seamless integration of the drilled holes into your porcelain tiles.
FAQ:
What materials do I need to drill porcelain tiles?
To drill porcelain tiles, you will need a few materials including a diamond-tipped drill bit, water source, masking tape, safety glasses, and a drill.
Can I use a regular drill bit to drill porcelain tiles?
No, you cannot use a regular drill bit to drill porcelain tiles. You need a diamond-tipped drill bit specifically designed for drilling through hard materials like porcelain.
How do I mark the spot on the porcelain tile where I want to drill?
You can mark the spot on the porcelain tile where you want to drill by placing a piece of masking tape over the area. This will help prevent the drill bit from slipping and also make it easier to see where you need to drill.
Do I need to use water while drilling porcelain tiles?
Yes, it is important to use water while drilling porcelain tiles. This helps to keep the drill bit cool and prevents it from overheating. Simply pour some water over the area you are drilling as you go.
How much pressure should I apply while drilling porcelain tiles?
You should apply light and steady pressure while drilling porcelain tiles. Too much pressure can cause the tile to crack or break. Let the drill bit do the work, applying just enough pressure to keep it engaged with the surface of the tile.
What should I do if the drill bit gets stuck or stops drilling?
If the drill bit gets stuck or stops drilling, it is important to stop immediately. Remove the drill bit from the hole and check for any clogs or obstructions. You may need to clean out the hole and start again, or use a different drill bit if necessary.
Video:


Meet Harrison Clayton, a distinguished author and home remodeling enthusiast whose expertise in the realm of renovation is second to none. With a passion for transforming houses into inviting homes, Harrison's writing at https://thehuts-eastbourne.co.uk/ brings a breath of fresh inspiration to the world of home improvement. Whether you're looking to revamp a small corner of your abode or embark on a complete home transformation, Harrison's articles provide the essential expertise and creative flair to turn your visions into reality. So, dive into the captivating world of home remodeling with Harrison Clayton and unlock the full potential of your living space with every word he writes.


