Step-by-Step Guide: How to Drill Out a Screw in Metal

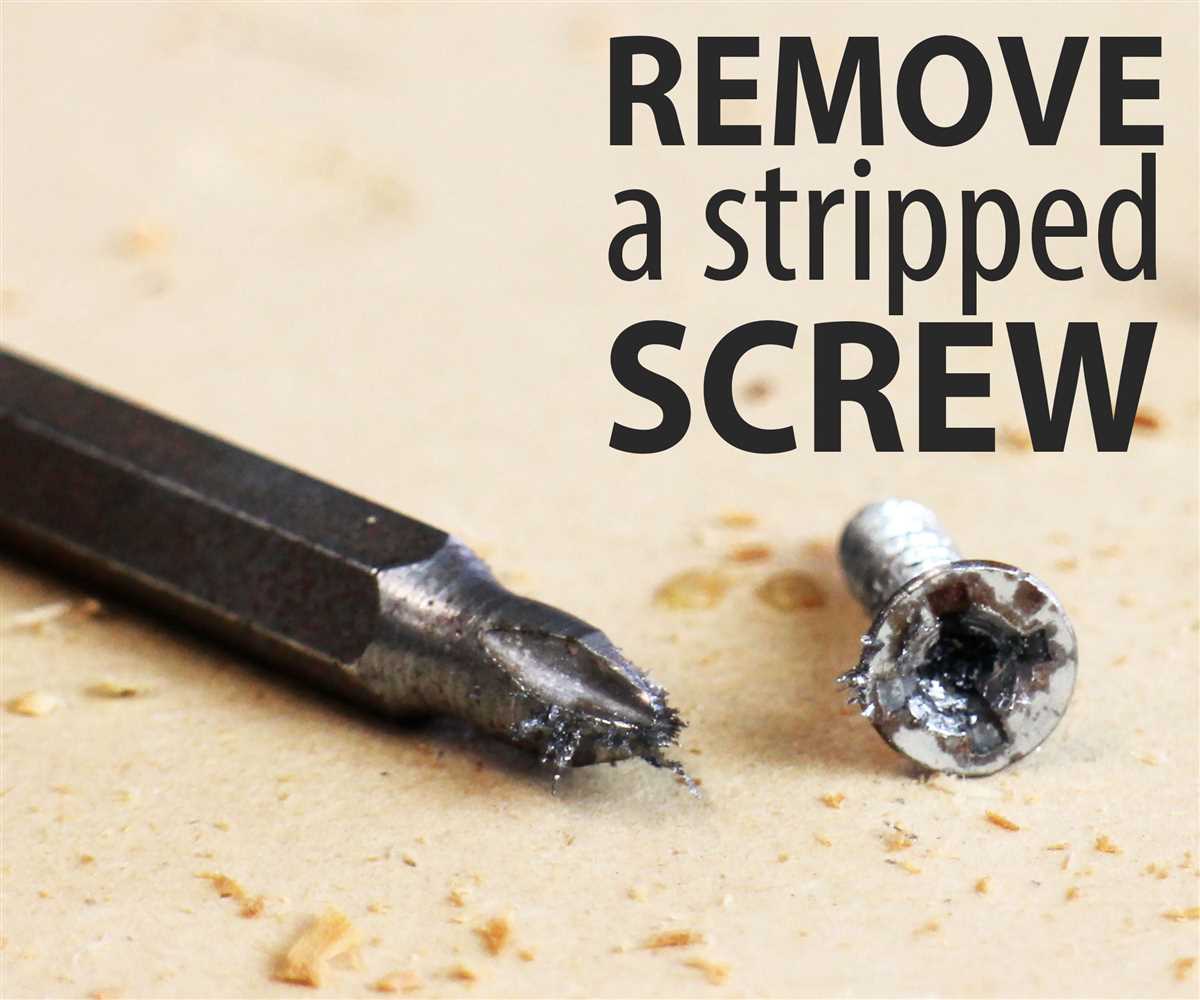
When working with metal, it’s common to encounter stripped or broken screws that seem impossible to remove. But don’t worry, with the right tools and techniques, you can easily drill out a screw in metal. In this step-by-step guide, we’ll walk you through the process of removing a stubborn screw using a drill.
Before you begin, it’s important to gather the necessary tools. You will need a power drill with a drill bit that is slightly smaller than the diameter of the screw, a center punch or nail, a hammer, and safety goggles. Additionally, it’s recommended to have a pair of pliers or a screw extractor kit on hand in case the screw is particularly stubborn.
The first step is to make a small indentation in the center of the screw with a center punch or nail. This will help guide the drill bit and prevent it from slipping off the screw. Place the tip of the punch or nail in the center of the screw and tap it lightly with a hammer. Once you have created the indentation, put on your safety goggles and move on to the next step.
Now it’s time to drill. Insert the drill bit into the indentation you created and line it up with the center of the screw. Apply gentle pressure and start drilling slowly, making sure to keep the drill bit straight and perpendicular to the metal. As you drill, the bit will gradually create a hole in the screw, allowing it to loosen and be removed. Be patient and continue drilling until the screw is completely removed or until the head breaks off.
Gather the necessary tools
Before you begin drilling out a screw in metal, it’s important to gather all the necessary tools. Having the right tools on hand will make the process much easier and more efficient. Here are the tools you’ll need:

- Power drill: A power drill will be your main tool for drilling out the screw. Make sure it is fully charged or has a long enough cord to reach the work area.
- Drill bits: You’ll need a set of drill bits of various sizes. The size of the drill bit will depend on the size of the screw you’re trying to remove.
- Screw extractor: In case the drill bit alone doesn’t work, having a screw extractor on hand can be helpful. This tool is designed specifically for removing stripped or broken screws.
- Protective eyewear: Safety should be a top priority when working with power tools. Make sure to wear protective eyewear to prevent any potential eye injuries from flying metal shavings.
- Work gloves: It’s also a good idea to wear work gloves to protect your hands from any sharp edges or hot metal.
- Clamps: Clamps can be useful for securing the metal piece you’re working on, keeping it steady and preventing it from moving around while you’re drilling.
- Lubricant: Depending on the condition of the screw and the metal, using a lubricant can make the drilling process smoother and easier. WD-40 or a similar product will work well.
- Rag or paper towels: You’ll want to have a rag or paper towels on hand to wipe away any excess lubricant or metal shavings during the drilling process.
Make sure you have all these tools ready before you start, as it will save you time and frustration during the process.
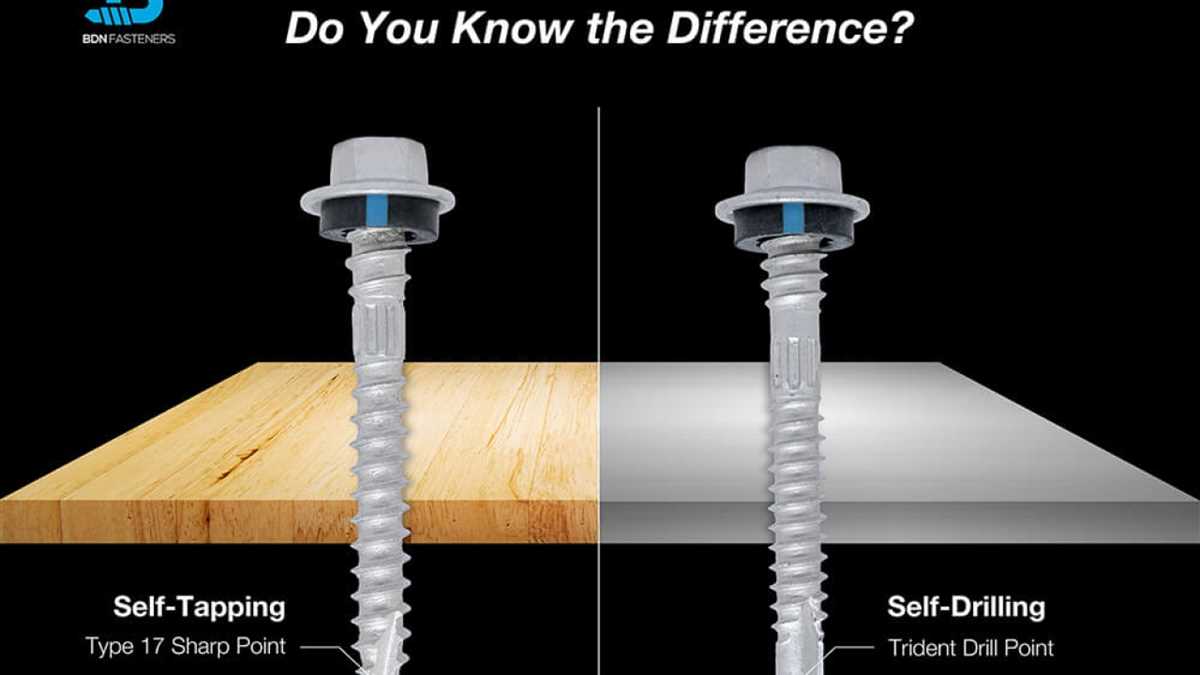
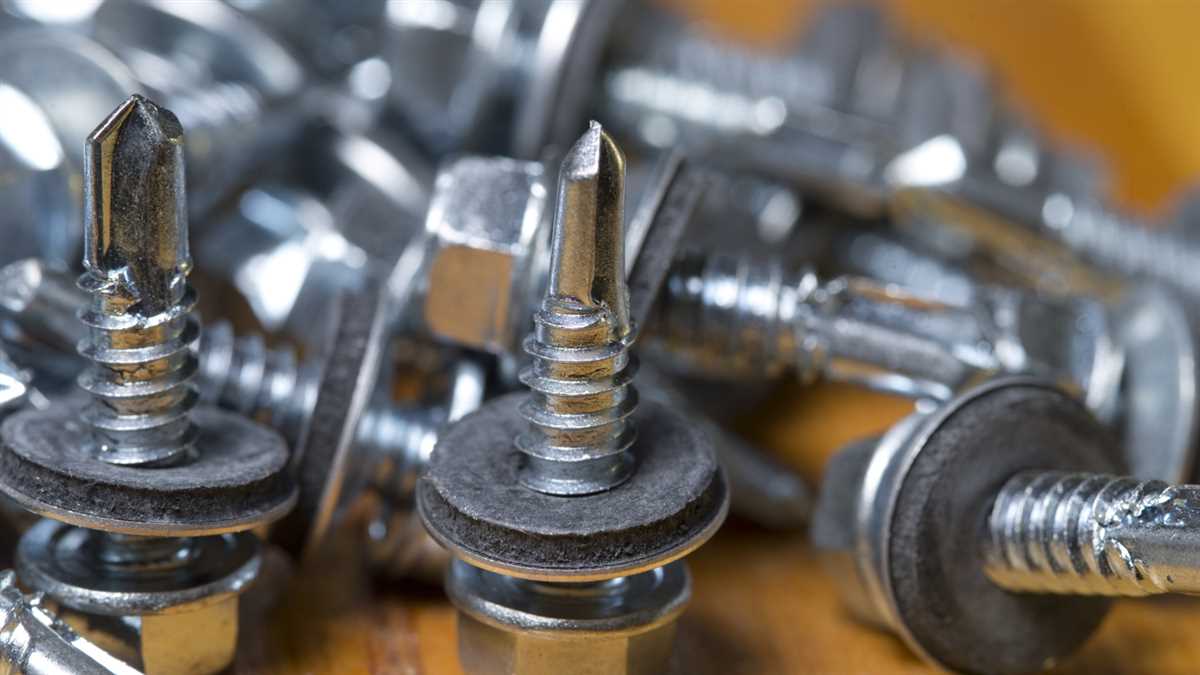
Identify the type and size of the screw
In order to successfully drill out a screw in metal, it is important to first identify the type and size of the screw. This information will help you determine the appropriate tools and techniques to remove the screw.
Types of screws:
- Phillips head: These screws have a cross-shaped indentation and are commonly used in many applications.
- Slotted head: Also known as flat-head screws, these have a single straight line indentation and are typically used for woodworking.
- Torx head: These screws have a star-shaped indentation and are commonly used in electronics and automotive applications.
- Hex head: Also known as Allen screws, these have a hexagonal socket and are often used in furniture assembly.
Screw sizes:
Screw sizes are typically denoted by a number, such as #6 or #10, or by a metric designation, such as M4 or M8. The size of the screw is important because it determines the size of the drill bit and other tools that you will need for removal.
It is recommended to use a caliper or ruler to measure the diameter and length of the screw, as well as the size of the screw head. This will help you find the suitable drill bit size and ensure a proper fit.

Additional considerations:
When identifying the screw type and size, it is also important to note if the screw is rusted or stuck. This may require additional steps or tools to loosen the screw before attempting to drill it out.
By accurately identifying the type and size of the screw, you will be better equipped to select the appropriate tools and techniques for drilling it out in metal.
Select the appropriate drill bit
Before you start drilling out a screw in metal, it’s important to select the appropriate drill bit for the job. Choosing the right drill bit will ensure that you can effectively remove the screw without damaging the surrounding material.

When selecting a drill bit, consider the material of the screw and the metal you are drilling into. Different materials require different drill bits to effectively drill through them. Here are a few factors to consider when choosing a drill bit:
- Size: The drill bit should be the same size or slightly smaller than the screw you are removing. This will ensure a snug fit and prevent any further damage.
- Material: Drill bits are made from various materials such as high-speed steel (HSS), cobalt, or titanium. Choose a drill bit that is appropriate for the type of metal you are drilling into.
- Drill Bit Type: There are different types of drill bits available, including twist bits, spade bits, and cobalt bits. The type of drill bit you choose will depend on the specific requirements of your project.
It’s always a good idea to have a variety of drill bits on hand to accommodate different screw sizes and materials. If you’re unsure which drill bit to use, start with a smaller size and gradually increase the size until you find the right fit.
Mark the center of the screw
Before you start drilling out the screw, it’s important to mark the center of the screw using a center punch. This will provide you with a starting point for drilling and help prevent your drill bit from slipping off the screw.
Materials You’ll Need:

- Center punch
- Hammer
Step 1: Choose the correct size center punch
Make sure the center punch you select has a diameter slightly smaller than the screw. This will ensure that you can easily mark the exact center of the screw without damaging the surrounding metal.
Step 2: Position the center punch
Place the tip of the center punch on the center of the screw head. Hold the center punch perpendicular to the surface of the metal.
Step 3: Strike the center punch
Using a hammer, strike the top of the center punch with enough force to create a small indentation in the screw head. Be careful not to strike too hard, as this could cause the metal to deform or warp.
By marking the center of the screw, you’ll have a guide for drilling and increase the chances of successfully removing the stripped or damaged screw.
Secure the metal piece
Before you begin drilling out the screw in metal, it’s important to secure the metal piece properly to ensure stability and safety during the process. There are a few different methods you can use to secure the metal piece, depending on the size and shape of the piece:

- Clamp the metal piece: If the metal piece has a flat surface or edges that can be clamped, use a C-clamp or a set of locking pliers to secure it to a workbench or table. Make sure the metal piece is securely clamped in place and won’t move or spin while you’re drilling.
- Vise grip the metal piece: If the metal piece has an irregular shape or cannot be clamped, consider using a vise grip to hold it securely. Place the metal piece between the jaws of the vise grip and tighten it until it’s firmly held in place. This will provide stability while drilling.
Regardless of the method you choose, it’s important to make sure the metal piece is secured tightly and won’t move while you’re drilling. If the metal piece is not properly secured, it can lead to accidents or damage to the workpiece.
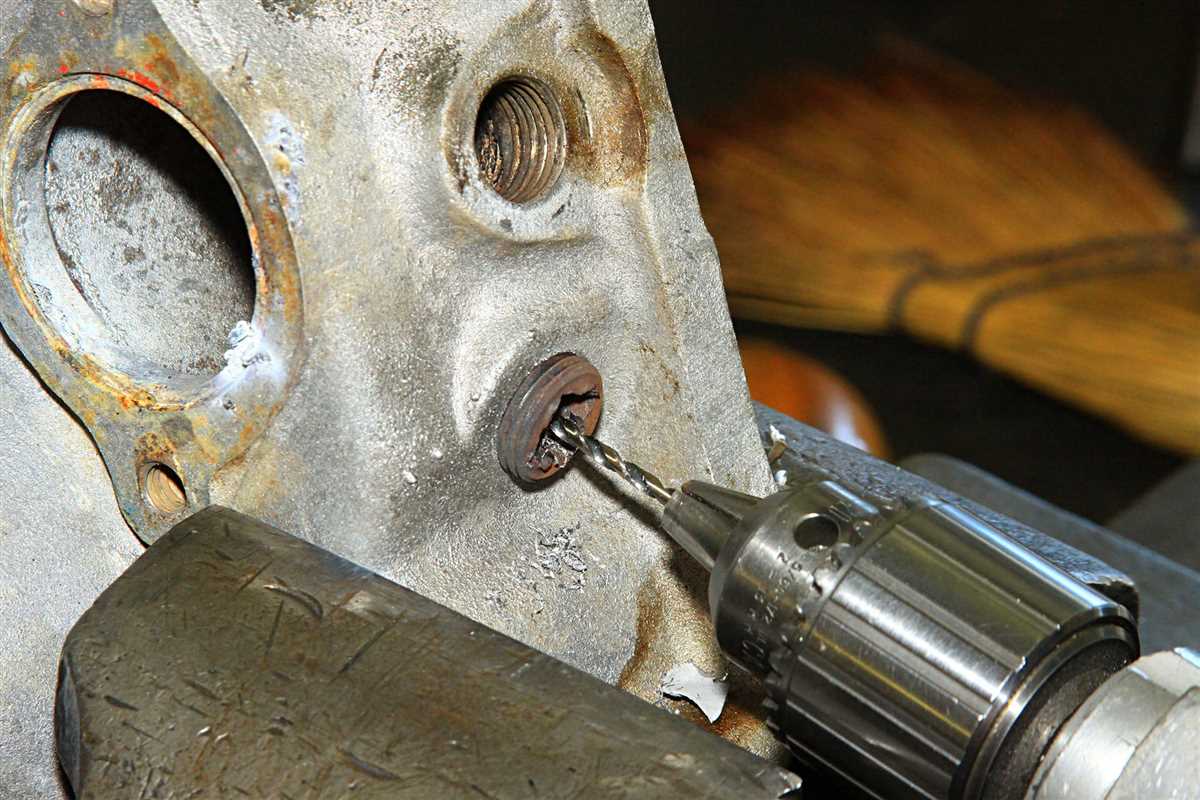
Start drilling at a slow speed
When you are ready to begin drilling out a screw in metal, it is important to start at a slow speed. This will help you maintain control and prevent the drill bit from slipping or causing damage to the surrounding material.
Before you start, make sure you have the appropriate drill bit for the size of the screw you are trying to remove. It is also a good idea to wear safety goggles to protect your eyes from any flying debris.
Position the drill bit on the center of the screw head and apply gentle pressure with the drill. Start drilling at a slow speed, allowing the drill bit to gradually make its way into the metal. This will help prevent the drill bit from overheating and getting stuck.
As you drill, periodically stop and remove any metal shavings or debris that may be collecting around the drill bit. This will help keep the drilling area clean and prevent the drill bit from becoming clogged.
Continue drilling at a slow and steady pace until you have drilled through the entire screw head. Be patient and avoid applying too much pressure, as this can cause the drill bit to break or the surrounding metal to become damaged.
Once you have successfully drilled through the screw head, you can remove the drill bit from the metal and proceed with removing the remaining screw body using pliers or a screw extractor tool.
Remember to take your time and work carefully when drilling out a screw in metal. With the right tools and technique, you can successfully remove a stubborn screw and complete your project.
Increase the drilling speed gradually
As you continue to drill into the screw, it’s important to increase the drilling speed gradually to avoid damaging the surrounding metal or causing the bit to bind. This gradual increase will also allow the drill bit to cut through the screw more effectively.
Here’s a step-by-step guide on increasing the drilling speed gradually:
- Begin by setting your drill to a slow speed.
- Apply light pressure on the drill and start drilling into the screw.
- As you feel the drill bit making progress and cutting into the screw, gradually increase the drill’s speed.
- Continue to apply steady pressure on the drill while maintaining control.
- Be mindful of the heat generated during the drilling process. If the metal gets too hot, you may need to pause and allow it to cool down before continuing.
- Keep an eye on the progress and adjust the drilling speed as necessary.
- If you encounter any resistance or the drill starts to bind, stop immediately and reassess the situation. You may need to switch to a larger drill bit or use a different technique.
Remember, patience is key when drilling out a screw in metal. Take your time and make sure to gradually increase the drilling speed to achieve the best results.
Remove the remaining screw fragments
After successfully drilling out the center of the stripped screw, you may be left with some remaining fragments or pieces of the screw. Follow the steps below to remove these fragments:
- Inspect the hole: Take a close look at the drilled hole to see if there are any visible pieces of the screw. Use a flashlight if needed to get a better view.
- Use needle-nose pliers: If you can see any fragments of the screw, carefully grip them with a pair of needle-nose pliers and pull them out. Be gentle to avoid causing any damage.
- Tap the hole: In case there are smaller fragments that are difficult to grip with pliers, you can try tapping gently around the hole with a hammer. This might help to loosen the pieces and make them easier to remove.
- Use a magnet: If the screw fragments are magnetic, you can use a magnet to attract and pull them out of the hole. This method can be especially useful for tiny fragments that are hard to grasp with pliers.
- Blow out the hole: If there are any loose or small fragments that are hard to reach, you can try blowing them out of the hole using compressed air or a can of compressed air duster.
- Use a screw extractor: If all else fails and there are still stubborn fragments remaining in the hole, you can try using a screw extractor tool. This tool is specifically designed to remove broken or stripped screws. Follow the instructions provided with the screw extractor to use it properly.
Remember to take your time and be patient when removing the remaining screw fragments. Rushing the process can lead to further damage or make it more difficult to remove the remnants. If you encounter any difficulties, consider seeking professional assistance.
FAQ:
What tools do I need to drill out a screw in metal?
To drill out a screw in metal, you will need a power drill, a drill bit that is slightly larger than the screw head, a center punch, a hammer, safety goggles, and a pair of pliers.
Can I drill out a screw without a power drill?
Drilling out a screw without a power drill can be difficult, but it is possible. Instead of a power drill, you can use a hand drill or even a screwdriver with a strong grip to manually drill out the screw.
What is the purpose of using a center punch?
A center punch is used to create a small indentation on the top of the screw. This helps to guide the drill bit and prevent it from slipping off the screw head while drilling.
What safety precautions should I take while drilling out a screw?
While drilling out a screw, it is important to wear safety goggles to protect your eyes from flying debris. Additionally, make sure to hold the drill securely and maintain a firm grip at all times to prevent accidents.
Can I reuse the hole after drilling out the screw?
After drilling out the screw, you can reuse the hole by inserting a new screw or a plug. However, this may depend on the size of the hole and the condition of the surrounding metal. It is always recommended to consult with a professional if you are unsure.
How can I remove a stuck screw before drilling it out?
If the screw is stuck and cannot be removed using a screwdriver, you can try using penetrating oil or heat to loosen it. If these methods do not work, you can use a screw extractor tool to remove the stuck screw before drilling it out.
Are there any alternative methods to drilling out a screw in metal?
Yes, there are alternative methods to drilling out a screw in metal. Some other methods include using a screw extractor tool, using a rotary tool with a cutting wheel, or even using a hacksaw to cut a groove in the screw and then using a screwdriver to remove it.
Video:


Meet Harrison Clayton, a distinguished author and home remodeling enthusiast whose expertise in the realm of renovation is second to none. With a passion for transforming houses into inviting homes, Harrison's writing at https://thehuts-eastbourne.co.uk/ brings a breath of fresh inspiration to the world of home improvement. Whether you're looking to revamp a small corner of your abode or embark on a complete home transformation, Harrison's articles provide the essential expertise and creative flair to turn your visions into reality. So, dive into the captivating world of home remodeling with Harrison Clayton and unlock the full potential of your living space with every word he writes.


