Step-by-Step Guide: How to Drill into Granite Countertop

Granite countertops are a popular choice for homeowners who want to add a touch of elegance and durability to their kitchens. However, drilling into granite can be a daunting task if you don’t know the proper techniques. With the right tools and a step-by-step approach, you can safely and effectively drill into your granite countertop without damaging the surface.
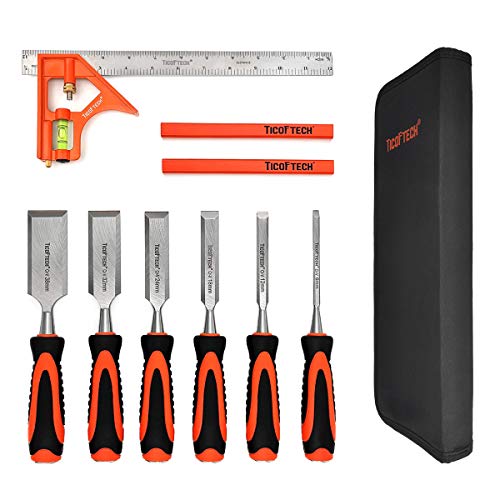
Step 1: Gather the necessary tools and materials. You will need a diamond-tipped drill bit, a variable-speed drill, a water bottle or spray bottle, masking tape, and a marker. The diamond-tipped drill bit is specifically designed for drilling through hard materials like granite.
Step 2: Prepare the drilling area. Use the marker and masking tape to mark the spot where you want to drill. This will help guide your drill and prevent it from slipping. Make sure to measure and mark the exact spot to ensure accuracy.
Step 3: Set up your workstation. Place a piece of scrap wood under the countertop to prevent any potential damage to the surface underneath. You can also use a clamp or a vice to secure the countertop in place and provide stability during the drilling process.
Note: It’s essential to take all necessary precautions to protect yourself and your countertop during this process. Safety goggles and a face mask are recommended to protect your eyes and lungs from fine granite particles that may be released during drilling.

Preparation and Safety Measures for Drilling into Granite Countertop
1. Gather the necessary tools and materials
Before starting the drilling process, it is important to have all the necessary tools and materials at hand. This includes:
- A diamond-tipped drill bit designed for drilling into granite
- A power drill with adjustable speed settings
- Clamps for securing the countertop
- Safety goggles and gloves
- Water or a coolant such as mineral oil
- Masking tape or painter’s tape
- A template or guide to mark the drill points
2. Choose the right location for drilling
Before drilling into the granite countertop, carefully choose the location where the holes need to be made. Measure and mark the location precisely using a template or guide. Make sure the chosen location does not interfere with any plumbing, electrical, or structural components.
3. Secure the countertop
To prevent the countertop from moving or cracking during the drilling process, it is essential to secure it properly. Use clamps to secure the countertop to a stable surface or workbench, ensuring it is held firmly in place.
4. Use masking tape to create a drilling guide
Applying masking tape or painter’s tape over the marked drill points can help prevent the drill bit from slipping and also minimize the risk of chipping or cracking the granite surface. This creates a drilling guide that helps to keep the drill bit in position and provides an added layer of protection for the countertop.

5. Wear safety gear
Drilling into granite can produce dust and debris, so it is important to protect yourself. Wear safety goggles and gloves to shield your eyes and hands from potential hazards. Additionally, consider wearing a mask to reduce your exposure to dust particles.
6. Use water or a coolant
Drilling into granite generates heat, which can cause the drill bit to wear down quickly and potentially damage the countertop. To prevent overheating, it is recommended to use water or a coolant such as mineral oil as a lubricant during the drilling process. This helps to cool the drill bit and prolong its lifespan.
7. Drill slowly and steadily
When drilling into granite, it is crucial to maintain a slow and steady drilling speed. Start the drill at a low speed and gradually increase it as you continue drilling. Applying too much pressure or drilling too quickly can cause the granite to crack or chip.
8. Clean and inspect the drilled holes
After drilling the required holes, clean the area to remove any dust or debris. Inspect the drilled holes to ensure they meet the desired specifications and are free from any cracks or chips. If necessary, use a small file or sandpaper to smooth out any rough edges.

9. Proceed with caution
Drilling into granite requires precision and attention to detail. Take your time, follow the instructions, and proceed with caution. If you are unsure or unfamiliar with the drilling process, it is recommended to seek professional assistance to avoid any potential damage to the granite countertop.
Choosing the Right Drill Bit for Your Granite Countertop
When drilling into a granite countertop, it is crucial to use the right drill bit. Granite is a hard and dense material, and using the wrong drill bit can lead to ineffective drilling or damage to the countertop. Here are some factors to consider when choosing the right drill bit for your granite countertop:
- Material: Look for a drill bit specifically designed for drilling into stone or granite. These drill bits are made of high-quality materials that can handle the hardness of granite.
- Diameter: The diameter of the drill bit depends on the size of the hole you want to create. Measure the size of the hole needed and choose a drill bit with the closest diameter.
- Tip Shape: Different drill bits have different tip shapes, such as flat or pointed. A pointed tip is recommended for drilling into granite as it helps to penetrate the hard material more effectively.
- Coating: Some drill bits come with a coating that reduces friction and heat during drilling. Look for a drill bit with a diamond or carbide coating, as these coatings can enhance the performance and lifespan of the drill bit.
- Shank Type: The shank is the part of the drill bit that fits into the drill. Choose a drill bit with a shank type that is compatible with your drill. Most standard drills have a keyless chuck that can accommodate various shank types, but it’s always good to double-check.
It is essential to use a high-quality drill bit that is specifically designed for drilling into granite to ensure the best results. Incorrect drill bits can lead to ineffective drilling, overheating, and damage to the granite countertop. By considering the material, diameter, tip shape, coating, and shank type, you can choose the right drill bit that matches the requirements of your granite countertop.
Marking the Drilling Points on the Granite Countertop
Before you begin drilling into your granite countertop, it’s important to mark the drilling points accurately. This will ensure that your holes are placed correctly and your project turns out as desired. Follow these steps to mark the drilling points on your granite countertop:
- Measure and plan the placement of your holes: Determine where you want to drill the holes based on your project requirements. Use a measuring tape to mark the exact spots where the holes should be drilled. Consider the size of the hole, the distance between holes, and any other specific requirements.
- Use a marker or painter’s tape: Once you have determined the drilling points, you can either use a marker or painter’s tape to mark the exact spots. If you choose to use a marker, make sure it is a removable or washable one, so it doesn’t leave permanent stains on your granite countertop. Painter’s tape is a good option if you want a more temporary marking that can be easily removed later.
- Create a drilling template: If you have multiple holes to drill, it can be helpful to create a drilling template. This will ensure consistent spacing and alignment of the holes. You can make a simple template using a piece of paper or cardboard. Mark the drilling points on the template and use it as a guide to mark the corresponding points on your granite countertop.
Remember, accuracy is key when marking the drilling points on your granite countertop. Take your time to measure and mark the spots carefully to avoid any mistakes that can potentially damage your countertop. Once you have marked the drilling points, you are now ready to proceed with the drilling process.

Securing the Granite Countertop to Prevent Damage
1. Use Clamps or C-Clamps
To prevent the granite countertop from shifting or moving during drilling, it is essential to use clamps or C-clamps to secure it in place. Place the clamps at opposite ends of the countertop to provide support and stability.
2. Protect the Surface
Before attaching the clamps, it’s important to protect the surface of the granite countertop. Place a piece of scrap wood or a soft material, such as a towel or blanket, between the clamp and the countertop surface. This will help prevent any damage or scratches to the granite.
3. Apply Even Pressure
When securing the clamps, make sure to apply even pressure to distribute the weight and prevent any stress on the countertop. Tighten the clamps gradually, alternating between sides, until the countertop feels secure and stable.
4. Check for Stability
After securing the countertop with clamps, check for stability by gently pushing the countertop from different angles. If there is any movement or wobbling, adjust the clamps accordingly to provide additional support.
5. Work in Sections
If you are drilling multiple holes or working on a large countertop, it is recommended to secure the countertop in sections. This will prevent the countertop from shifting or moving during the drilling process, ensuring greater accuracy and safety.

6. Consult a Professional
If you are unsure about the process of securing the granite countertop or if you are drilling near a fragile or delicate area, it is best to consult a professional. They can provide guidance and ensure that the countertop is securely fastened without any risk of damage.
By following these steps, you can securely fasten your granite countertop and prevent any damage during the drilling process.
Setting up the Power Drill for Drilling into Granite
When drilling into a granite countertop, it is crucial to properly set up your power drill to avoid damaging the surface or breaking the drill bit. Here are the steps to set up your power drill for drilling into granite:
- Select the right drill bit: Granite is an extremely hard material, so it’s important to use a drill bit specifically designed for drilling into stone. A diamond-tipped or carbide-tipped drill bit is ideal for drilling into granite.
- Choose the appropriate size: The size of the drill bit should match the size of the hole you need to drill. Measure the diameter of the hole you want to create and select a drill bit that matches that size.
- Secure the drill bit: Insert the selected drill bit into the chuck of your power drill. Tighten the chuck securely to ensure that the drill bit is held in place tightly and won’t slip during drilling.
- Apply lubrication: Drilling into granite generates a lot of heat and friction, which can damage the drill bit and even the countertop. Apply a generous amount of water or a lubricating oil specifically designed for drilling into stone to the surface of the granite before drilling.
- Set the drill to a low speed: Granite is a dense material, so it’s best to drill at a slower speed to avoid overheating the drill bit. Set your power drill to a low speed setting before you begin drilling.
By following these steps to set up your power drill, you’ll be well-prepared to drill into your granite countertop with precision and without causing any damage.

Drilling into the Granite Countertop
Drilling into a granite countertop may seem like a daunting task, but with the right tools and techniques, it can be done effectively. Here is a step-by-step guide on how to drill into a granite countertop:
What You Will Need:
- Power drill
- Diamond-tipped drill bit
- Masking tape
- Water spray bottle
- Clamps (optional)
- Safety goggles
Step 1: Marking the Spot
Start by determining the exact spot where you want to drill your hole. Use a marker or masking tape to mark the spot on the granite surface. This will help guide your drilling.
Step 2: Clamping (Optional)
If your countertop is not securely in place or if you are drilling near the edge, consider using clamps to hold the granite surface steady. This will prevent any movement or vibrations while drilling.
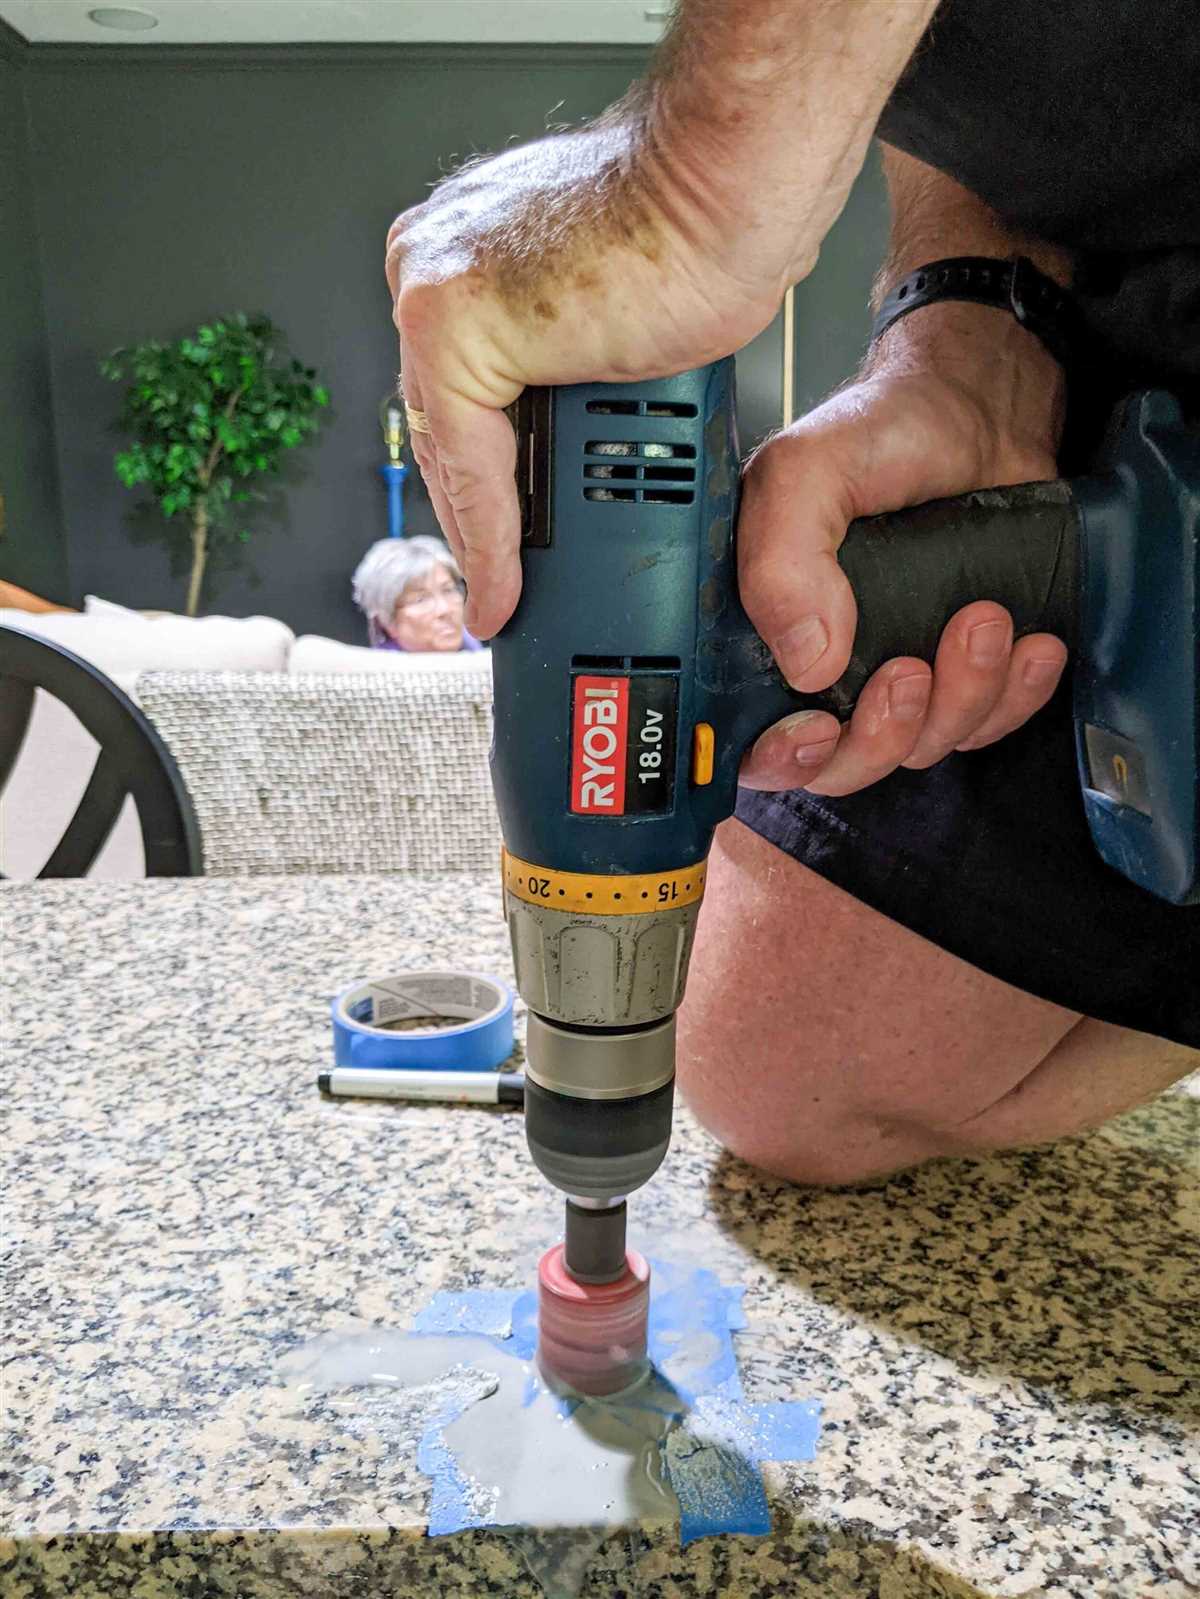
Step 3: Preparing the Drill
Attach a diamond-tipped drill bit to your power drill. This type of drill bit is specifically designed for drilling into hard materials like granite. Make sure the drill bit is securely attached.
Step 4: Adding Water
Granite is a hard stone that generates a significant amount of heat when drilled. To prevent overheating and damage, mist water onto the drilling area using a spray bottle. Keep the area wet throughout the drilling process.

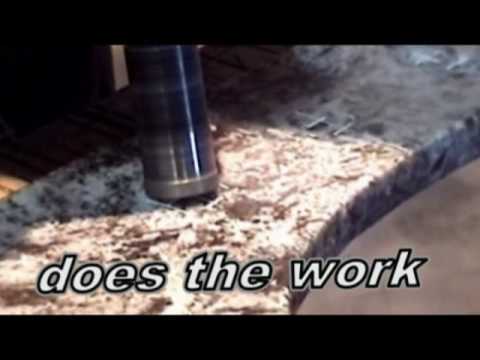
Step 5: Drilling
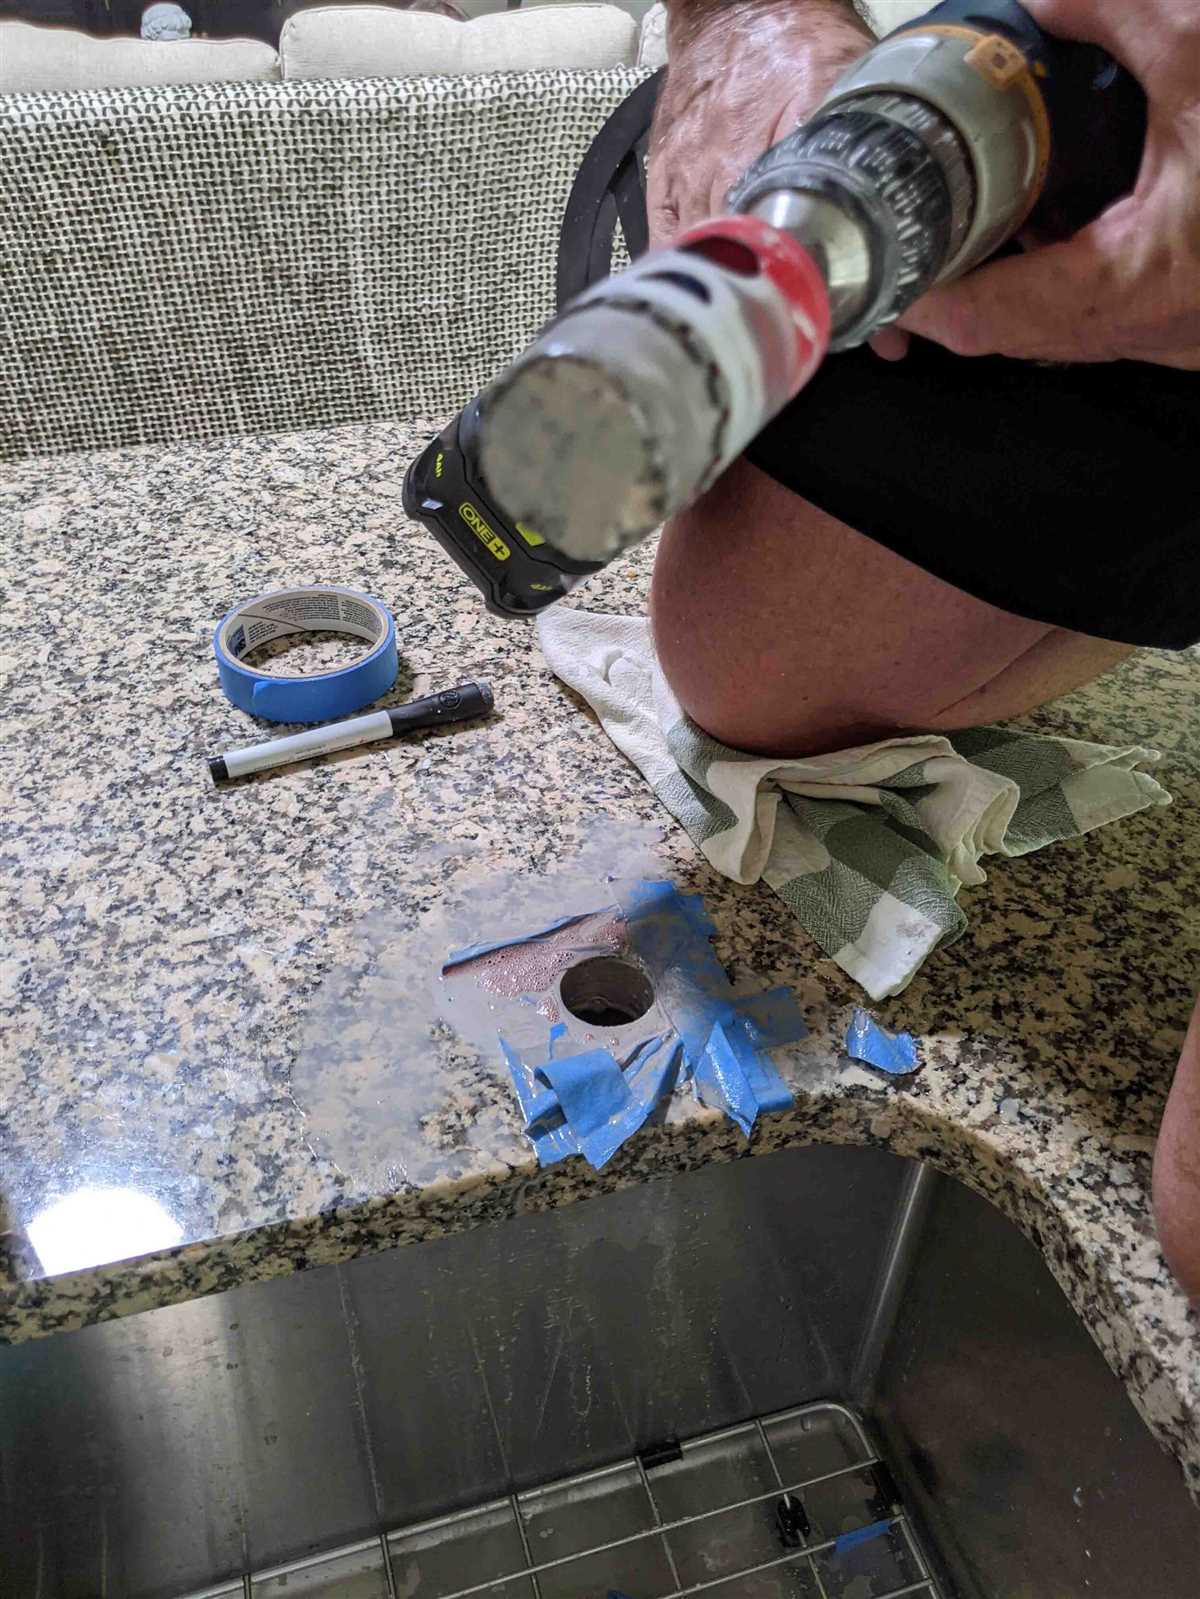
Position the drill bit on the marked spot and slowly start drilling into the granite countertop. Apply gentle pressure and let the drill bit do the work. Maintain a steady speed and avoid excessive pressure, as this can cause the drill bit to overheat.
Step 6: Clearing Debris
Periodically stop drilling to clear away the debris. You can use a vacuum cleaner or wipe away the debris with a clean cloth. Clearing the debris will help maintain a clean and smooth drilling surface.
Step 7: Finishing Touches
Once you have drilled through the granite countertop, remove the drill bit and wipe away any remaining debris. You can then proceed with any necessary installations or fastenings.
Remember to always wear safety goggles while drilling into any hard material, as flying debris can cause eye injuries. Take your time and be patient throughout the process to ensure a successful and clean drill into your granite countertop.
Dealing with Dust and Protecting the Surrounding Area
When drilling into a granite countertop, it is important to take measures to deal with the dust that may be generated and protect the surrounding area from damage. Here are some steps you can take to minimize dust and protect the countertop and the surrounding space:
1. Wear Personal Protective Equipment (PPE)
Before you begin drilling, make sure to wear appropriate personal protective equipment, such as safety goggles, a dust mask, and work gloves. This will protect your eyes, lungs, and hands from any dust or debris that may be released during the drilling process.
2. Use a Wet Drill Method
To minimize the amount of dust generated while drilling into the granite countertop, consider using a wet drill method. This involves continuously spraying water onto the drilling area to keep dust particles from becoming airborne. You can use a spray bottle or attach a water source to the drill to achieve this.
3. Cover the Surrounding Area
Before you start drilling, cover the surrounding area with drop cloths or plastic sheets to protect it from dust and debris. This will prevent any damage or staining to the adjacent surfaces, cabinets, or appliances. Secure the covering firmly to prevent it from moving or shifting during the drilling process.
4. Create a Containment System
Another option is to create a containment system to control the dust. This can be done by building an enclosure around the drilling area using plastic sheets or a dust containment unit. The enclosure will contain the dust, preventing it from spreading to other parts of the countertop or the surrounding space.
5. Use a Vacuum or Dust Extractor
Using a vacuum cleaner or a dust extractor with a HEPA filter can help remove the dust particles from the drilling area. Attach the vacuum or dust extractor directly to the drill or position it close to the drilling area to capture the dust as it is generated. This will help keep the area clean and reduce airborne dust particles.
6. Clean Up Thoroughly
Once you have completed the drilling process, take the time to clean up the area thoroughly. Use a damp cloth or sponge to wipe away any dust or debris from the countertop, surrounding surfaces, and the floor. Dispose of the collected dust and debris in a plastic bag and seal it properly before disposing of it in the trash.
By following these steps, you can effectively deal with the dust generated from drilling into a granite countertop and protect the surrounding area from any potential damage or contamination. Remember to always prioritize safety and take the necessary precautions when working with power tools and materials.
Finishing Touches and Cleaning up after Drilling into Granite Countertop
1. Remove any debris
After drilling into the granite countertop, it is important to remove any debris that may have been created during the drilling process. Use a vacuum cleaner or a soft brush to carefully remove any dust, granite chips, or other debris from the area around the hole.
2. Wipe the surface
Next, use a clean, damp cloth to wipe the surface of the countertop around the drilled hole. This will remove any remaining dust or residue from the drilling process and ensure a clean surface for further work.
3. Apply a sealant
Once the surface is clean and dry, you may choose to apply a sealant to the drilled hole. This will help protect the granite from any potential moisture or staining. Consult with a professional or follow the instructions of the sealant manufacturer for the best results.
4. Clean up the surrounding area
It is important to also clean up the surrounding area to ensure a tidy and finished look. Remove any tools, protective coverings, or other items used during the drilling process. Use a clean cloth or sponge to wipe down the entire countertop surface, removing any dust or debris that may have accumulated.
5. Inspect for any damage
Take a close look at the drilled hole and the surrounding area to inspect for any damage that may have occurred during the drilling process. Check for any cracks, chips, or discoloration. If any issues are found, consult with a professional for repair options.
6. Keep the area clean and well-maintained
To maintain the appearance and longevity of your granite countertop, it is important to keep the area clean and well-maintained. Regularly wipe down the surface with a non-abrasive cleaner and avoid using harsh chemicals or abrasive materials that may damage the granite.
Remember: If you are unsure or uncomfortable with drilling into your granite countertop, it is always best to consult with a professional for assistance. They will have the necessary experience and knowledge to ensure a successful and damage-free drilling process.
FAQ:
What tools do I need to drill into a granite countertop?
You will need a diamond-tipped drill bit, a drill with variable speed settings, a water bottle or water source, and safety goggles.
Can I use a regular drill bit to drill into a granite countertop?
No, you cannot use a regular drill bit as it will be ineffective on granite. You need a diamond-tipped drill bit specifically designed for drilling into hard materials like granite.
How do I choose the right diamond-tipped drill bit for drilling into granite?
When choosing a diamond-tipped drill bit, make sure it is specifically designed for drilling into granite or other hard stones. Look for a bit with a diamond coating and a size suitable for the hole you want to drill.
What is the best drilling technique for drilling into a granite countertop?
The best drilling technique for granite is to start at a slow speed with minimal pressure and gradually increase the speed and pressure as the hole deepens. It is important to keep the drill bit and the countertop wet with water to prevent overheating.
How long does it take to drill into a granite countertop?
The time it takes to drill into a granite countertop depends on the size and depth of the hole, as well as the speed and technique used. It can range from a few minutes for small holes to several hours for larger holes.
Do I need to clean the drill bit during the drilling process?
Yes, it is recommended to clean the drill bit periodically during the drilling process. This will help remove any granite dust or debris that may accumulate on the bit and can affect its effectiveness.
What should I do if the drill bit gets stuck in the granite countertop?
If the drill bit gets stuck in the granite countertop, it is important to stay calm and avoid forcefully pulling or twisting the drill. Instead, try reversing the drill to loosen the bit or gently tap it with a hammer to release it. If these methods do not work, seek professional assistance to avoid damaging the countertop or drill.
Video:


Meet Harrison Clayton, a distinguished author and home remodeling enthusiast whose expertise in the realm of renovation is second to none. With a passion for transforming houses into inviting homes, Harrison's writing at https://thehuts-eastbourne.co.uk/ brings a breath of fresh inspiration to the world of home improvement. Whether you're looking to revamp a small corner of your abode or embark on a complete home transformation, Harrison's articles provide the essential expertise and creative flair to turn your visions into reality. So, dive into the captivating world of home remodeling with Harrison Clayton and unlock the full potential of your living space with every word he writes.