Step-by-Step Guide: How to Drill into Drywall Stud

Drilling into a drywall stud is a common task when it comes to hanging shelves, mirrors, or other heavy items on your wall. The studs provide a secure anchor point that can support the weight of these items. However, it’s important to follow the right steps to ensure that you drill into the stud properly and avoid any damage to your drywall.
Step 1: Locate the Stud
Before you start drilling, you need to find the stud behind your drywall. You can use a stud finder, which is a handheld device that uses sensors to detect the location of the studs. Alternatively, you can try tapping the wall with your knuckles to listen for a solid, hollow sound. The solid areas indicate the presence of a stud.
Pro tip: Most studs are spaced 16 inches apart, so once you find one, you can use this measurement as a guide to locate the others.
Step 2: Mark the Spot

Once you’ve located the stud, use a pencil to mark its position on the wall. This will help you stay on track when you start drilling.
Step 3: Choose the Right Drill Bit
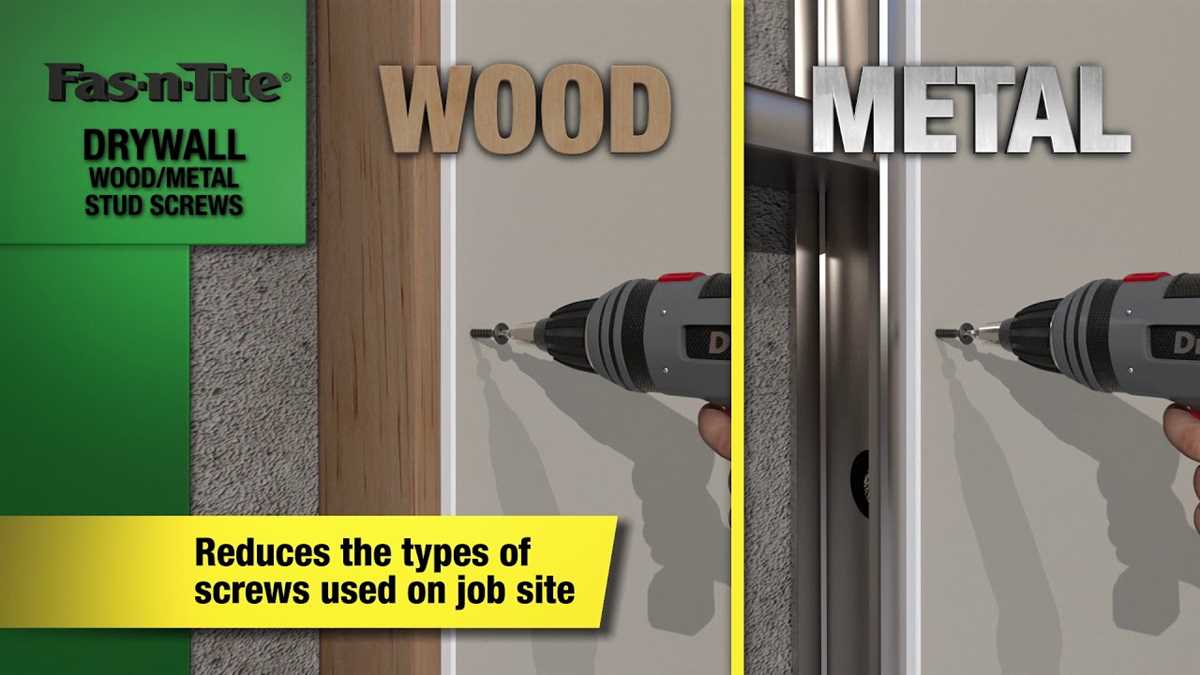
Selecting the correct drill bit is crucial to ensure a clean and precise hole. For drilling into a drywall stud, use a 1/8-inch or 3/16-inch drill bit that is suitable for wood or metal.
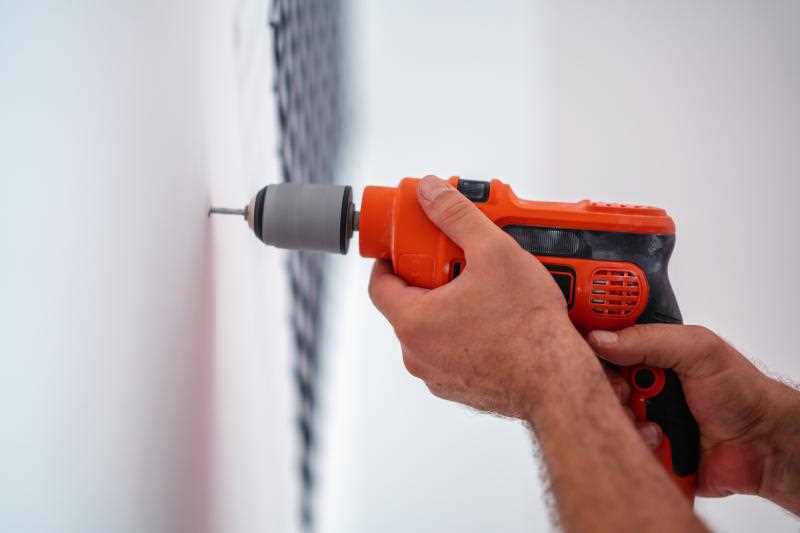
Step 4: Drill into the Stud
Place the drill bit directly on the marked spot and apply light pressure to start drilling. Make sure to hold the drill steady and perpendicular to the wall. Slowly increase the pressure as you drill into the stud, keeping an eye on the depth of the hole.

Pro tip: If you’re concerned about damaging the surrounding drywall, you can place a piece of painter’s tape over the drilling area to provide some protection.
Step 5: Remove the Drill Bit and Insert the Screw
Once you’ve drilled through the stud, remove the drill bit from the hole. Then, insert the appropriate screw through the hole and tighten it until it is secure. Be careful not to overtighten, as this can strip the screw or damage the stud.
Step 6: Repeat the Process
If you need to hang multiple items on the wall, repeat the above steps to locate and drill into additional studs. This will ensure that your wall is properly anchored and able to support the weight of your items.

Remember, it’s important to use the right tools and follow the correct steps when drilling into a drywall stud. By taking your time and being cautious, you can successfully hang heavy items on your wall without causing any damage.
Gather the Necessary Tools
Before you start drilling into drywall studs, it’s important to gather all the necessary tools. Here is a list of tools you’ll need:
- Drill – Make sure you have an electric drill with a variable speed setting. This will allow you to control the drilling speed and prevent damage to the drywall.
- Drill bits – Choose drill bits that are appropriate for your specific project. For drilling into drywall studs, use a bit that is slightly smaller in diameter than the screws or anchors you’ll be using.
- Tape measure – Measure the exact location where you want to drill into the drywall studs. This will ensure accurate placement and prevent any unnecessary holes.
- Pencil – Mark the exact spot where you’ll be drilling with a pencil. This will serve as a guide and help you stay on track.
- Level – Use a level to ensure the pencil mark is straight and aligned with the stud. This will help prevent any crooked or uneven drilling.
- Stud finder – Use a stud finder to locate the position of the studs behind the drywall. This will help you determine where to drill and avoid drilling into hollow spaces.
- Safety glasses – Always wear safety glasses to protect your eyes from any flying debris or dust that may be generated during the drilling process.
- Masking tape – Apply a piece of masking tape over the area where you’ll be drilling. This will help prevent any potential damage to the surrounding area.
- Vacuum or dustpan – After drilling, use a vacuum cleaner or dustpan to clean up any dust or debris that is left behind.
Having all these tools readily available will ensure a smooth and efficient drilling process. It’s important to take the time to gather these tools before starting to work on your project.
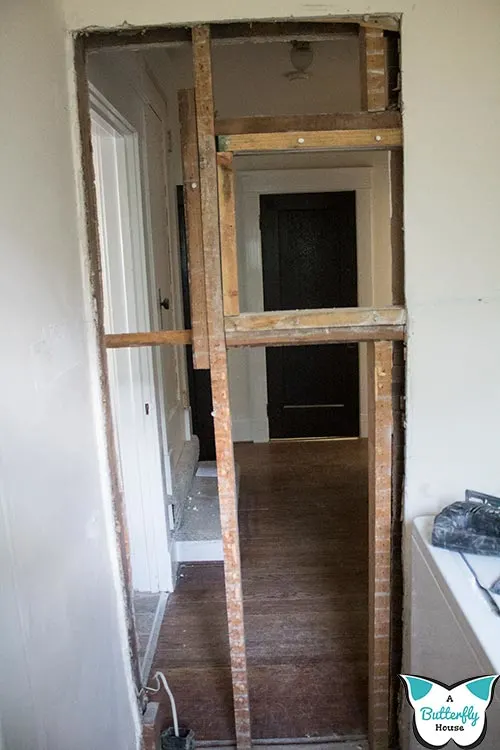
Locate the Stud

Before drilling into drywall, it is essential to locate the stud. The stud is a vertical framing member behind the drywall that provides structural support for the wall. By drilling into the stud, you ensure that whatever you hang or mount on the wall will be securely attached.

There are several methods you can use to locate the stud:
- Use a stud finder: A stud finder is a handheld device that detects changes in density behind the drywall. Simply slide the stud finder across the wall until it beeps or lights up, indicating the presence of a stud.
- Look for visible clues: Studs are typically placed 16 or 24 inches apart, so you can often find them by measuring from an existing stud or a corner of the wall. Look for nail or screw heads, as these are usually attached to the studs.
- Use a magnet: If you don’t have a stud finder, you can use a strong magnet to locate the nails or screws holding the drywall to the studs. Move the magnet along the wall until it is attracted to a metal fastener, indicating the presence of a stud.
- Tap the wall: By lightly tapping the wall with your knuckles or a small hammer, you can listen for a solid, dull sound, which indicates the presence of a stud. Hollow sounds indicate empty spaces between the studs.
Once you have located the stud, mark its position on the wall using a pencil or masking tape. This marking will guide you as you drill into the wall.
Mark the Spot
Before you start drilling into the drywall stud, it is crucial to mark the spot where you want to place the hole. This will help ensure that you drill into the right location and prevent any mistakes or damages.
Follow these steps to mark the spot:

- Use a pencil or a marker to make a small dot on the wall where you want to drill. Make sure the dot is visible and easy to find.
- If you are unsure about the exact location of the stud, use a stud finder tool to locate it. Move the stud finder along the wall until it indicates the presence of a stud.
- Once you have found the stud, mark the center of the stud with a pencil or marker. This will be the spot where you will drill.
- Double check the location of the mark by measuring from nearby objects or using a tape measure. This will help you confirm that the mark is accurate.
By marking the spot correctly, you can ensure that your drill hole will be in the desired location and minimize the chances of any unnecessary damage to the drywall.
Prepare the Drill
Before you start drilling into the drywall stud, it is important to make sure your drill is properly prepared. Here are the steps to follow:
-
Gather the necessary tools:
- A power drill
- A drill bit suitable for drilling into drywall
- Safety goggles
- Dust mask
- A pencil or marker
-
Put on safety gear:
- Wear safety goggles to protect your eyes from any flying debris.
- Put on a dust mask to prevent inhaling any dust or particles.
-
Prepare the drill bit:
- Choose the appropriate drill bit size for the job. For drilling into typical drywall studs, a 1/8-inch or 3/16-inch drill bit should work well.
- Insert the drill bit securely into the drill chuck, and tighten it to ensure it won’t come loose while drilling.
-
Mark the drilling spot:
- Use a pencil or marker to mark the spot on the drywall where you plan to drill. Double-check your measurements and make sure it aligns with the stud you want to drill into.
Once you have completed these steps, you will be ready to proceed with drilling into the drywall stud. Make sure to follow the next steps carefully to ensure a successful and secure installation.
Drill a Pilot Hole

Before drilling into the drywall stud, it is important to drill a pilot hole. A pilot hole is a small hole that helps guide the drill bit and prevents the drywall from cracking or splintering. Here are the steps to follow when drilling a pilot hole:
- Choose the right drill bit: Select a drill bit that is slightly smaller in diameter than the screw or anchor you will be using. This will ensure a snug fit and prevent the screw or anchor from becoming loose.
- Mark the drilling spot: Use a pencil or a marker to make a small mark on the spot where you want to drill the pilot hole. Make sure to locate the position of the stud behind the drywall using a stud finder.
- Secure the drywall: Use one hand to hold the drywall firmly against the stud while drilling the pilot hole. This will prevent the drywall from vibrating or moving during the drilling process.
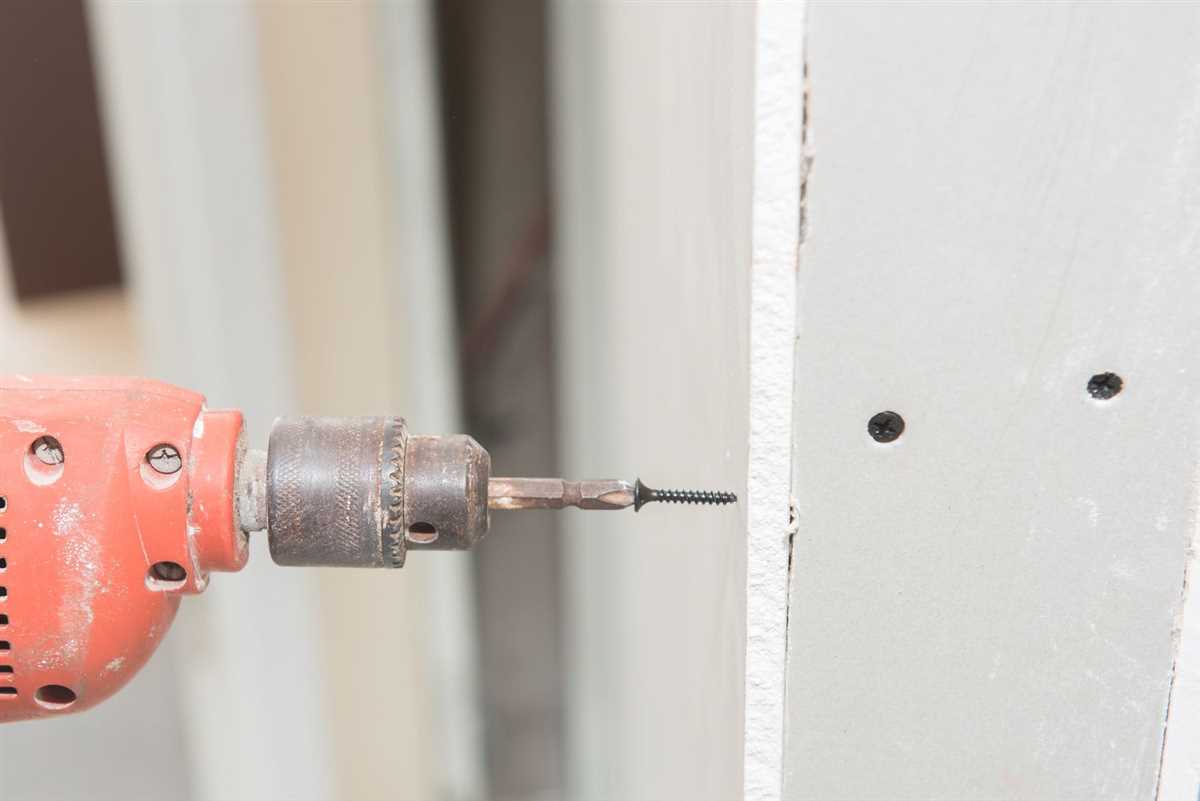
- Start drilling: Align the drill bit with the marked spot on the drywall. Apply steady pressure and begin drilling at a slow speed. Let the drill bit do the work and avoid using excessive force.
- Monitor the depth: As you drill, pay attention to the depth and ensure that you are drilling through the drywall and into the stud. Stop drilling once the desired depth is reached.
- Remove the drill bit: Slowly remove the drill bit from the pilot hole while keeping the drill running. This will help clear any dust or debris that may have accumulated inside the hole.
Following these steps will ensure that you properly drill a pilot hole in the drywall stud. This will make it easier to insert screws or anchors and provide a secure and stable attachment point for any objects or fixtures you want to mount on the wall.
Choose the Right Drill Bit
When drilling into a drywall stud, it’s important to use the correct drill bit for the job. A drill bit that is too small may not be able to create a hole large enough for the screw or anchor, while a drill bit that is too large can cause the drywall to crack or become damaged.
Here are some tips to help you choose the right drill bit for drilling into a drywall stud:

- Size: The size of the drill bit will depend on the size of the screw or anchor you plan to use. Measure the diameter of the screw or anchor and choose a drill bit that is slightly larger, typically around 1/16 to 1/8 inch larger.
- Type: Choose a drill bit that is specifically designed for drilling into drywall or wood. These drill bits typically have a sharp point and fluted edges to help cut through the material without causing excessive damage.
- Masonry Bits: If you plan to drill through drywall and into a stud that is made of masonry or concrete, you will need a masonry drill bit designed for that purpose. These drill bits have a carbide tip that is able to drill through the harder material.
It’s important to note that when drilling into a drywall stud, you should always wear safety goggles to protect your eyes from any debris that may be generated during the drilling process.
| Drill Bit Size | Screw Size or Anchor |
|---|---|
| 1/8 inch | #6 or #8 screw |
| 3/16 inch | #10 screw |
| 1/4 inch | Toggle bolt or drywall anchor |
By choosing the right drill bit, you can ensure that your drilling process goes smoothly and that your drywall remains intact.
Drill into the Stud
To drill into a drywall stud, follow these step-by-step instructions:
- Locate the stud: Use a stud finder or tap the wall to find the stud’s position.
- Mark the spot: Once you’ve located the stud, use a pencil to mark the exact spot where you want to drill.
- Choose the right drill bit: Select a drill bit that matches the size of the screw or anchor you plan to use.
- Secure the drill bit: Insert the selected drill bit into your drill and tighten it securely.
- Put on safety goggles: Protect your eyes by wearing safety goggles or glasses.
- Position the drill: Hold the drill firmly with both hands, aligning the drill bit with the marked spot on the wall.
- Apply pressure: Gently apply pressure to the drill, making sure the drill bit remains perpendicular to the wall.
- Start drilling: Begin drilling slowly, exerting constant pressure on the drill. Let the drill bit do the work, avoiding excessive force.
- Monitor the progress: As you drill, pay attention to the depth and adjust the pressure accordingly.
- Remove the drill: Once you’ve drilled through the drywall and into the stud, release the trigger and remove the drill.
- Insert the screw or anchor: Use a screwdriver or appropriate tool to insert the screw or anchor into the hole you’ve drilled.
- Tighten the screw or anchor: Use the appropriate tool to tighten the screw or anchor securely against the stud.
Following these steps will help you drill into a drywall stud safely and effectively. Remember to always exercise caution and wear protective gear when using power tools.
Secure the Object
Once you have drilled the pilot hole and confirmed that you are drilling into a stud, it’s time to secure the object you are hanging. This could be anything from a shelf to a picture frame. Here are the steps to securely attach the object to the stud:
- Remove the drill bit from the hole.
- Place the object over the hole and align it with the desired position on the wall.
- Use a level to make sure the object is straight.
- Mark the position of any mounting holes on the object onto the wall using a pencil or marker.
- Set the object aside and grab a drill bit that matches the size of the mounting holes.
- Drill pilot holes into the marked positions on the wall, making sure to go deep enough to reach the stud.
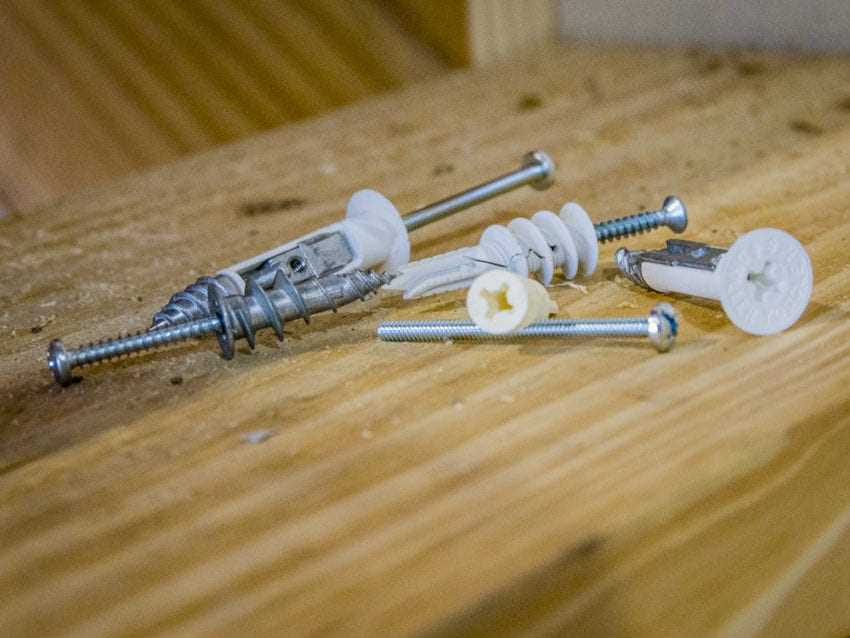
- Insert wall anchors into the pilot holes to provide additional support if needed. This step is optional but recommended for heavier objects.
- Place the object back over the holes and align it with the pilot holes.
- Drive screws through the mounting holes on the object and into the pilot holes in the wall. Make sure to use screws that are long enough to securely hold the object in place.
- Tighten the screws using a screwdriver or drill, making sure not to overtighten and cause damage to the object or the drywall.
Once the object is securely attached to the stud, give it a gentle push or pull to test its stability. If it feels loose or unstable, you may need to reinforce the anchors or use longer screws. Otherwise, you’re all done! Your object should now be securely mounted to the drywall stud.
FAQ:
What tools do I need to drill into drywall stud?
To drill into a drywall stud, you will need a drill, drill bit, stud finder, pencil, and tape measure. Make sure to have these tools handy before starting the process.
How do I find the stud in drywall?
To find a stud in drywall, you can use a stud finder. Simply move the stud finder along the wall until it indicates the presence of a stud. Alternatively, you can use the tap method by lightly tapping the wall until you hear a solid sound, indicating the location of a stud.
Can I drill into drywall without a stud?
While it is generally recommended to drill into a stud for secure installation, there are other options if a stud is not available. You can use drywall anchors or toggle bolts, which provide additional support when drilling into drywall without a stud.
What size drill bit should I use to drill into a drywall stud?
The size of the drill bit depends on the type of screw or anchor you will be using. Generally, a 1/8-inch or 3/16-inch drill bit is suitable for most applications. However, it is always best to check the instructions provided by the manufacturer for the recommended drill bit size.
Are there any precautions to take when drilling into a drywall stud?
Yes, there are some precautions to take when drilling into a drywall stud. Firstly, make sure to wear safety goggles to protect your eyes from any debris. Additionally, be careful not to drill too deep and damage any electrical or plumbing lines behind the wall. Finally, secure the drill bit firmly in the chuck to prevent it from slipping during drilling.
Video:


Meet Harrison Clayton, a distinguished author and home remodeling enthusiast whose expertise in the realm of renovation is second to none. With a passion for transforming houses into inviting homes, Harrison's writing at https://thehuts-eastbourne.co.uk/ brings a breath of fresh inspiration to the world of home improvement. Whether you're looking to revamp a small corner of your abode or embark on a complete home transformation, Harrison's articles provide the essential expertise and creative flair to turn your visions into reality. So, dive into the captivating world of home remodeling with Harrison Clayton and unlock the full potential of your living space with every word he writes.


