Step-by-Step Guide: How to Drill Holes in Concrete Floor

Drilling holes in a concrete floor can be a challenging task, especially if you don’t have the right tools and knowledge. However, with the proper guidance and a few essential steps, you can successfully drill holes in a concrete floor for various purposes, such as installing electrical wires, plumbing pipes, or mounting fixtures.
Before you begin drilling, it is crucial to understand that concrete is a dense and sturdy material, which requires a specific approach. You will need a powerful drill, suitable drill bits, and appropriate safety equipment to ensure both your safety and the success of the project.
Step 1: Choose the Right Drill and Bits
First and foremost, you need to select a drill with enough power to handle the job. A hammer drill or a rotary hammer drill is recommended for drilling into concrete floors. Additionally, you should choose the appropriate drill bits designed for drilling holes in concrete. Carbide-tipped masonry bits or diamond-tipped bits are the most effective options for this task.
Pro Tip: Using dull or inadequate drill bits can cause the drill to overheat and reduce its effectiveness. It’s crucial to use sharp and suitable drill bits for the concrete floor.
Preparations for Drilling
Before you start drilling holes in the concrete floor, it is important to make the necessary preparations to ensure a smooth and successful process. Follow these steps to prepare for drilling:

- Assess the location: Determine where exactly you need to drill the holes on the concrete floor. Mark the spots with a pencil or chalk to provide guidance during the drilling process.
- Check for utilities: Before drilling, it is crucial to check for any utilities or electrical wires that may be present beneath the surface. Use a utility locator or call a professional to ensure that it is safe to drill in the chosen location.
- Gather the necessary tools: Make sure you have all the tools you need for drilling, including a hammer drill or rotary drill with masonry bits, safety goggles, a dust mask, and ear protection.
- Prepare the drilling area: Clear the area of any obstructions or debris that may hinder the drilling process. Use a broom or vacuum to remove any loose dirt or dust from the surface, ensuring a clean workspace.
- Secure the area: Create a safe work environment by placing caution tape or barriers around the drilling area to prevent any accidents or interruptions.
- Wear protective gear: Before drilling, put on your safety goggles, dust mask, and ear protection to protect yourself from flying debris and loud noises.
- Set up a dust collection system: Concrete drilling can generate a significant amount of dust. Consider using a dust collection system or attaching a vacuum to the drill to minimize dust and keep the area clean.
- Read the drill manual: Familiarize yourself with the specific instructions and safety precautions mentioned in the drill manual. Follow the manufacturer’s guidelines to ensure proper usage of the drill.
By taking these necessary preparations, you can ensure a safer and more efficient drilling process when working on your concrete floor. Remember to always prioritize safety and follow the manufacturer’s guidelines for the tools and equipment you are using.
Marking the Hole Locations
Before you start drilling holes in your concrete floor, it’s important to accurately mark the locations where you want the holes to be. This will ensure that your project goes smoothly and that the holes are in the correct positions.
Here are the steps to follow for marking the hole locations:
- Start by measuring and determining the exact positions where you want the holes to be drilled. Use a measuring tape or ruler to mark these points on the concrete floor.
- Next, use a pencil or marker to make small, visible dots at each marked position. This will serve as a guide for drilling later on.
- If you are drilling multiple holes, it’s a good idea to use a straight edge or ruler to connect the dots and create straight lines. This will ensure that the holes are aligned properly.
- Once you have marked all the hole locations, double-check your measurements and markings to ensure accuracy. It’s better to take the time to double-check now than to make mistakes later on.
Remember to take into account any special considerations or requirements for your project, such as the size of the holes and their spacing. Consult the instructions or guidelines provided by the manufacturer of the drilling equipment or any other relevant resources.
By following these steps and taking the time to accurately mark the hole locations, you’ll be well-prepared for the drilling process and increase the likelihood of achieving the desired results.

Choosing the Right Drill Bit
When drilling holes in a concrete floor, it is important to choose the right drill bit to ensure the best results. Using the wrong drill bit can lead to inefficiency, damaged tools, and even personal injury. Here are some factors to consider when selecting the right drill bit:
1. Type of Material
Before selecting a drill bit, consider the type of concrete you are working with. Is it a soft or hard concrete? Is there any reinforcement such as rebar or wire mesh? These factors will determine the type of drill bit you need.
2. Drill Bit Material
Drill bits are made from various materials, each with its own advantages and limitations. The most common materials for concrete drill bits are:
- High-Speed Steel (HSS): HSS drill bits are versatile and can handle most concrete drilling tasks. They are cost-effective but may wear out quickly when used on hard concrete.
- Carbide-Tipped: Carbide-tipped drill bits are harder than HSS bits and are better suited for drilling into hard concrete and masonry. They are more expensive but offer better durability.
- Diamond-Tipped: Diamond-tipped drill bits are the most durable and can easily drill through the toughest concrete surfaces. They are typically used for professional or heavy-duty applications.
3. Diameter of the Hole
The diameter of the hole you need to drill will also determine the type of drill bit you should use. Smaller diameter holes can be drilled using standard masonry or concrete bits, while larger holes may require specialized core drill bits or diamond-tipped bits.
4. Drill Bit Length
The length of the drill bit should be selected based on the thickness of the concrete floor. It is important to choose a drill bit that is long enough to reach the desired depth without being too long and causing excessive wobbling or deflection.

5. Additional Features
Some drill bits may come with additional features that can enhance their performance. For example, some bits have flutes or channels that help remove debris and reduce heat build-up during drilling. Others may have a special coating to reduce friction and increase lifespan.
6. Safety Considerations
Always prioritize safety when selecting a drill bit. Ensure that the drill bit is compatible with your drill and that you are using the appropriate safety equipment, such as goggles and gloves.
By considering these factors and selecting the right drill bit for your specific needs, you can ensure efficient and effective drilling when working on a concrete floor.
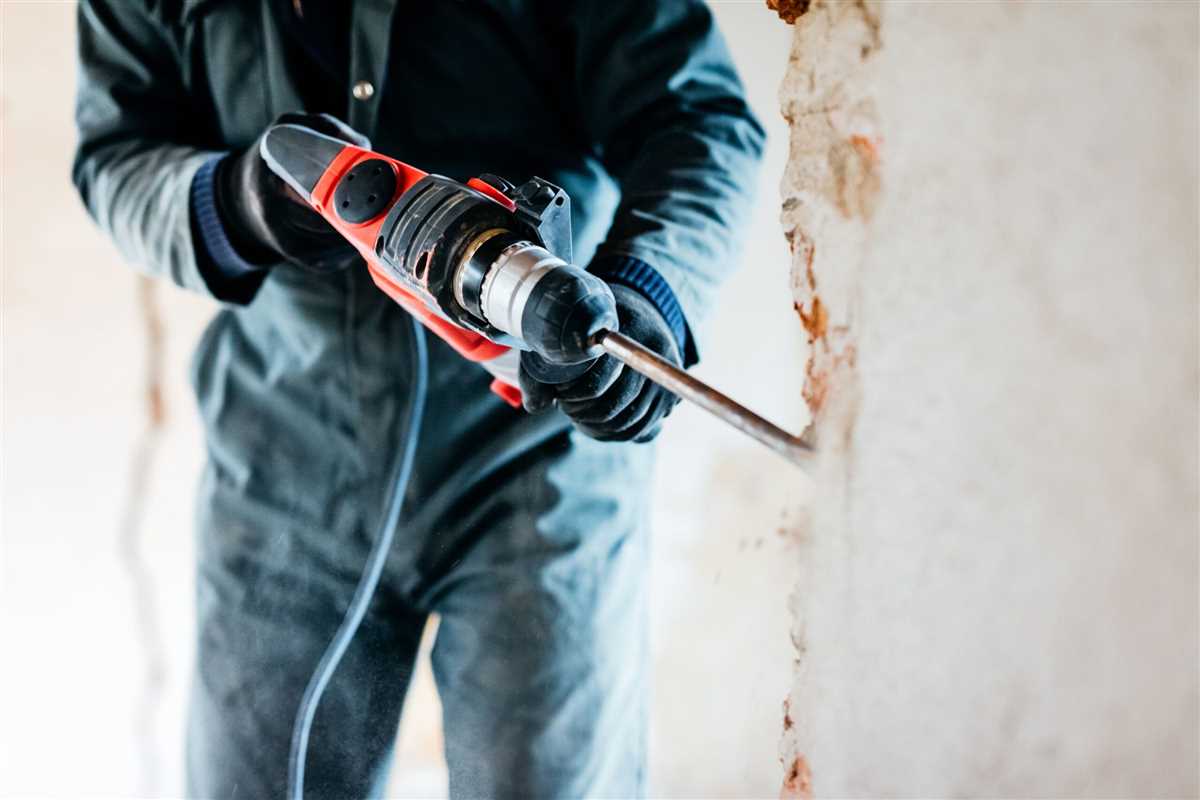
Using a Hammer Drill
A hammer drill is a power tool specifically designed for drilling holes in hard materials like concrete. It uses a hammering action to break up the material while drilling, allowing for faster and easier hole creation. Here are the steps for using a hammer drill to drill holes in a concrete floor:
- Prepare the drill: Before starting, ensure that the drill bit you are using is suitable for drilling into concrete. Attach the appropriate size and type of drill bit securely to the hammer drill.
- Mark the hole locations: Use a pencil or marker to mark the exact spots where you want to drill the holes on the concrete floor. Measure and mark the positions accurately.
- Put on safety gear: Wear essential safety gear such as safety goggles, ear protection, and gloves to protect yourself from potential injury.
- Choose the drill mode: Most hammer drills have multiple modes, including hammer drill mode and regular drill mode. Make sure the hammer drill is set to the correct mode for drilling into concrete.
- Position the drill: Hold the hammer drill firmly with both hands. Position the drill bit on the marked spot and apply light pressure to keep it stable.
- Start drilling: Start the drill at a slow speed and gradually increase the speed as you penetrate the concrete. Use a gentle, steady pressure while drilling.
- Clear the debris: Periodically pull the drill bit out of the hole to clear out the accumulated debris. This will prevent the bit from getting stuck and ensure efficient drilling.
- Monitor the drilling depth: Keep a close eye on the drilling depth using the depth gauge on the hammer drill or by marking the desired depth on the drill bit itself.
- Complete the drilling: Continue drilling until you reach the desired depth. Slowly withdraw the drill bit from the hole, allowing the debris to fall out.
- Clean up: Once you have finished drilling all the holes, clean up the work area by removing any remaining debris or dust.
Using a hammer drill can significantly simplify the process of drilling holes in a concrete floor. By following these steps and taking proper safety precautions, you can achieve precise and efficient results.

Drilling Techniques
1. Choosing the Right Drill and Drill Bit
When drilling holes in a concrete floor, it is important to use the right tools. For most small to medium-sized holes, a rotary hammer drill is the best choice. These drills have a hammering action that helps to break up the concrete as you drill. Additionally, you will need to select the right drill bit. For concrete, a carbide-tipped masonry drill bit is recommended.
2. Marking and Measuring
Prior to drilling, it is essential to accurately mark and measure the location of the hole. Use a tape measure and a pencil to mark the spot where you want to drill. Use a level to ensure that your marks are straight and aligned properly.
3. Preparation and Safety Measures
Before starting to drill, it is important to take some safety measures. Put on safety glasses to protect your eyes from flying debris. You should also wear ear protection, as drilling in concrete can be loud. Consider wearing work gloves to protect your hands.
4. Drilling Process
When drilling into concrete, it is recommended to start with a smaller pilot hole to help guide the larger drill bit. Begin by setting your drill to the hammer drill mode. Position the tip of the drill bit on the marked spot and apply slight pressure while simultaneously activating the hammering action of the drill. Once the pilot hole is created, switch to the larger drill bit to finish drilling the hole to the desired depth.

5. Clearing Dust and Debris
During the drilling process, concrete dust and debris will accumulate in the hole. It is crucial to clear this debris periodically to ensure that the drill bit can continue working effectively. Use a vacuum or a brush to remove the dust from the hole.
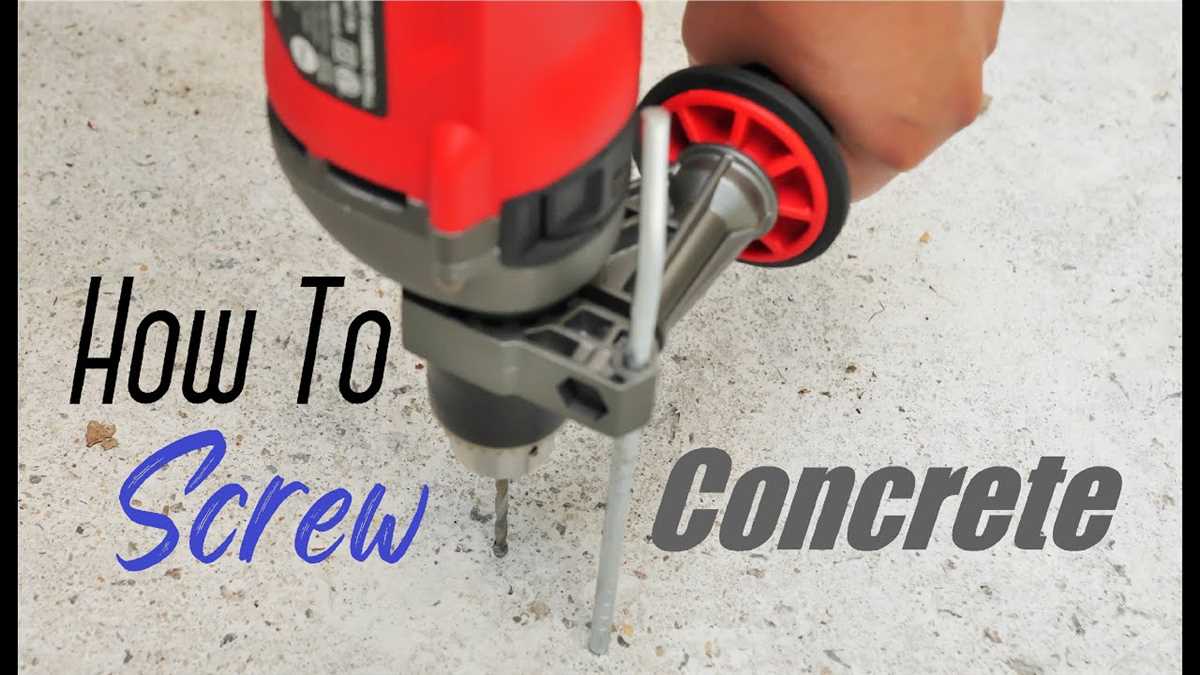
6. Anchoring or Fixing the Object
After drilling the hole, you can now anchor or fix the object you intend to attach to the concrete floor. Insert the anchor or screw into the hole and tighten it securely. Make sure the anchor or screw is appropriate for the weight and type of object you are fixing.
Removing Dust and Debris
Drilling holes in concrete can produce a significant amount of dust and debris. It is important to properly remove this debris to ensure a clean and clear work area. Here are a few steps to help you remove the dust and debris efficiently:
- Use a vacuum cleaner: Before starting the drilling process, use a powerful vacuum cleaner with a hose attachment to remove any loose dust and debris from the concrete surface. Move the vacuum cleaner over the entire area to capture as much dust as possible.
- Wet cleaning: After vacuuming, dampen a clean cloth or mop with water and wipe down the surface of the concrete floor. This will help to further remove any residual dust and debris that may have been missed by the vacuum cleaner.
- Use a broom: Once the surface has been wiped down, use a broom to sweep away any remaining dust and debris. Make sure to sweep in all corners and hard-to-reach areas to ensure a thorough cleaning.
- Inspect the area: After sweeping, visually inspect the surface to ensure that all dust and debris have been removed. If you notice any areas that still have dust or debris, repeat the cleaning process until the surface is clean and clear.
By following these steps, you can effectively remove dust and debris from your concrete floor before drilling holes. This will not only help to keep your work area clean but also prevent any potential damage or issues that may arise from drilling into debris.
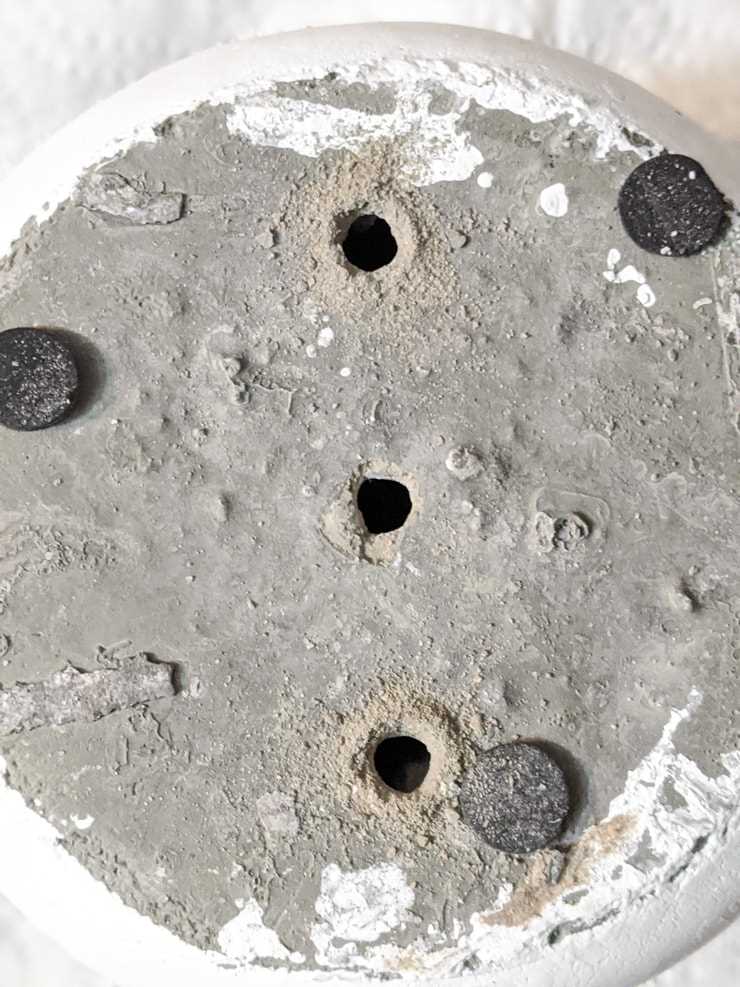
Checking Hole Depth and Diameter
Before you start drilling holes in the concrete floor, it’s important to check the required depth and diameter of the holes. This will ensure that the holes are suitable for the intended purpose, such as installing anchors or running pipes.

Depth: Measure the depth that is required for the hole using a tape measure or ruler. Mark this depth on the drill bit with a piece of tape or a marker. This will help you drill the hole to the correct depth and prevent drilling too deep or shallow.
Diameter: Determine the required diameter of the hole based on the size of the fastener or pipe that will be inserted into it. Use a measuring tool, such as a caliper or ruler, to measure the diameter. Make sure to account for any clearance required around the fastener or pipe when determining the diameter of the hole.
It’s important to note that drilling a hole with the correct diameter and depth is crucial for the stability and functionality of the installation. If the hole is too small, the fastener or pipe may not fit properly. On the other hand, if the hole is too large, it may compromise the strength and stability of the concrete floor.
Tip: Always refer to the manufacturer’s instructions or consult with a professional to determine the appropriate depth and diameter for your specific project.
Finishing and Cleaning Up
Once you have finished drilling the holes in the concrete floor, there are a few steps you can follow to ensure a clean and professional finish.

1. Remove Debris
- Use a broom or vacuum cleaner to remove any debris or dust that may have accumulated around the drilled holes and the surrounding area.
- Make sure to sweep or vacuum thoroughly to remove all loose particles.
2. Fill in Holes
- Using a suitable filler, fill in the drilled holes in the concrete floor.
- Make sure to follow the manufacturer’s instructions and select a filler that is specifically designed for concrete.
- Apply the filler using a putty knife or a similar tool, ensuring that the holes are completely filled.
3. Smooth the Surface
- Use the putty knife or a trowel to smooth the surface of the filler, making it level with the surrounding concrete floor.
- Smooth out any uneven areas and remove any excess filler.
4. Clean the Tools
- After completing the drilling and filling process, clean your tools thoroughly.
- Use a brush or a cloth to remove any residue or debris from the drill bits and putty knife.
- Store your tools properly to prevent rust or damage.
5. Dispose of Waste Properly
- Dispose of any waste materials, such as excess filler or packaging, in the appropriate containers.
- Follow local regulations for the disposal of construction waste.
6. Perform a Final Inspection
- Inspect the filled holes and the surrounding area to ensure a clean and professional finish.
- Check for any uneven surfaces, cracks, or imperfections that may need further attention.
Following these steps will help you achieve a clean and finished look after drilling holes in the concrete floor. Remember to always prioritize safety and follow proper procedures when working with power tools.
FAQ:
What tools do I need to drill holes in a concrete floor?
To drill holes in a concrete floor, you will need a hammer drill, masonry drill bits, safety goggles, hearing protection, a dust mask, a vacuum cleaner, a tape measure, and a marker.
How do I choose the right drill bit size?
Choosing the right drill bit size depends on the diameter of the anchor or screw you will be using. Measure the diameter and select a drill bit that is slightly smaller to ensure a snug fit.
Can I use a regular drill instead of a hammer drill?
While it is technically possible to use a regular drill, it is recommended to use a hammer drill for drilling holes in concrete. The hammering action of a hammer drill helps break through the tough surface of the concrete more easily.
What is the importance of wearing safety goggles and hearing protection?
Wearing safety goggles is important to protect your eyes from flying debris and dust while drilling. Additionally, concrete drilling can be loud, so wearing hearing protection is essential to prevent damage to your ears.
How do I prevent dust from getting everywhere while drilling?
To prevent dust from getting everywhere, you can attach a vacuum cleaner to the drill or use a dust extractor. This will help collect the majority of the dust while drilling, keeping the area clean and reducing the risk of respiratory issues caused by inhaling dust particles.
What should I do if the drill bit gets stuck in the concrete?
If the drill bit gets stuck in the concrete, do not force it further or try to remove it forcefully. Instead, apply some lubricant to the area and gently tap the bit with a hammer to loosen it. If this doesn’t work, you may need to call a professional for assistance.
How do I ensure that the hole is the correct depth?
To ensure that the hole is the correct depth, you can use a tape measure or mark the desired depth on the drill bit itself using a marker. This will help you drill to the correct depth without going too far.
Video:

How to make a smoke bomb

Meet Harrison Clayton, a distinguished author and home remodeling enthusiast whose expertise in the realm of renovation is second to none. With a passion for transforming houses into inviting homes, Harrison's writing at https://thehuts-eastbourne.co.uk/ brings a breath of fresh inspiration to the world of home improvement. Whether you're looking to revamp a small corner of your abode or embark on a complete home transformation, Harrison's articles provide the essential expertise and creative flair to turn your visions into reality. So, dive into the captivating world of home remodeling with Harrison Clayton and unlock the full potential of your living space with every word he writes.


