Step-by-Step Guide: How to Drill Holes in Brick

Drilling holes in brick can be a challenging task if you don’t have the right tools and techniques. Whether you need to hang a picture frame or mount a shelf, knowing how to drill holes in brick can save you time and frustration. In this step-by-step guide, we will walk you through the process of drilling holes in brick, so you can complete your DIY project with confidence.
Step 1: Gather the necessary tools and materials
Before you begin drilling holes in brick, gather all the tools and materials you will need. You will need a power drill with a masonry bit, safety goggles, a dust mask, a tape measure, a pencil or marker, a vacuum cleaner, and a brush. Additionally, make sure you have the appropriate wall anchors and screws for mounting your desired object.
Step 2: Choose the right drill bit
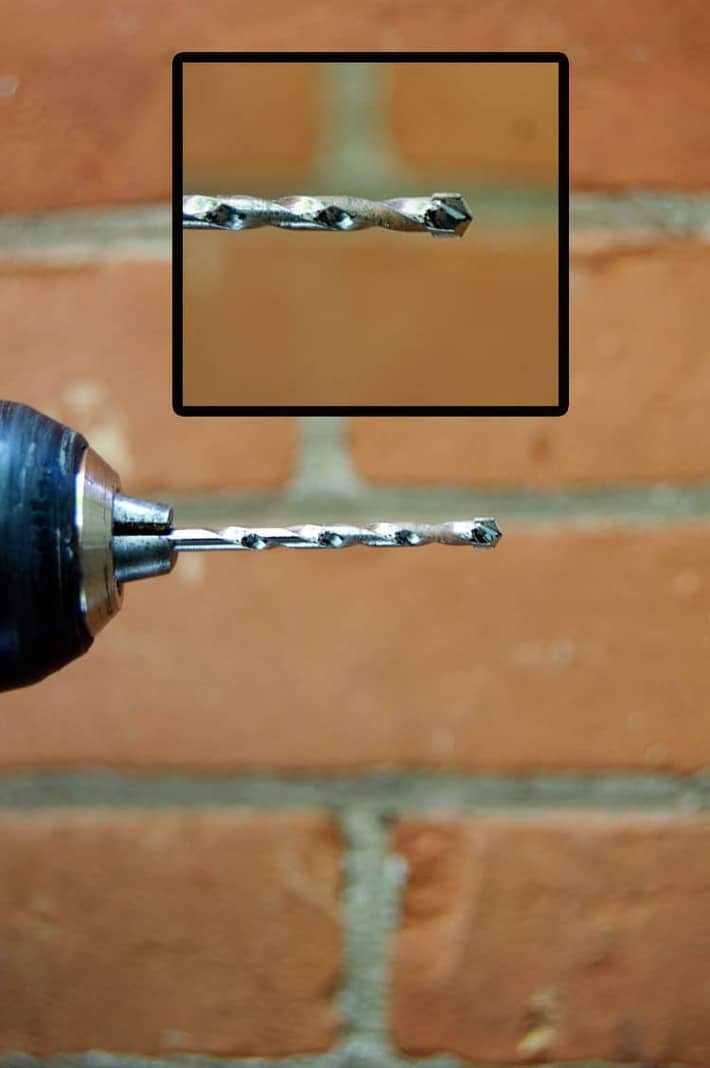
When drilling holes in brick, it’s crucial to use the right drill bit. Opt for a masonry bit, which is designed specifically for drilling into brick, concrete, or stone. These bits are made from extra-hardened steel and have a carbide tip that can withstand the tough brick material. Make sure the size of the drill bit matches the size of the wall anchor you will be using.

Step 3: Mark the drilling locations
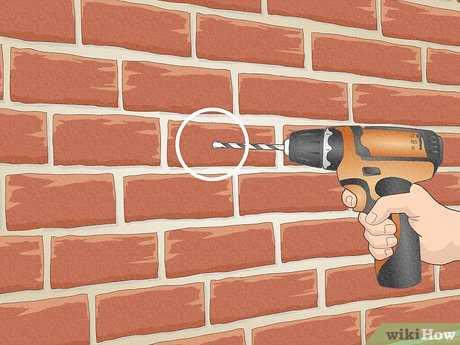
Using a tape measure, carefully measure and mark the locations where you want to drill the holes. Use a pencil or marker to make clear, visible marks on the brick surface. Make sure your measurements are accurate and evenly spaced to ensure a professional-looking result.
Step 4: Put on safety gear
Before you start drilling, put on your safety goggles and dust mask. Drilling into brick can create a significant amount of dust and debris, which can be harmful if inhaled or get into your eyes. Protect yourself by wearing the appropriate safety gear throughout the drilling process.
Step 5: Start drilling

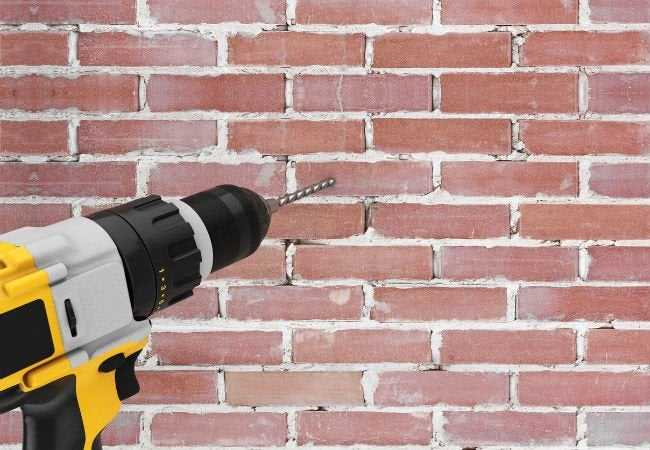
Position the drill bit on the marked spot, holding it perpendicular to the brick surface. Apply firm, even pressure as you start the drill. Begin drilling at a slow speed, allowing the masonry bit to gradually penetrate the brick. Push the bit forward, but avoid applying excessive force, as this can cause the bit to overheat or become dull.
Choose the Right Drill Bit
When drilling holes in brick, it is essential to choose the right drill bit to ensure a clean and precise hole. The type of drill bit you need will depend on the type of brick you are drilling into and the size of the hole you require.
There are several types of drill bits that are suitable for drilling into brick:
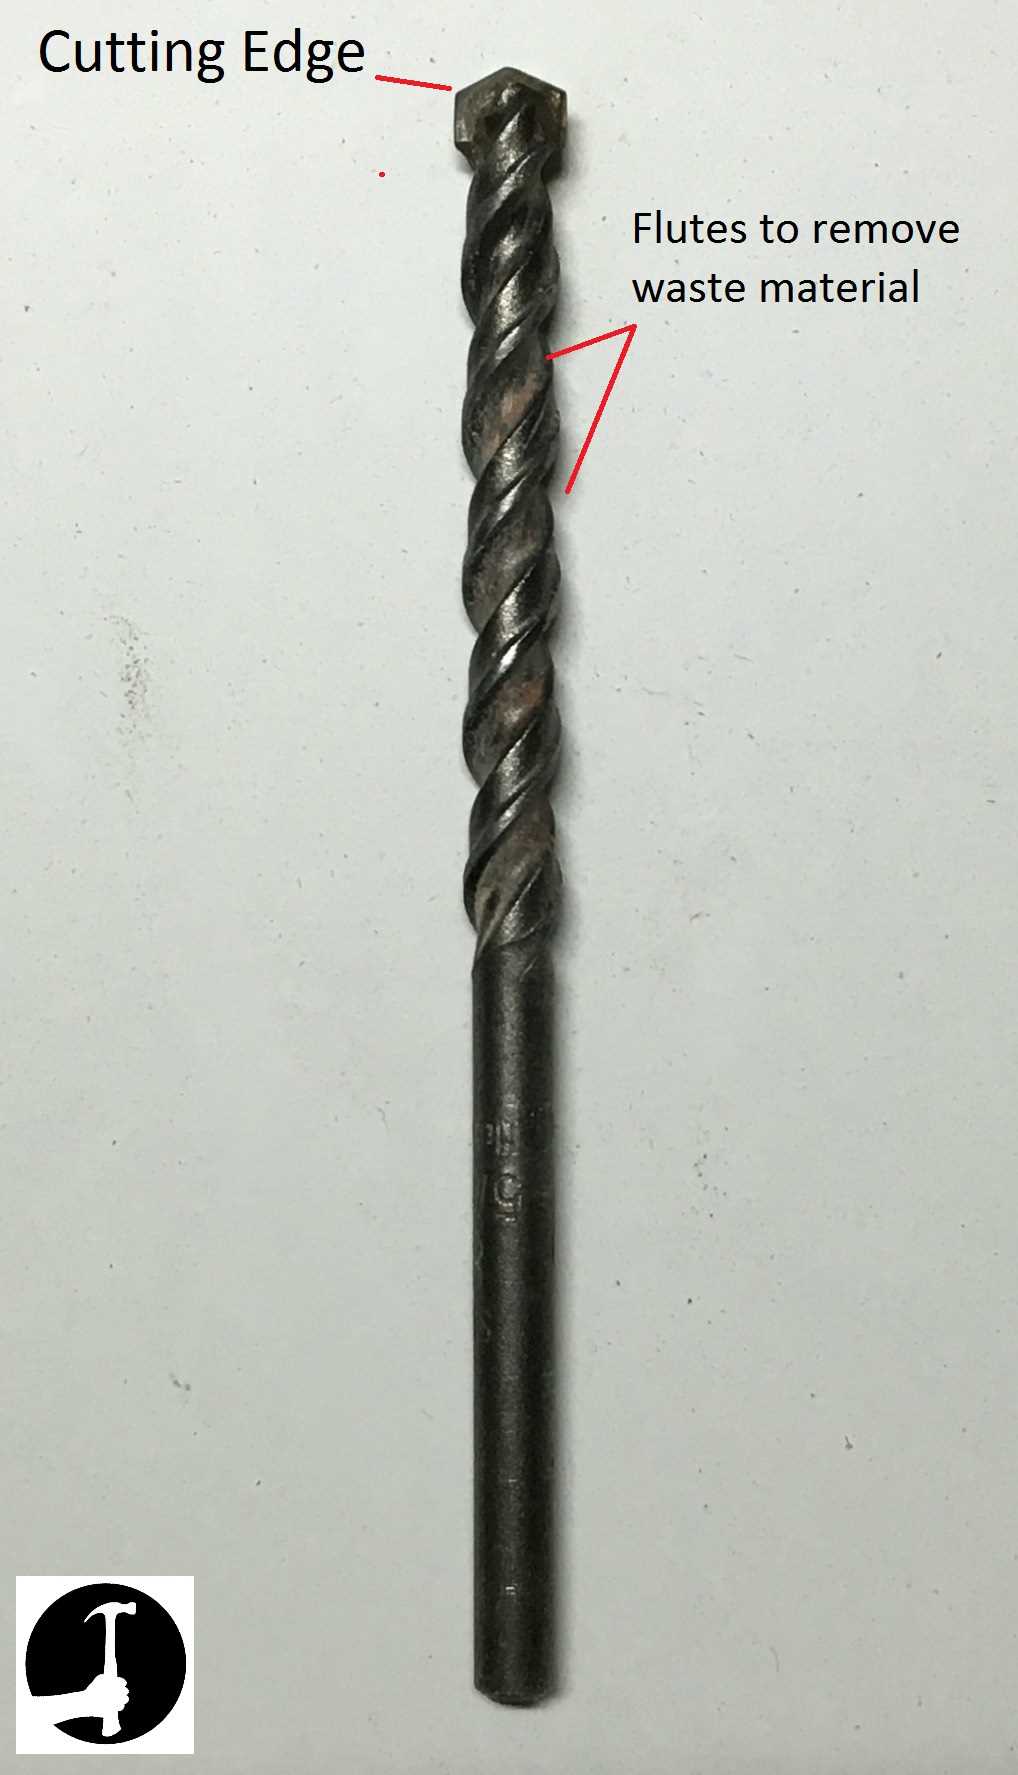
- Masonry drill bit: This is the most common and versatile drill bit for drilling into brick. It features a tungsten carbide tip, which is specifically designed to handle the hard surface of brick and concrete. Masonry drill bits are available in a range of sizes to accommodate different hole sizes.
- Carbide-tipped drill bit: Similar to the masonry drill bit, this type of drill bit also has a carbide tip. However, carbide-tipped drill bits are typically used for drilling into harder bricks or concrete.
- Diamond-tipped drill bit: As the name suggests, this drill bit has a diamond coating on the tip, making it ideal for drilling into extremely hard materials like granite or reinforced bricks.
When selecting a drill bit, consider the size of the hole you need. Smaller holes can be drilled with standard masonry or carbide-tipped drill bits, while larger holes may require diamond-tipped or specialty drill bits.
It is important to note that when drilling into brick, it is best to start with a smaller pilot hole and gradually increase the size until you reach your desired hole size. This will help prevent the brick from cracking or causing damage.

Always refer to the manufacturer’s instructions for your specific drill bit to ensure proper usage and safety precautions.
Prepare the Area for Drilling
Step 1: Gather your equipment
Before you begin drilling into brick, it’s important to gather all the necessary equipment. This includes:
- A power drill
- A masonry drill bit
- Protective goggles
- A dust mask
- A tape measure
- A pencil or marker
- A level
- A bucket of water
- A sponge or rag
Step 2: Choose the right drill bit
When drilling into brick, it is crucial to use a masonry drill bit. These are specifically designed to handle the dense and hard nature of brick. Choose a drill bit that is appropriate for the size of the hole you need to drill.
Step 3: Put on safety gear
Before you start drilling, it’s essential to protect yourself. Put on protective goggles to shield your eyes from any flying debris. Additionally, wear a dust mask to prevent the inhalation of dust and brick particles.
Step 4: Measure and mark the drilling area

Use a tape measure to determine the precise location where you want to drill the hole. Mark the spot on the brick with a pencil or marker. Double-check the accuracy of your mark using a level to ensure that the hole will be drilled straight.
Step 5: Prepare the work area
Drilling into brick can create a significant amount of dust. To keep your work area clean, place a bucket of water nearby. Wet a sponge or rag and keep it handy to wipe away dust and debris as you drill.
Mark the Spot for the Hole
Before you start drilling into the brick, you need to mark the exact spot where you want to place the hole. This will ensure that you drill in the right place and maintain accuracy throughout the process.

Follow these steps to mark the spot:
- Using a pencil or marker, measure the distance from the edge of the brick to the center of the hole you want to drill. Mark this measurement on the brick surface with a small dot.
- If you are drilling multiple holes, repeat the process for each hole, ensuring that the measurements are consistent.
- Double-check the accuracy of your marks by using a measuring tape or ruler.
Remember to measure and mark carefully, as accuracy is key to the success of your drilling project.
Put on Safety Gear
Before you begin drilling holes in brick, it is important to properly protect yourself by putting on safety gear. This will help prevent any injuries or accidents that may occur during the drilling process.
Here are the key pieces of safety gear you should wear:
- Safety goggles: Protect your eyes from any debris that may be generated while drilling.
- Dust mask: Prevent inhalation of the dust and debris that may be released while drilling.
- Ear protection: Use earplugs or earmuffs to protect your hearing from the noise produced by the drilling.
- Gloves: Wear sturdy work gloves to protect your hands from any sharp edges or rough surfaces.
- Protective clothing: It is recommended to wear long-sleeved shirts and long pants to protect your skin from any flying debris or potential injuries.
By wearing the appropriate safety gear, you can minimize the risk of accidents and injuries while drilling holes in brick. Always prioritize your safety and take the necessary precautions before starting any drilling project.

Start Drilling the Hole
Once you have gathered all the necessary tools and have marked the spot where you want to drill, it’s time to start drilling the hole in the brick. Follow these steps:
- Put on safety glasses to protect your eyes from any debris or flying particles.
- Attach the masonry drill bit to your power drill. Make sure it is securely fastened.
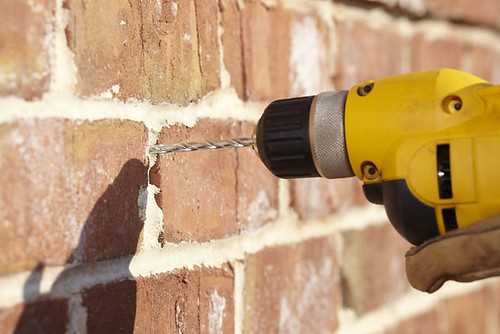
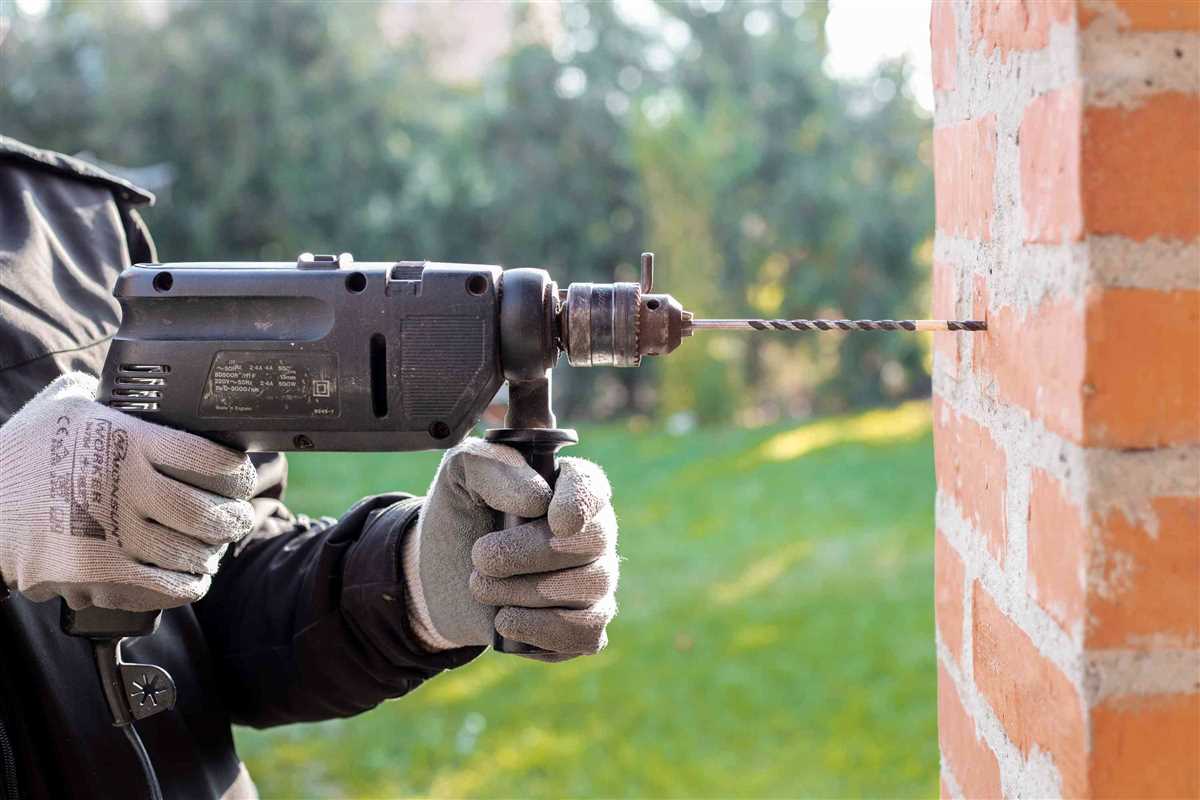
- Hold the drill with a firm grip and position the drill bit perpendicular to the surface of the brick.
- Apply light pressure to the drill and start drilling at a slow speed. This will help prevent the drill bit from slipping and keep it centered on the mark.
- Continue drilling with a steady, even pressure. Avoid applying too much force as it can cause the bit to overheat or break.
- If you are drilling a larger hole, periodically pull the drill bit out of the hole to remove any debris and prevent the bit from getting clogged.
- Drill to the desired depth, paying attention to any depth markings on the drill bit or using a piece of tape to mark the depth on the bit.
Remember to take breaks if needed and allow the drill to cool down if it becomes too hot during the drilling process. Once you have drilled the hole to the desired depth, you can move on to the next step in your project.
Control the Speed and Pressure
When drilling holes in brick, it is important to have control over both the speed and pressure applied to the drill. By properly controlling these two factors, you can ensure that the drilling process goes smoothly and effectively.
1. Speed Control

The speed at which you drill into brick can greatly affect the outcome of your drilling. Too much speed can cause the drill bit to overheat, dull quickly, and even break. On the other hand, drilling too slowly can cause the brick to crack or chip.
It is recommended to use a medium speed setting on your drill when drilling into brick. This will allow the drill bit to cut through the brick effectively without generating excessive heat.
2. Pressure Control
The pressure you apply when drilling into brick is also crucial. Applying too much pressure can cause the drill bit to bind or get stuck, potentially damaging the brick. On the other hand, not applying enough pressure can result in slow progress and ineffective drilling.
To achieve proper pressure control, start with a light pressure and gradually increase it as you drill. It is important to let the drill bit do the work and avoid excessive force. Applying steady and even pressure will help prevent the drill bit from binding or getting stuck.
If you encounter any resistance or the drill bit starts to bind, stop drilling immediately and check for any obstructions or issues with the drill bit. Adjust the pressure as necessary and continue drilling once the issue has been resolved.
Summary
Controlling the speed and pressure when drilling holes in brick is essential for achieving clean and accurate results. Use a medium speed setting on your drill to prevent overheating and dulling of the drill bit. Apply steady and even pressure, starting with a light touch and gradually increasing it as you drill. By mastering speed and pressure control, you can safely and effectively drill holes in brick for your desired purposes.
Clear the Dust and Debris
After drilling the hole, it is important to clear away any dust and debris that has accumulated. This is crucial for several reasons:
- Dust and debris can obstruct the view, making it difficult to see the drilled hole properly.
- Removing the dust and debris ensures that the hole is clean and free from any obstructions, allowing for a proper fit and secure installation.
- Leaving dust and debris in the hole can impede the effectiveness of any anchors or fasteners that will be inserted into the hole.
To clear the dust and debris, follow these steps:
- Using a small brush or a clean cloth, gently sweep or wipe away any loose dust from around the hole.
- If there is still dust or debris inside the hole, use a vacuum cleaner with a brush attachment to remove it. Be careful not to scratch the surrounding brick surface with the attachment.
- Inspect the hole to ensure that it is completely clear of any dust or debris. If necessary, repeat the previous steps until the hole is clean.
Note: It is important to wear protective goggles and a face mask during this step to prevent dust and debris from getting into your eyes or lungs.
Finish and Clean Up
Once you have finished drilling the holes in the brick, it is important to clean up any debris and finish the job properly. Here are some steps to follow:
1. Remove any dust and debris
- Use a soft brush or broom to sweep away any dust and debris from the drilling area.
- If there are any loose pieces of brick or mortar, carefully remove them.
2. Dispose of the waste materials
- Collect the dust and debris in a dustpan or appropriate container.
- Dispose of the waste materials properly according to local regulations. You may need to contact your local waste management facility for guidance on proper disposal methods.
3. Clean the drilling area
- Use a damp cloth or sponge to clean the surface of the brick around the drilled holes.
- Remove any excess dust or residue to ensure a clean and smooth finish.
4. Inspect the drilled holes
- Check the drilled holes to ensure they are clean and free of any obstructions.
- If necessary, use a small brush or compressed air to remove any remaining debris.
5. Store tools and equipment
- Clean and properly store any tools or equipment used during the drilling process.
- Ensure that they are in good working condition and ready for future use.
By following these steps, you can finish the drilling process and leave the area clean and tidy. Remember to always prioritize safety and use the appropriate protective gear when drilling into brick.
FAQ:
What tools do I need to drill holes in brick?
To drill holes in brick, you will need a drill with a hammer function, masonry drill bits, a pencil, masking tape, a dust mask, safety glasses, and ear protection.
Can I use a regular drill to drill holes in brick?
No, you cannot use a regular drill to drill holes in brick. You will need a drill with a hammer function, which can provide the necessary force to break through the brick.
How do I choose the right size masonry drill bit?
To choose the right size masonry drill bit, you should measure the diameter of the fastener you are planning to use and select a drill bit that is slightly larger in diameter. This will ensure that the fastener fits tightly in the hole.
What is the best technique for drilling holes in brick?
The best technique for drilling holes in brick is to first mark the desired location of the hole with a pencil and use masking tape to create a guide for the drill bit. Then, drill a small pilot hole to help guide the larger masonry drill bit. Apply steady pressure and let the hammer function of the drill break through the brick.
Video:


Meet Harrison Clayton, a distinguished author and home remodeling enthusiast whose expertise in the realm of renovation is second to none. With a passion for transforming houses into inviting homes, Harrison's writing at https://thehuts-eastbourne.co.uk/ brings a breath of fresh inspiration to the world of home improvement. Whether you're looking to revamp a small corner of your abode or embark on a complete home transformation, Harrison's articles provide the essential expertise and creative flair to turn your visions into reality. So, dive into the captivating world of home remodeling with Harrison Clayton and unlock the full potential of your living space with every word he writes.


