Step-by-Step Guide: How to Drill a Hole in Granite Counter

If you’ve recently installed a beautiful granite counter in your kitchen or bathroom, you may be wondering how to drill a hole in it without damaging the surface. Drilling a hole in granite can be a tricky task, but with the right tools and techniques, you can successfully create a hole for a new faucet, soap dispenser, or other fixture. In this step-by-step guide, we’ll walk you through the process of drilling a hole in a granite counter, ensuring that you achieve accurate and clean results.
Step 1: Measure and mark the location of the hole
Before you begin drilling, it’s important to carefully measure and mark the location of the hole on the granite counter. Use a tape measure and a pencil to determine the exact position where you want the hole to be. Make sure to take into account any necessary clearances or spacing requirements for the fixture you’ll be installing.
Pro tip: If you’re drilling multiple holes in close proximity, use a straightedge or a template to ensure consistent spacing between the holes.
Step 2: Choose the right drill bit
Granite is an extremely hard material, so it’s crucial to select the right drill bit for the job. Carbide-tipped or diamond-coated drill bits are recommended for drilling through granite. These drill bits are specifically designed to withstand the hardness of granite and provide clean, precise holes.
Pro tip: Use a drill bit that matches the size of the hole you want to create. For larger holes, start with a smaller drill bit and gradually increase the size to avoid cracking or chipping the granite.

Step 3: Prepare the drilling area
Before you start drilling, it’s important to take proper safety precautions and prepare the drilling area. Place a piece of scrap wood underneath the granite counter to prevent the drill bit from damaging the surface below. You may also want to wear safety goggles and a dust mask to protect your eyes and lungs from granite dust and debris.
Pro tip: If you’re drilling near the edge of the granite counter, use masking tape to protect the surrounding area from scratches or chips.
Gather the Necessary Tools
Here are the tools you will need:
- Electric drill
- Diamond drill bit (specifically designed for drilling granite)
- Masking tape
- Water bottle or spray bottle
- Safety glasses
- Dust mask
- Measuring tape or ruler
- Pencil
- Level
- Clamps or C-clamps (optional)
- Work gloves
Additional tools that may be helpful:
- Step ladder or stool
- Shop vacuum or dust collector
- Extension cord
- Painter’s tape
- Marker pen
Make sure to gather all the necessary tools before starting the drilling process. Having everything prepared and within reach will help make the process smoother and more efficient.

Measure and Mark the Hole Location
Before you start drilling the hole in your granite counter, it is crucial to measure and mark the exact location where the hole needs to be made. This will ensure precision and accuracy in the drilling process.
Follow these steps to measure and mark the hole location:
- Start by determining the desired location for the hole. Measure and mark the exact spot on the granite counter using a marker or a piece of tape. Take into consideration the purpose and size of the hole, ensuring it will not interfere with any existing fixtures or structures.
- Use a tape measure or ruler to accurately measure the dimensions of the hole. Take note of the required diameter or size, and mark the measurements on the granite surface.
- Double-check your measurements to ensure accuracy. It is crucial to be precise, as any mistakes in the measurements can lead to difficulties in drilling the hole.
Once you have measured and marked the hole location on your granite counter, you are ready to proceed with the drilling process. This initial step is vital to guarantee a successful outcome and avoid any unnecessary damage to the countertop.
Secure the Countertop
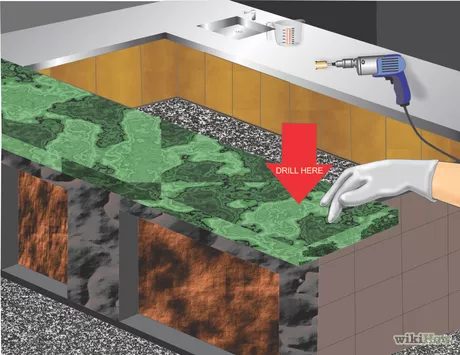
Before you start drilling a hole in your granite countertop, it’s important to secure it properly to prevent any damage or movement during the process. Here are the steps to securely secure the countertop:

- Clear the countertop: Remove any items or objects from the surface of the countertop to ensure it is clear and free from any potential obstructions.
- Cover the countertop: Place a thick and durable protective covering, such as a heavy-duty tarp or thick cardboard, over the countertop surface. This will act as a cushion and prevent any scratches or damage that may occur during the drilling process.
- Secure the covering: Use tape or clamps to secure the protective covering in place to ensure it doesn’t move or shift during drilling.
- Position the countertop: If possible, position the countertop near the edge of a sturdy workbench or table to provide additional support. Alternatively, you can use large clamps or heavy objects to keep the countertop in place.
- Double-check stability: Before proceeding with drilling, ensure that the countertop is securely positioned and doesn’t wobble or move when pressure is applied to it.
By taking these steps to secure the granite countertop, you’ll minimize the risk of any accidents or damage while drilling the hole. It’s important to take your time and ensure everything is properly secured before proceeding with the drilling process.
Choose the Right Drill Bit
When it comes to drilling a hole in granite counter, it is important to choose the right drill bit. Granite is a dense and hard material, so a regular drill bit may not be effective in drilling through it. Below are some types of drill bits that are commonly used for drilling granite:
- Diamond Drill Bits: These bits are specifically designed for drilling through hard materials like granite. They have a diamond-tipped edge that can easily penetrate the tough surface of granite.
- Carbide Tipped Drill Bits: These bits are made from a combination of carbide and steel, and are suitable for drilling through granite. While not as effective as diamond drill bits, they are more affordable and can still get the job done.
- Masonry Drill Bits: These bits are commonly used for drilling into concrete and other masonry materials. While they may work for drilling granite, they are not as effective as diamond or carbide-tipped drill bits.
It is important to note that when using any drill bit, it should be sharp and in good condition. Dull or damaged drill bits can easily overheat and break when drilling into hard materials like granite.
When selecting a drill bit, it is also important to consider the size of the hole you need to drill. Make sure to choose a drill bit that is the appropriate size for your project.
Once you have chosen the right drill bit, it is time to prepare for drilling by marking the spot on the granite counter where you want to drill your hole.

Prepare the Drill Bit
Before you begin drilling into your granite counter, it is important to properly prepare the drill bit. Follow these steps to ensure that your drill bit is ready for the task:
- Select the appropriate drill bit: Since granite is a hard and dense material, it requires a specially designed drill bit. Use a diamond-tipped drill bit specifically made for drilling into stone or granite. These drill bits are available at hardware stores or online.
- Inspect the drill bit: Before using the drill bit, carefully examine it for any damage or wear. Check for any dull or chipped diamond bits. If the drill bit is not in good condition, it may not perform effectively, and it could cause damage to your granite counter.
- Secure the drill bit in the drill chuck: Insert the drill bit into the chuck of your drill. Make sure it is securely tightened in place. A loose drill bit can lead to accidents or damage during drilling.
- Wear safety goggles and a dust mask: Granite drilling produces dust and debris. Protect your eyes with safety goggles and wear a dust mask to prevent inhalation of dust particles.
By properly preparing the drill bit, you will optimize its performance and ensure a safe drilling process. Take the time to select the right drill bit and inspect it before beginning the project.
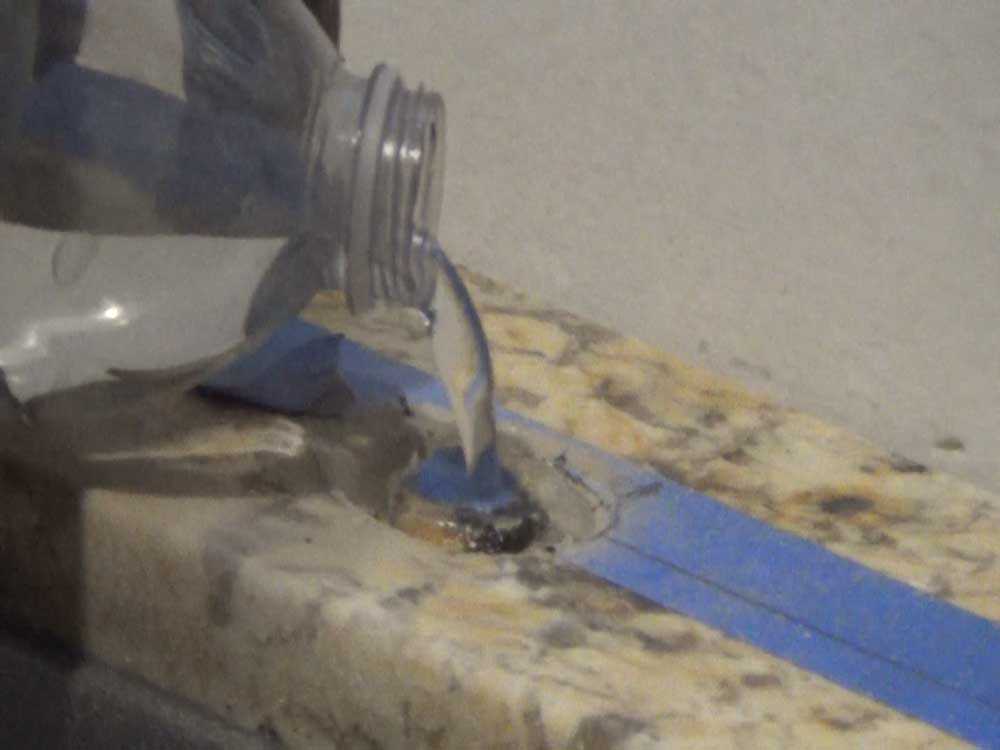
Apply Lubrication
Before you start drilling the hole in the granite counter, it is important to apply lubrication. Lubrication is necessary to prevent the drill bit from overheating and to ensure a smooth drilling process. There are several lubrication options you can choose from, including water, mineral oil, or cutting oil.
Water: Using water as a lubricant is the most common and cost-effective option. It helps to keep the drill bit cool and reduce friction. Fill a spray bottle with water and periodically spray the area where you will be drilling. Make sure to continue applying water throughout the drilling process to maintain the lubrication.
Mineral Oil: Another option is to use mineral oil as a lubricant. Mineral oil is a petroleum-based product that provides excellent lubrication and cooling properties. Apply a few drops of mineral oil on the drilling spot and periodically add more as needed.

Cutting Oil: If you have access to cutting oil, it can also be used as a lubricant. Cutting oil is specifically designed for machining and drilling metal and can provide superior lubrication and cooling. Apply a few drops of cutting oil on the drilling spot and continue to add more as necessary.
Before applying any lubricant, make sure to clean the drilling area thoroughly. This will ensure better adhesion and help to prevent any potential damage to the granite counter. Additionally, it is important to wear safety goggles and gloves while drilling to protect yourself from any flying debris.
| Lubrication Option | Advantages | Disadvantages |
|---|---|---|
| Water | – Cost-effective – Easy to obtain – Reduces friction |
– Requires constant application |
| Mineral Oil | – Provides excellent lubrication – Cools the drill bit effectively |
– Can be messy |
| Cutting Oil | – Superior lubrication and cooling properties – Specifically designed for drilling metal |
– May not be readily available |
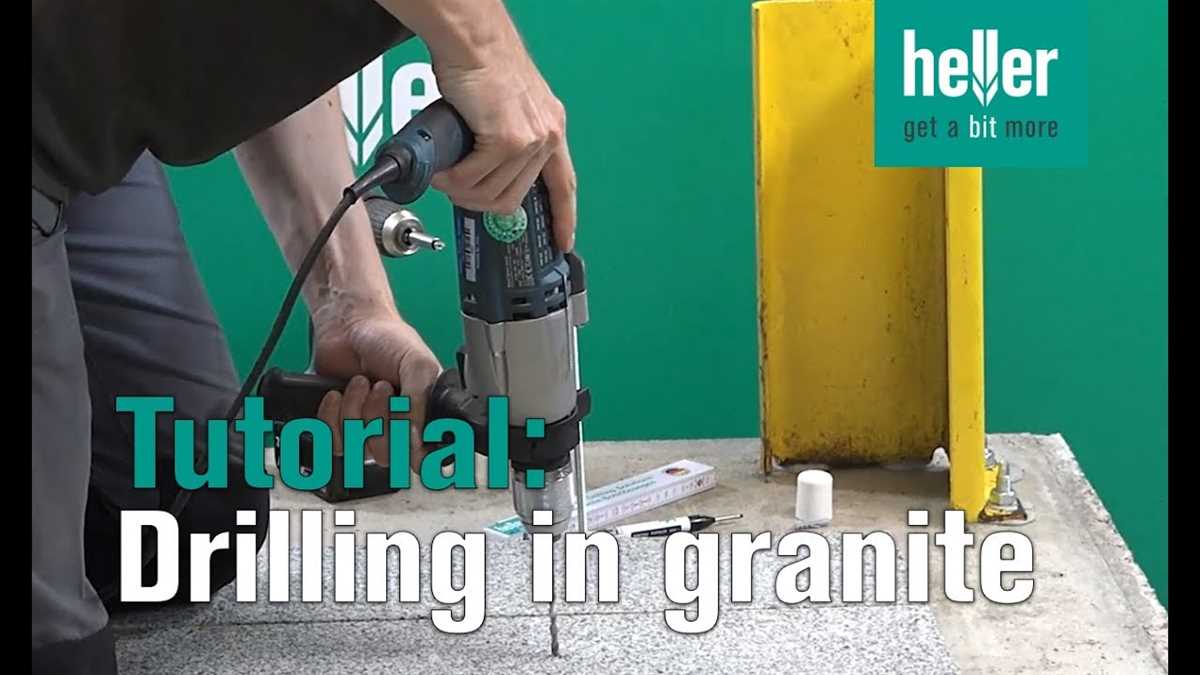
Begin Drilling
Once you have prepared the granite counter and gathered all the necessary materials and safety equipment, you can begin drilling. Follow these steps:
- Position the drill bit: Attach the appropriate drill bit to your drill. For drilling holes in granite, it is recommended to use a diamond-tipped drill bit specifically designed for drilling through hard materials. Make sure the drill bit is secure and properly aligned.
- Mark the drilling spot: Use a pencil or a marker to mark the exact spot where you want to drill the hole on the granite counter. Double-check your measurements and ensure the spot is aligned with your project requirements.
- Apply masking tape: Place a piece of masking tape over the marked spot. This will help prevent any surface scratches or chipping while drilling.
- Wear safety gear: Put on safety goggles and a dust mask to protect your eyes and lungs from possible debris and dust while drilling.
- Start drilling: Hold the drill with a firm grip and position the drill bit on the masking tape over the marked spot. Slowly start drilling at a low speed to create a small pilot hole. Apply gentle but steady pressure, allowing the drill bit to work its way into the granite.
- Monitor the drilling process: As you drill, periodically spray water or a lubricant onto the drill bit to keep it cool and prevent it from overheating. This will also help to control the dust produced during the drilling process.
- Adjust the drilling speed: Once the pilot hole is created, you can increase the drilling speed. However, be cautious not to drill too fast, as it may cause the drill bit to overheat or damage the granite.
- Continue drilling: Maintain a steady hand and continue drilling until the desired depth is reached. Keep in mind that drilling through granite can take longer than drilling through other materials, as granite is a hard and dense stone.
- Remove the masking tape and clean the area: After drilling the hole, carefully remove the masking tape and clean any debris or dust from the area. You can use a brush or a damp cloth to clean the surrounding surface.
Following these steps will help you successfully drill a hole in your granite counter. Remember to take your time and prioritize safety throughout the process.

Clean and Finish
1. Clean the Hole
After drilling the hole in the granite counter, it is important to clean out any debris or dust that may have accumulated. Use a small brush or vacuum cleaner to remove any loose particles from the hole. This will ensure a clean and smooth finish.
2. Sand the Edges
Next, use a fine grit sandpaper to gently sand the edges of the hole. This will help remove any rough or jagged edges and create a smoother finish. Be sure to be gentle and take your time to avoid causing any damage to the granite.
3. Polish the Surface
After sanding, you can use a granite polish or a polishing compound to give the hole a glossy finish. Apply a small amount of the polish onto a soft cloth and rub it onto the surface of the hole in a circular motion. This will help bring out the natural shine of the granite.
4. Clean the Surface
Once you have finished polishing, use a clean, damp cloth to wipe away any residue or excess polish from the surface of the granite. This will help remove any remaining particles and ensure a clean and polished look.

5. Seal the Hole (optional)
If desired, you can apply a granite sealer to the hole to provide an extra layer of protection against stains and liquid damage. Follow the manufacturer’s instructions for applying the sealer and allow it to dry completely before using the countertop.
6. Final Inspection
Before considering the drilling process complete, carefully inspect the hole and surrounding area for any imperfections or damage. Make any necessary touch-ups or repairs to ensure a professional and flawless finish.
FAQ:
What tools do I need to drill a hole in a granite counter?
To drill a hole in a granite counter, you will need a diamond drill bit, a water source, a power drill, masking tape, and a marker.
Is it necessary to use water while drilling a hole in granite?
Yes, it is important to use water while drilling a hole in granite. The water helps to cool down the drill bit and prevents it from overheating. It also helps to remove excess dust and debris.
How do I mark the spot where I want to drill a hole in the granite counter?
To mark the spot, you can use a piece of masking tape. Simply place the masking tape on the counter where you want the hole to be and mark the center point with a marker.
What is the best way to drill a hole in granite without cracking or chipping the counter?
The best way to drill a hole in granite without cracking or chipping the counter is to start with a small pilot hole and gradually increase the size of the hole. It is also important to use a slow drilling speed and apply gentle, even pressure. Using a diamond drill bit designed for drilling granite will also help to prevent cracking or chipping.
Do I need to wear any protective gear while drilling a hole in granite?
Yes, it is recommended to wear safety goggles to protect your eyes from any debris that may be generated while drilling. It is also a good idea to wear gloves to protect your hands.
Video:


Meet Harrison Clayton, a distinguished author and home remodeling enthusiast whose expertise in the realm of renovation is second to none. With a passion for transforming houses into inviting homes, Harrison's writing at https://thehuts-eastbourne.co.uk/ brings a breath of fresh inspiration to the world of home improvement. Whether you're looking to revamp a small corner of your abode or embark on a complete home transformation, Harrison's articles provide the essential expertise and creative flair to turn your visions into reality. So, dive into the captivating world of home remodeling with Harrison Clayton and unlock the full potential of your living space with every word he writes.


