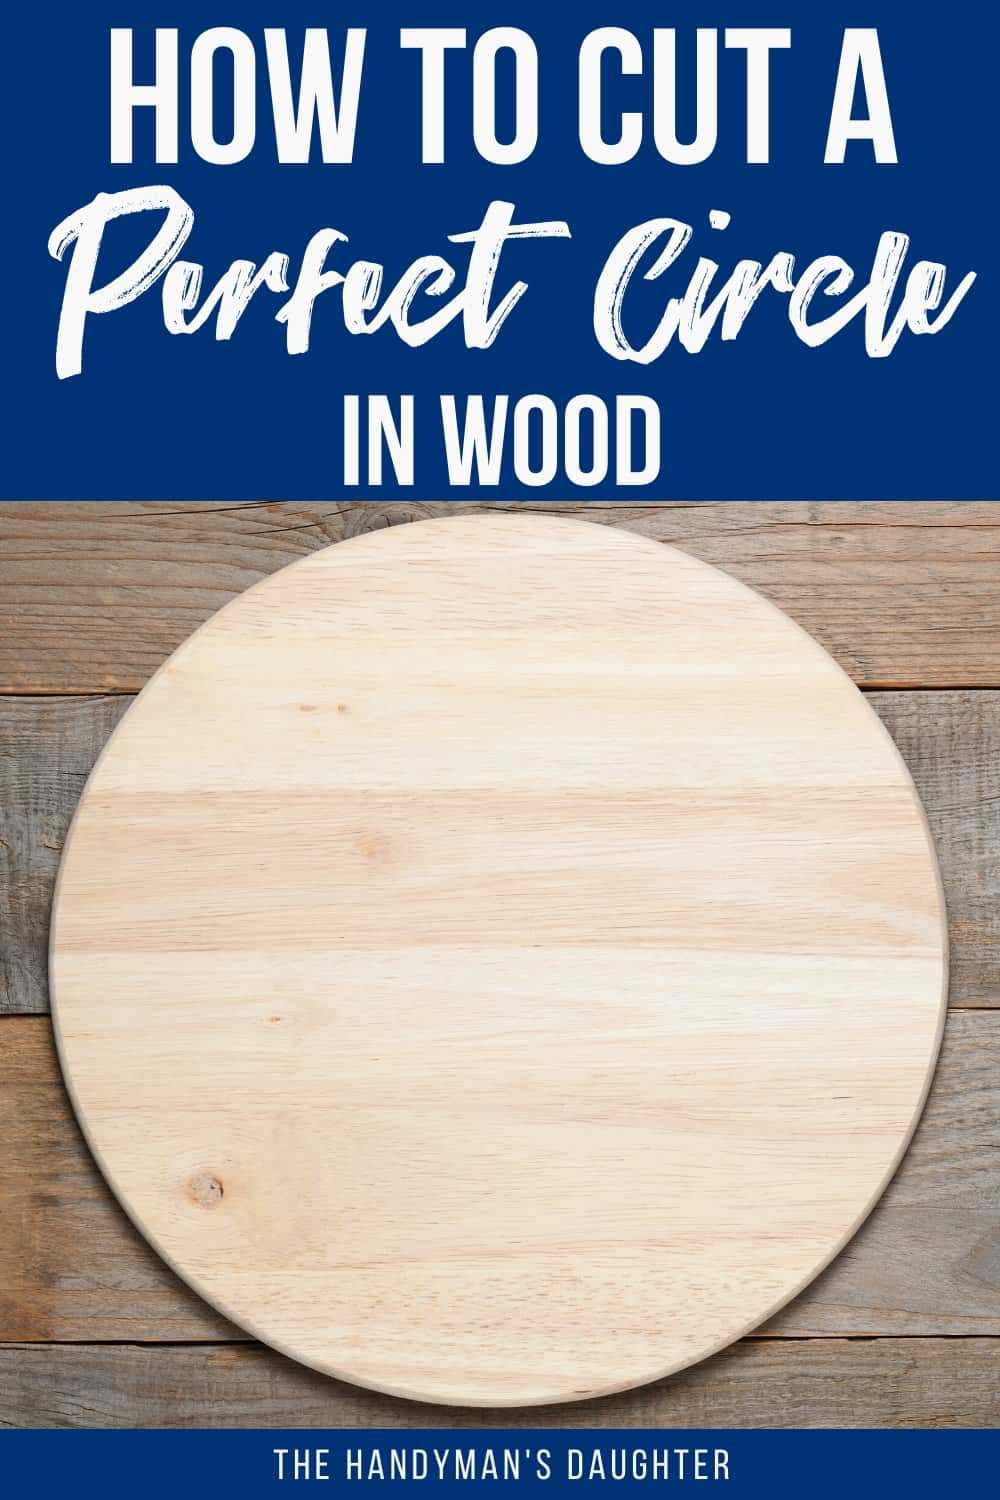
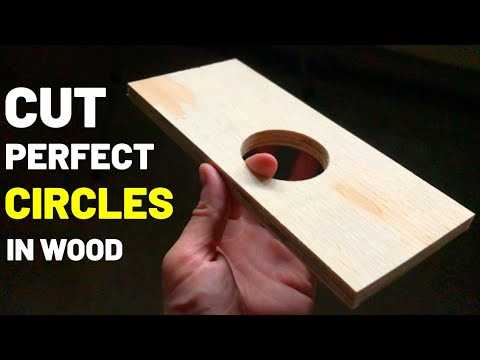
Step-by-Step Guide: How to Cut a Circle in Wood with a Drill

Cutting a circle in wood can be a challenging task, especially if you don’t have access to specialized equipment like a jigsaw or a router. However, with a little bit of creativity and the right tools, you can achieve a perfect circle using a drill. In this step-by-step guide, we will show you how to cut a circle in wood with a drill, allowing you to create beautiful and precise designs.
Before getting started, it’s important to gather all the necessary materials. You will need a drill with a spur bit, a compass or a circle-cutting guide, a plywood or MDF piece as your work surface, a pencil, a ruler, and a clamp. Make sure that all the tools are in working condition and that you have a clear workspace to operate in.
Once you have everything ready, mark the center of the circle on your wood piece using a pencil. This will serve as a reference point for drilling. Next, attach the spur bit to your drill and adjust the depth guide to match the desired thickness of your wood. You can use a ruler or a depth stop to ensure accuracy.
To start cutting the circle, secure the wood piece to your work surface using a clamp. This will prevent any unwanted movement during the drilling process. Position the drill bit on the marked center of the circle and turn on the drill at a slow speed. Apply gentle and steady pressure as you begin drilling into the wood, allowing the spur bit to create a pilot hole.
Materials You Will Need
- A piece of wood
- Drill
- Drill bit
- Pencil
- Compass
- Ruler or measuring tape
- Clamps
- Safety goggles
- Sandpaper
- Finishing supplies (paint, stain, etc.)
Measure the Diameter of the Circle
In order to cut a circle in wood using a drill, you first need to measure the diameter of the circle you want to create. The diameter is the distance across the widest part of the circle, and it will determine the size of the hole you need to drill.

Step 1: Gather the necessary tools
Before you start measuring, make sure you have the following tools:
- Tape measure or ruler
- Pen or pencil
Step 2: Position the wood
Place the piece of wood on a flat surface and make sure it is secure. This will make it easier to measure the diameter accurately.
Step 3: Find the center of the circle
Use your tape measure or ruler to find the center point of the circle. To do this, measure the width and height of the piece of wood and divide each measurement by 2. The intersection of these two lines will be the center point.

Step 4: Measure the diameter
Starting from the center point, extend your tape measure or ruler to the edge of the wood. Make a mark or note the measurement where the edge of the circle would be. This distance is the diameter of the circle.
Step 5: Double-check the measurement
To ensure accuracy, measure the diameter from various points around the circle. This will help you identify any inconsistencies or irregularities in the wood.
Once you have determined the diameter of the circle, you are ready to proceed with cutting the circle using a drill. Remember to always wear appropriate safety gear and follow proper drilling techniques to avoid injury.

Select the Right Drill Bit
When cutting a circle in wood using a drill, it is important to select the right drill bit. The type and size of the drill bit you choose will depend on the size of the circle you want to cut and the type of wood you are working with.
Types of drill bits
There are several types of drill bits that can be used for cutting circles in wood:
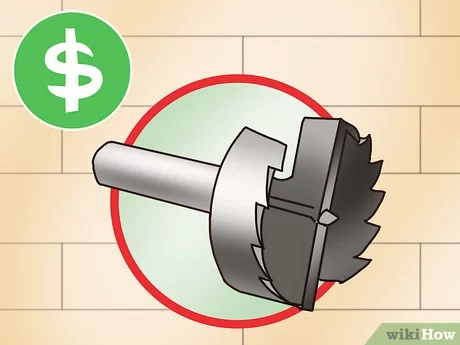
- Spade bits: These drill bits have a flat, paddle-like tip and are ideal for cutting large diameter holes in wood. They work best for rough cuts and may leave rough edges.
- Forstner bits: These drill bits have a cylindrical shape with a toothed rim and a center point. They are great for cutting clean, precise holes and are often used for cutting holes for cabinet hinges.
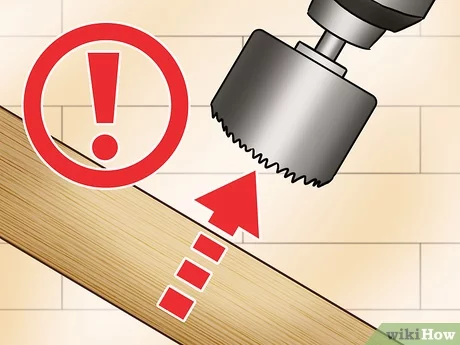
- Hole saws: These drill bits have a circular saw-like shape with teeth on the edge. They are commonly used for cutting larger diameter holes in wood and can produce clean cuts.
- Auger bits: These drill bits have a screw-like shape and are designed for cutting deep, clean holes in wood. They are often used for drilling holes for dowels or other cylindrical objects.
Selecting the right size
The size of the drill bit you choose will depend on the desired diameter of the circle you want to cut. It is important to choose a drill bit that is slightly larger than the desired diameter to account for any inaccuracies and ensure a clean cut.
You can find drill bits in a variety of sizes and it is recommended to have a set of different sizes on hand for different projects. This will allow you to easily choose the right size for the job.

| Diameter (inches) | Drill Bit Size (inches) |
|---|---|
| 1/4 | 3/8 |
| 1/2 | 5/8 |
| 3/4 | 1 |
| 1 | 1 1/4 |
Keep in mind that the size of the hole will also depend on the thickness of the wood you are working with. If you are unsure about the right size, it is always a good idea to start with a smaller drill bit and gradually increase the size until you achieve the desired hole diameter.
By selecting the right drill bit, you can ensure a clean and precise cut when cutting a circle in wood with a drill.
Safety Precautions
- Always wear protective goggles or safety glasses while cutting wood with a drill. Flying wood chips or debris can cause serious eye injuries.
- Secure the wood firmly in place before starting the cutting process. This prevents the wood from moving or spinning during the drilling process, reducing the risk of accidents.
- Use a sharp and appropriate drill bit for cutting circles in wood. Dull or incorrect drill bits can cause the wood to splinter or the drill to become unstable.
- Ensure that the drill is in good working condition, with no loose parts or damaged cords. A faulty drill can be dangerous to use and may cause accidents.
- Be aware of your surroundings and ensure that there is enough space to safely maneuver the drill. Clear any obstructions or tripping hazards from the work area before beginning.
- Avoid wearing loose clothing or jewelry that could get caught in the drill or the wood. Tuck in any loose ends or secure them to prevent accidents.
- Keep your hands and fingers away from the drill bit while it is in motion. Use clamps or other tools to hold the wood securely instead of using your hands.
- Do not force the drill bit through the wood. Let the drill do the work and apply gentle, even pressure. Forcing the drill can cause the wood to splinter or the drill to kick back.
- Always unplug the drill when not in use or when changing drill bits. This prevents accidental starts and reduces the risk of electric shock.
- Keep children and pets away from the work area to prevent accidents. Ensure that they do not have access to the drill or any sharp tools.
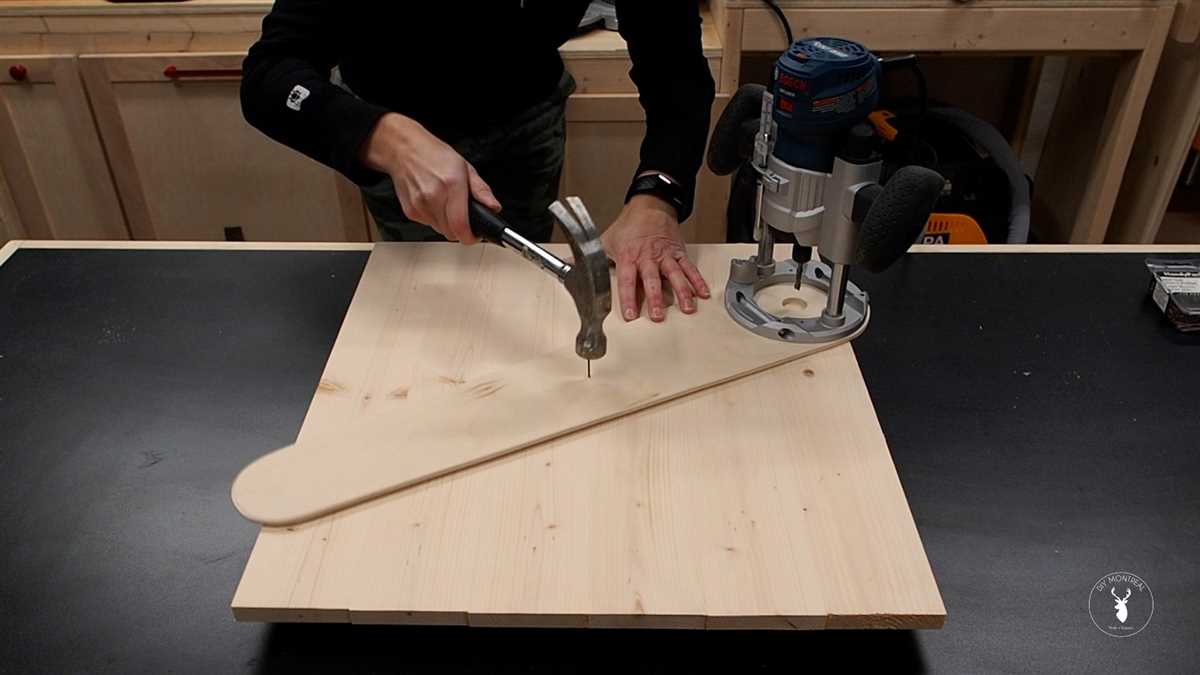
Mark the Center of the Circle


Before you begin cutting a circle in wood with a drill, it’s important to mark the center of the circle accurately. This will ensure that your cut is precise and symmetrical.
Here are the steps to mark the center of the circle:
- Measure the diameter of the circle you want to cut. This is the distance from one side of the circle to the other, passing through the center.
- Divide the diameter by 2 to find the radius of the circle. The radius is the distance from the center to any point on the circumference.
- Using a ruler or tape measure, locate the center point of your wood. Make a small mark at this point.
- Take a compass or a round object with a known diameter equal to the radius of your circle. Place the center point of the compass or object on the mark you made in the previous step.
- With the compass or object still in place, rotate it to draw a circle around the center point. This will mark the outer edge of the circle you want to cut.
Make sure your center mark and circle outline are clear and visible before proceeding with the drilling and cutting steps.
Drilling the Starting Hole
Before cutting a circle in wood with a drill, it’s important to start with a small hole in the center of the circle. This hole will act as a guide for the larger drill bit and help ensure an accurate and clean cut.
To drill the starting hole, follow these steps:
- Measure and mark the center point of the circle on the wood.
- Attach a small drill bit to your drill. The size of the drill bit will depend on the size of the circle you want to cut.
- Place the tip of the drill bit on the center point of the circle.
- Hold the drill firmly and perpendicular to the wood surface.
- Start the drill at a low speed and apply gentle pressure to create a small indentation in the wood. This will prevent the drill bit from slipping when you start the actual cut.
- Continue drilling the starting hole until you have reached the desired depth. The depth will depend on the thickness of the wood and the length of the drill bit.
Once the starting hole is drilled, you can proceed to cut the circle in wood using the larger drill bit. The starting hole will guide the larger drill bit and help ensure a smooth and precise cut.
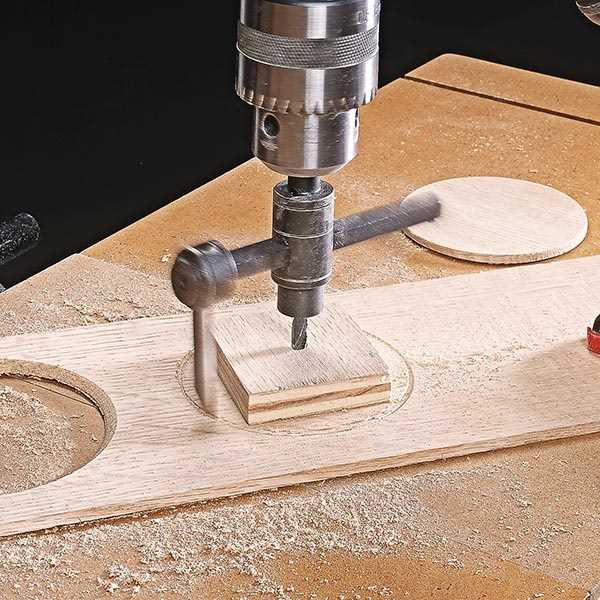
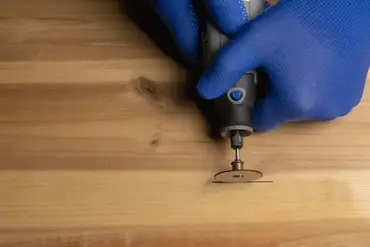
Begin Cutting the Circle
Once you have marked the center point and the desired radius on your piece of wood, it’s time to start cutting the circle. Follow these steps to begin cutting:
- Put on safety goggles and gloves to protect yourself during the cutting process.
- Secure the wood to a workbench or clamp it down so it doesn’t move while you are cutting.
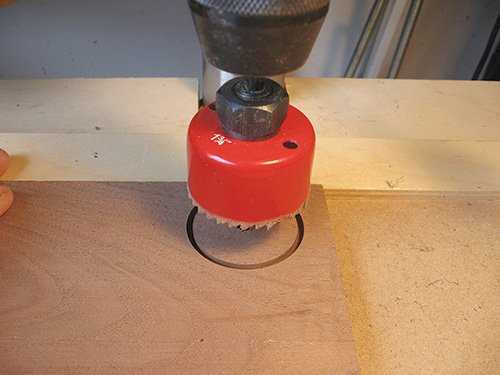
- Attach a hole saw or a circle cutting attachment to your drill. Make sure it is the appropriate size for the radius you want to cut.
- Hold the drill with both hands and align the center of the hole saw or cutting attachment with the marked center point on the wood.
- Activate the drill and apply gentle and steady pressure to start cutting the circle.
- Keep the drill perpendicular to the wood surface and maintain a steady, even pace while cutting.
- As the hole saw or cutting attachment advances into the wood, you may need to stop and clear away wood chips and debris from the cutting area. This will help maintain a clean and accurate cut.
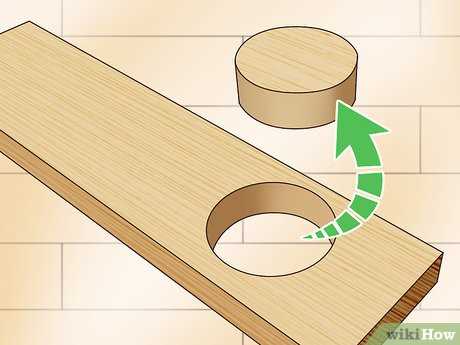
- Continue cutting until you have completed the circle.
Remember to take breaks and give your drill and the cutting attachment time to cool down if needed. Cutting a circle in wood can generate heat, so it’s important to prevent overheating and potential damage to your tools.
Once you have finished cutting the circle, you can remove the wood from the clamp or workbench and inspect the cut for any rough edges or imperfections. Sanding or filing may be necessary to smoothen out the edges and achieve the desired finish.
Finishing Touches and Sanding
Once you have cut the circle in wood with your drill, there are a few finishing touches you can make to ensure a smooth and polished final result. One important step is sanding the edges of the circle to remove any roughness or splinters. This will not only make the circle look more professional, but it will also help prevent any potential injuries.
To sand the edges of the circle, start with a coarse-grit sandpaper and gradually work your way up to a finer-grit sandpaper. This will help smooth out any rough patches and create a more polished surface. Be sure to sand in a circular motion to match the shape of the circle. You may also want to use sandpaper with a sanding block or a sanding sponge to help maintain a consistent pressure and prevent uneven sanding.
After sanding, wipe away any dust or debris with a clean cloth or brush. This will help ensure a clean surface for any further finishing steps, such as staining or painting.
Once you have finished sanding, you may also want to consider applying a finish to protect the wood and enhance its appearance. This could be a clear varnish, wood stain, or paint, depending on your preference and the overall look you are trying to achieve. Follow the instructions on the finish product carefully, and be sure to apply it in a well-ventilated area.
Overall, taking the time to properly sand and finish your cut circle will result in a more professional and polished final product. It will also help protect the wood and ensure its longevity.
FAQ:
What tools do I need to cut a circle in wood with a drill?
To cut a circle in wood with a drill, you will need a drill, a hole saw attachment, a clamping tool, a pencil, and a ruler.
How do I mark the center of the circle on the wood?
To mark the center of the circle on the wood, you can measure the width and length of the wood and then divide those measurements in half. Use a ruler to draw a line through the center point.
How do I attach the hole saw to the drill?
To attach the hole saw to the drill, you will need to follow the manufacturer’s instructions. In most cases, you will need to insert the hole saw into the drill chuck and tighten it securely.
What safety precautions should I take when cutting a circle in wood with a drill?
When cutting a circle in wood with a drill, it is important to wear safety goggles to protect your eyes from flying debris. You should also wear ear protection to minimize noise exposure. Additionally, make sure to secure the wood with a clamping tool to prevent it from moving during the cutting process.
What should I do if the hole saw gets stuck in the wood?
If the hole saw gets stuck in the wood, do not force it out as this may cause damage. Instead, stop the drill and try removing the wood chips and sawdust from the hole saw. You can also try spraying some lubricant on the hole saw to help loosen it before attempting to remove it.
Video:


Meet Harrison Clayton, a distinguished author and home remodeling enthusiast whose expertise in the realm of renovation is second to none. With a passion for transforming houses into inviting homes, Harrison's writing at https://thehuts-eastbourne.co.uk/ brings a breath of fresh inspiration to the world of home improvement. Whether you're looking to revamp a small corner of your abode or embark on a complete home transformation, Harrison's articles provide the essential expertise and creative flair to turn your visions into reality. So, dive into the captivating world of home remodeling with Harrison Clayton and unlock the full potential of your living space with every word he writes.


